 Your Privacy Choices

While many are seen shooting the latest Gucci AR15 or trying out the latest gear, how many are actually taking the time to ensure their gear is properly set up in a systematic way every time before it is used? The gear is an important facet, but ensuring everything is positioned, running properly, has batteries, is properly loaded or even that you remembered to bring it can be an issue. Following a proper Make Ready Procedure can help you avoid many potential problems.
When training at the range I make sure to follow Chappy from Forge Tactical and Pat Roger’s Make Ready Procedure. This makes it second nature to run through my checklist and properly perform my Make Ready Procedure. With the seemingly endless amount of kit needed for the various applications we train for, it is essential that everything is checked before we do a scenario. This is even more important if the stakes are raised and it is a real event.
Personal Protective Equipment (PPE)
On the range we start with protective equipment. First we make sure to check our eyes and ears.
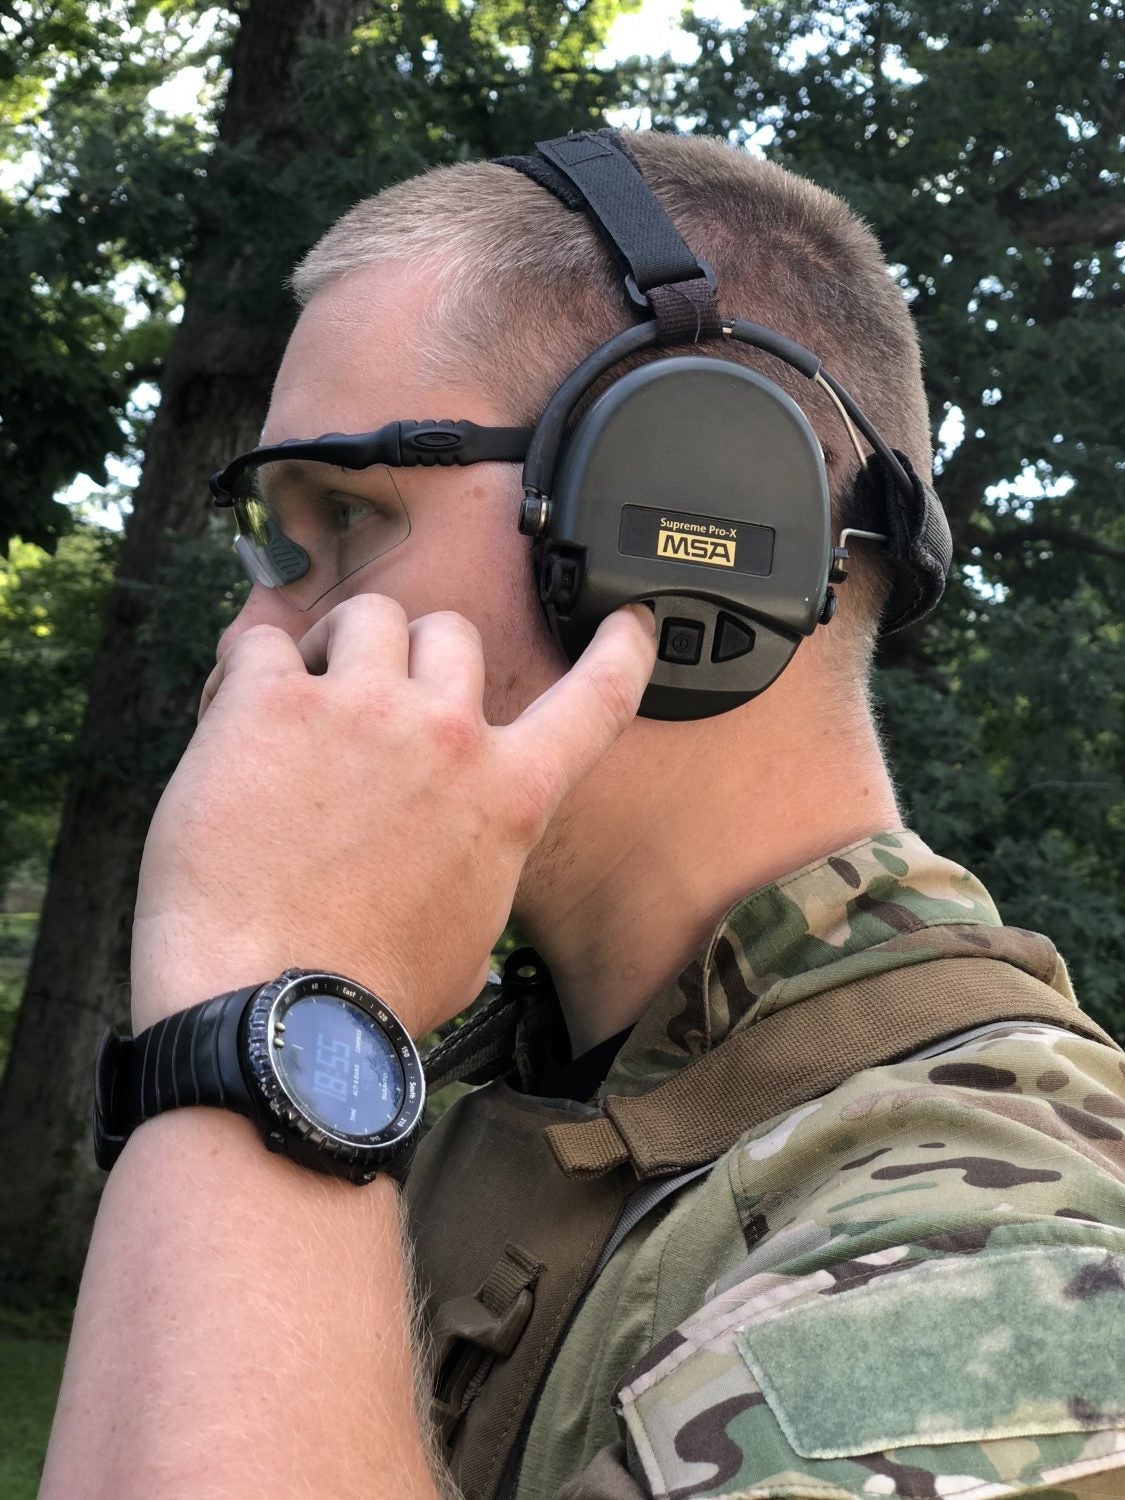
The increased capability of electronic hearing protection is incredible and having it set to the proper amplification level is important.
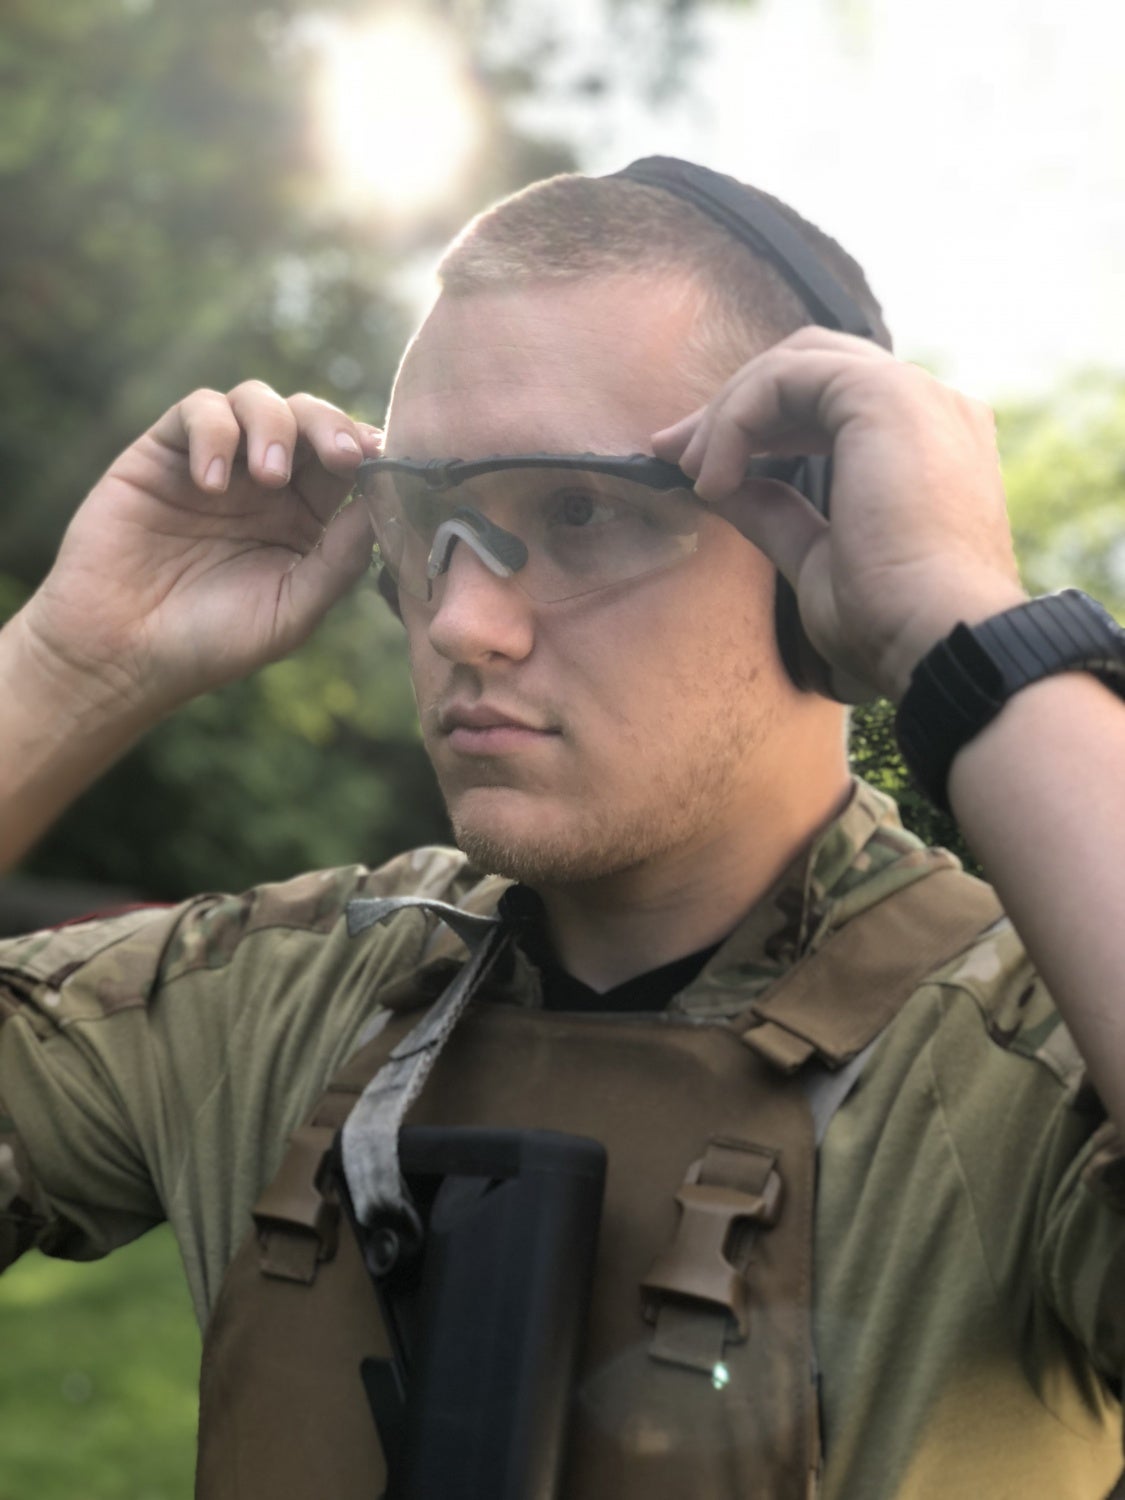
Eye protection is great until it fogs up or gets smudged. Taking an extra second before going online or into a shoothouse can make a major difference in your performance.
Make sure hearing and eye protection is in place, powered up and functional. Batteries go bad in electronic hearing protection and glasses can get fogged or smudged. Checking these first is important. For those wearing armor and helmets, this is also time we ensure those are properly positioned and no changes need to be made. Finally, check for any other protective equipment such as medical kit to ensure we have tourniquets stowed in accessible locations, IFAKs are properly attached, etc.
Location Location Location
In order to easily go through the Make Ready Procedure I keep the same types of tools in the same general locations. This not only makes it easy to make ready, but also allows me easy access to the tools when speed is important. Holster location may change from appendix to strong side hip when in more overt gear. However, I still keep a TQ in my lower left pant pocket, a handheld flashlight clipped to my left pocket and many other similarities to bridge the gap for easy access.

Make sure your TQ is properly prepped for easy deployment and readily accessible.
Secondary
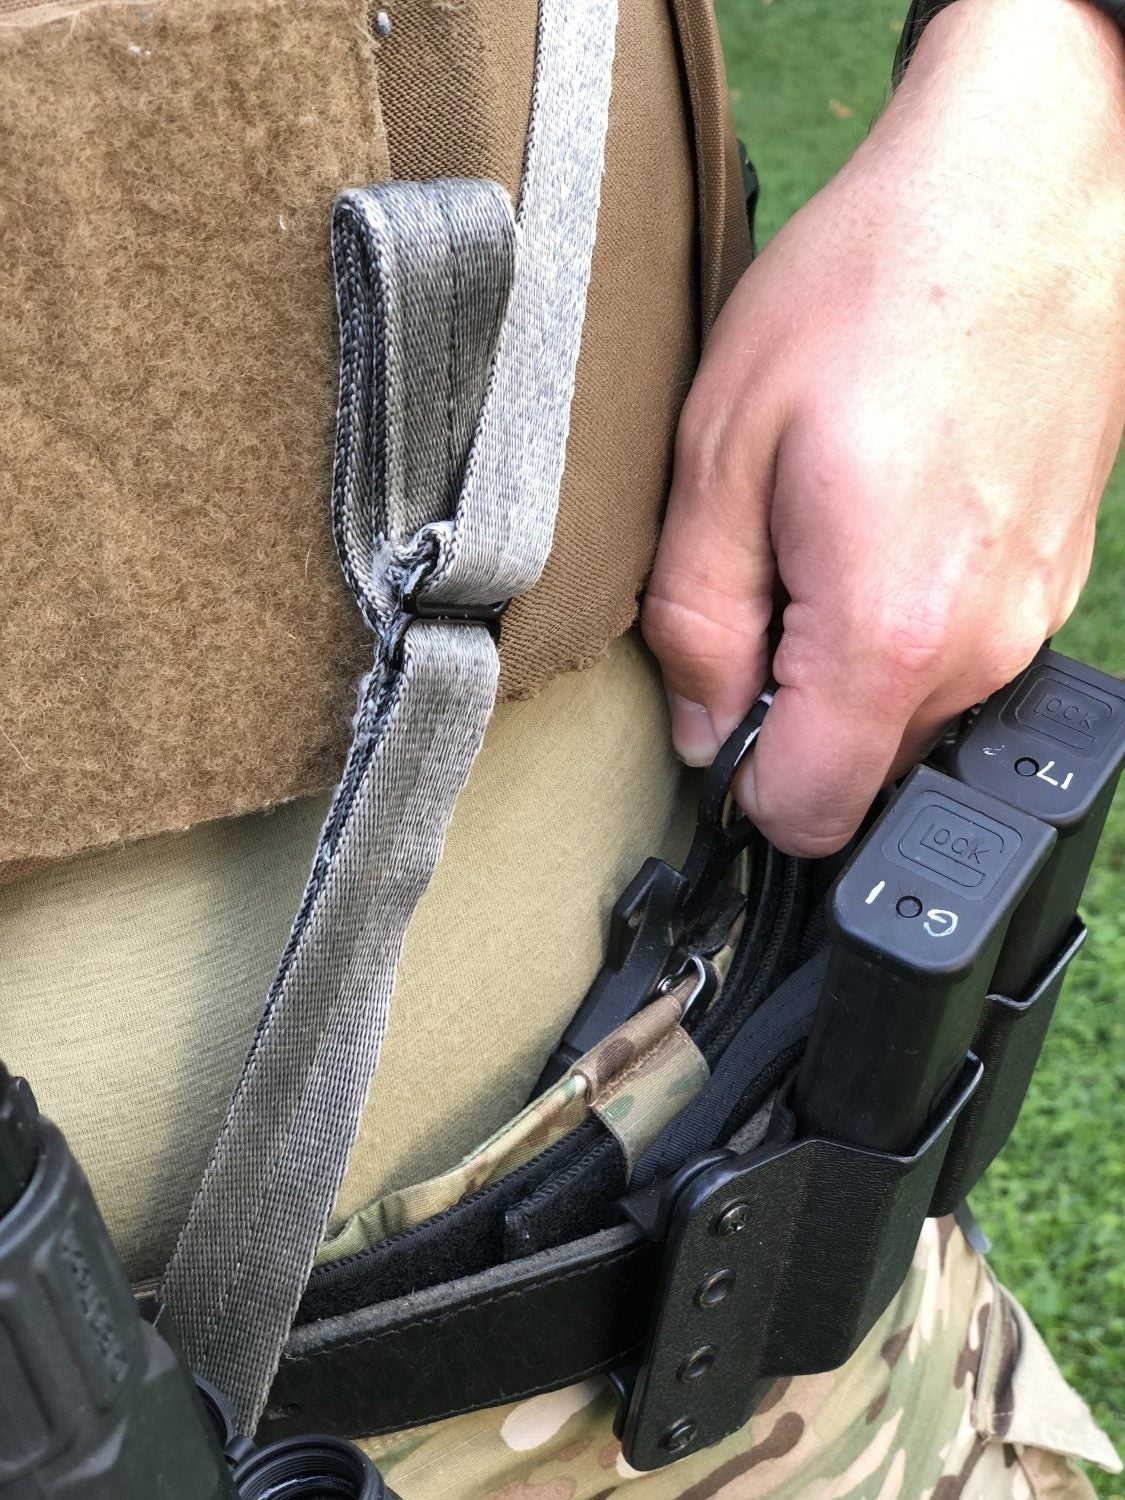
Readying your secondary before your primary is important as it can be easily forgotten. Confirm your secondary is accessible and properly loaded as this is your emergency parachute for when things go wrong. When drawing in full kit, assess that nothing is blocking your draw stroke such as mag pouches, slings, etc.

With all of the extra gear it can be easy for something to block our ability to access our secondary weapon.
As I can never have enough proper reps I make sure to think about my draw stroke during this process. Take the time to add another proper repetition. After the draw stroke, obtain a good sight picture. I visually check my red dot and adjust to my preferred brightness level. I also look for any evidence my iron sights or dot have lost zero and finish by confirming my weapon light is bright and functional.
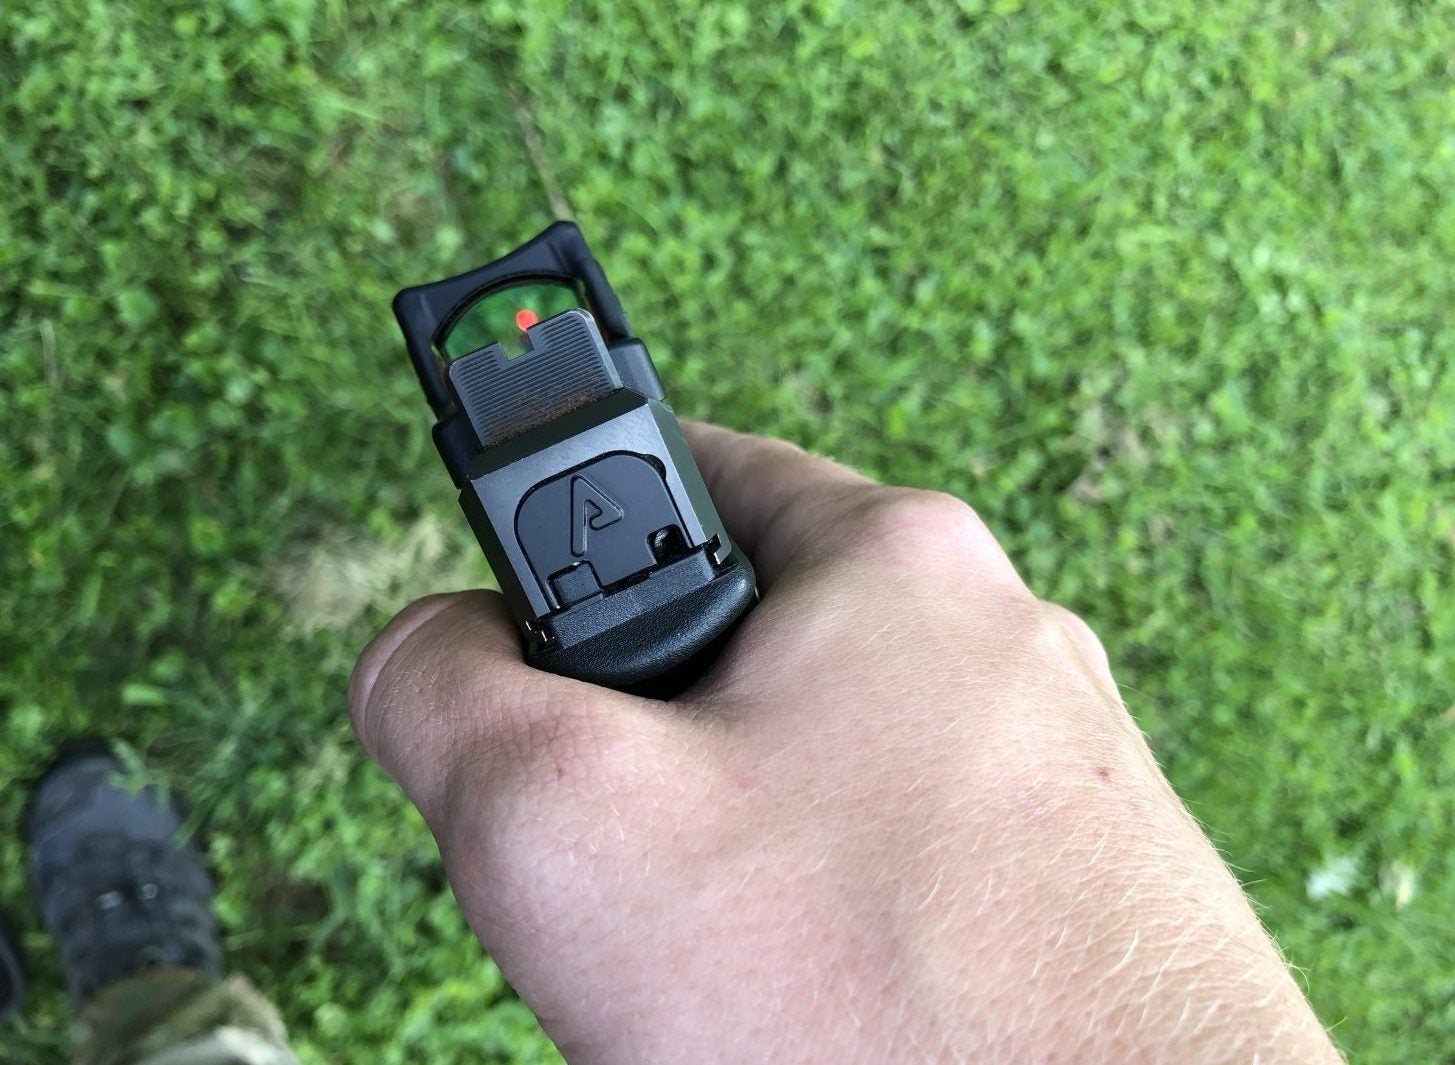
Dot brightness will change based on expected lighting conditions. Obviously for daylight use we want it brighter, however if using at dusk or at night it is important to be able to see the dot but also not have it so bright that it washes out the target.
Load a magazine with a push pull to ensure the magazine is seated, rack the slide and press check visually and physically to ensure a round is chambered.
The physical verification is important to ensure the same process can be done even in low light situations.
Next, tac reload the pistol to ensure it is at full capacity before you put it away. After holstering the pistol ensure your emergency reload source and other magazine sources for your secondary are stocked and in place.
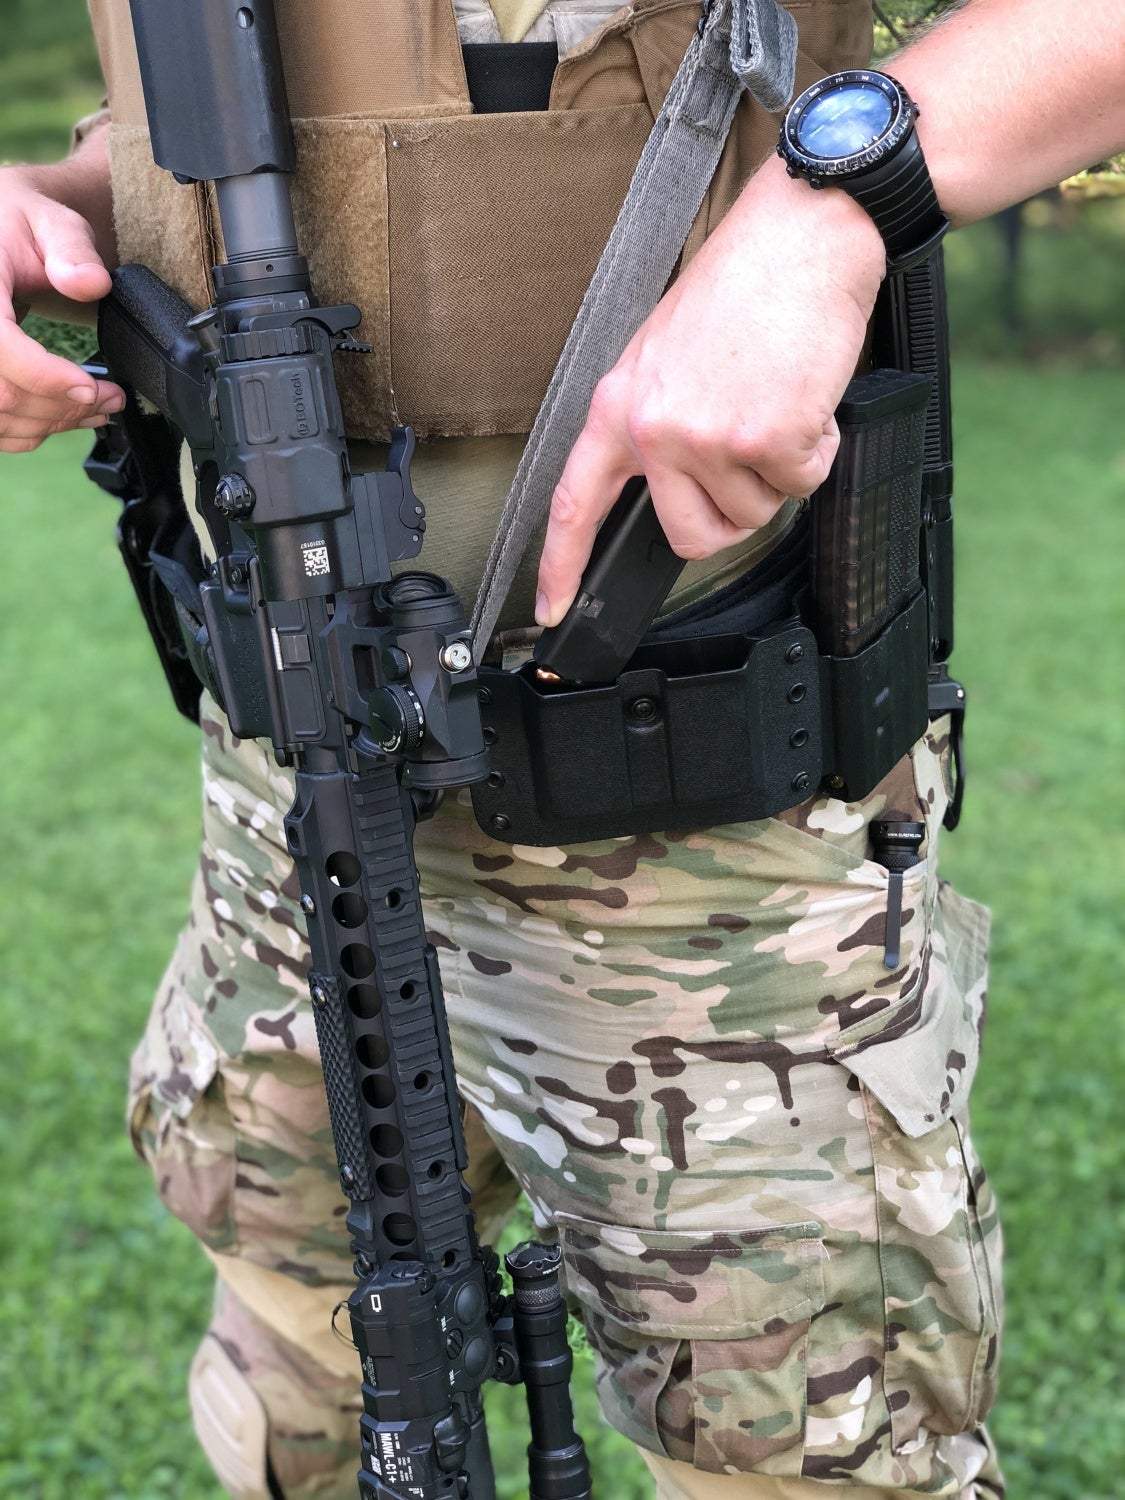
Make sure not only that the magazine pouches are full but that the magazines are fully loaded.
Primary
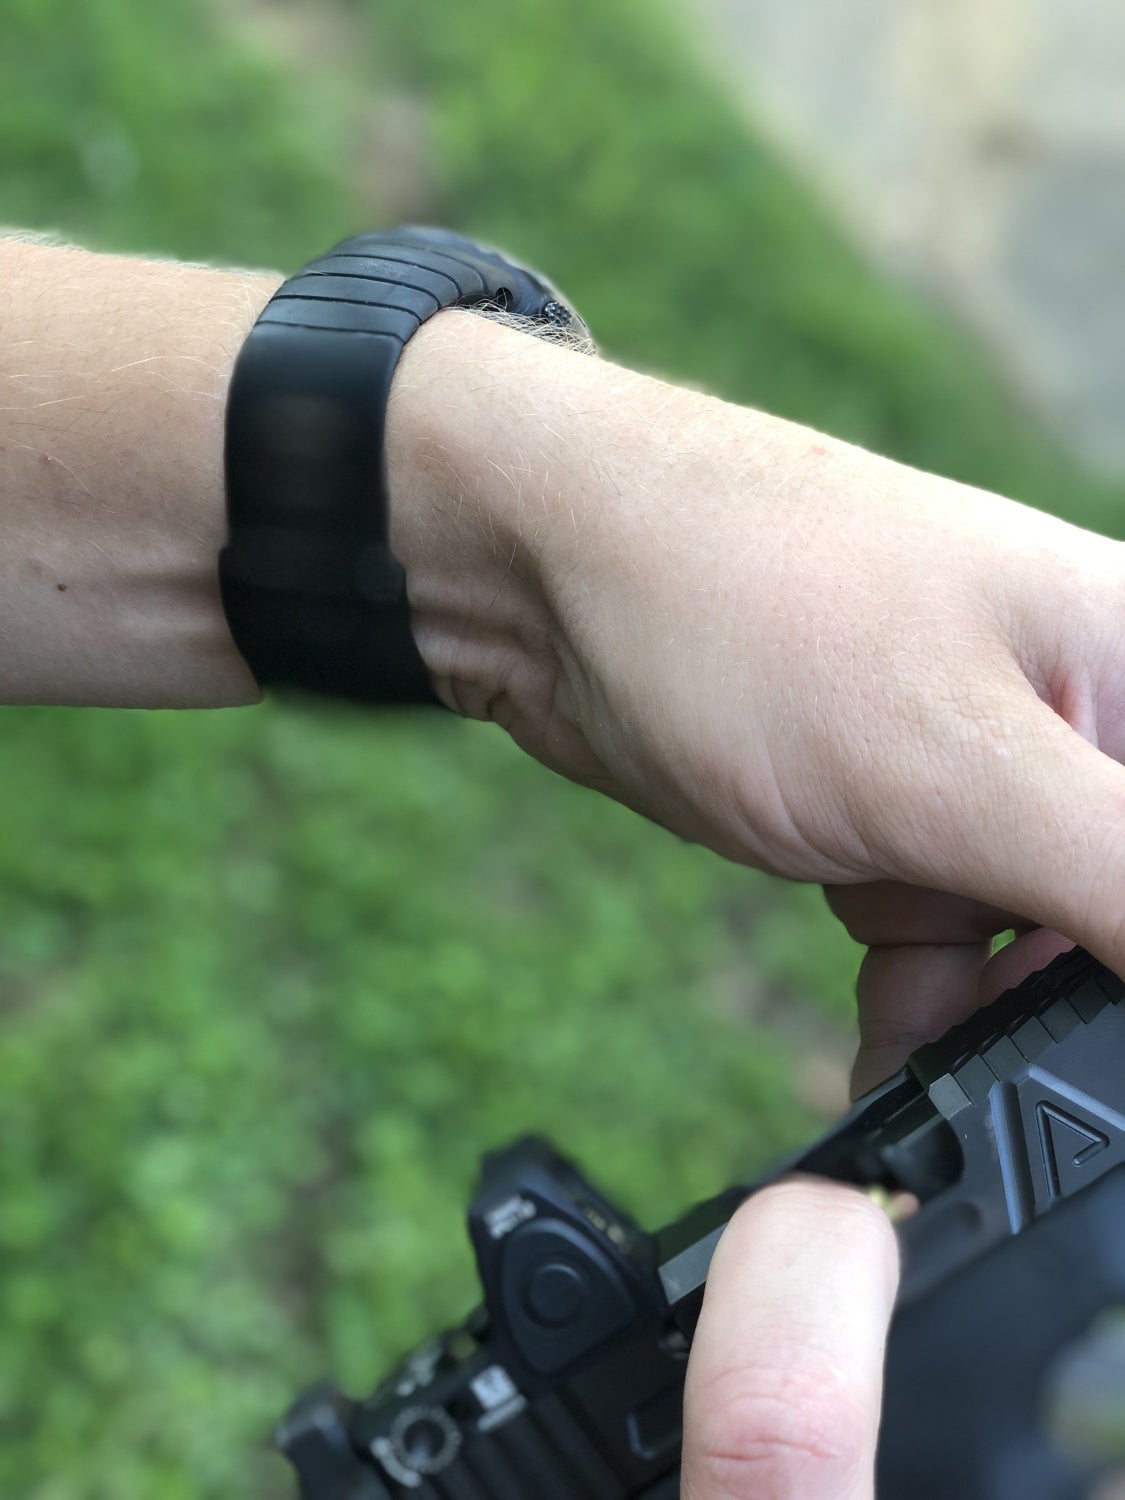
Grip the rifle from the front slung position and bring on target.
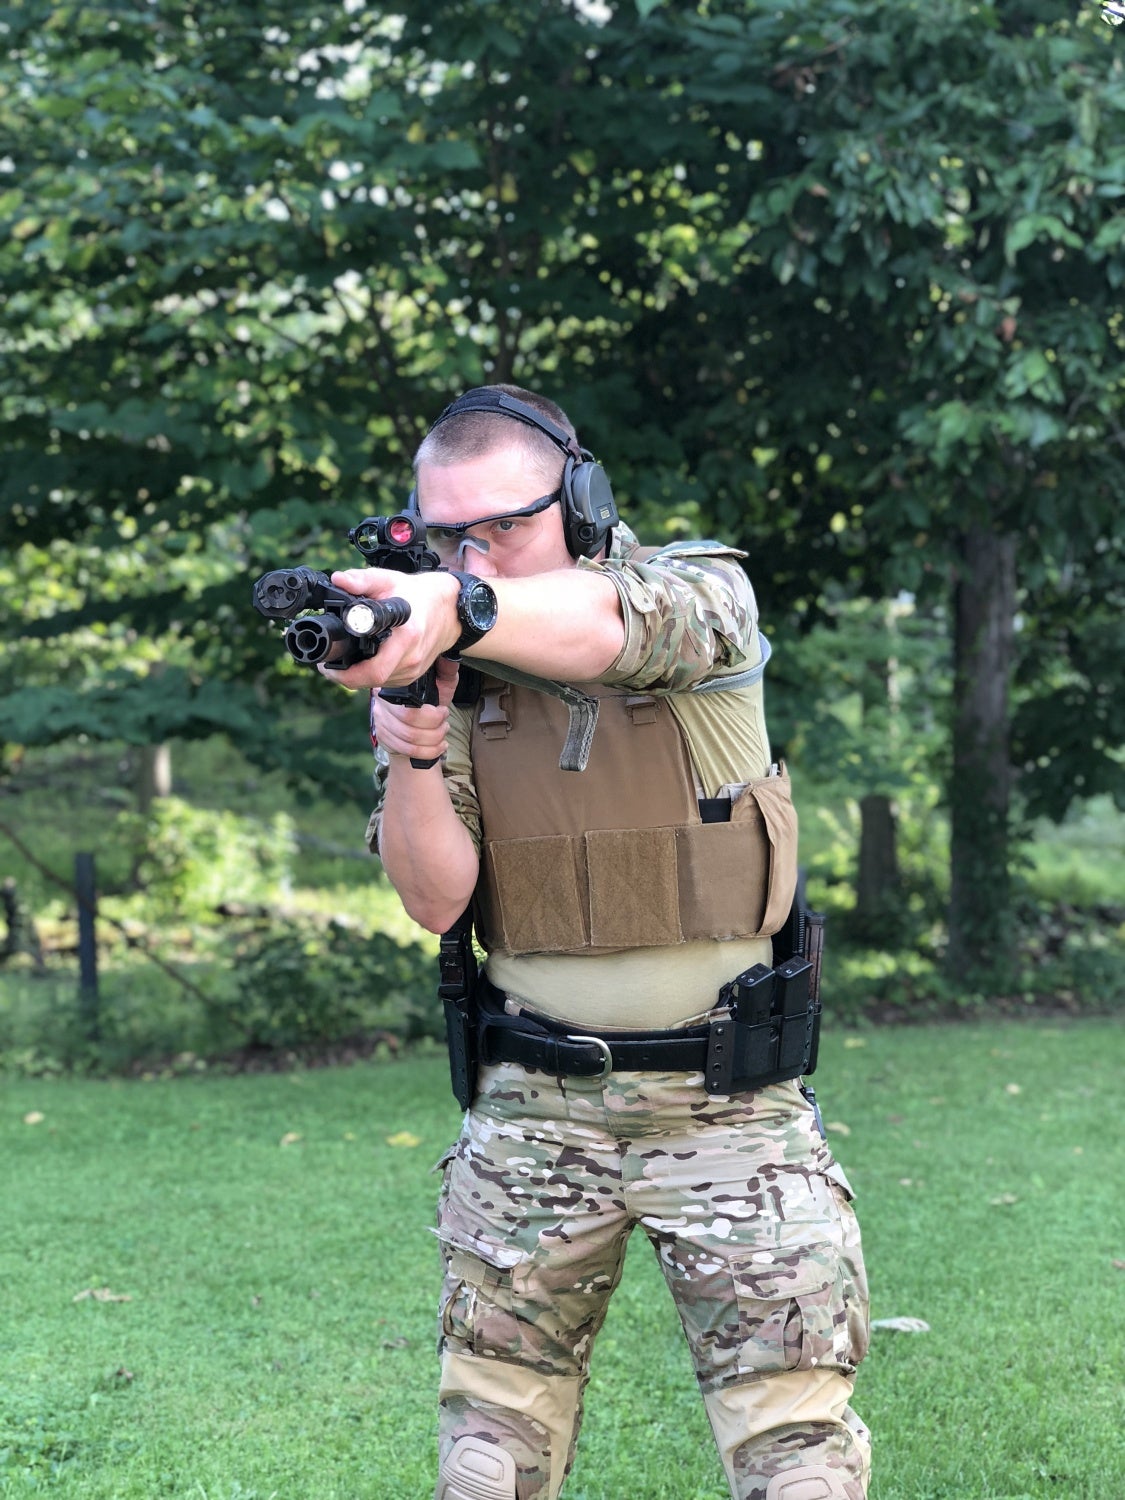
Just like drawing your pistol, when raising your rifle from front slung to on target I make sure to do it deliberately for positive reps.
Check dot brightness to ensure it will be effective in the array of lighting conditions you might find yourself in. Next ensure your weapon lights and lasers have good batteries and are working properly.
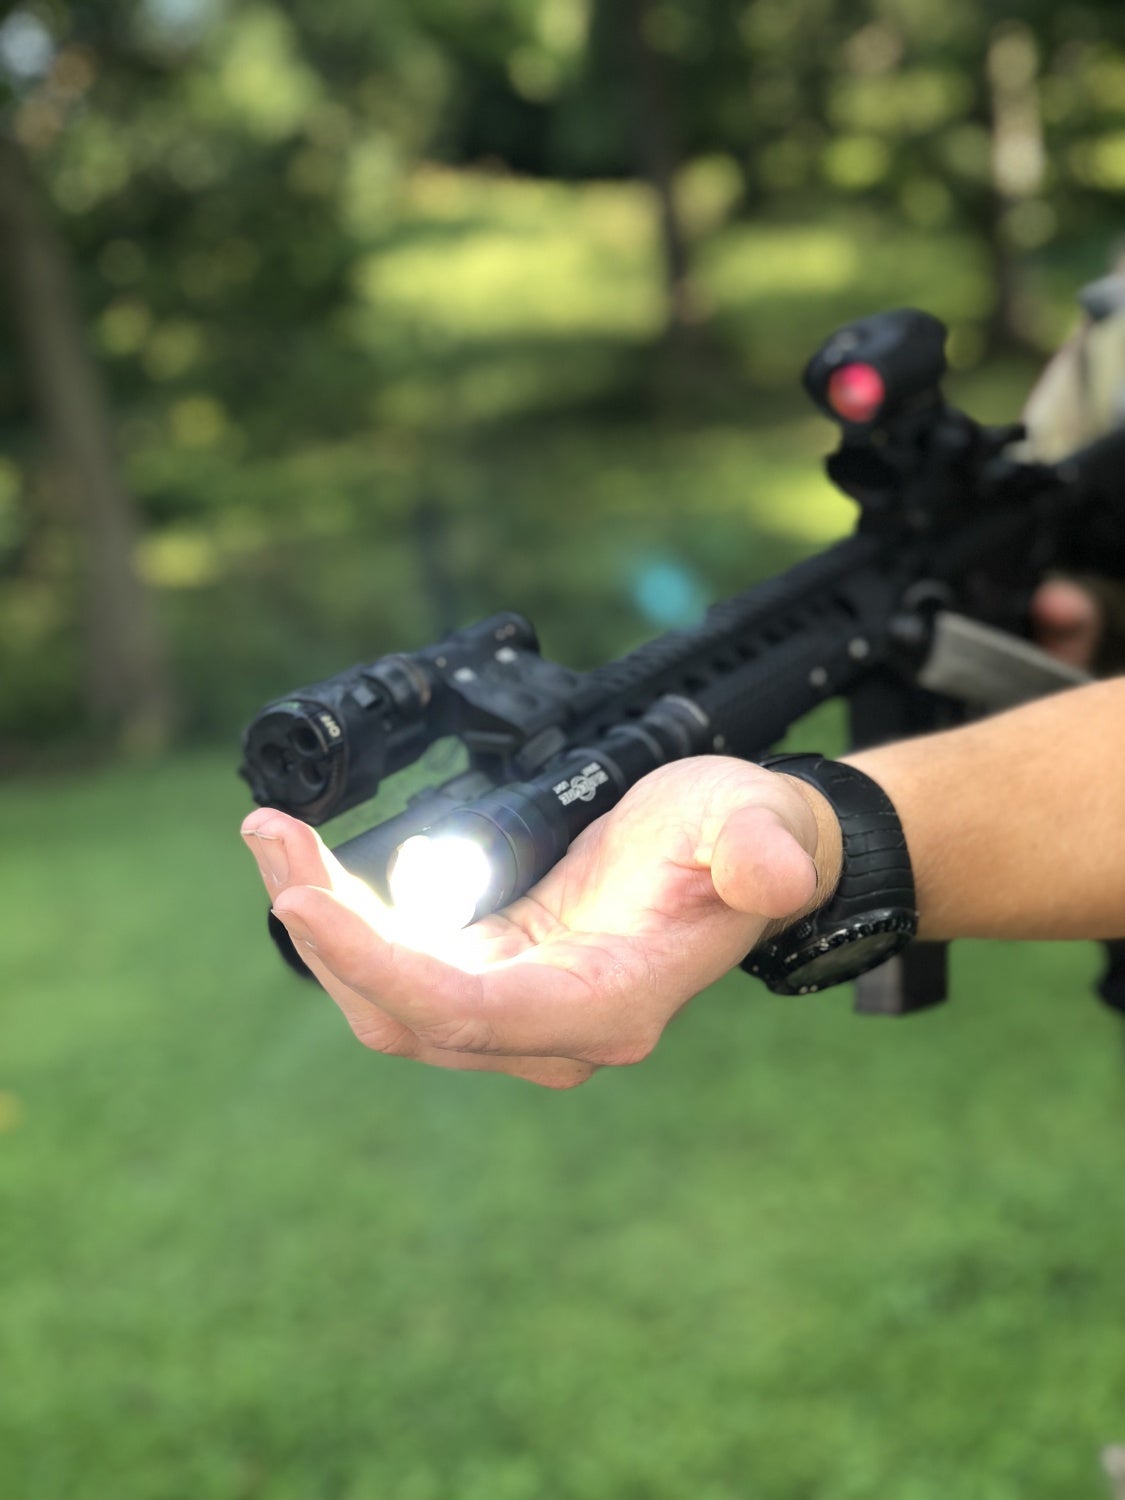
Make sure even when the rifle is not yet loaded to follow the safety rules and not cross your hand in front of the muzzle when checking your lights and lasers.
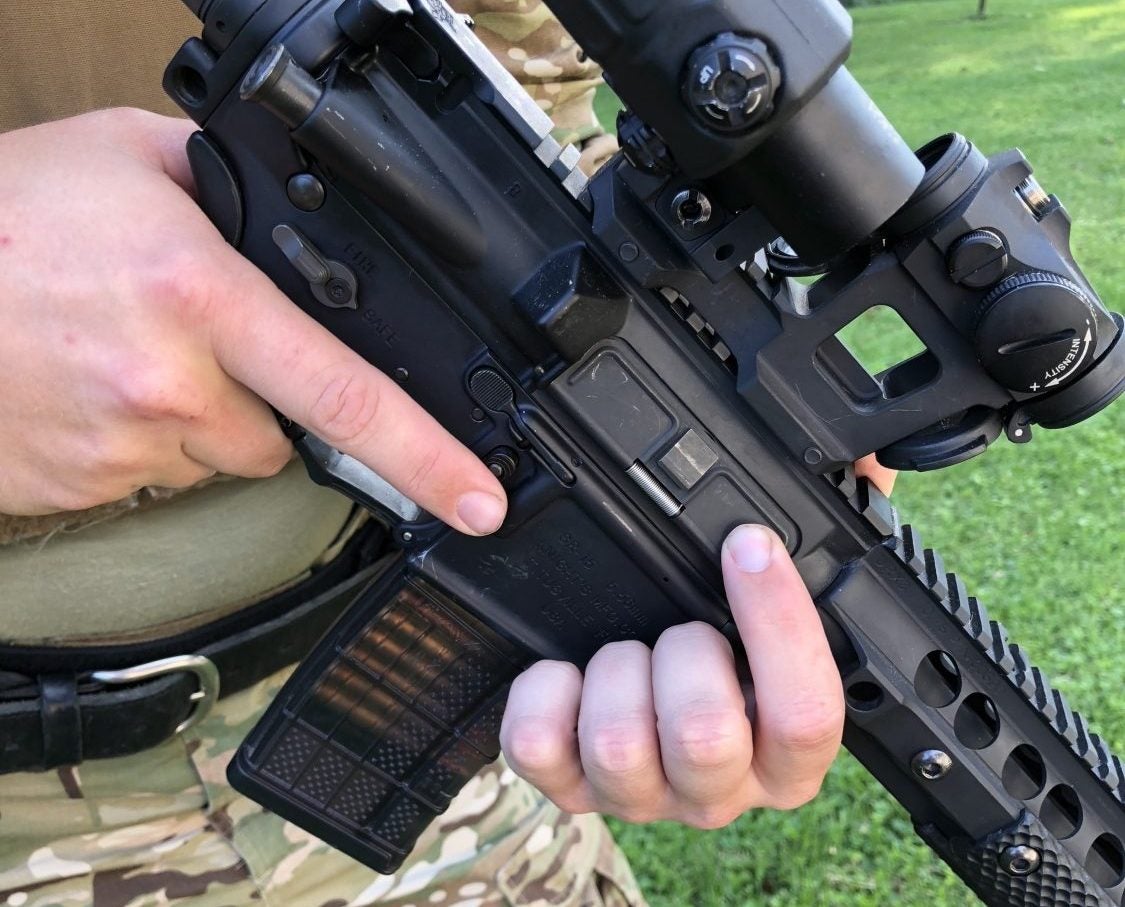
Hold the rifle in a retention position and grab a magazine for your rifle. Feel the top round to see if it is to the right or the left in the magazine.

Notice the top round is to the right in the magazine.
Seat the magazine in the rifle with a push/pull ensuring it is properly seated. Then release the bolt or cycle the action to chamber a round.
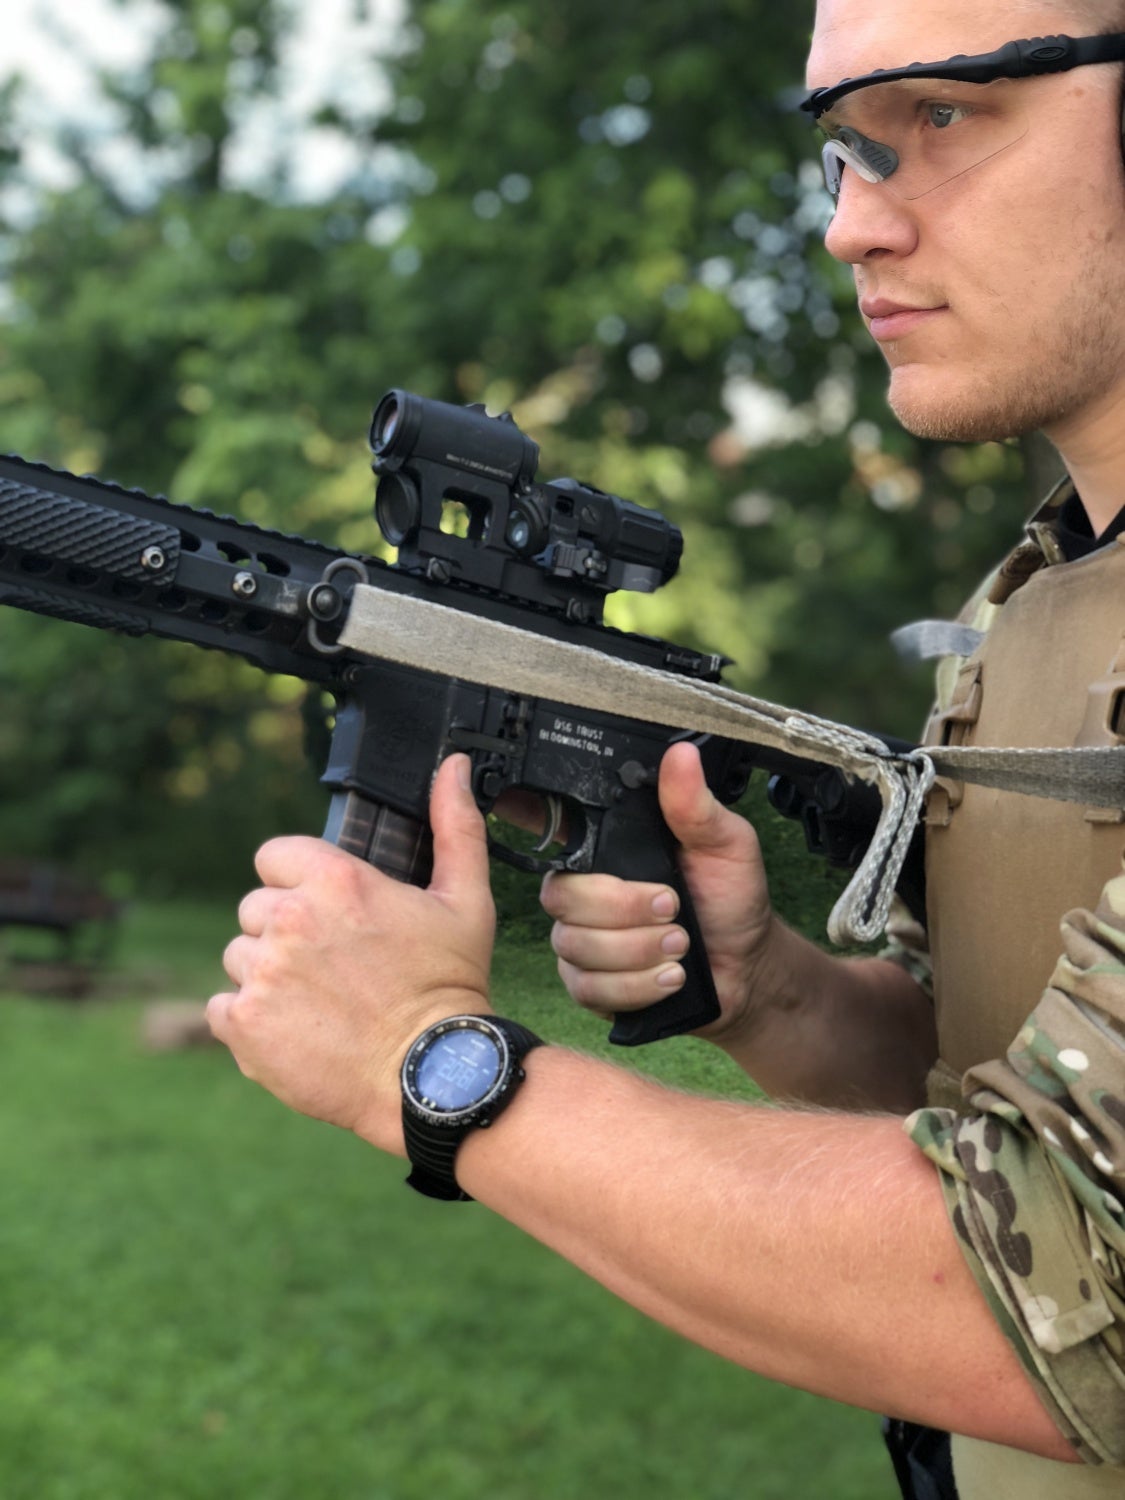
The push/pull is a quick way to ensure your magazine is properly seated.
Remove the magazine and ensure that the top round is now opposite of where it was previously. Then reinsert the magazine with a push/pull.

Notice the top round is now to the left, signifying a round was loaded into the chamber successfully.
Finally touch the bolt face to ensure the bolt is in battery and close the dust cover. Position the rifle in a front slung position.

Final Check
Finally I make any last minute checks to gear on my person. I check the status of secondary and tertiary lights, access and position of my defensive blade and any other equipment I may need.
Much like our pistol draw stroke, ensure your defensive blade is accessible even with all the other gear that could easily get in the way.
Application
While seemingly monotonous, going through the Make Ready Procedure the same way every time will prevent foreseeable, costly errors. . Some feel they are too cool or high speed to go through and prep with a Make Ready Procedure. Often they are also seen dumping an unseated mag or having other preventable issues. This checklist is not limited to tactical training junkies but can be adjusted to competitive shooters and concealed carriers. In the words of the late Pat Rogers, “Proper prior planning prevents piss poor performance.”