 Your Privacy Choices

Shooting clay birds is one of the most fun one can have with a shotgun besides hunting and taking a tactical shotgun course. An opportunity arose to review a Lyman Trius Launchpad, their electric clay bird thrower. After discussing it with Pete, our managing editor here at TFB, he had the great idea to try shooting clay birds with night vision. Challenge accepted!
Making Clays Show Up In The Dark
The real challenge was trying to figure out how to make the clay birds show up at night without the use of flashlights. Sure people all over the country enjoy night Skeet and Trap shooting but they have massive stadium like lights illuminating their entire Trap/Skeet field.
I found this video by Texas Machine Gun & oOrdnance on YouTube.
Unfortunately they did not mention how they got the clays to light up at night. I thought about this for a bit and came up with spray painting the clay birds with glow in the dark paint and using a UV flashlight to charge them up. This was my back up plan. Worst case they will luminesce even with the naked eye. The other idea I came up with was to use 3M reflective stickers, cut them to shape and stick them onto the rim of the clay bird. This is not as good of an idea because it would require the use a flashlight even an IR flashlight could work with NODs (night observation device). However I would only be able to see the clay once the light is shining on it. Not ideal but doable. I discussed this challenge with my friend Irfan Z. and he had the bright idea to use an infrared chemstick. Activate the chemstick, cut it open and pour the contents over the clay birds. Then throw them.
One concern regarding the IR Chemlight was how they luminesce. I wanted to shoot clay birds under complete darkness. Using visible spectrum lights or some other method to luminesce the clay birds feels like cheating. Some IR chemsticks appear to have a plastic housing that is dark purple. Which I assume is actually filtering out all visible light thus allowing the infrared light to escape. The problem is I have no idea what the liquid looks like outside of that IR filtering body. The IR chemlight I got has what looks like a translucent body with dark purple liquid. This is what I hoped for. When the liquid is outside of the plastic housing, it continues to give off only infrared light. Another concern was that even if the IR chemstick liquid does work, would it stay on the clay once thrown or would the liquid spin off the clay?
Here is a test I did right before the Lyman Trius Launchpad showed up. A proof of concept to see if luminescent clays are feasible using GITD paint and IR chemstick liquid.
Oddly the liquid from the IR chemstick reacts with the orange fluorescent paint of the clay birds. Normally the IR chemstick and its liquid do not create any visible light that can be seen by the naked eye. However once I smeared the liquid onto the clay, the liquid became visible to the naked eye. It glowed. While not as bright when seen with NODs it was visible enough that I could see them in the dark.
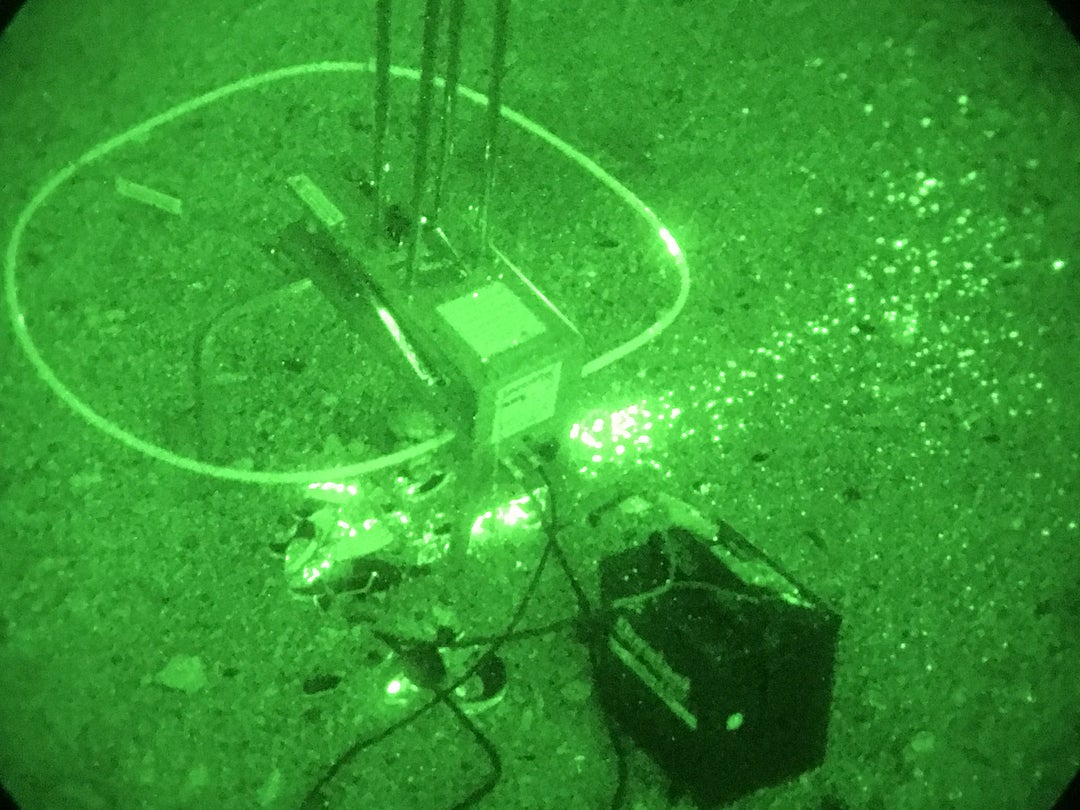
Take a look at the photo below taken by Tim Yan. He helped film me while I attempted to shoot clays with night vision. You can see the IR chemstick soaked clays are producing visible light.

Photo by Tim Yan when he helped me film the Night Vision Clay bird test
Lyman Trius Launchpad ASSEMBLE!
Next up was to build and set up the clay bird thrower. Some assembly required.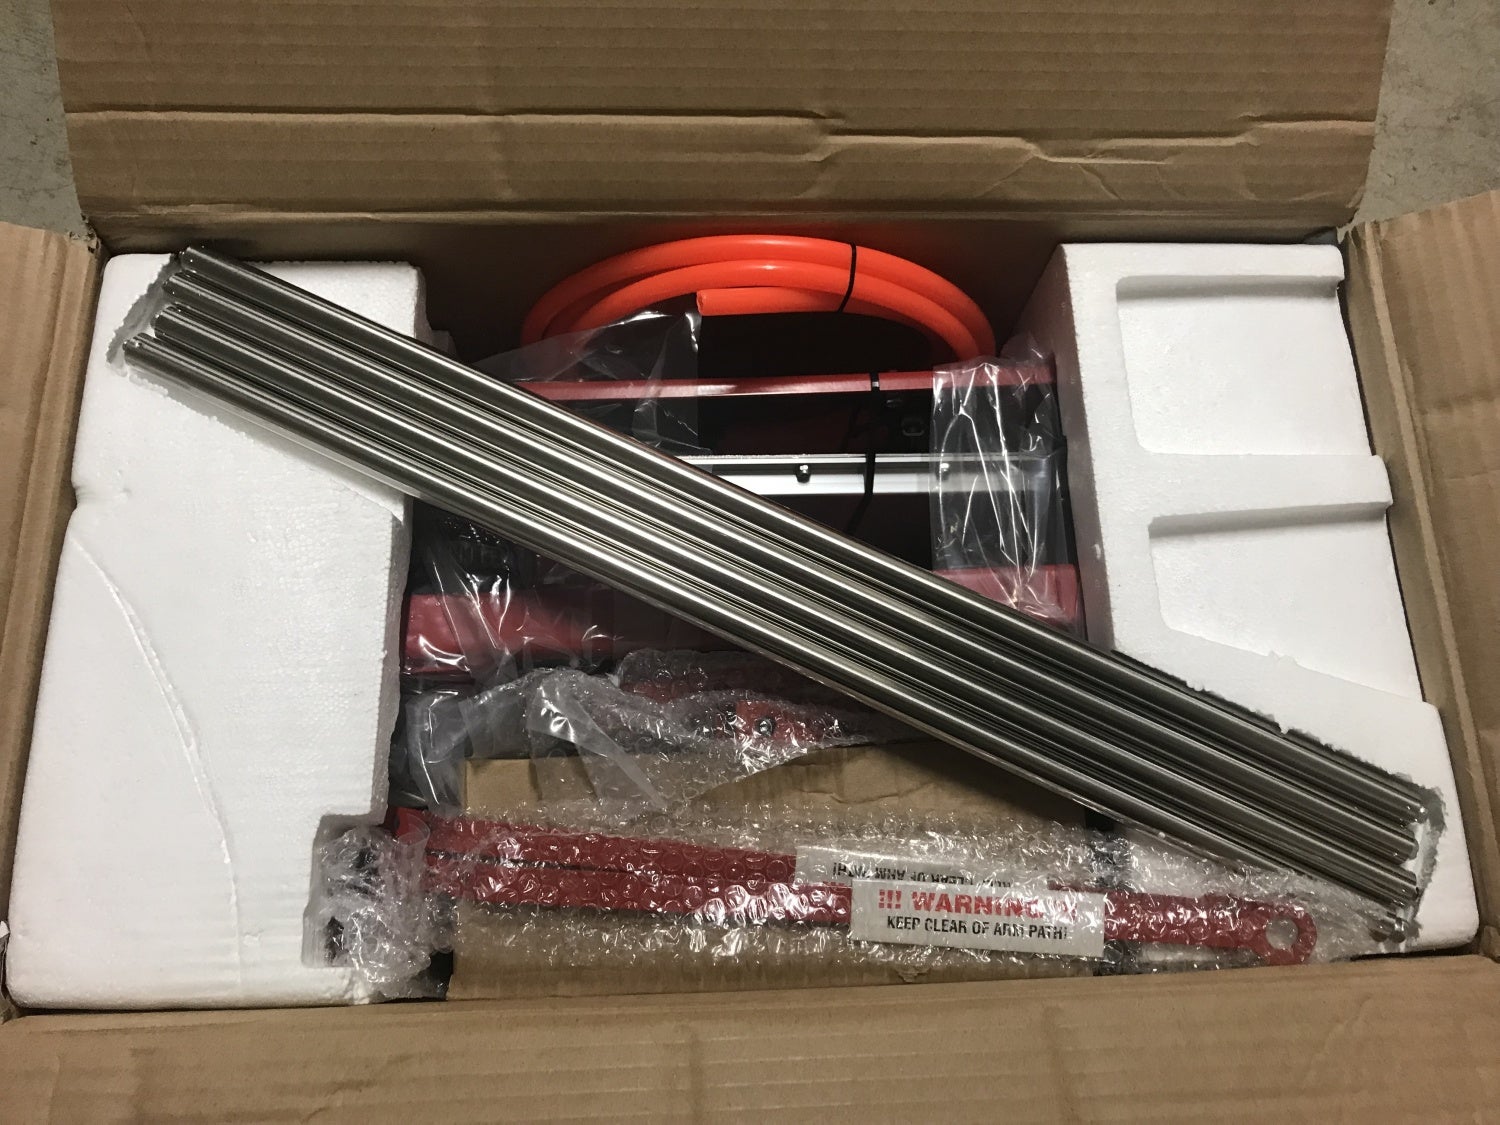

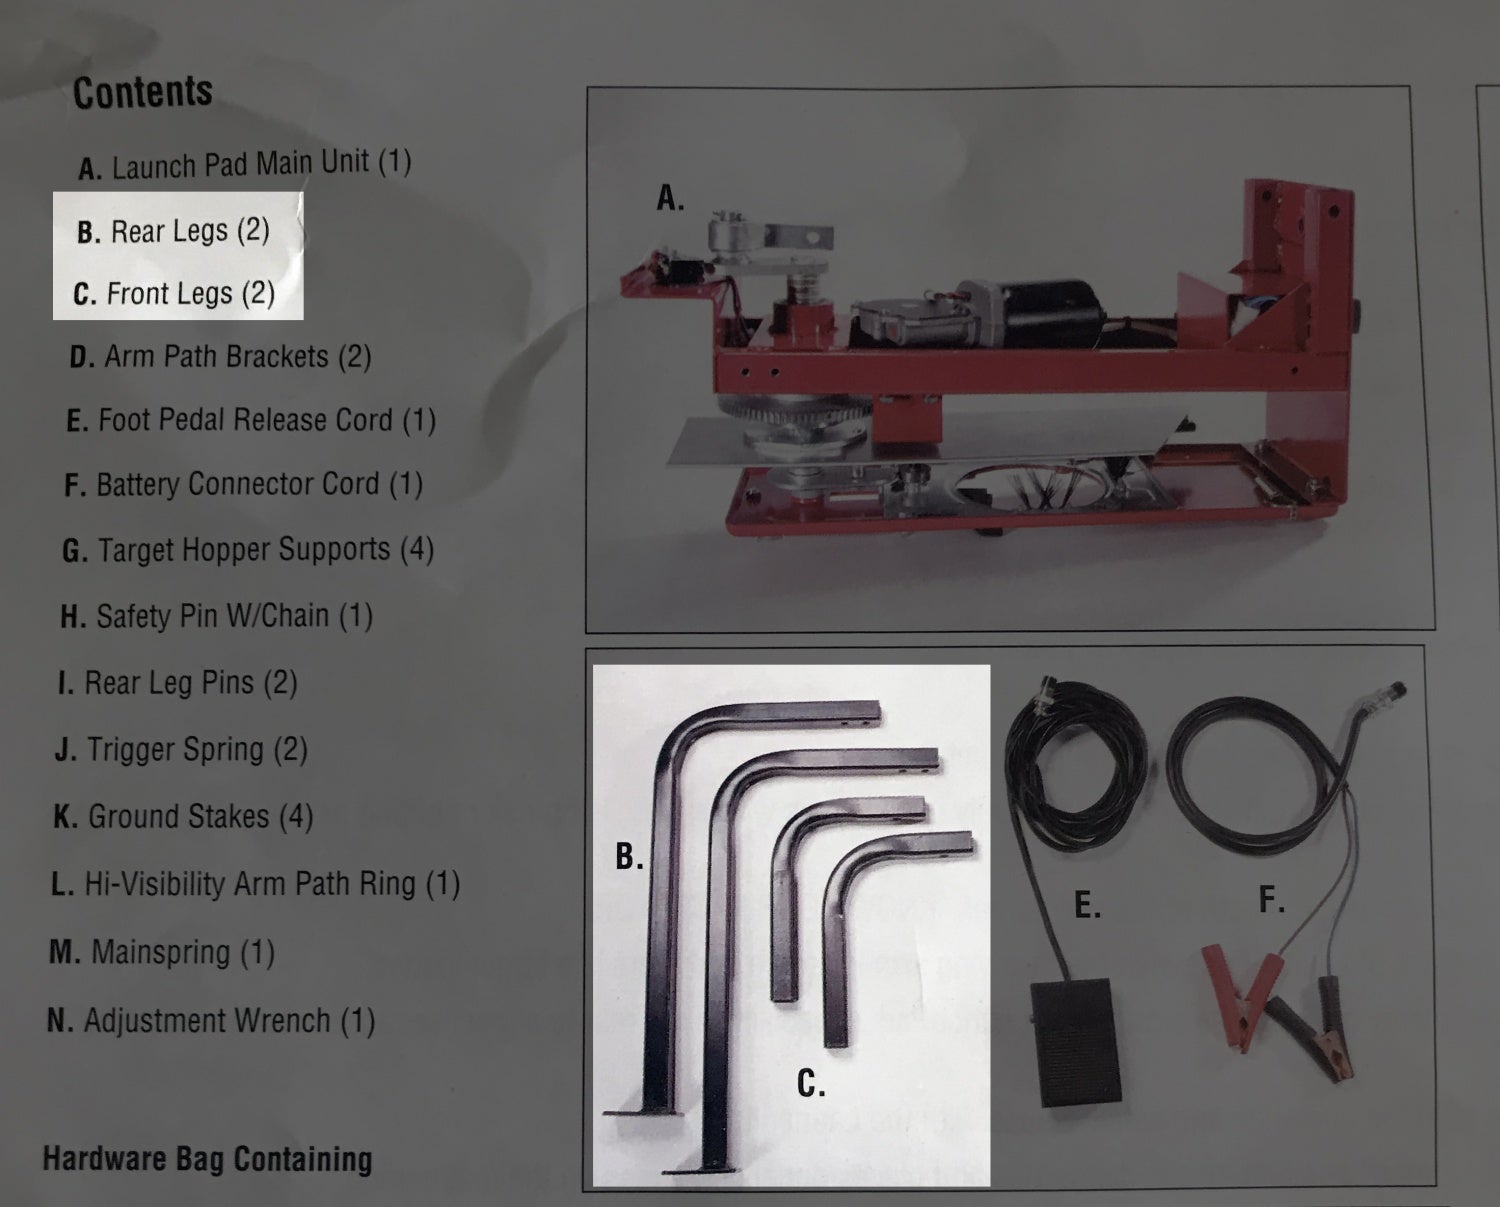
There were a couple discrepancies with the instruction manual. As seen below, the instruction manual mixed up the legs.
Other issues were bolts already installed like the four bolts that hold the Arm Path Brackets. They were already bolted into the frame of the Trius Launchpad so I had to remove them to install the brackets that hold the bright orange plastic tubing. The orange tube acts as a guide and shows the path of the throwing arm. As long as you say outside of the orange circle, you can’t be hit by the throwing arm. The instructions sequence to attach the main spring was a little bit confusing but once you look at how it is supposed to go, you can figure it out yourself.
The power cable and foot pedal cable are inserted in the rear of the thrower. They have threaded collars that secure the cables into the thrower housing and prevent them from accidentally being pulled out.

The Trius Launchpad does require a 12v battery. I used a car battery that I pulled from my other car to power it. Once hooked up you just step on the foot pedal to activate the Trius Launchpad. Pressing the foot pedal once will set the thrower into a preprogrammed single throw. Once it goes through its cycle it resets for another clay bird. If you keep holding down the food pedal it will automatically continue to throw clay birds until the loader is down to one clay. Due to the design, the Trius Launchpad cannot throw the last clay, it needs a minimum of two clays to work. You can manually clear the launcher to throw the last clay but you need to be careful as you don’t want your fingers or parts of your body anywhere near the swinging arm.
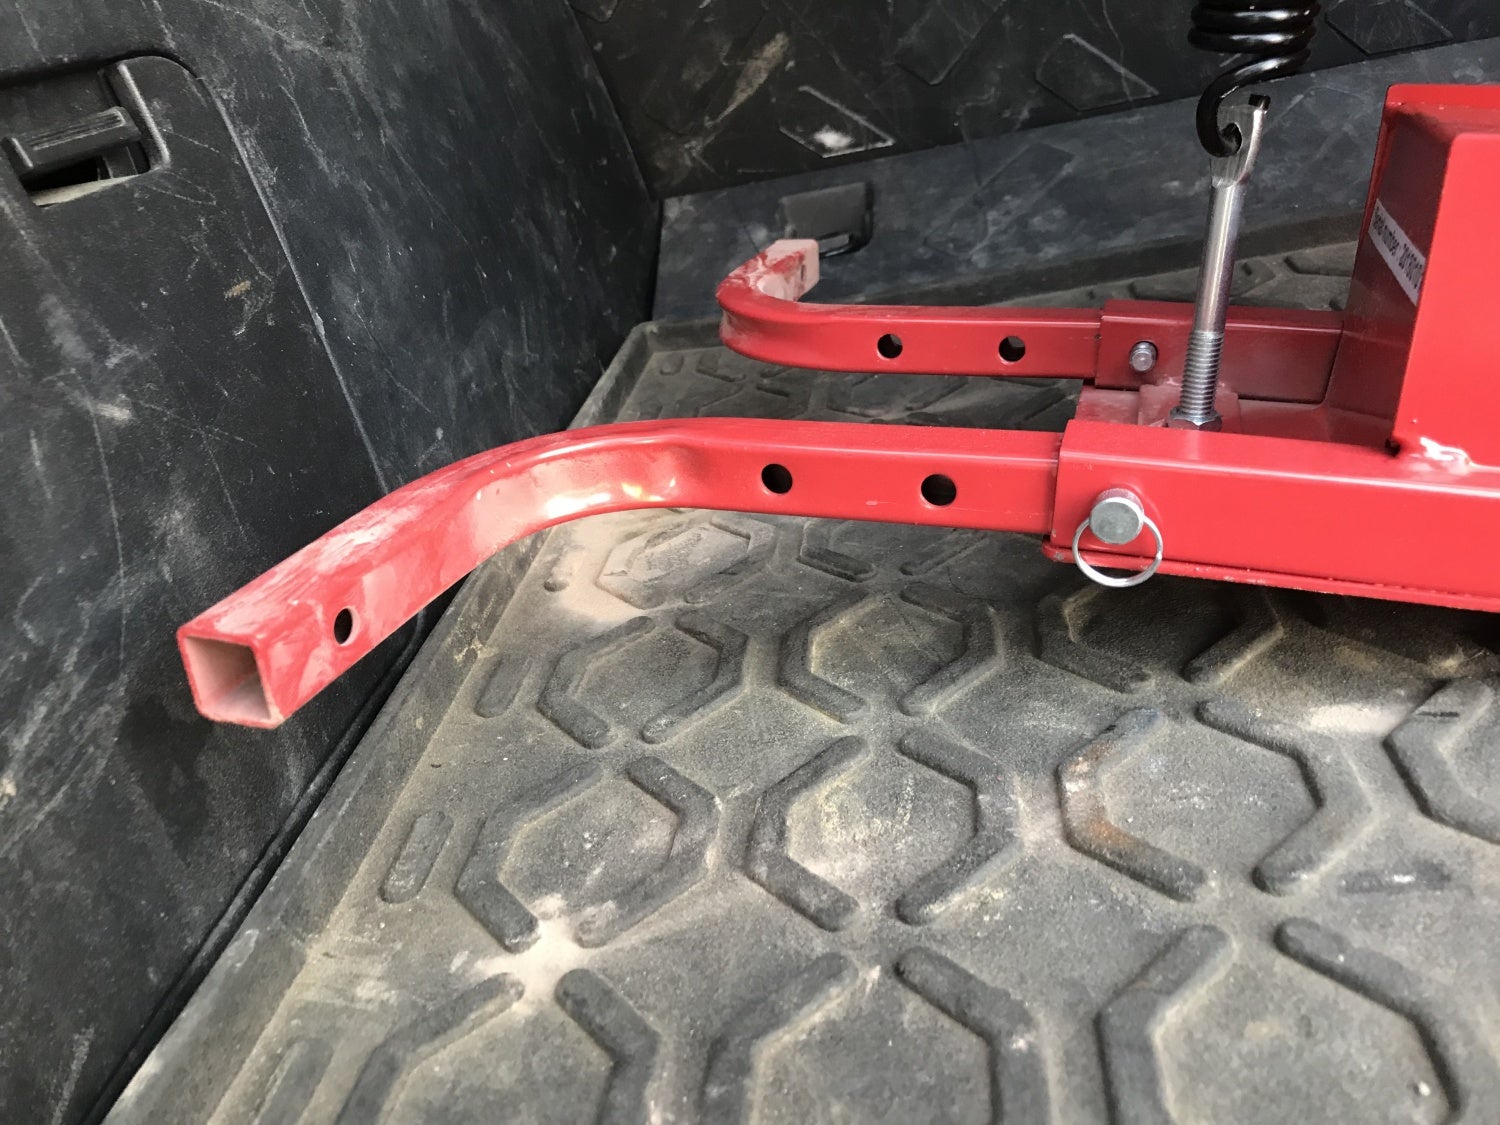
The front legs are fixed and bolted into position. While the rear legs are held in with pins. You can adjust the angle of the Trius Launchpad by lowering the legs with the three preset holes. All of the legs have holes in their feet so you can anchor the thrower with the provided stakes. In my testing I did not bother using them and while the thrower did shift position a little bit after a period of time, it just made the clay position change slightly making the presentation different and added more to the challenge. I suppose if you wanted a more consistent clay bird presentation then you should stake the legs down.
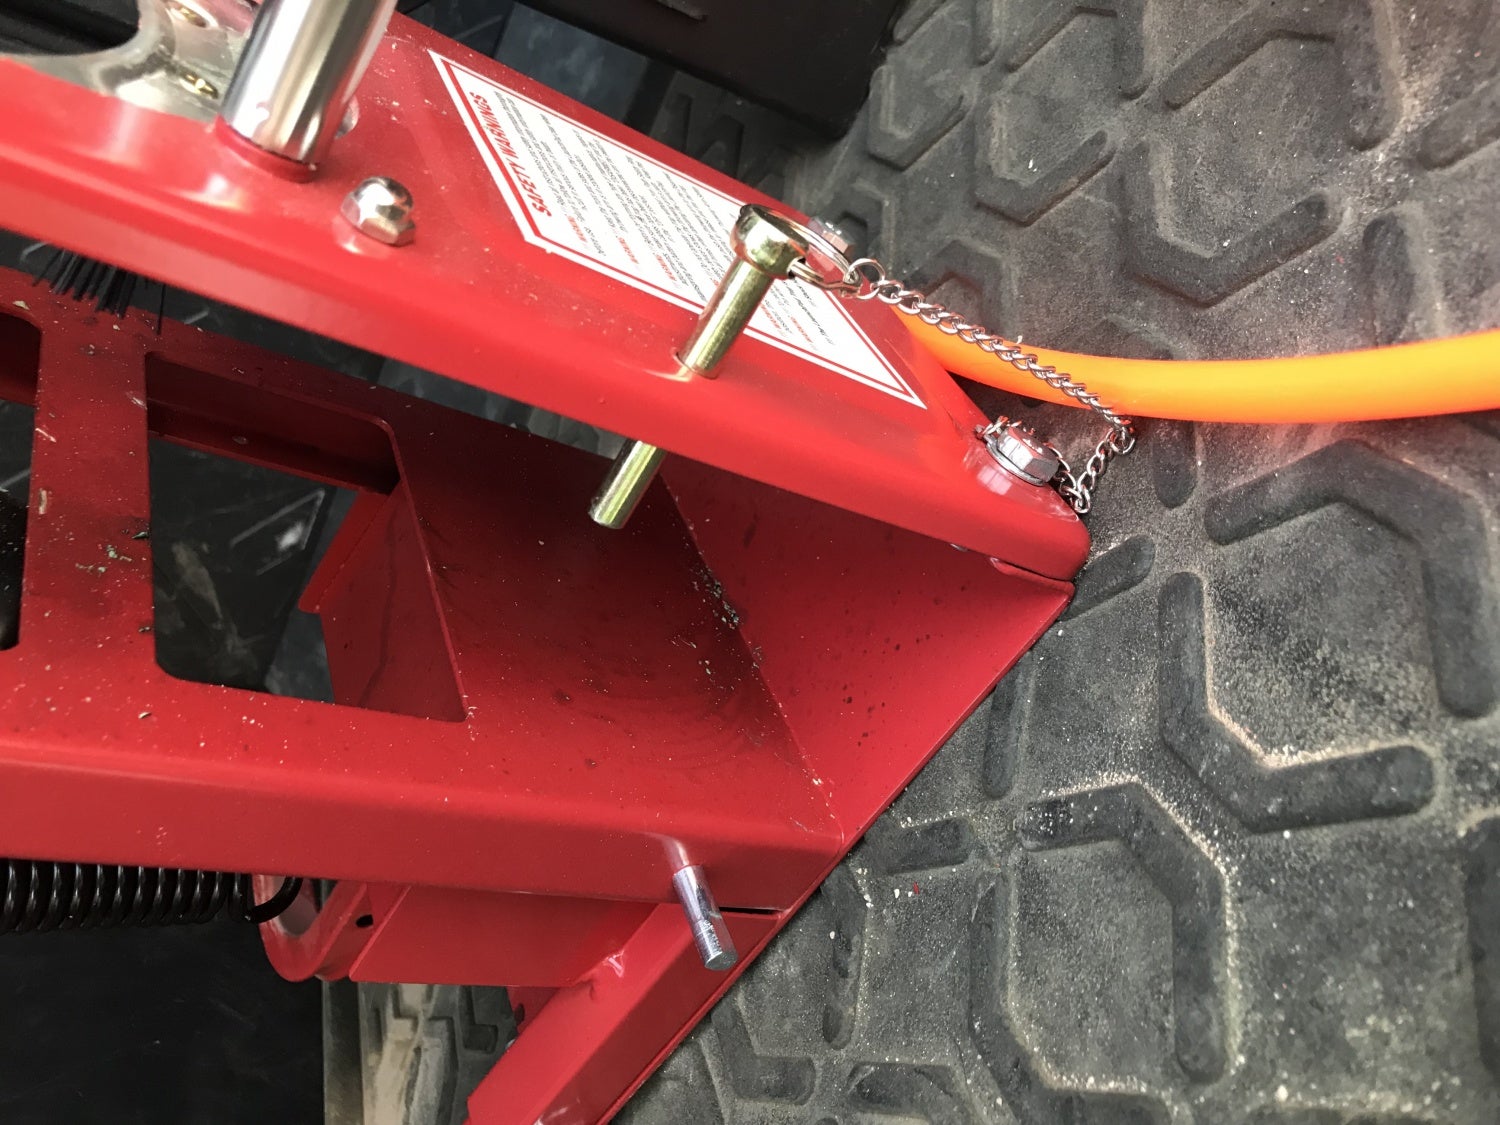
The Launchpad has a safety pin that you can use to lock the throwing arm from being released. However I just disarm the system whenever I am loading it with clays or transporting the thrower.
One problem I have with the Trius Launchpad is transporting it. It is big and bulky. Other than the rear legs which can be removed without tools, there isn’t much else that can be removed without dismantling parts. This makes loading into a car difficult. Looking at the photo below, the target hopper hits the ceiling of my FJ Cruiser and the Trius is not even sitting flat. Laying the thrower on its side is possible but the arm path brackets can get bent so I end up laying the thrower on its back. But now it is sitting on the rotary power switch. I suppose I could use tools to remove the target hopper but that is annoying.
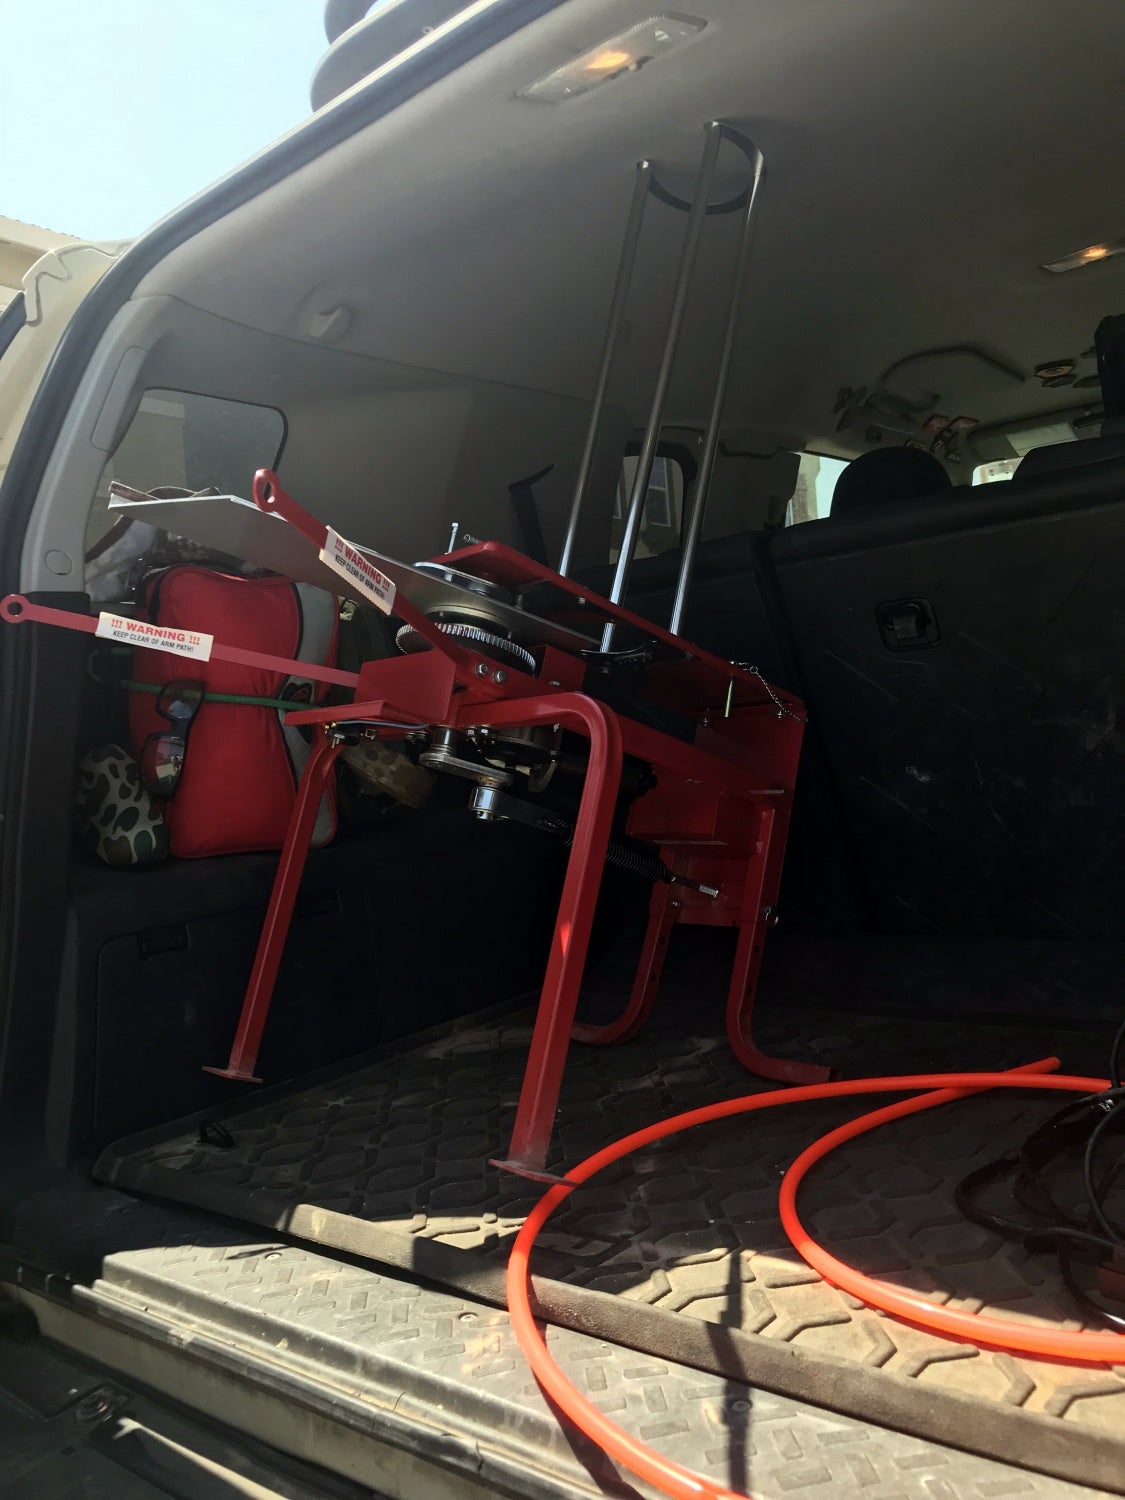

This would be certainly easier if I had a pick up truck. But impossible if I only had a simple car. I doubt this would fit inside a trunk. Then you would have to lay it in the back seat, assuming you have a 4dr car, and run the risk of the thrower cutting up your seats.
Shooting Shotgun With Nightvision
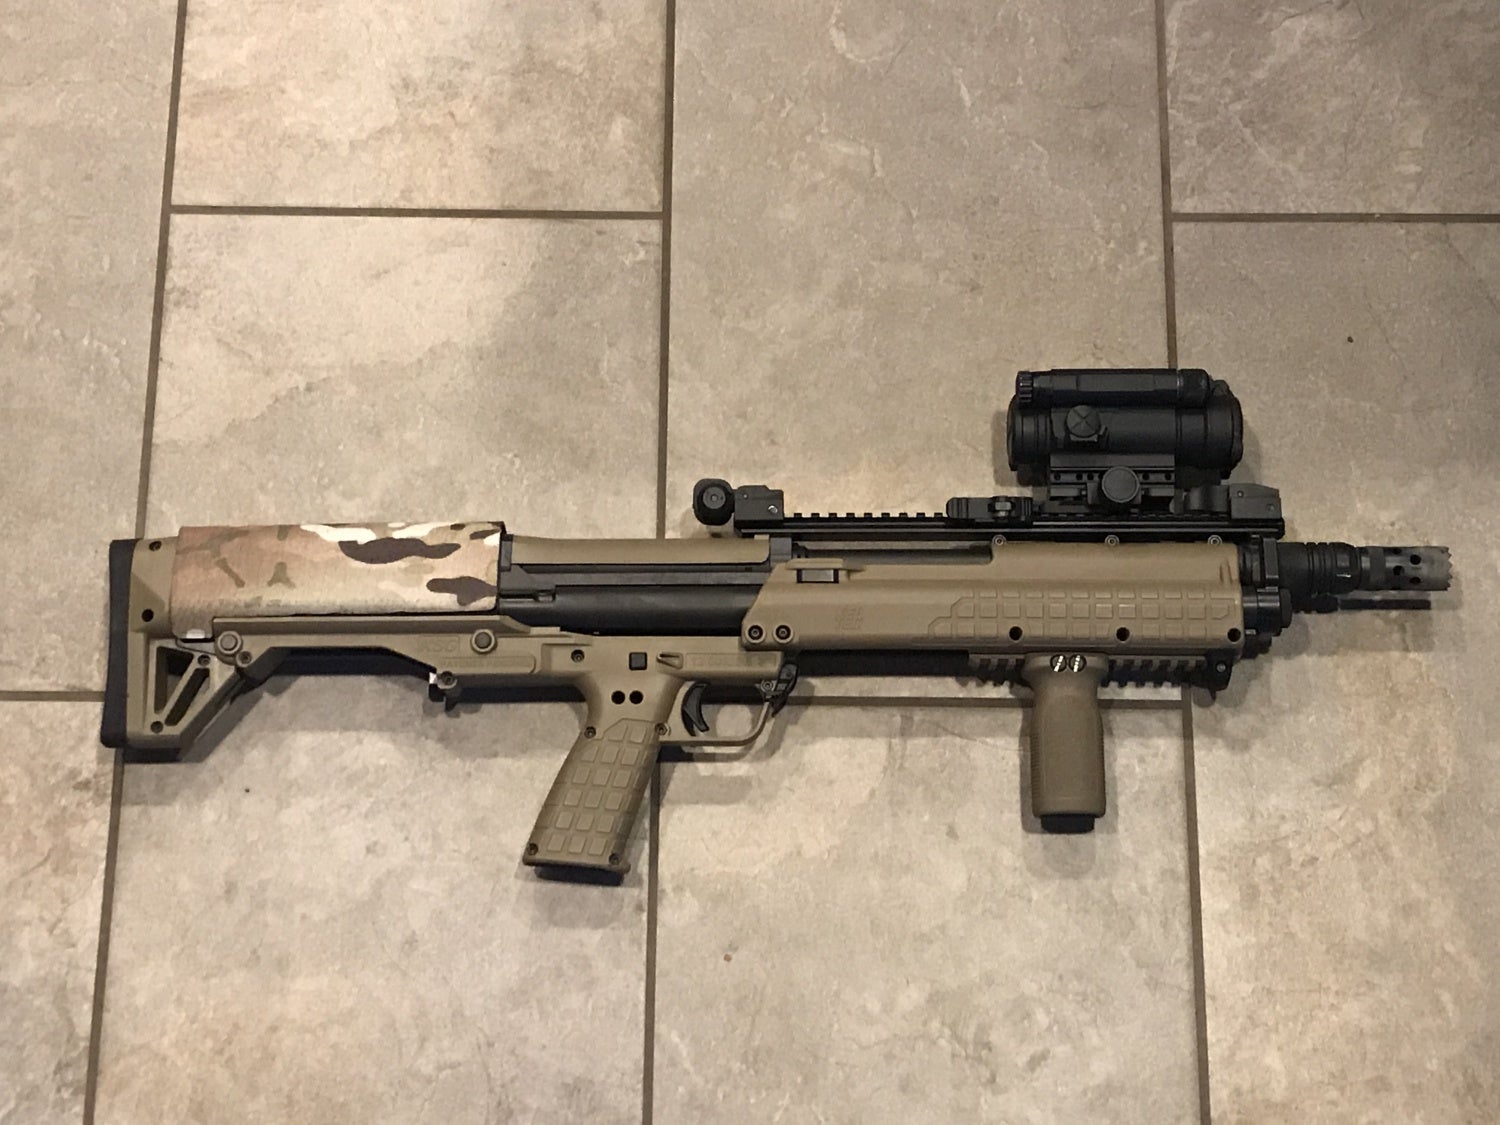
Another challenge is how do I actually shoot a shotgun while wearing night vision? NODs typically have a very shallow depth of field. So I can set the focus on the front sight of my shotgun or down range where the clay would be in the air. I ended using a red dot as that works best for traditional CQB rifle setups. I decided to use my Kel-Tec shotgun as I have shot sporting clays with it before and there is plenty of rail to position the red dot. When wearing NODs, often optics get in the way so I need to position the red dot further forward. I also needed to raise the red dot a bit so my PVS-14 does not hit the top rail. I experimented with a few options but eventually went with a small riser and an Aimpoint COMP M4. It has a larger field of view than the Aimpoint T2.

One of the earlier attempts to raise the Aimpoint T2 for night vision use.
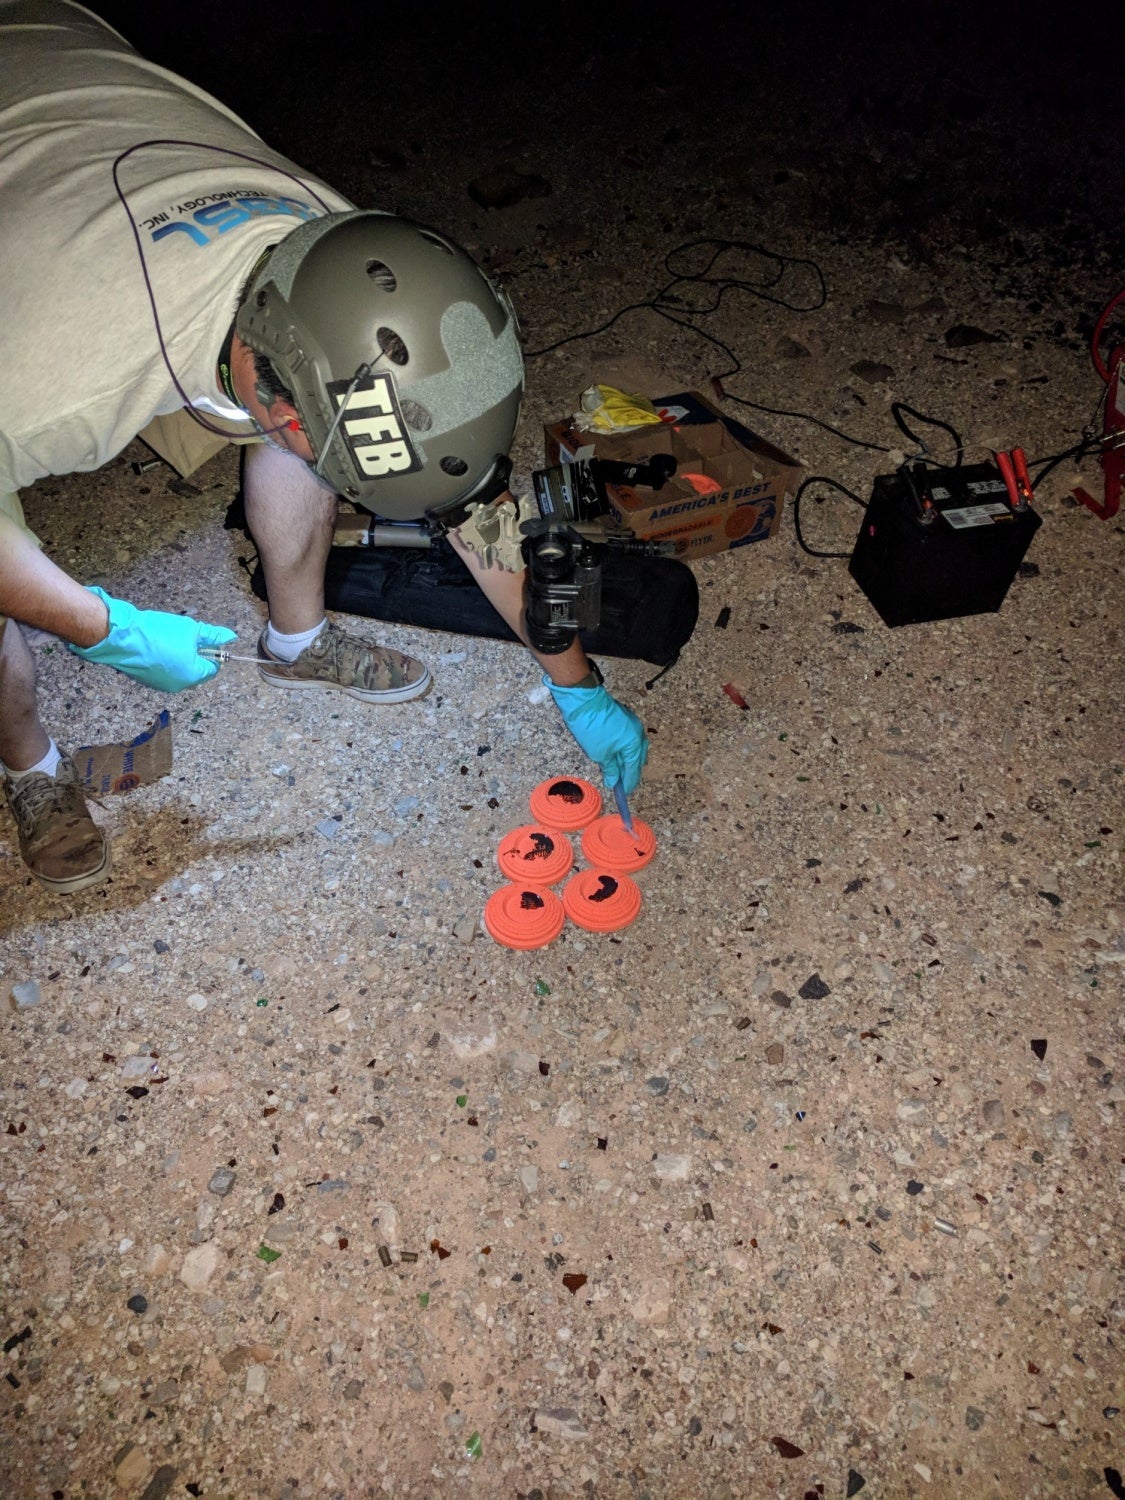
Here is a photo of me prepping the clay birds. With the IR chemsticks I used, I had enough liquid to coat five clay birds. It is a messy process so I used rubber gloves.
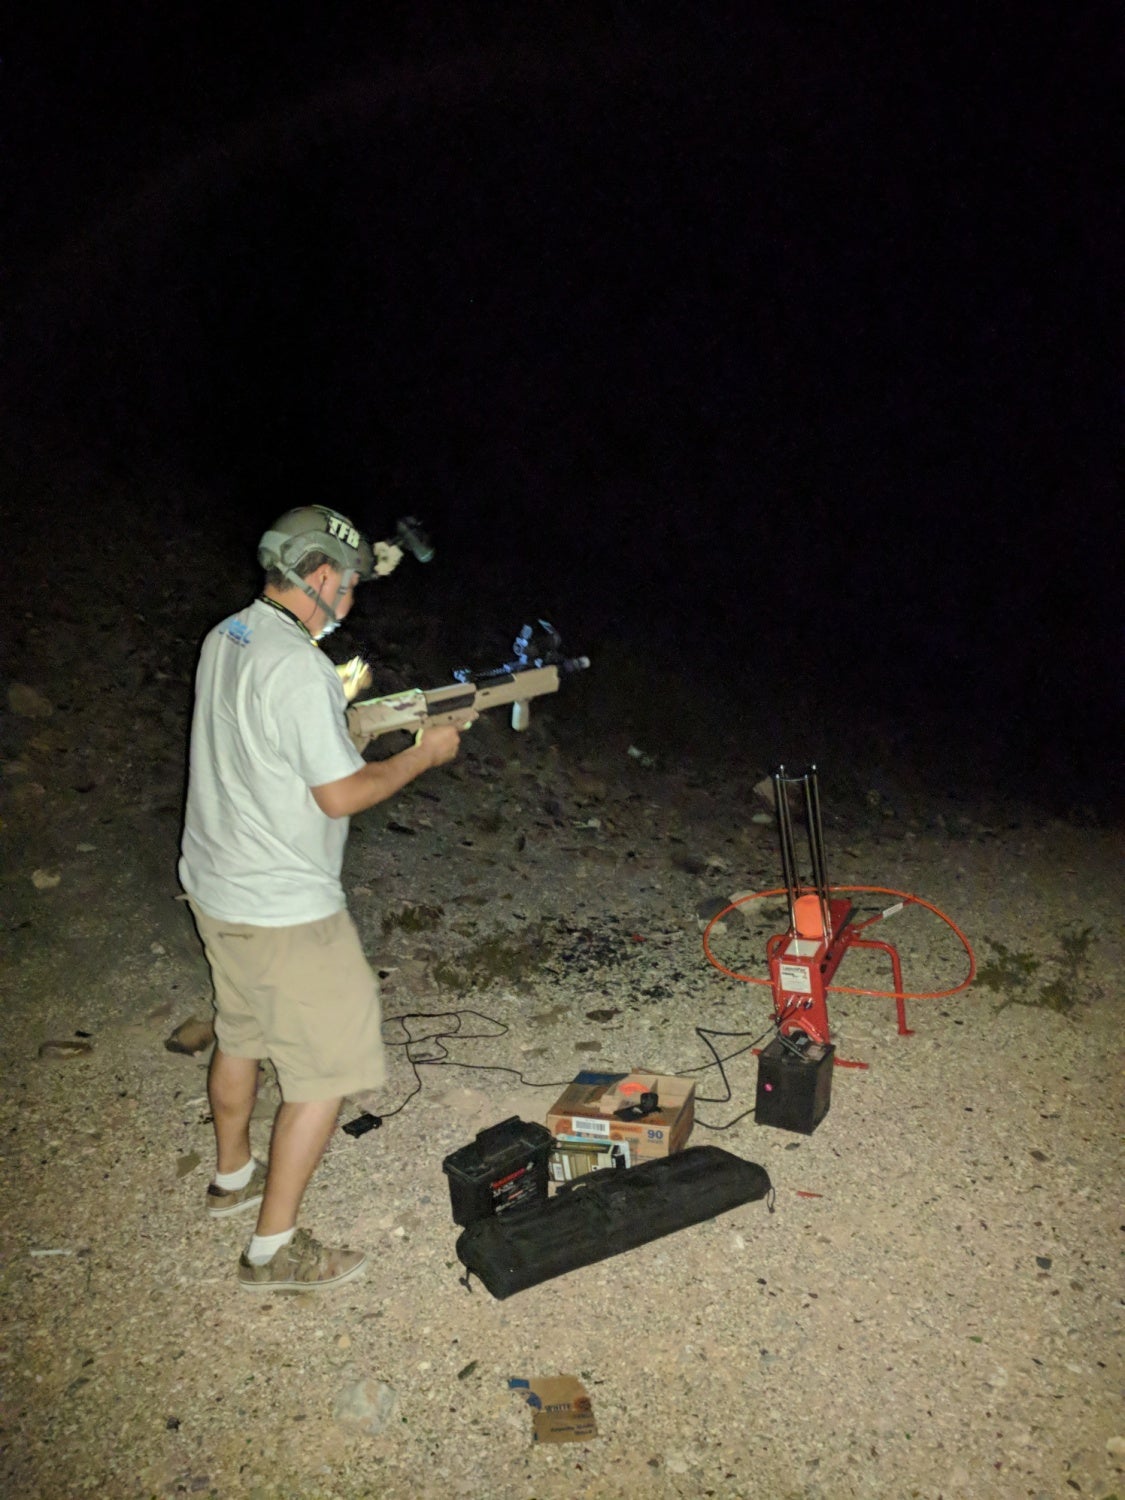
I was only able to hit the clays a couple of times and only captured one hit on camera with night vision.
Here are the other attempts. The IR chemstick soaked clays were prone to breaking and sticking in the hopper. But when they flew, they looked like little UFOs.
As expected the excess IR chemstick liquid was thrown all over the place. But since it is IR, you can’t see it with your naked eye.

For due diligence, I retested the clays without the IR chemstick coating to see if the thrower was still breaking clays. Other than some ammo related issues in my Remington 870 Magpul Edition, the clay thrower test ran perfect.
Final Thoughts
The Lyman Trius Launchpad ($324.99 MSRP) works as advertised. Once setup, it is really easy to operate. Due to the length of the foot pedal, you can’t really position the clay thrower very far. Like if you wanted to simulate a clay crossing your path left to right or vice versa. While you could have a friend remotely operate the clay thrower, you can’t really position the clay thrower down range and have the clay fly toward you over your head like Sporting clays. Call me crazy but I am not comfortable shooting in the direction of someone unless my life depended on it. Transporting the launcher poses its own problems and I would have liked it if at least the target hopper could be quickly detached without the need for tools. Illuminating the clay birds with the IR chemsticks worked better than could have imagined. Thanks to Irfan for his advice. I believe you could do this with regular visible glow sticks to make clay birds luminesce at night. Then you would need a front sight that lights up either with tritium, gitd bead or a red dot like the Aimpoint Micro S1.