 Your Privacy Choices

For those wanting to improve their training value through training aids, homemade barricades can be built cheap and easily. This article provides a variation of the VTAC target by Kyle Lamb. With the following list of tools, materials and a little woodworking skill you can build some barricades to expand your training capabilities.
Necessary Tools
- Drill
- Square
- Straight edge
- Measuring tape
- Bayonet saw
- Fine tooth blade (Bayonet saw)
- Circular saw
- Small tooth plywood blade (Circular saw)
- Miter Saw
- Carbide tip blade for 2x4s (Miter Saw)
- Sawhorses x2
- Ear pro
- Eye pro
- Pencil
Materials
- Wood
- 8×4’ 3/4” plywood treated x1
- 2x4x8 treated x6
- 1/2×1.5×8’ x2
- 5/16” washer x24
- 5/16” carriage bolt 3” x12
- 5/16” nylon lined nuts x12
- Metal angles x8
- #10 Screws 1.5” long x64
- 5” Deck screws X16
- Wood screw #8 1” long x22
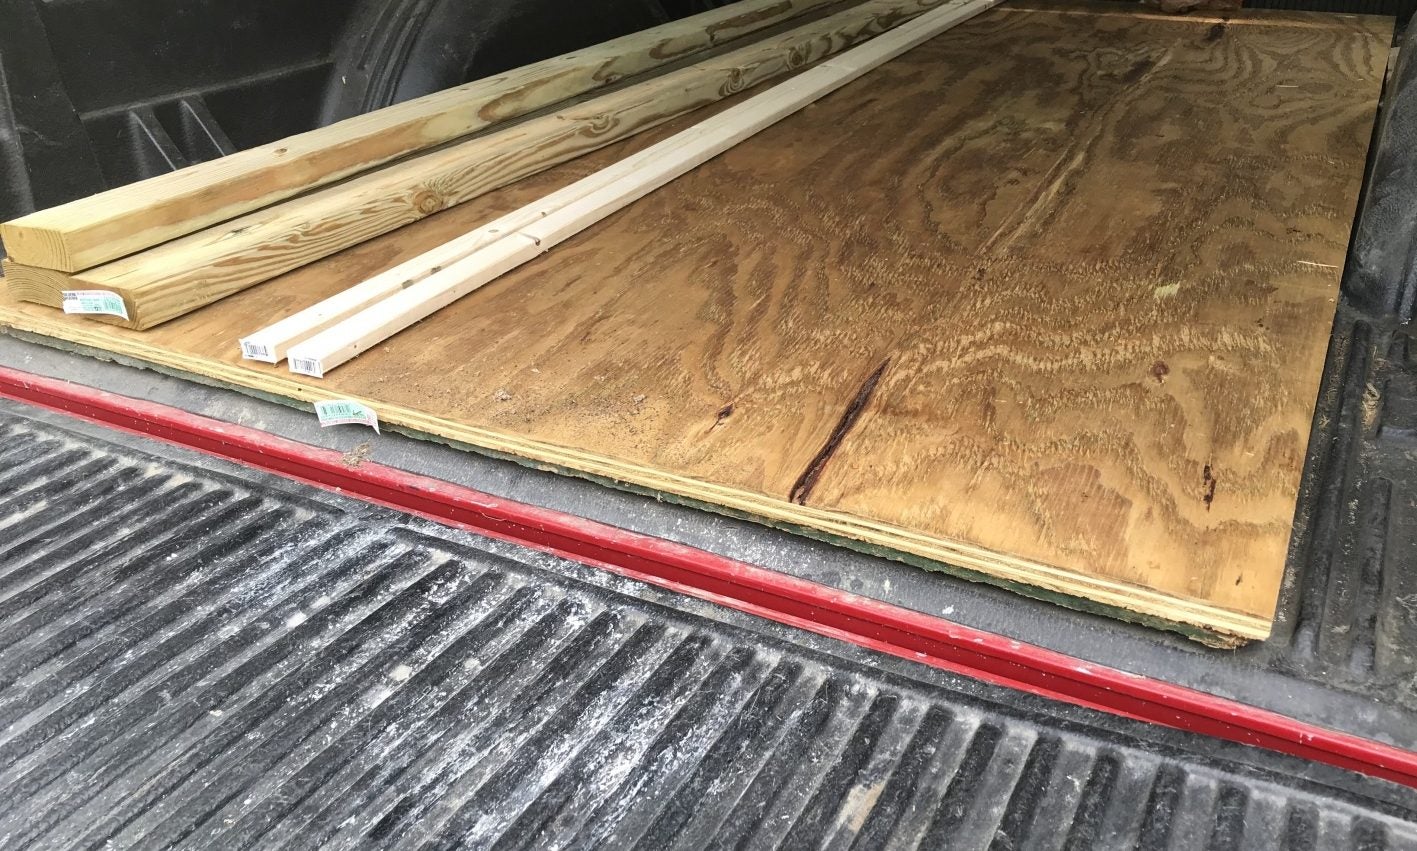
Choosing treated wood for the structural components will increase cost but extend the life of the barricade.
Barrier
Start by measuring appropriate lengths on both sides of plywood. Ports can be added to the barrier, but I did not have an interest in using them and decided to maintain maximum structural integrity.

Measure based on the dimensions above. I measured from both the top and the bottom to ensure measurements were correct. Source: https://www.itstactical.com/forum/index.php?/topic/317-vtac-barricades/
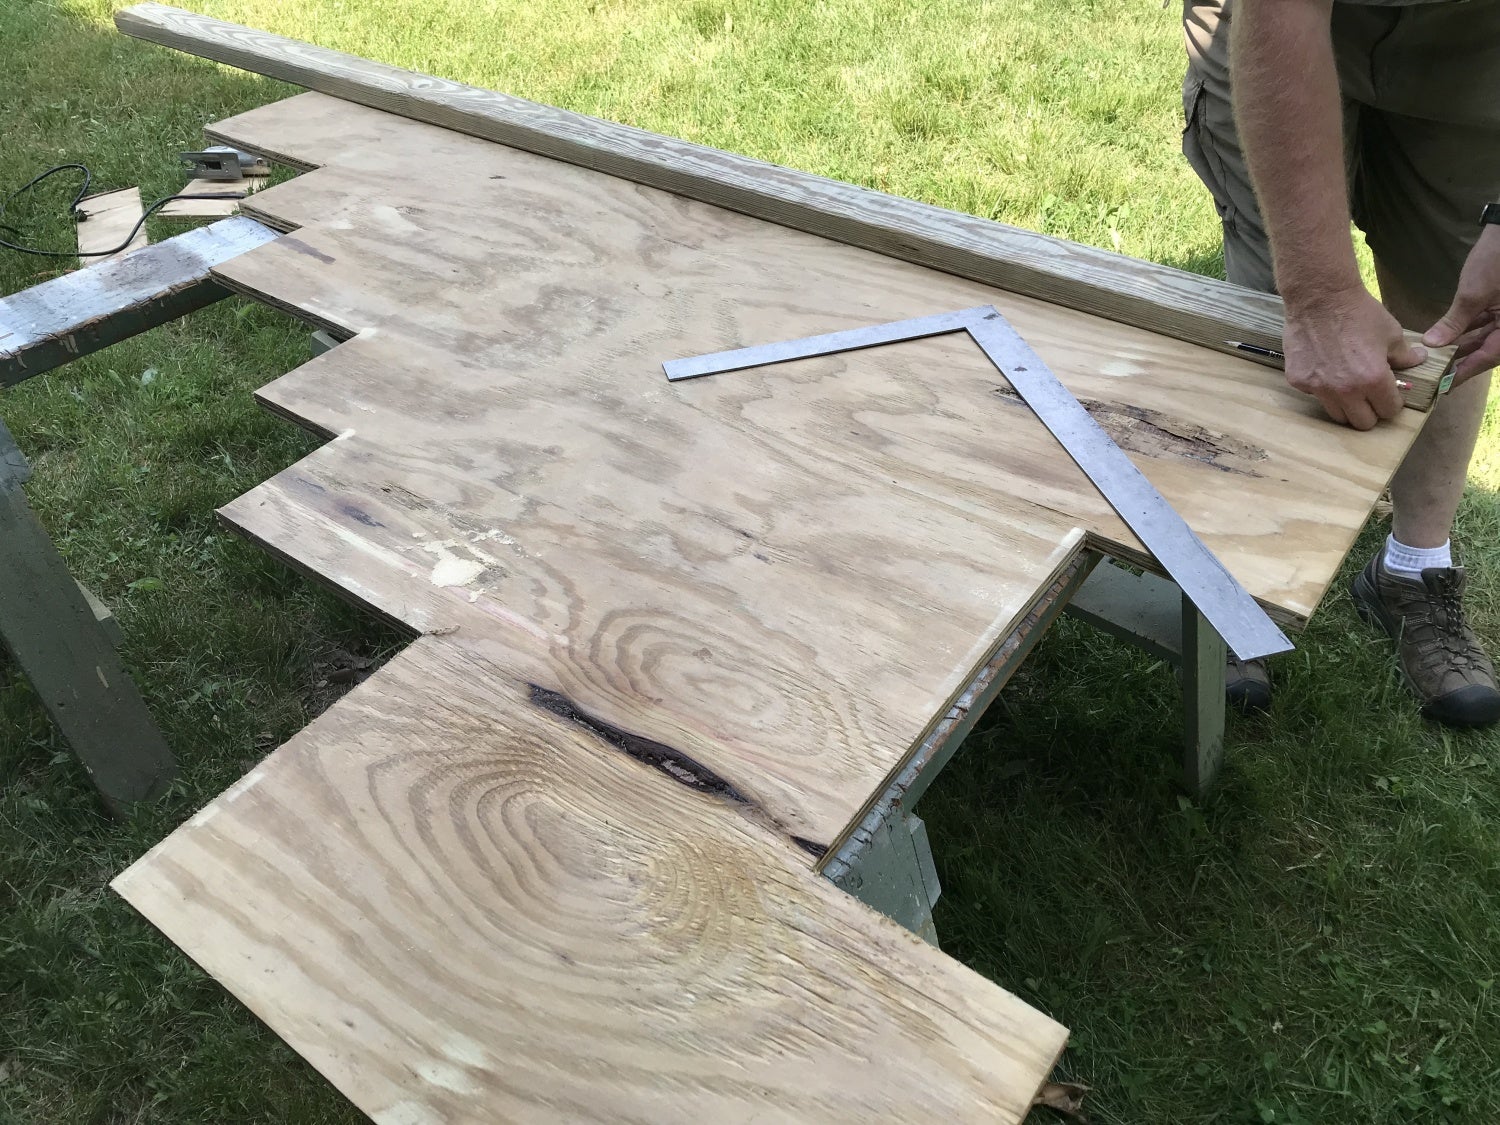
While I did not have interest in adding the ports, I chose to cut rectangular sections out of the bottom of both barriers. I chose a 6” tall rectangle for one barrier and an 8” tall rectangle as this provided options similar to the average heights of cars and trucks. Draw the rectangular cutouts and stair steps using a straight edge, tape measure and square.

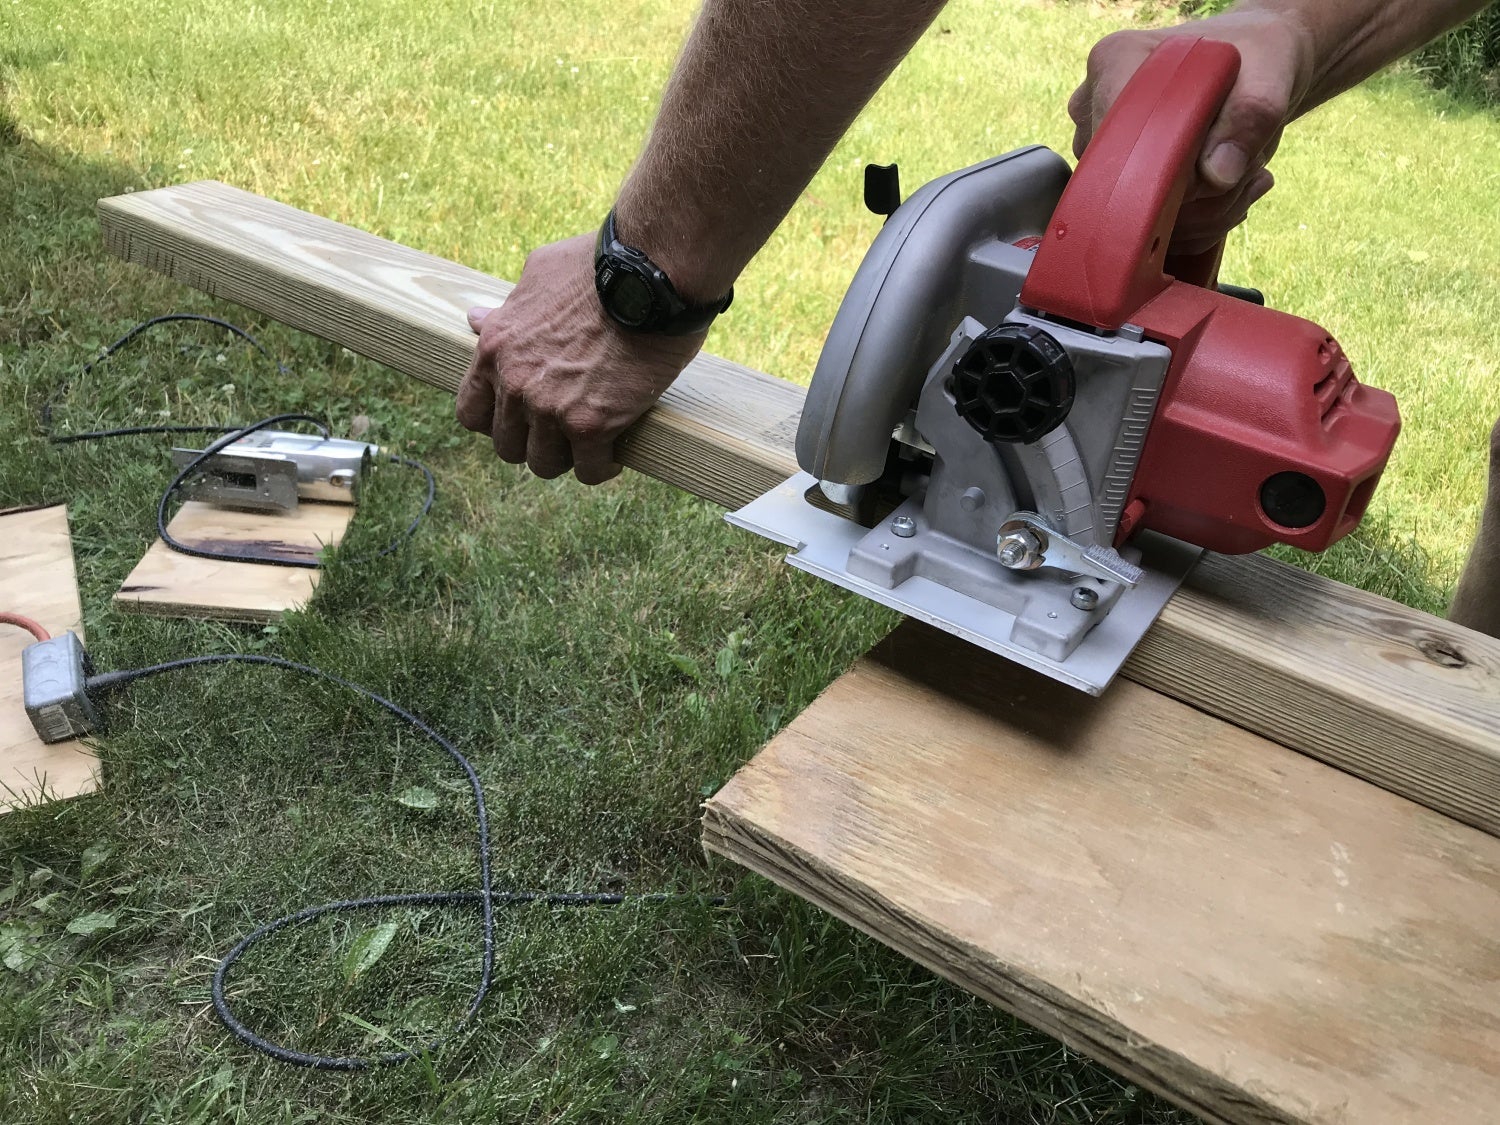
Once all the cuts are marked use a circular saw with a fine tooth blade to get clean cuts.

Use the circular saw to make the majority of each cut.
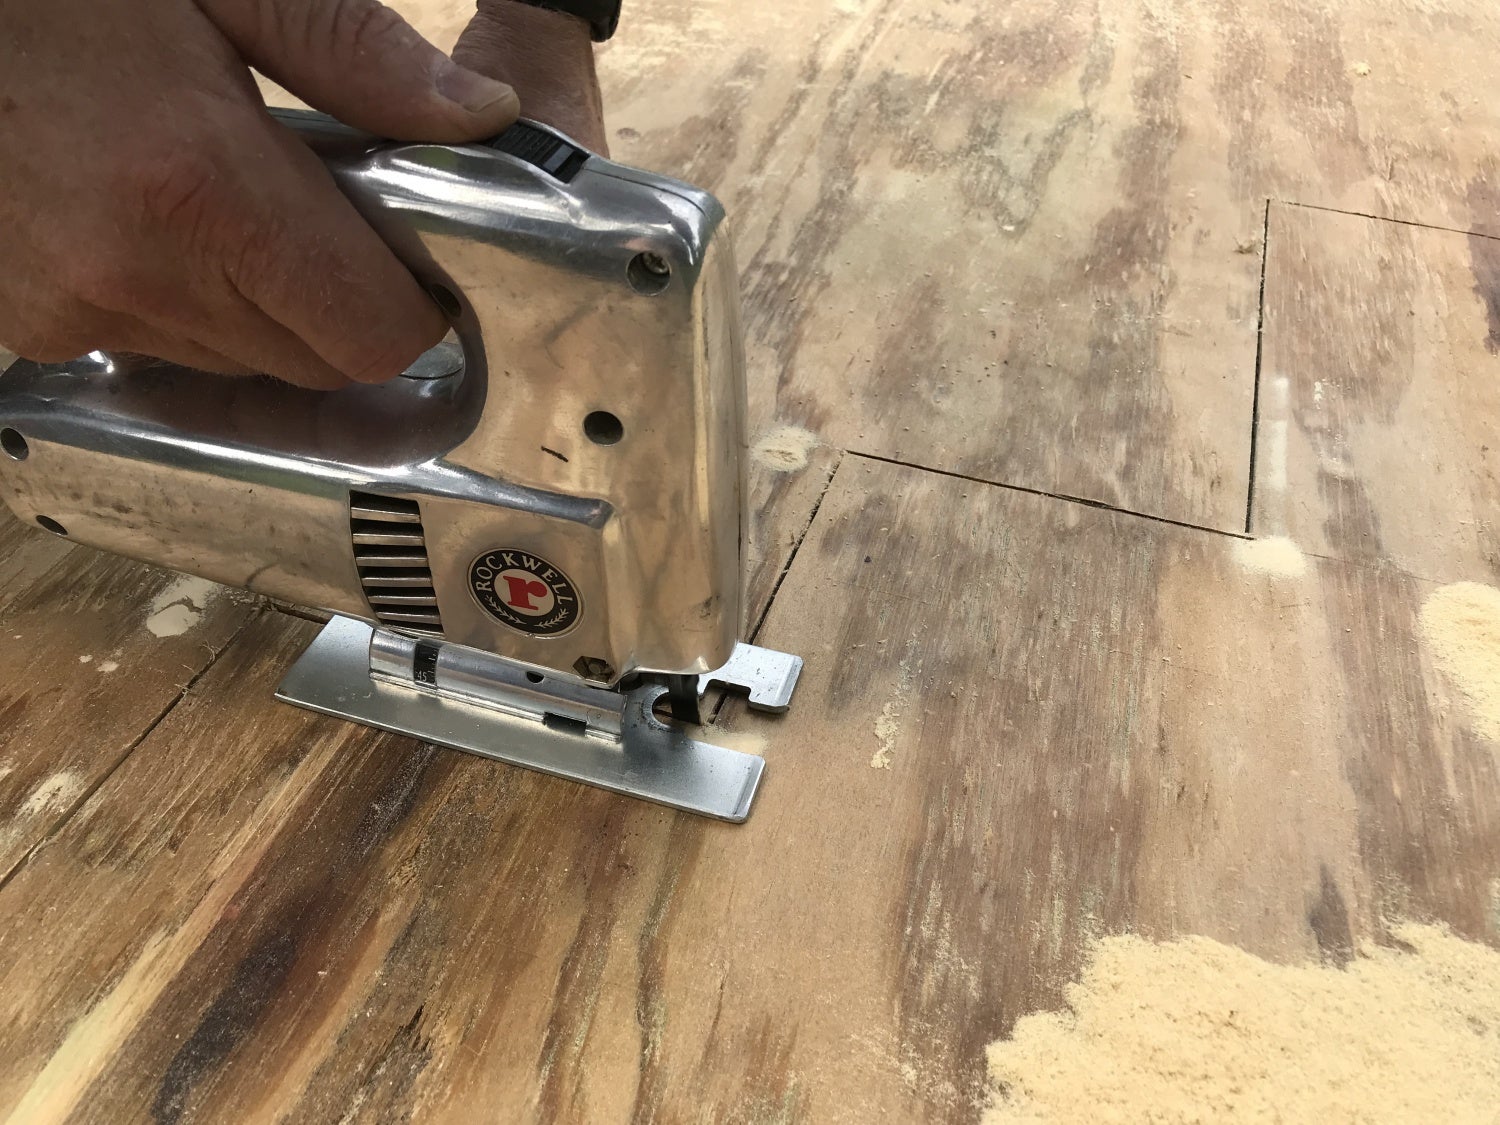
A bayonet saw is best for the finishing cuts on the corners of the steps.
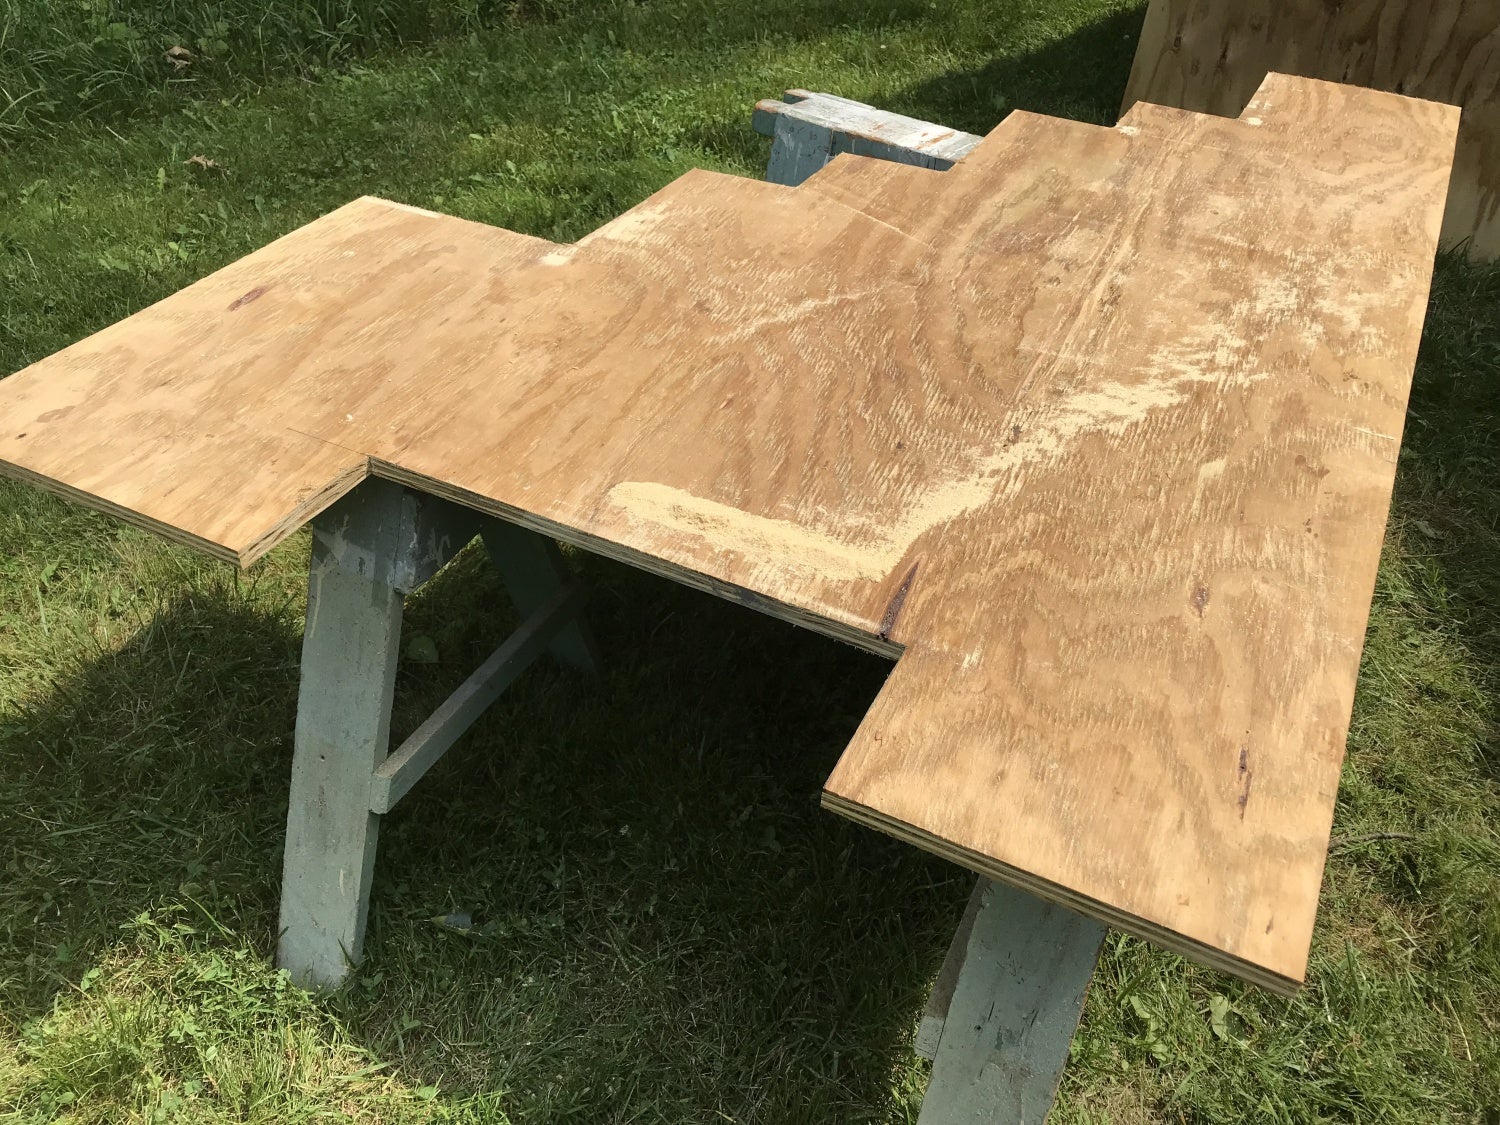
Once cut you should have two nearly identical halves with the exception of the height of the rectangles at the base of the barrier.
Next we cut the treated 2x4s to run along the tall and short vertical sides of the barriers. These make the barricades more rigid and minimize warping over time.
Use 2 C Clamps to hold the 2x4s to the vertical sides of the plywood. Then mark and drill 4 holes equal distance along the tall side and 2 holes equal distance along the short side.


Make sure to leave a couple inches from the bottom edge to allow for enough space to mount the runners in a later step.
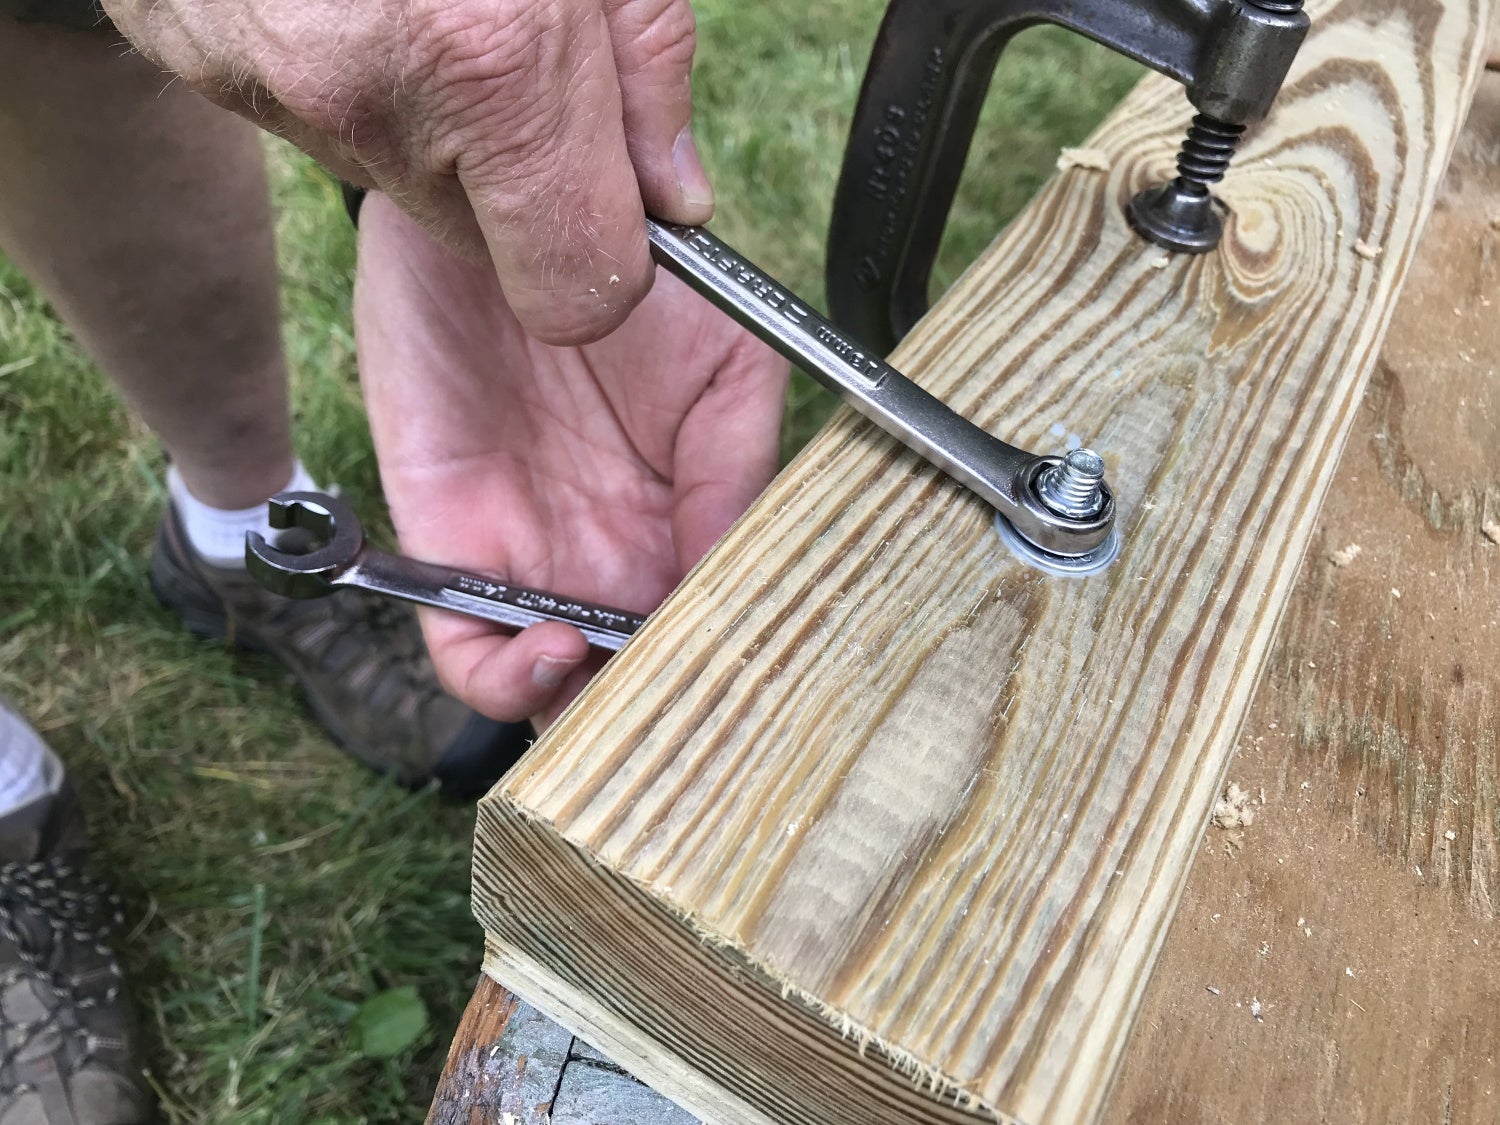
Tighten down nylon lined nuts, carriage bolts and washers in each of the holes previously drilled as shown.
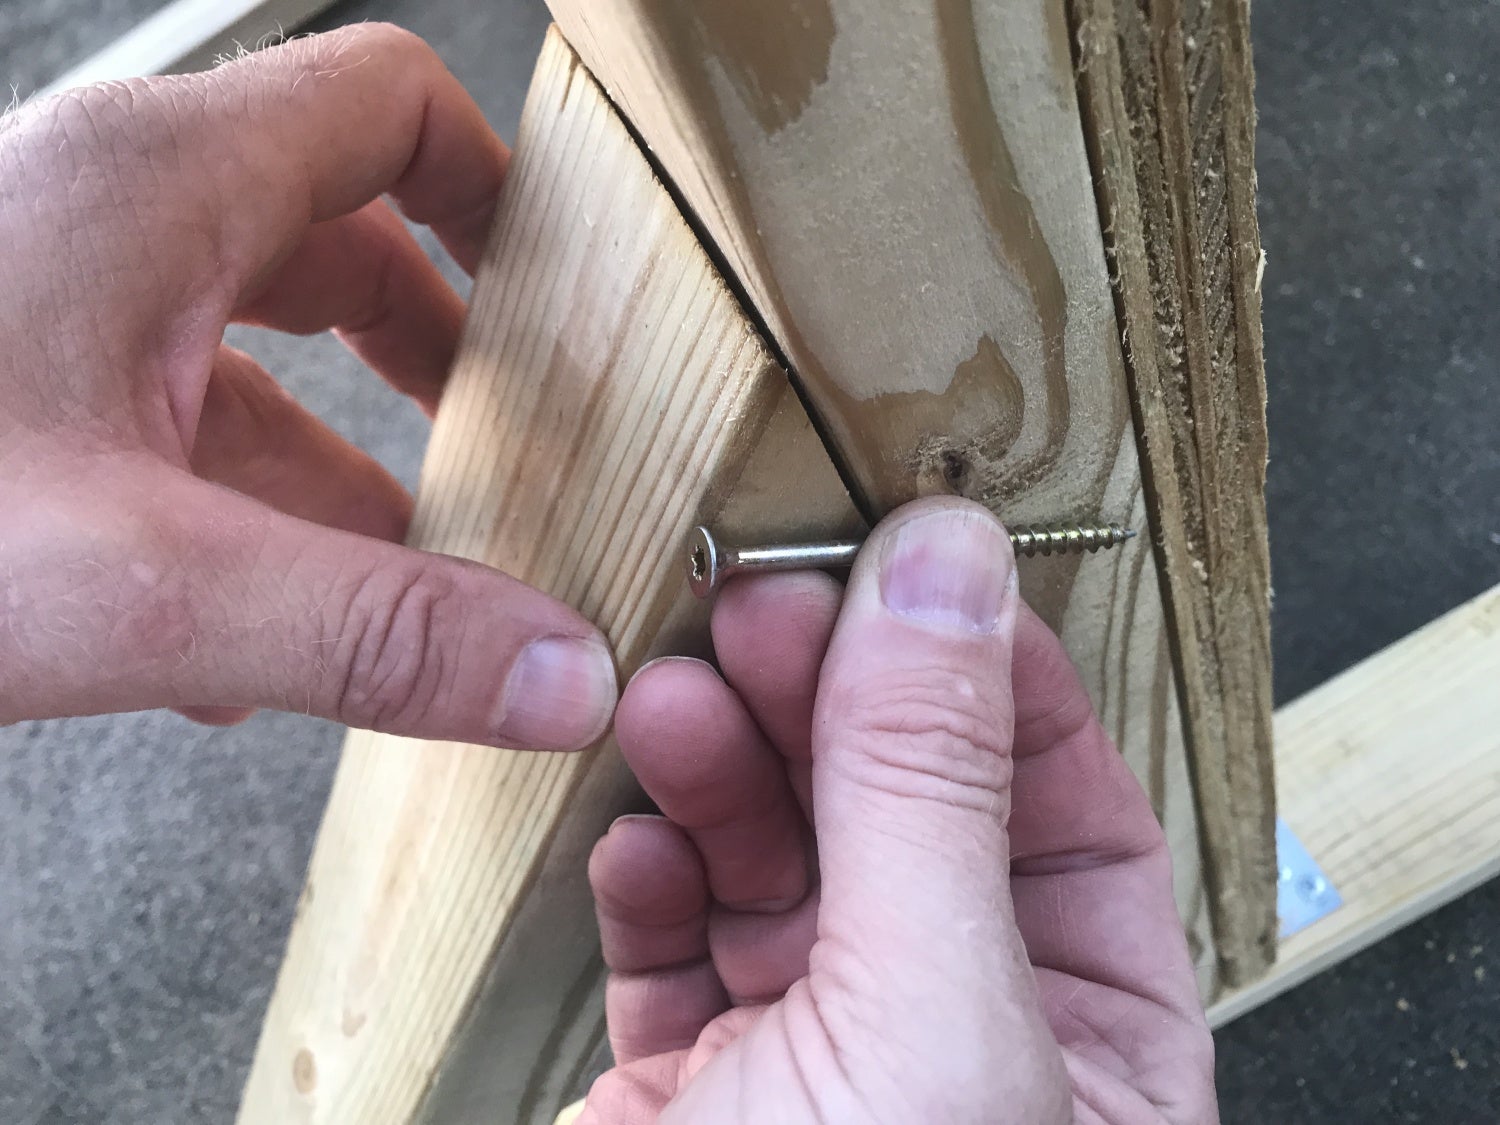
On barriers I have used in the past I noticed that over time rifle rails began to eat out sections of the steps. To help prevent this I added supports to the steps. These small 1” boards can be easily replaced when the boards wear without having to replace the plywood.
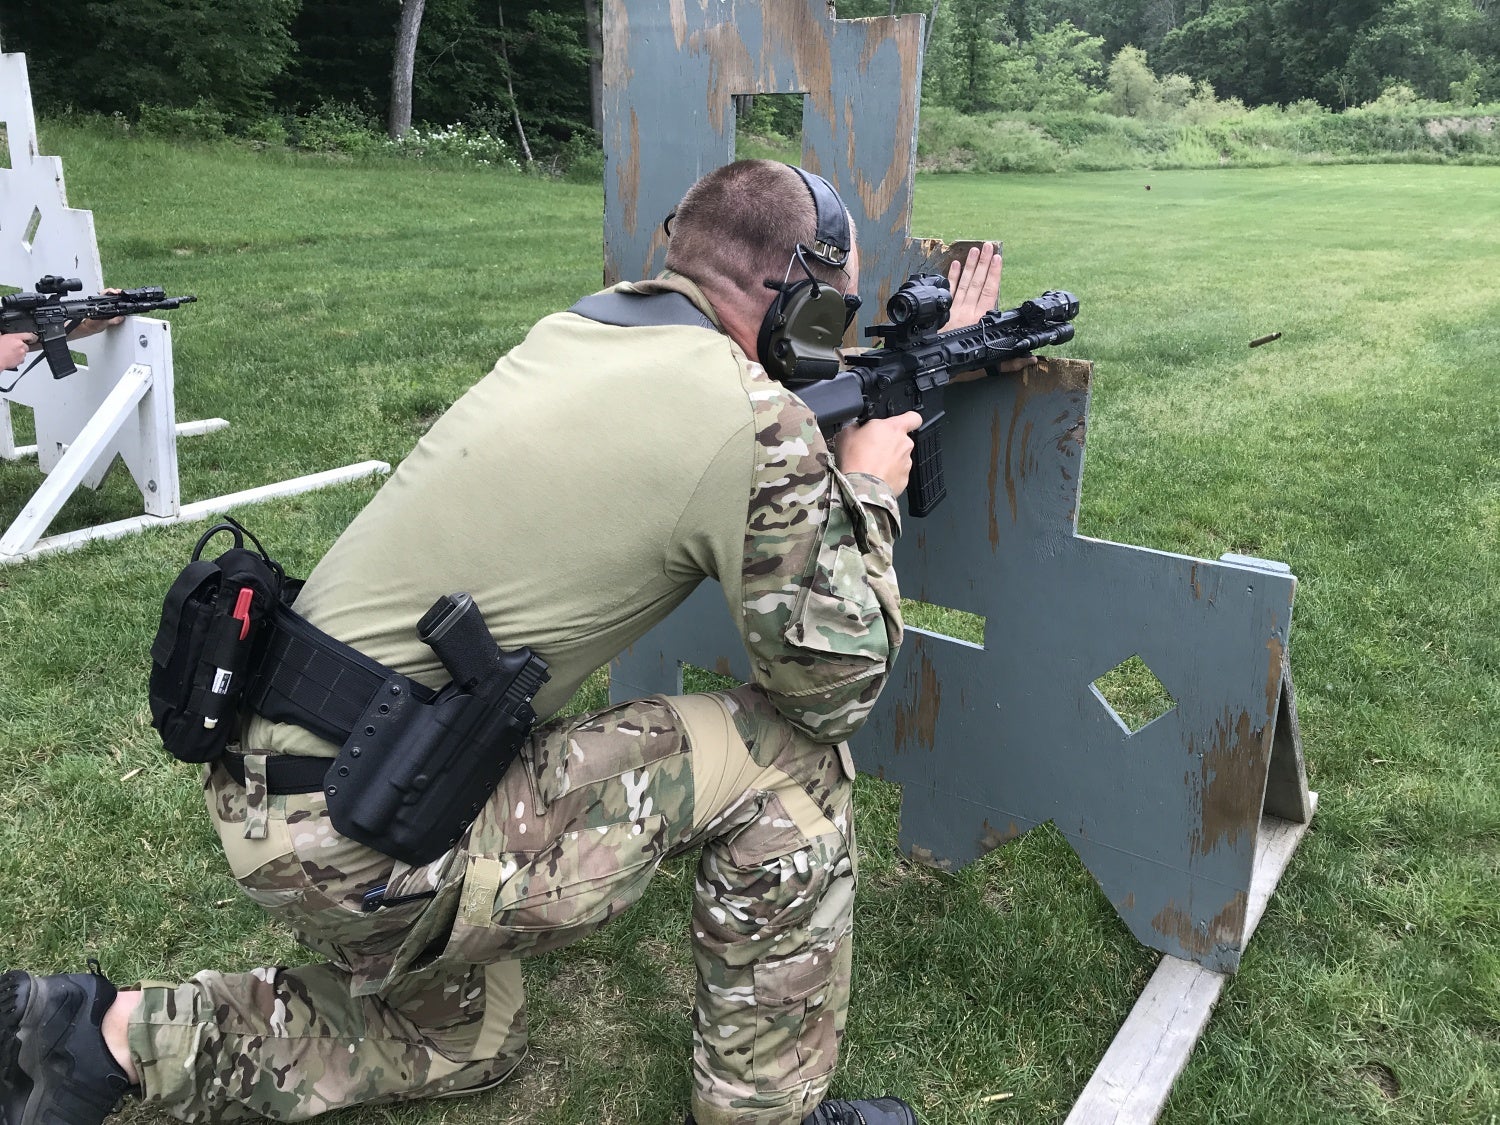
Notice both the steps to the right and left of my support hand started to wear from use.
Measure and cut the associated lengths of 1” board for each of the steps.

Hold the 1” boards to the steps using C clamps while drilling and screwing the step protectors in place. Use 3 #8 screws on the long bottom step and 2 #8 screws on each of the shorter steps. When attaching the step protectors make sure to screw to the side of the barrier opposite the treated boards bolted vertically.

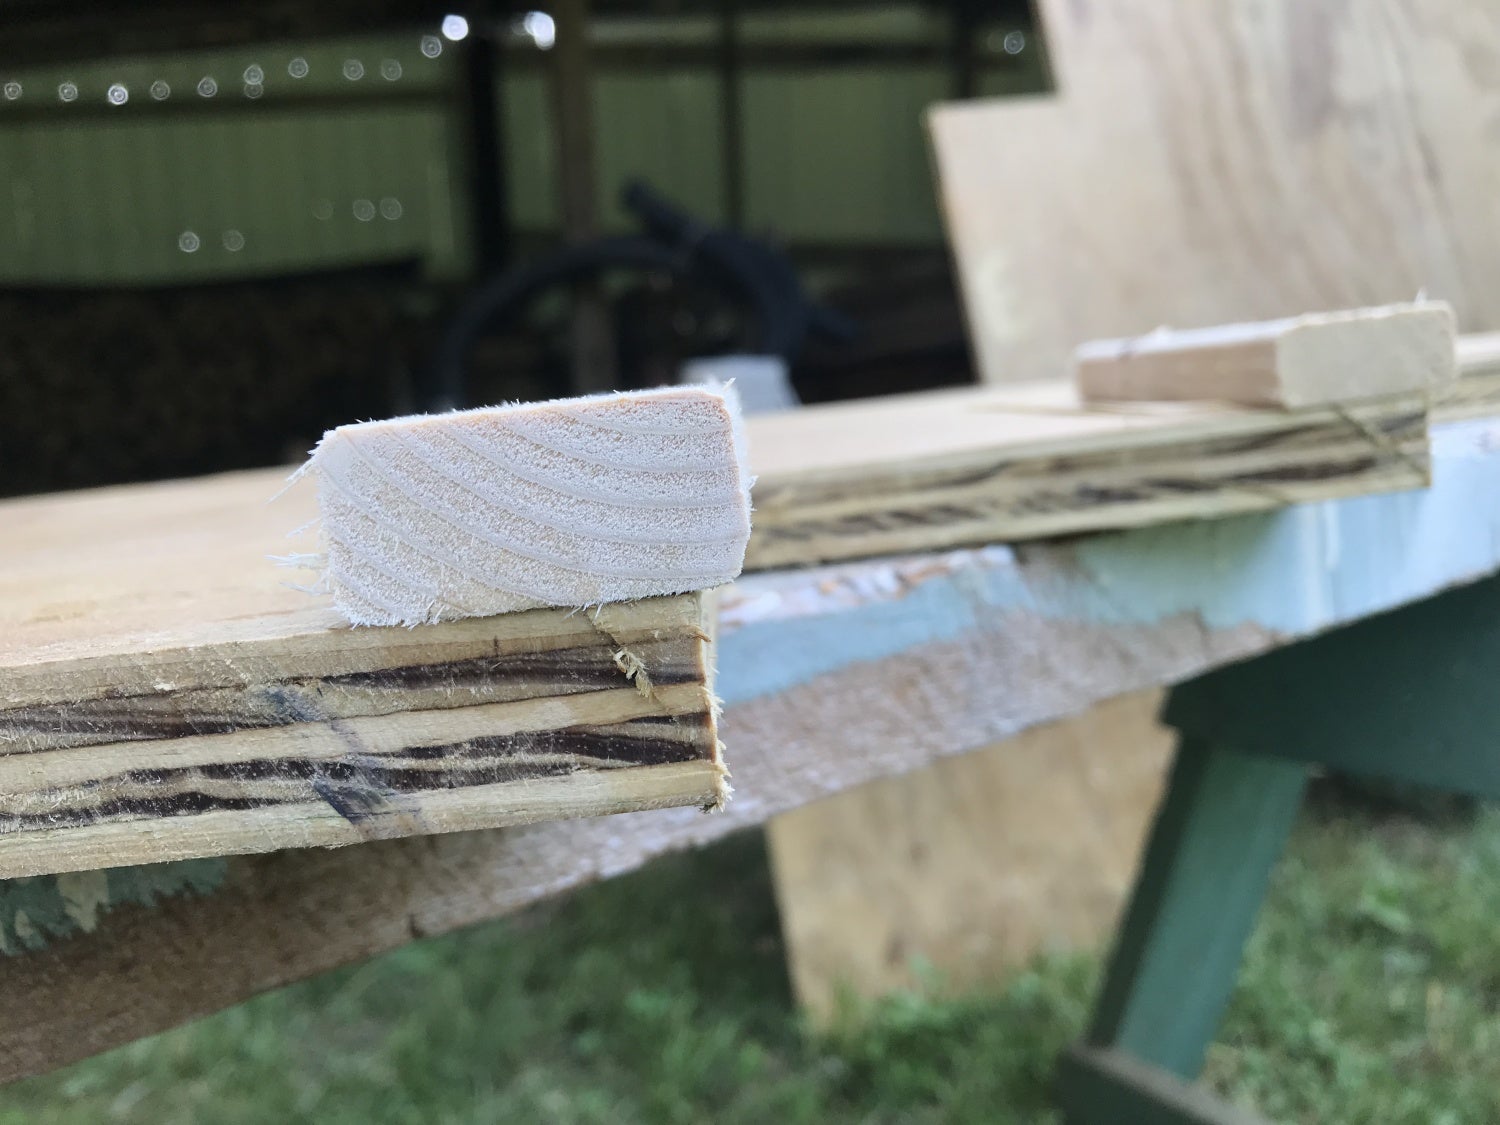
When I attached the protectors I placed them slightly above the steps for added protection.
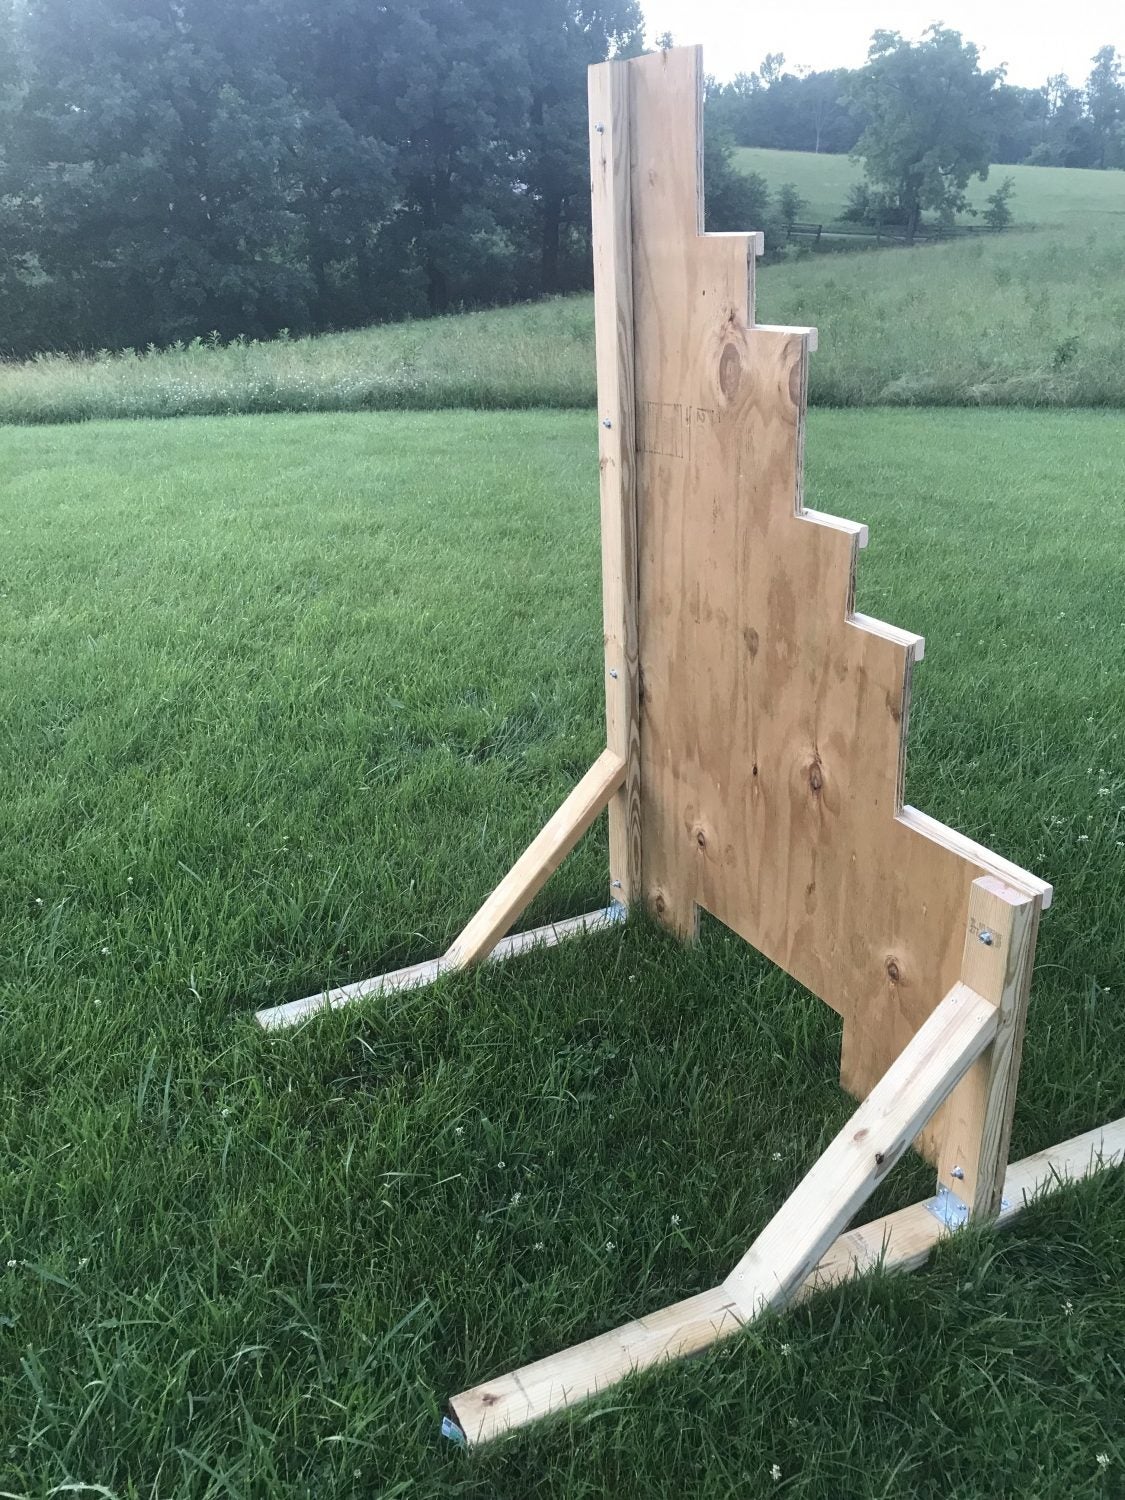
Base Legs

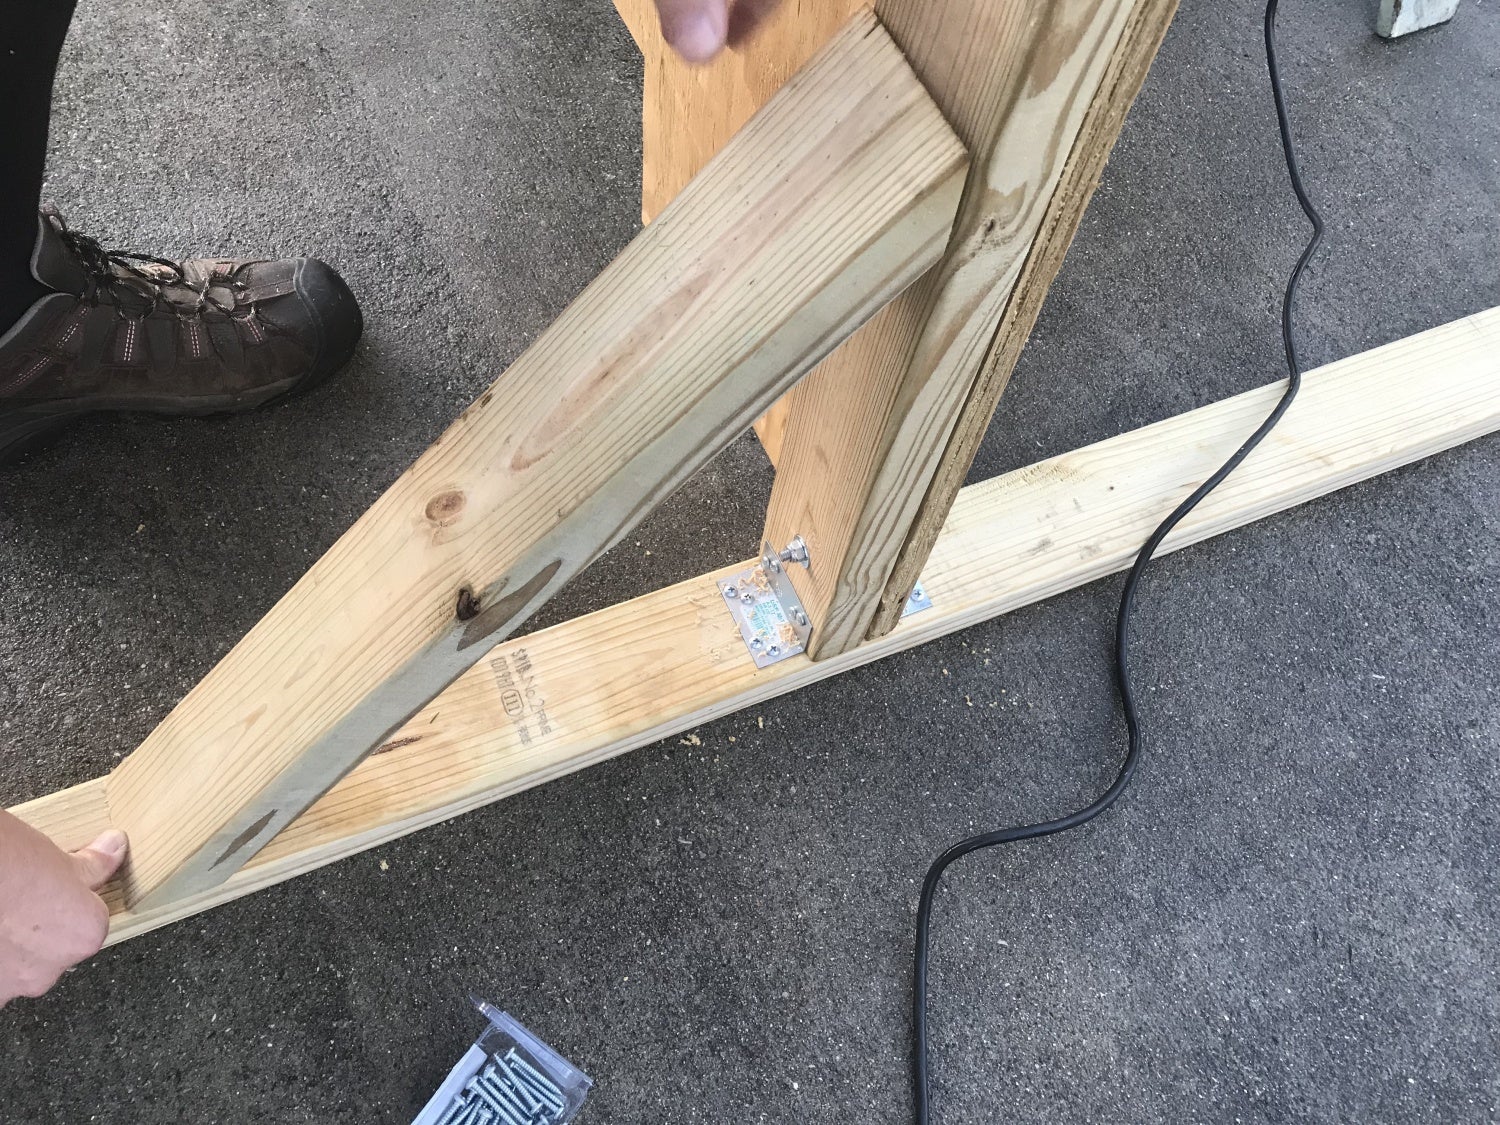
Cut 2 treated 2x4s to 6 feet in length. Center the boards under the barricade. Then mount using two angle brackets with screws as shown in the picture above.
Supports
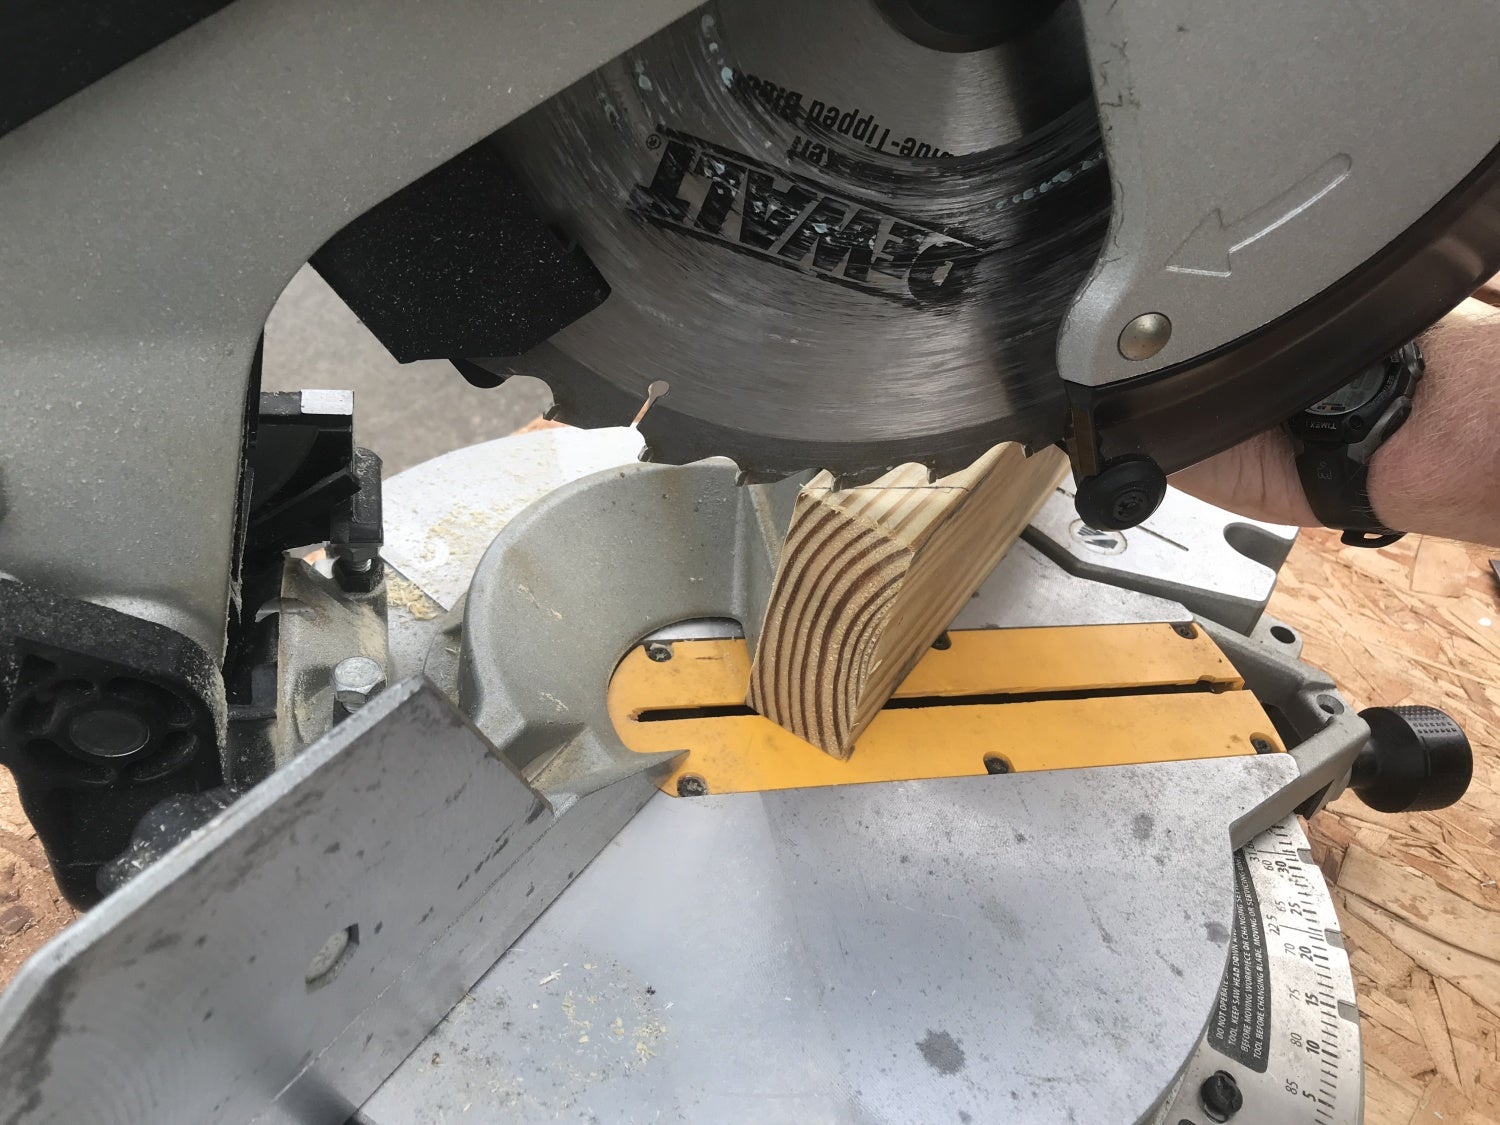
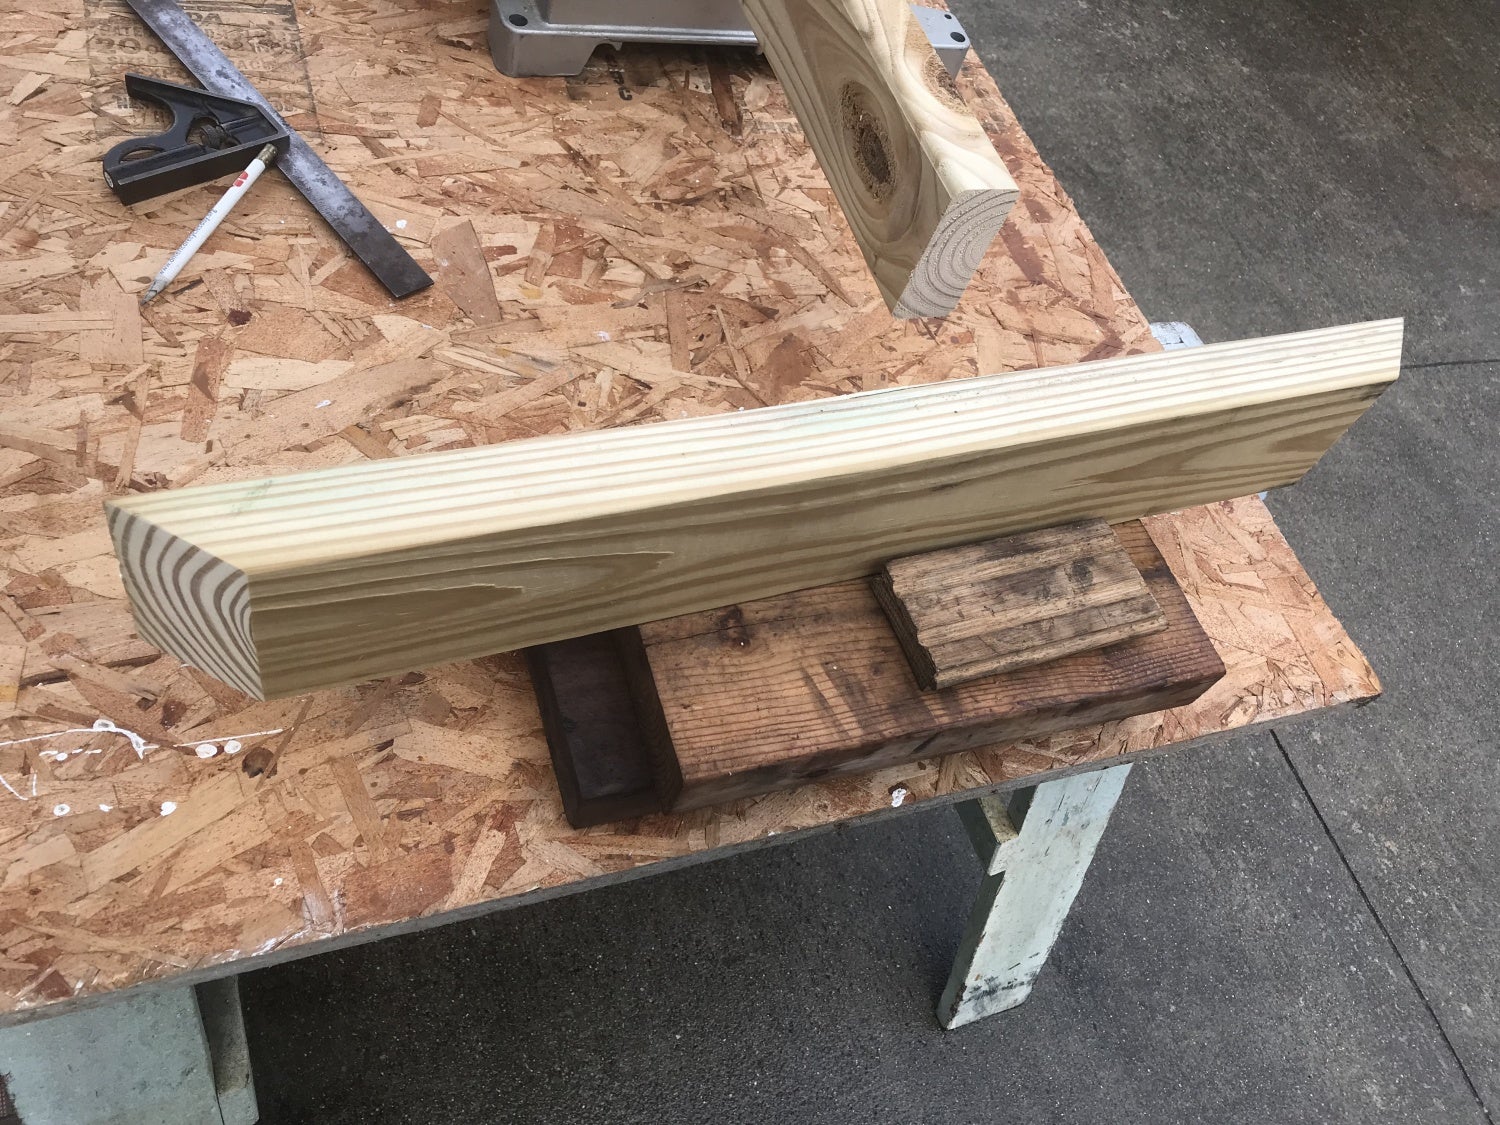
Set your miter saw to 45 degree and cut both ends of your brace as shown in the pictures above.
Braces should be 24” or greater in length to provide adequate support.
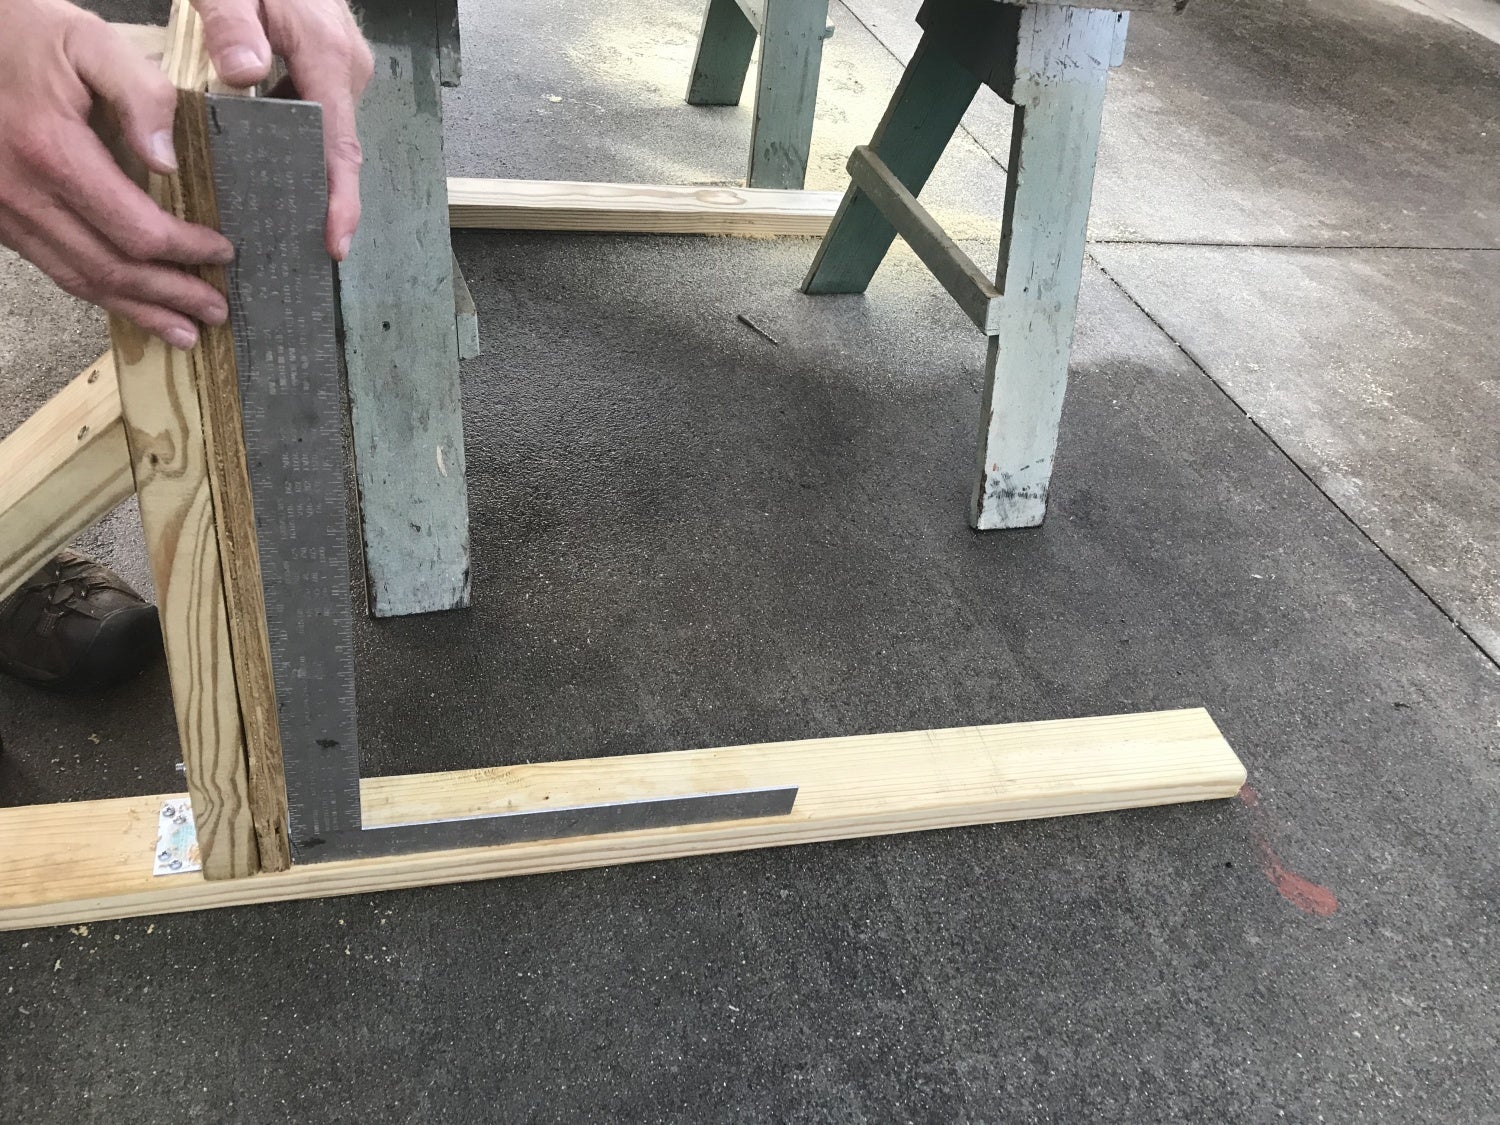
Ensure your barrier is square to your runners before drilling and screwing in the supports.
Once square, screw the supports in to the barrier and the runners as shown above. I used 2 deck screws screws per end for proper stability to avoid splitting the ends.


The rectangle at the bottom can be expanded but adds further difficulty by making smaller and also provides more support.
Improvements
As stated before I added a couple of improvements to increase longevity and training value. My purpose of the steps was to practice at various positions I might find myself in either around a vehicle or other forms of cover. So far the step protectors have held up well.
Use
I chose to make one left and one right oriented barricade. This allows for maximum training value and is simply done by changing the side where the treated supports are mounted. Having 2 barricades also allows for bounding drills or more shooters on the firing line at a time.

As you can see multiple barriers increases efficiency during classes. If you are looking for a good class to learn how to move and shoot around barriers check out Practical Urban Carbine with Sentinel Concepts.
Conclusion
How many times have you gone to a range or to shoot on property that your friend owns and you simply shot at a small paper target from 3-7 yards. The fundamentals are important but eventually it is beneficial to branch out and start implementing more into your training. While many do not have a vehicle to shoot up or the space to have numerous forms of simulated cover, this barricade makes for a cheap and easy way to include working cover into your training.