Welcome to Part 5 of TFB and LYMANS series on reloading for the beginner. If you missed Parts 1 through 4, you can find them here:
- https://www.thefirearmblog.com/blog/2018/05/31/beginners-guide-to-reloading-part-1/
- https://www.thefirearmblog.com/blog/2018/06/13/beginners-guide-to-reloading-part-2-inspection-cleaning-and-resizing/
- https://www.thefirearmblog.com/blog/2018/06/20/part-3-reloading-repriming-expanding-and-powder/
- https://www.thefirearmblog.com/blog/2018/06/27/beginners-guide-to-reloading-part-4-bullet-seating-coal-pew/
At the end of Part 1, I list all of the components you should need to get started.
We are in part 5! I am pretty shocked how quickly this series has passed. A shout out to “JSmath“ for calling out an error I made on the definition of COAL. I really appreciate you guys commenting. For the most part, the reloading community is a very helpful group. For those of you on Facebook, I want to point you towards “The Reloading Room”. It is a great community with a great attitude. Check it out. (I do not admin the page, or have anything to do with it apart from reading it).
On a safety issue–you guys caught an issue. When a reload gives you a click, instead of a beautiful bang pause before immediately ejecting. It may be a “hangfire”. Give it some time to do its thing. (Good catch “Griffon5642″)
The Rifle round
Time to move on to reloading for the rifle. All our fundamentals are the same, but we will take them all one step further, especially case prep and inspection. We should be mindful we will be producing much higher pressures, therefore, we will scrutinize the case that much more.
Case Prep
So we have cleaned and dried our cases. Now we will resize and deprime. With rifle rounds, we have more options, particularly with the dies. If you are reloading .223/5.56 for a gas gun you really need a set of Small Base dies (gas gun, meaning gas-operated, semi-automatic). Tighter tolerances will give you a better “fit” for your gas gun. With a gas gun, there will be a lot of actions happening very quickly. With the action happening very fast, you will see, it can be intolerant of low or poor tolerances (see what I did there?). You will find that a bolt gun is a little more accepting.
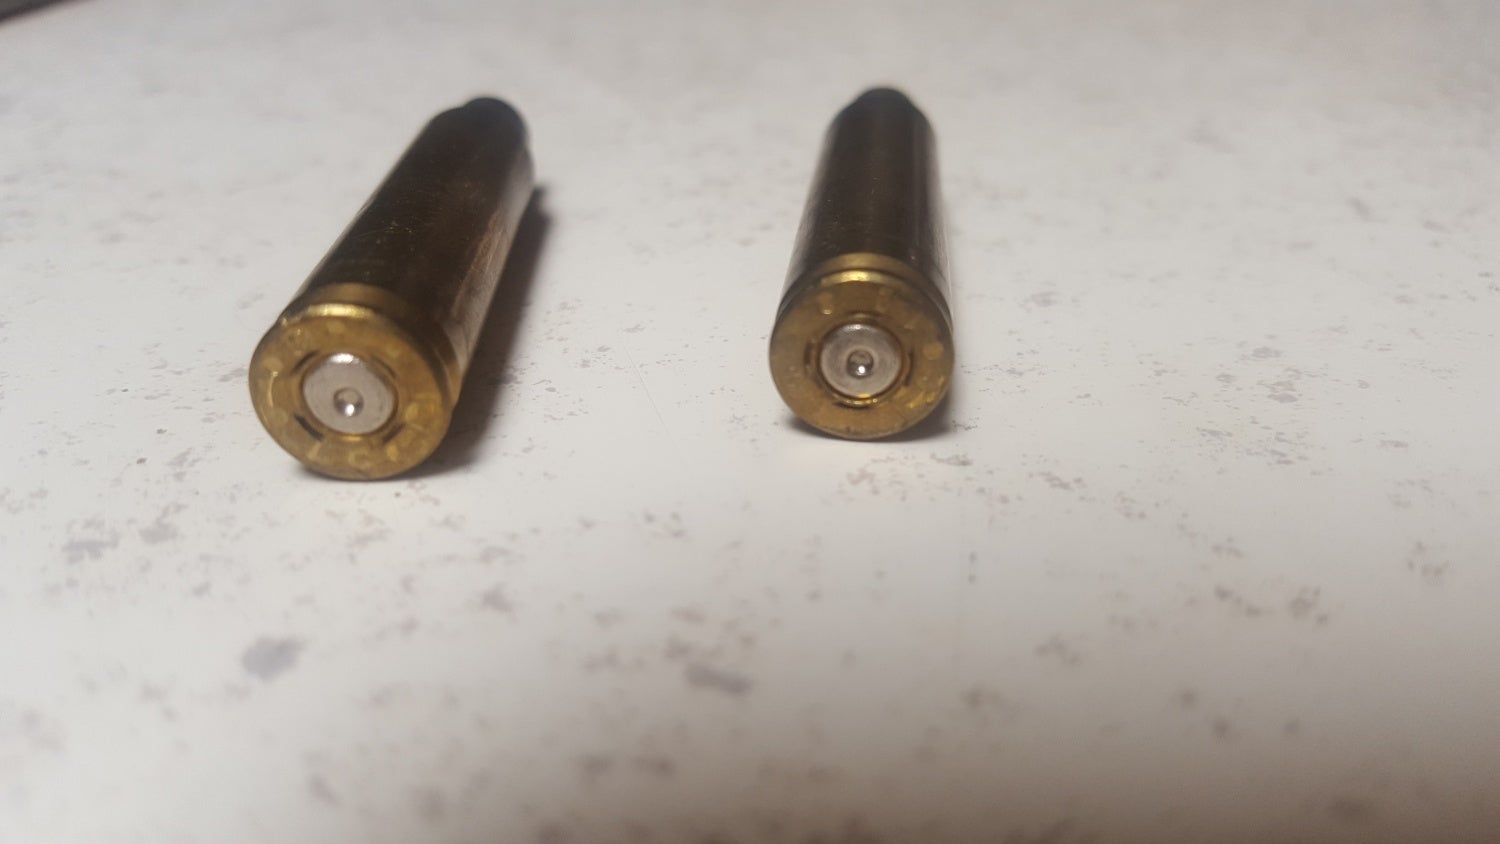
When inspecting the 5.56/.223 look at the head, in particular, the crimped primer. Small crimps are pressed into the head to hold and seal the primer in. If we want to reload that case we have to “swage” that primer pocket. (NO, not the kinda swag James gots rockin’ over at TFBTV). We have to open the pocket up to take a new primer. You can do it either by hand or by using a special swage press (if you are doing a high volume).

Two clearly crimped primers
Resizing
With resizing, you can go ahead and use a standard resizing die and pass it through. Nothing wrong with that–it will work fine. If your end goal is working toward finding an accurate load, this stage has many more options. One I want to discuss, in particular, is resizing the neck. For this, we use a unique die that makes minimal adjustments to the brass. Assuming the brass is fired from the gun you are reloading it for, it is already “formed” to your chamber. Just resizing the neck to take the bullet will impart minimal wear on your brass. As an example, I reload 7 Rem Mag. That brass is not cheap, nor easy to come by, so making the brass last as long as possible makes sense. Keep in mind this not necessary, but something I have had very good luck with.
After a while, when you really want to get precise, you will need to get a set of precision dies. There, my friends, is where the sky is the limit–in both precision, and in price.
Following resizing we will now need to measure case length. Following a few firings (and the case repeatedly expanding and contracting) the case will start to elongate. An elongated shell will have issues chambering, or not chamber at all. This is where a case gauge really shows its worth. Following resizing, I slide the case into the gauge to test fit, length, and head. A chewed up head can prevent the round from going into battery. When I have separated those cases that need to be trimmed I use Lymans E-zee trim case trimmer. (I bought this myself many years ago). The pilots are caliber specific, so each case is correctly trimmed in seconds. Following resizing you will need to debur the mouth to easily accept the bullet

Lymans E-zee trim is a quick easy option and stops you from oversizing (and ruining the case)

This trimmed case needs the mouth to deburred. The bullet needs to slide in without catching any edges, and destroying the case
PRIMING
Although placing the primer is identical and straightforward, depth is a concern. If the primer is not at least flush with the head, the firearm will not go into battery. It is true that will happen with a pistol, but it is more apparent with a rifle (especially true of a gas gun). Not as common, but still a problem, would be a primer that is too deep which can lead to a poor or incomplete strike.
Conclusion (almost)
Yes, I know not done, but really most your work should be with the case prep. Spend your time prepping the case and you will be happier with the results. Next week we will go over powder and bullet seating, and believe me there is much more to it then we discussed with handgun reloads.
I got long winded this week, and apologize. Please chime in below guys, I enjoy reading the comments
NEXT week Part 2 of Reloading Rifle (but Part 6 overall).
 Your Privacy Choices
