 Your Privacy Choices
Welcome to Part 2 of TFB and LYMANS series on reloading for the beginner. If you missed Part 1, you can find it here: https://www.thefirearmblog.com/blog/2018/05/31/beginners-guide-to-reloading-part-1/ At the end of Part 1, I list all of the components you should need to get started.
First I want to address something I learned from the comments of our readers most important: Reloading is EASY. The fundamentals are pretty simple, and the rewards are immediate. Yes, it really is not “rocket science”. Follow me in loading some .45 ACP, and you can turn around and load some .44 magnum. The same rules apply, and it is just as easy. My efforts to be thorough were likely interpreted as making it sound harder than it really is. Now, precision loads….that’s where the science comes in.
Today we are going to start the actual process of reloading. I am going to start with brass collected at the range. If you have purchased new brass this is still information you will want. Our first step is the most important. So important in fact, you should be repeating at every step along the way. I am speaking of case inspection.
When I pick up a case at the range I first check the caliber and head. If it is a caliber I use, what is the condition of the head? A damaged head can cause extraction issues. A heavily damaged head immediately disqualifies the case for reloading.
![By Martin1998cz [CC BY-SA 3.0 (https://creativecommons.org/licenses/by-sa/3.0)], from Wikimedia Commons](https://www.thefirearmblog.com/blog/wp-content/uploads/2018/06/Shell_casing_of_9mm_40SW_and_.45_ACP.jpg)
Note the 40 S&W casing in the middle has a crease near the top–be aware of details like this.
By Martin1998cz [CC BY-SA 3.0 (https://creativecommons.org/licenses/by-sa/3.0)], from Wikimedia Commons
SORTING
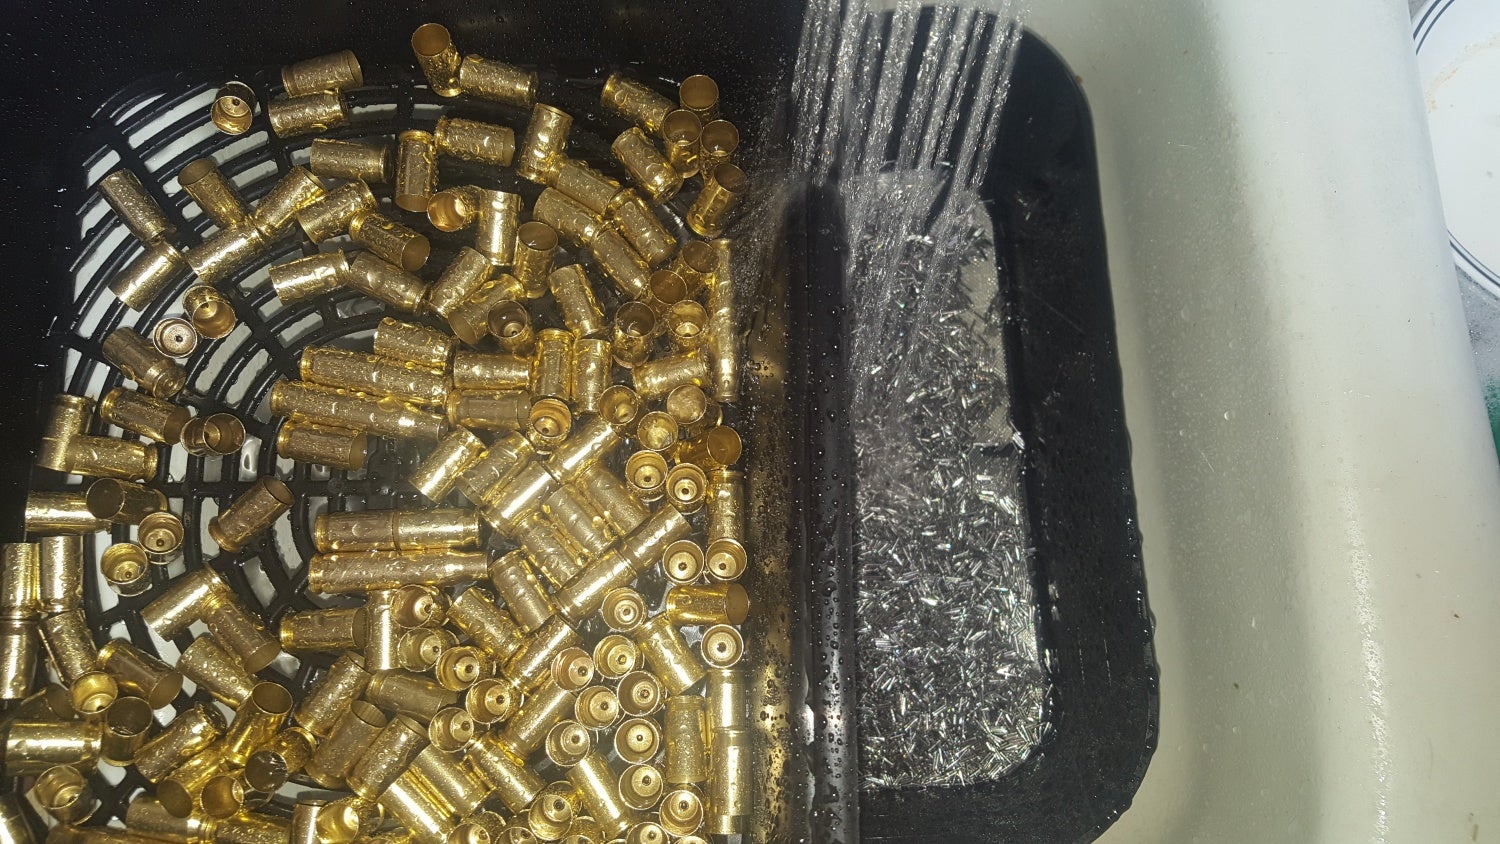
After you have collected acceptable brass, you should sort by caliber and clean them. Some people will clean them again after removing the primer (depriming) to get the primer pocket clean. That is fine, but you need to clean them prior to passing them through depriming/resizing die. The resizer die returns the casing to proper specifications while removing the primer. This where a dirty die can cause a casing to be stuck (kind of like a liberal arts grad flipping burgers). This a fiasco all in itself. Avoid it.
CLEANING
I prefer wet cleaning. A wet cleaner will agitate the casings in a wet soapy medium with stainless steel pins. Lyman was nice enough to send me their cyclone cleaner. A huge upgrade to the small foreign made deal I had. I add the casings, fill with water and add a tablespoon of dish soap with a teaspoon of LemonShine© on top. Run cleaner for 30-60 minutes. (LemonShine is not a sponsor but is very well touted in the reloading world. It is at the grocery store with the dishwasher detergent).
Opening it you will find filthy water and beautiful brass. Filter the pins and water out. With the cyclone, I received a sieve to collect the pins. Next, rinse and dry. Many people put them out to air dry.
The Lyman Dual Sifter System makes cleaning and separating a breeze
To speed up the process and give a thorough, even drying, I suggest the LYMAN drier.

no more waiting overnight for evenly dried brass
If you air dry, make sure they are completely dry, as moisture inside the casing will result in powder clumping and sticking to the wall of the casing. Not the type of environment into which you want to squeeze or press a bullet.
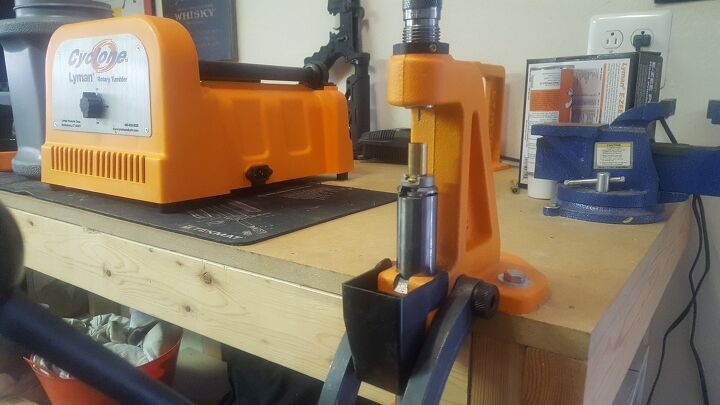
RESIZING
Now the fun starts with your press. First, insert the case holder into the press, it should snap right in. Push down on the press handle, bringing the press to its highest point. Then screw your resizing die all the way down until it touches the press then back it off. I was taught a half turn, but Lyman instructions say “until the dies’ bottom edge is just the thickness of a matchbook cover away from the shell holder.” Not backing it off could cause damage to the die.
If you have a carbide die for a small casing like .45 you do not need to lubricate. But, if you choose to, it’s fine. Rifle casings, however, will require lubrication. Anytime you lubricate, you only want a slight layer. Consequently, too much lube can cause a hydraulic effect when air is trapped between the die wall and casing. The only place there is any give will be the casing, and the result is a dented, weakened casing. Although more of an issue when reloading a shouldered cartridge, practice it now, and it will pay off later.

The case is in the case holder, the die is set.
Now push down on the press. You should only get smooth, moderate resistance. Near the bottom of the press stroke, the old primer should pop out. Your casing is now deprimed and reshaped into its proper specifications.
Conclusion
Rather wordy, but all we did was clean and dry the brass then set up the press and passed a case though. So easy a crusty old paramedic can do it! Those of you who are thinking about starting up, I encourage you to take the dive.
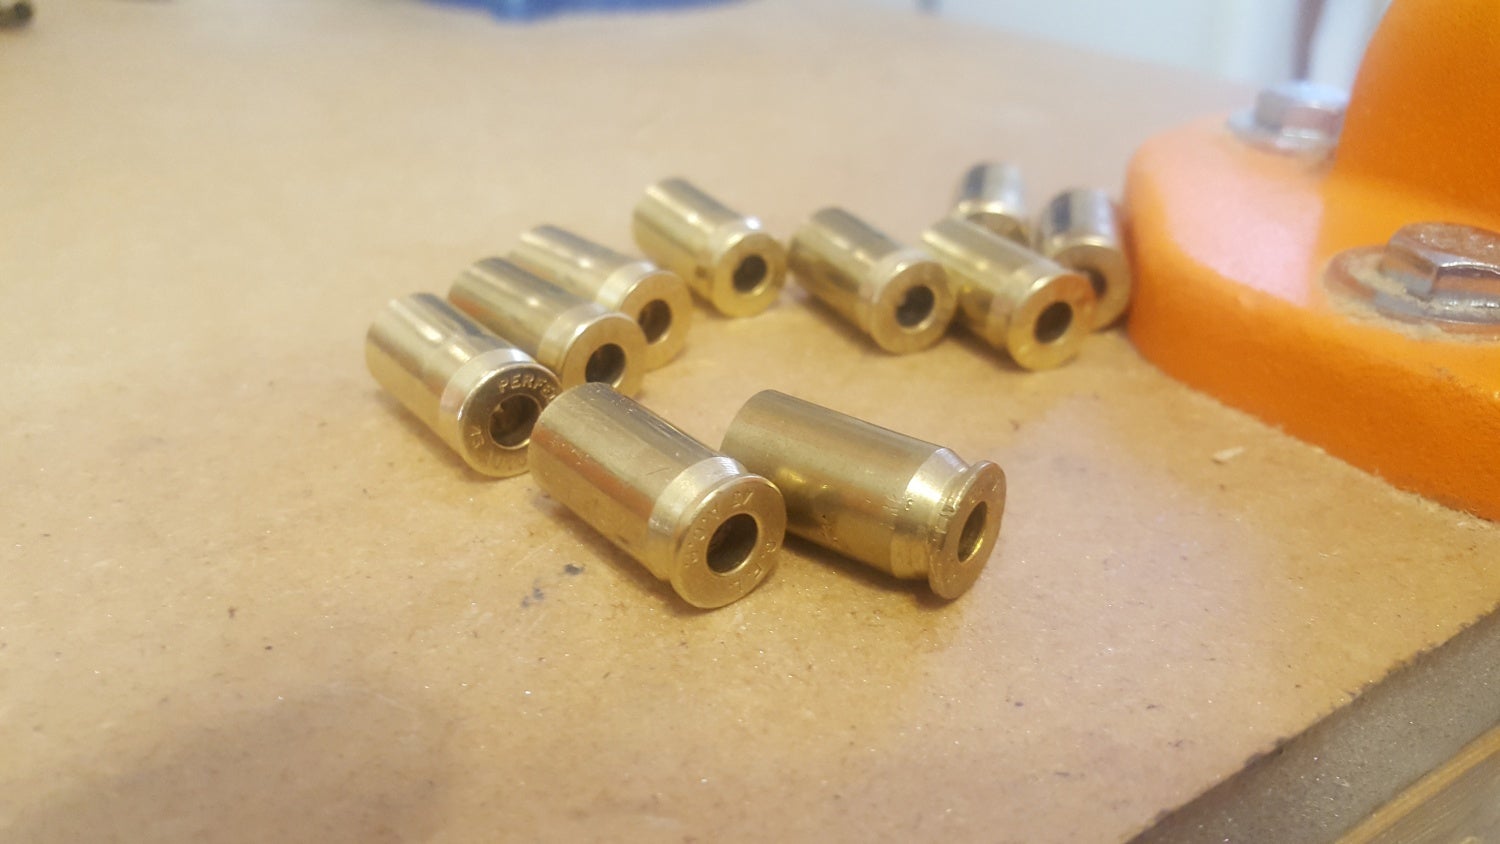
Resized and deprimed brass. These took me 30 seconds. Note the front right casing. minor head damage, but it should still feed fine
Next week we reprime, expand the case neck, and start dumping powder!
As always, please leave some comments below and feel free to ask questions!