 Your Privacy Choices
In part two we covered the final steps in loading handgun and rifle rounds. In this final installment, part 3, I’ll cover the process of creating shotgun shells. As I mentioned in part 2 I found the creation of shotgun shells the most interesting of these three parts. For those who commented about the shot tower and how it works we’ll sure cover that as well as making and forming brass, plastic shell cases, lead shot production and putting it all together into 20 Ga./12 Ga. loads. I hope you find it interesting.
Since so many readers have commented and emailed about the way a shot tower works let’s start with creating various lead shot sizes and how they are used.First a bit of general information on the shot tower itself and how it works to create various sizes of lead shot. First of all every shot towers optimal height is 11 stories tall. 10 stories is not tall enough while 12 is a waste of height. The reason for this will be apparent shortly.
The shot tower at the Remington ammunition plant is accessed by elevator which takes you up to the top of the tower where the large holding tank of molten lead is kept. A pipe from the holding tank runs to a feeder tray with the top portion allowing molten lead to run out and through a sieve of a specific size for the size shot being processed in this run. This fixture is suspended over a pipe which is approximately three feet across and runs to the bottom of the tower where the lead shot (cooled lead) lands in a holding tank of water which quickly finishes the cooling of the shot. The explanation for the height of 11 stories is that is the distance the lead needs to fall to form a round pellet and cool enough to maintain the round shape as it strikes the water below. Any lower and the shot may not cool enough and be out of round and have to be remelted and start the process over again.
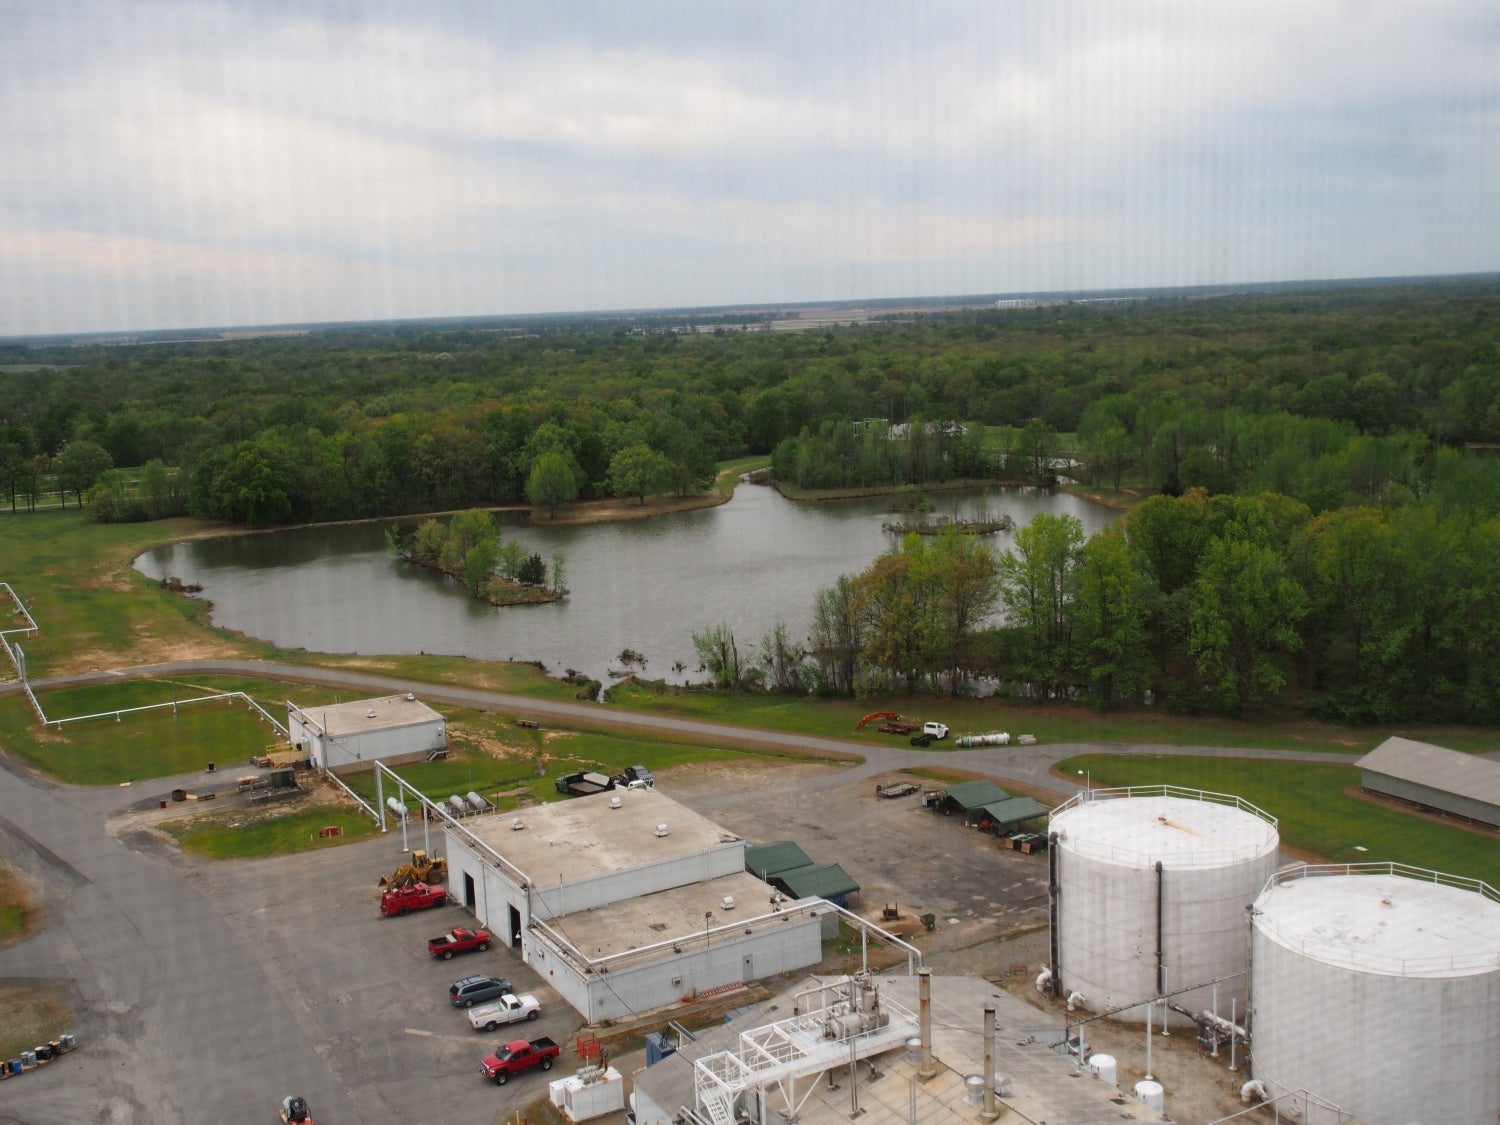
The view from the top of the tower.
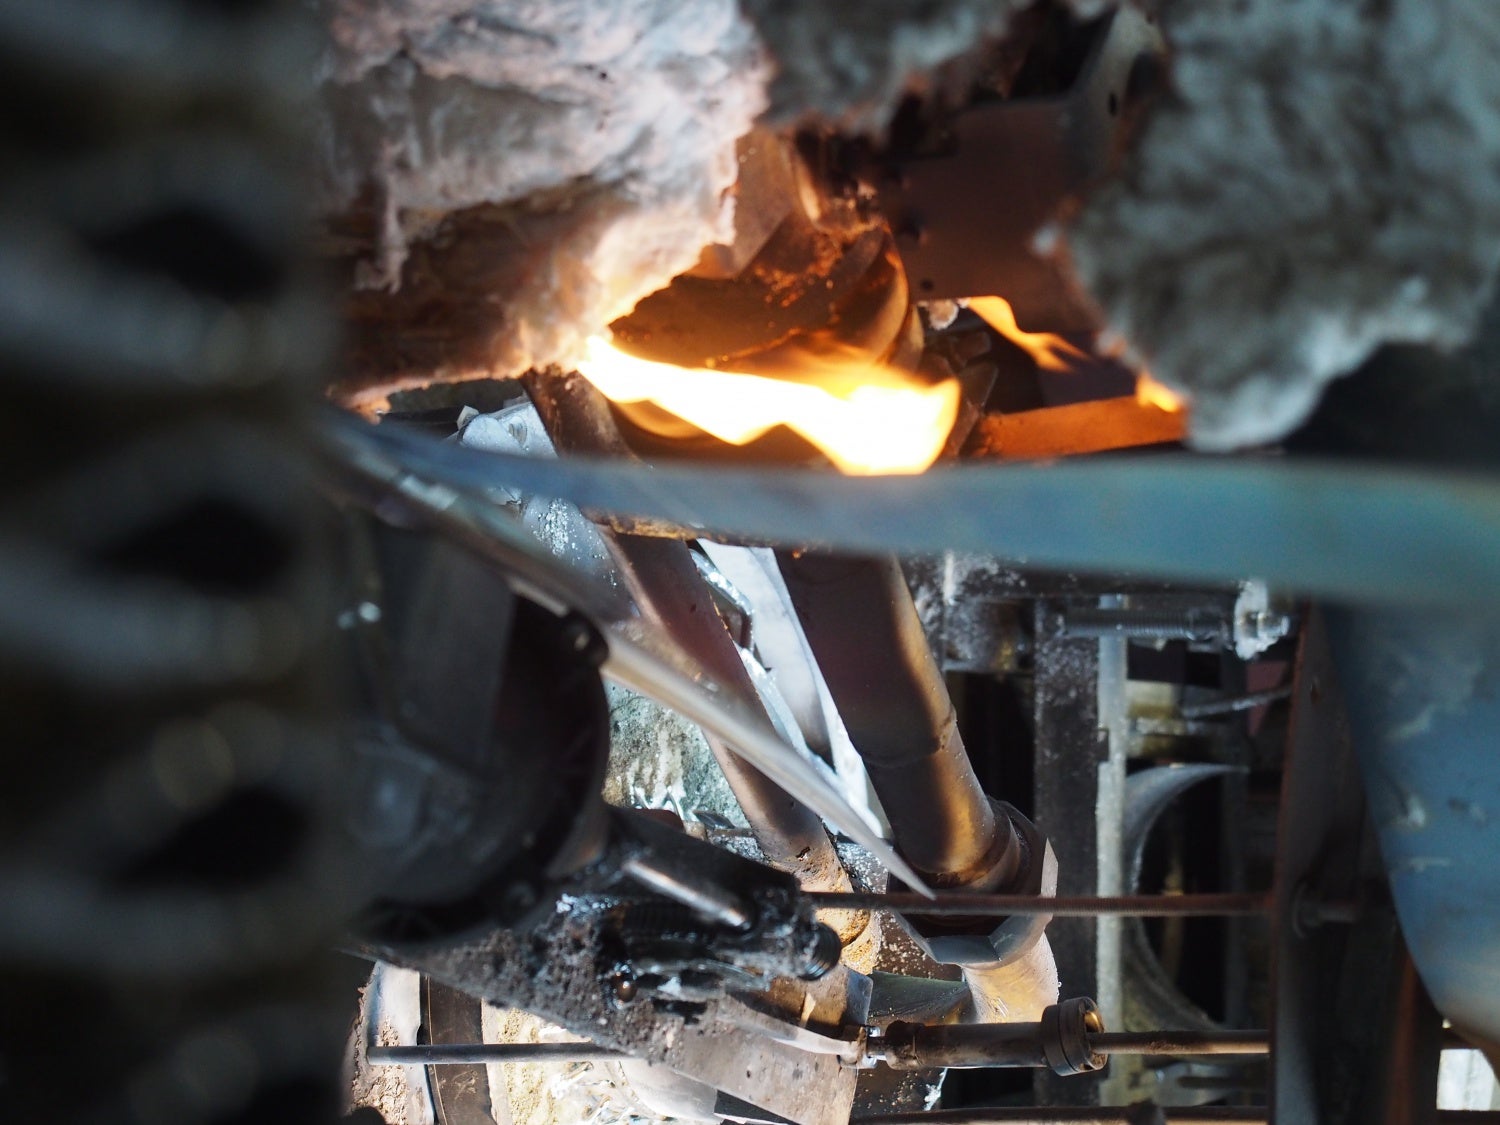
Lead feeding into the fixture
Molten lead pouring into the sieve.
It was rather hot up there even with the windows open and a strong breeze flowing through.

The lead rain falling to the water tank below.
The next stop for the shot is a series of tables the shot runs across. This method is used to separate out odd sizes and or out of round shot. At times two lead pellets will collide on the way down and stick together. These and other defective pellets are remelted and go through the process again.
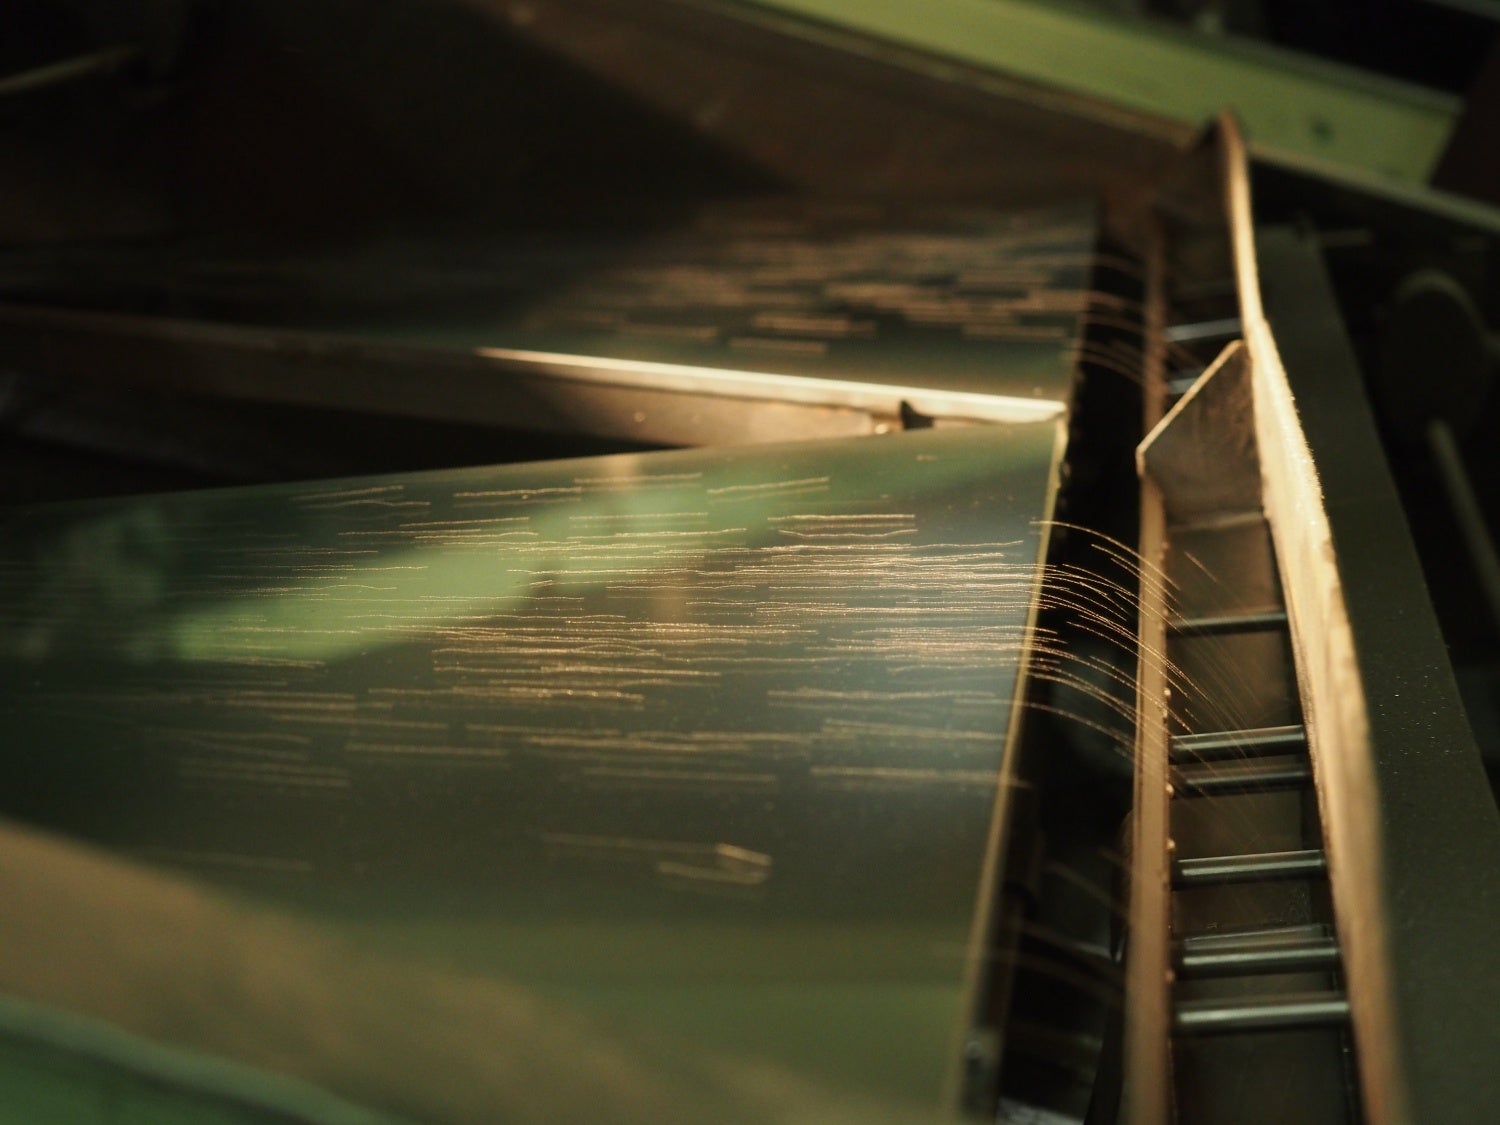
Shot sorting tables
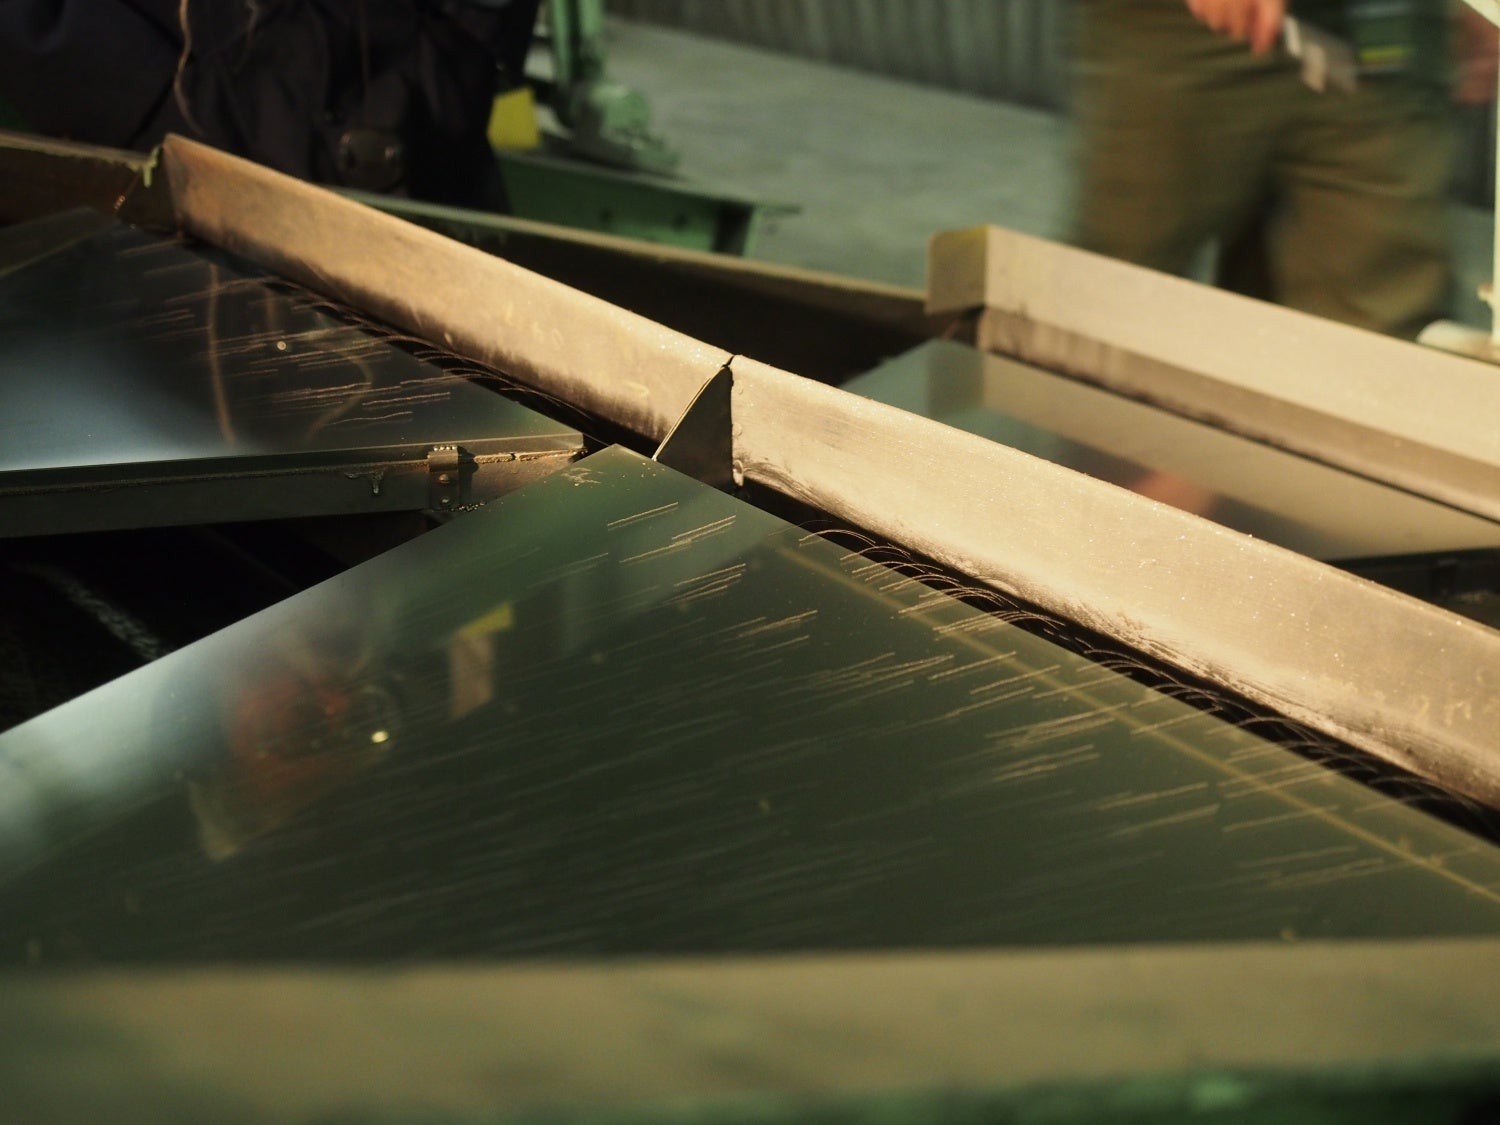
Another view of the tables
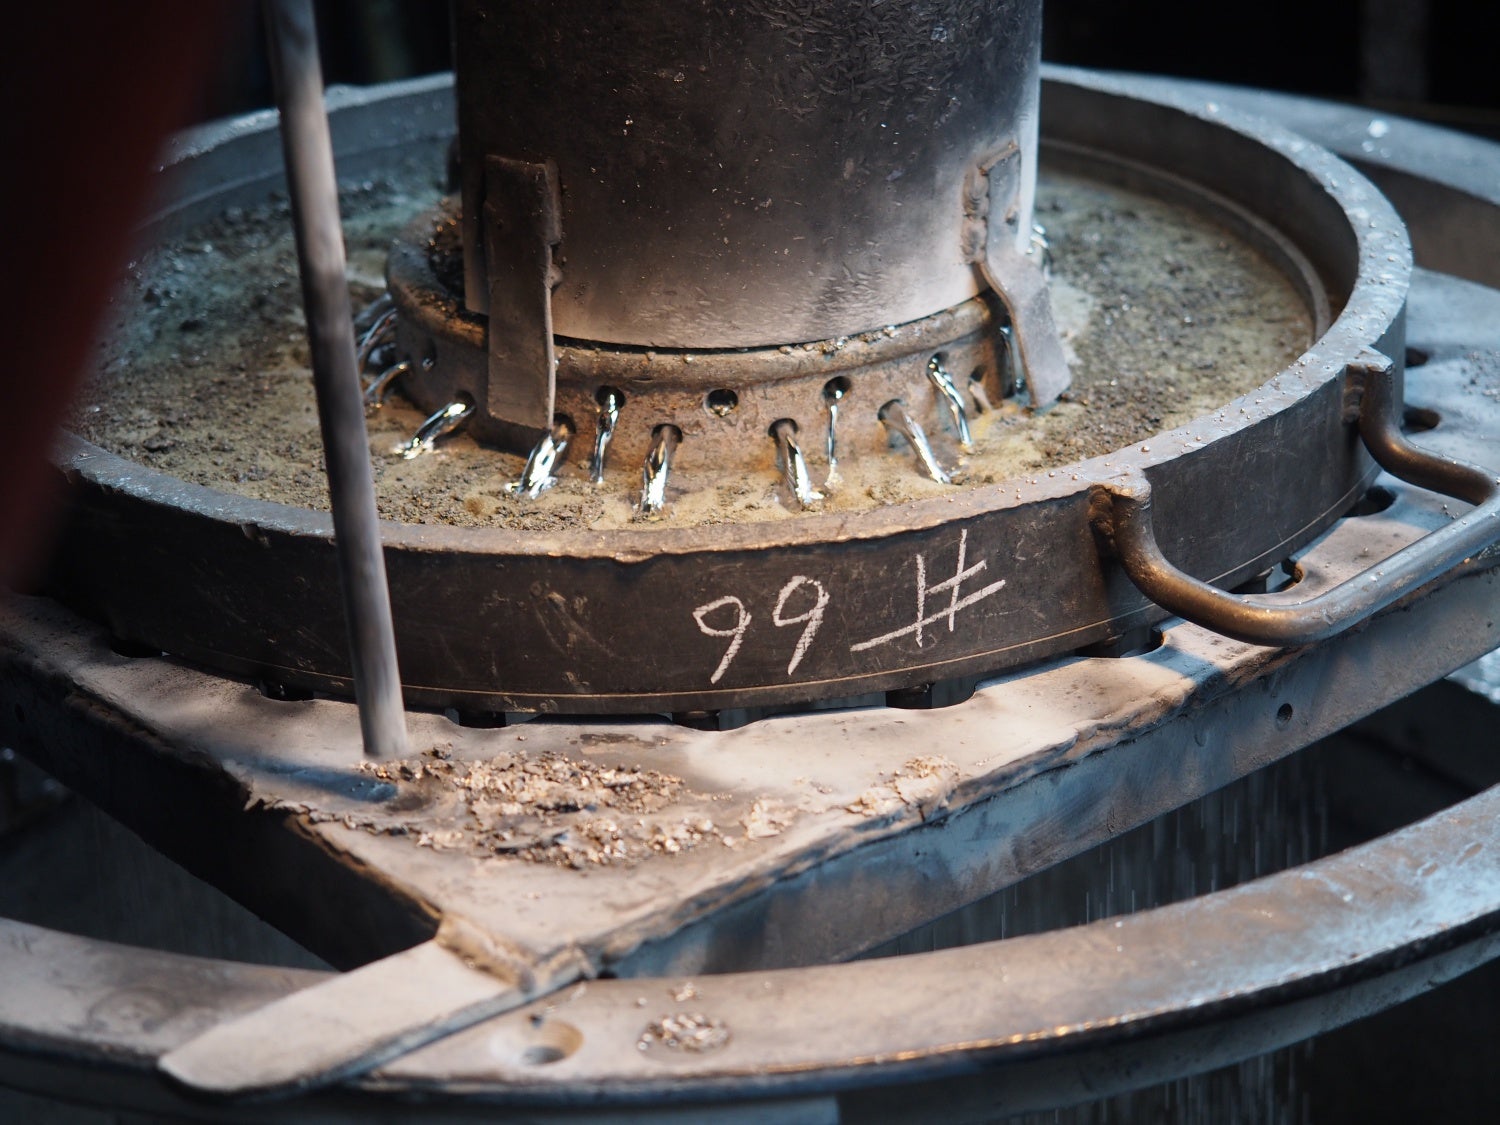
After being sorted the lead shot goes into thick steel holding containers on the bottom floor. This is where workers dispense the amount of shot needed for loading shells. You can see in the photos how heavy duty these containers are. Note the shot size is marked on each container right next to the lever which releases the lead shot into containers destined for the area the shells are loaded.
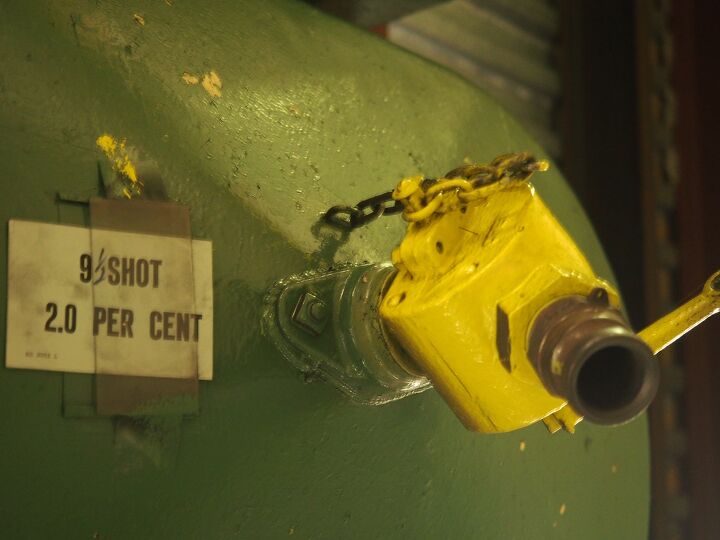
Container marked with shot size.
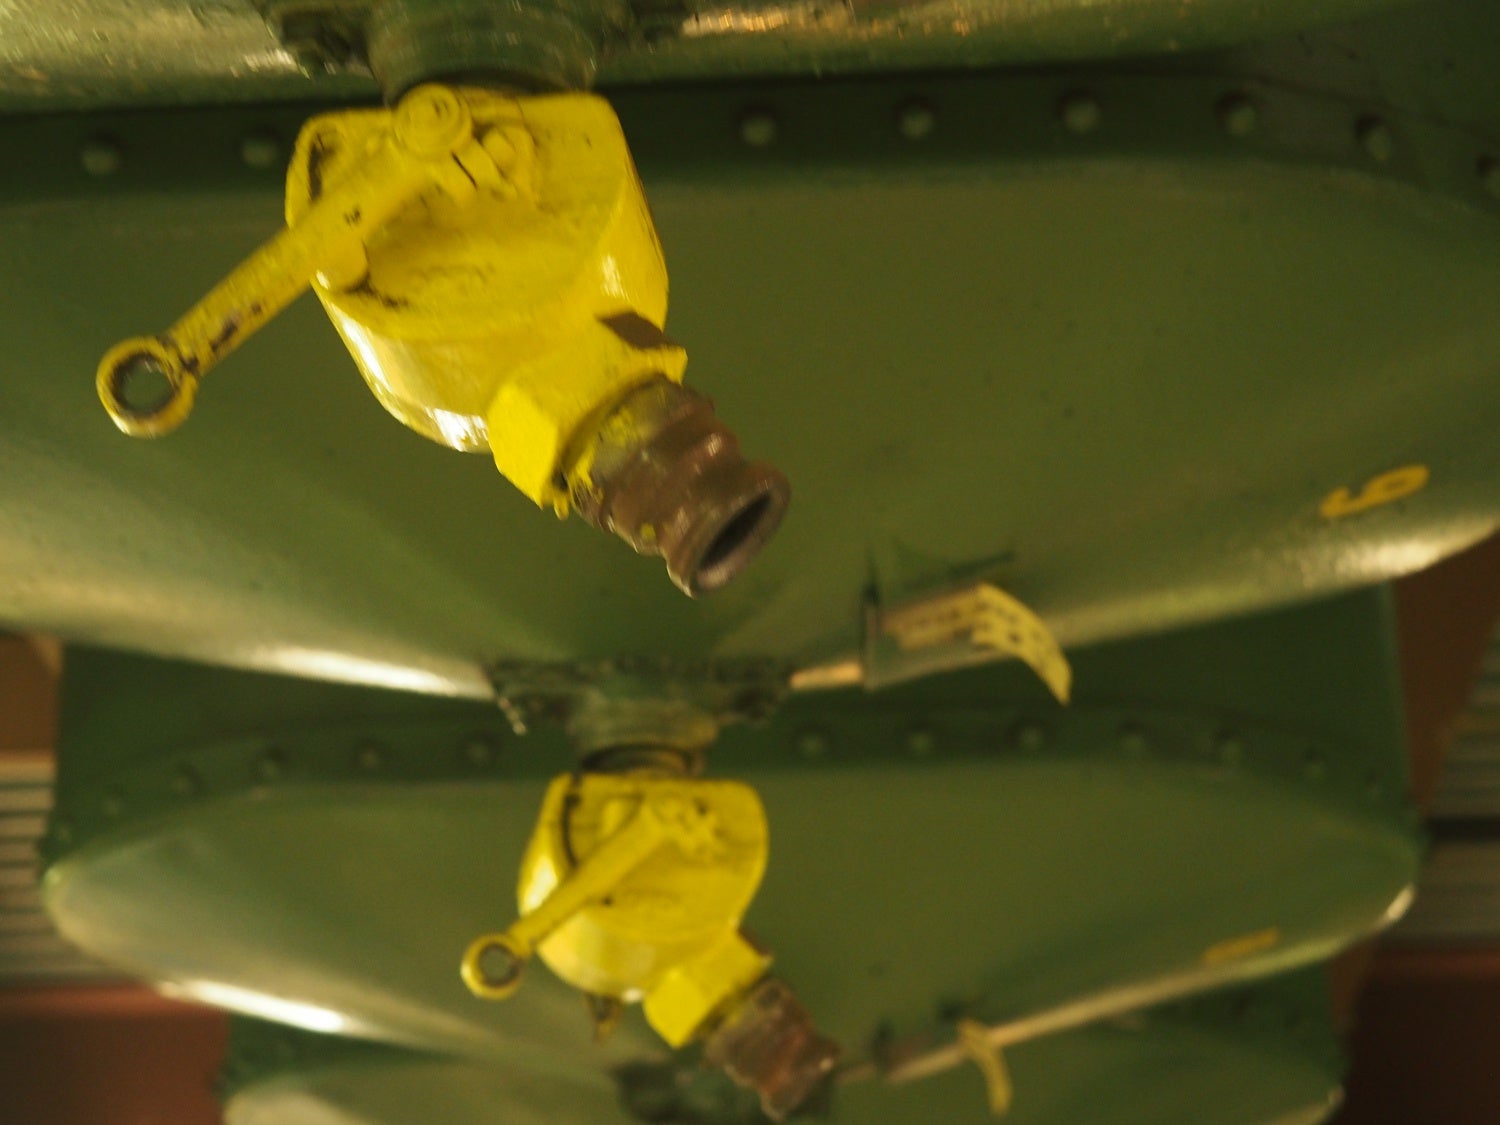
There are about a dozen of these holding containers lined up in a row with different sizes of shot.
This completes the basic process of converting molten lead from the top of the tower to the very bottom where the finished shot is held until needed. From here we’ll take a quick look at how the plastic shell cases are made and marked with the company name, shot size and gauge.
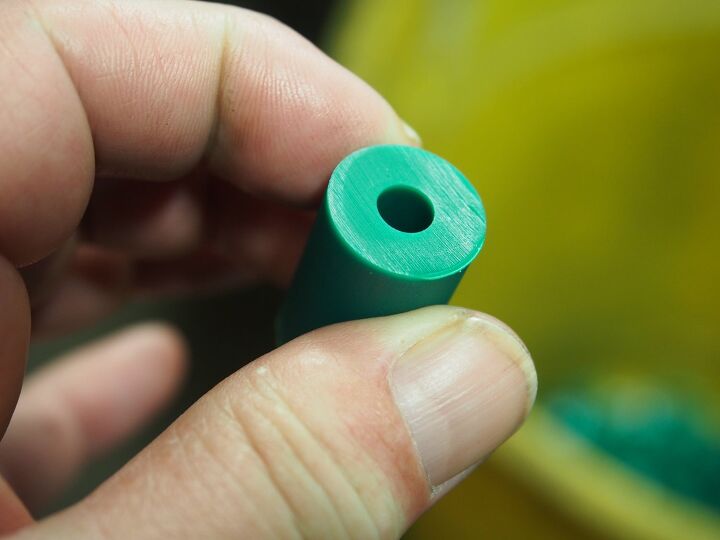
This rather small piece of plastic will make 6 long plastic tubes thinned and sized for processing.

These are the approximately 2 foot long tubes that are processed and cut to length as well as adding groves making the shell easier to handle when loading the shells into your shotgun.
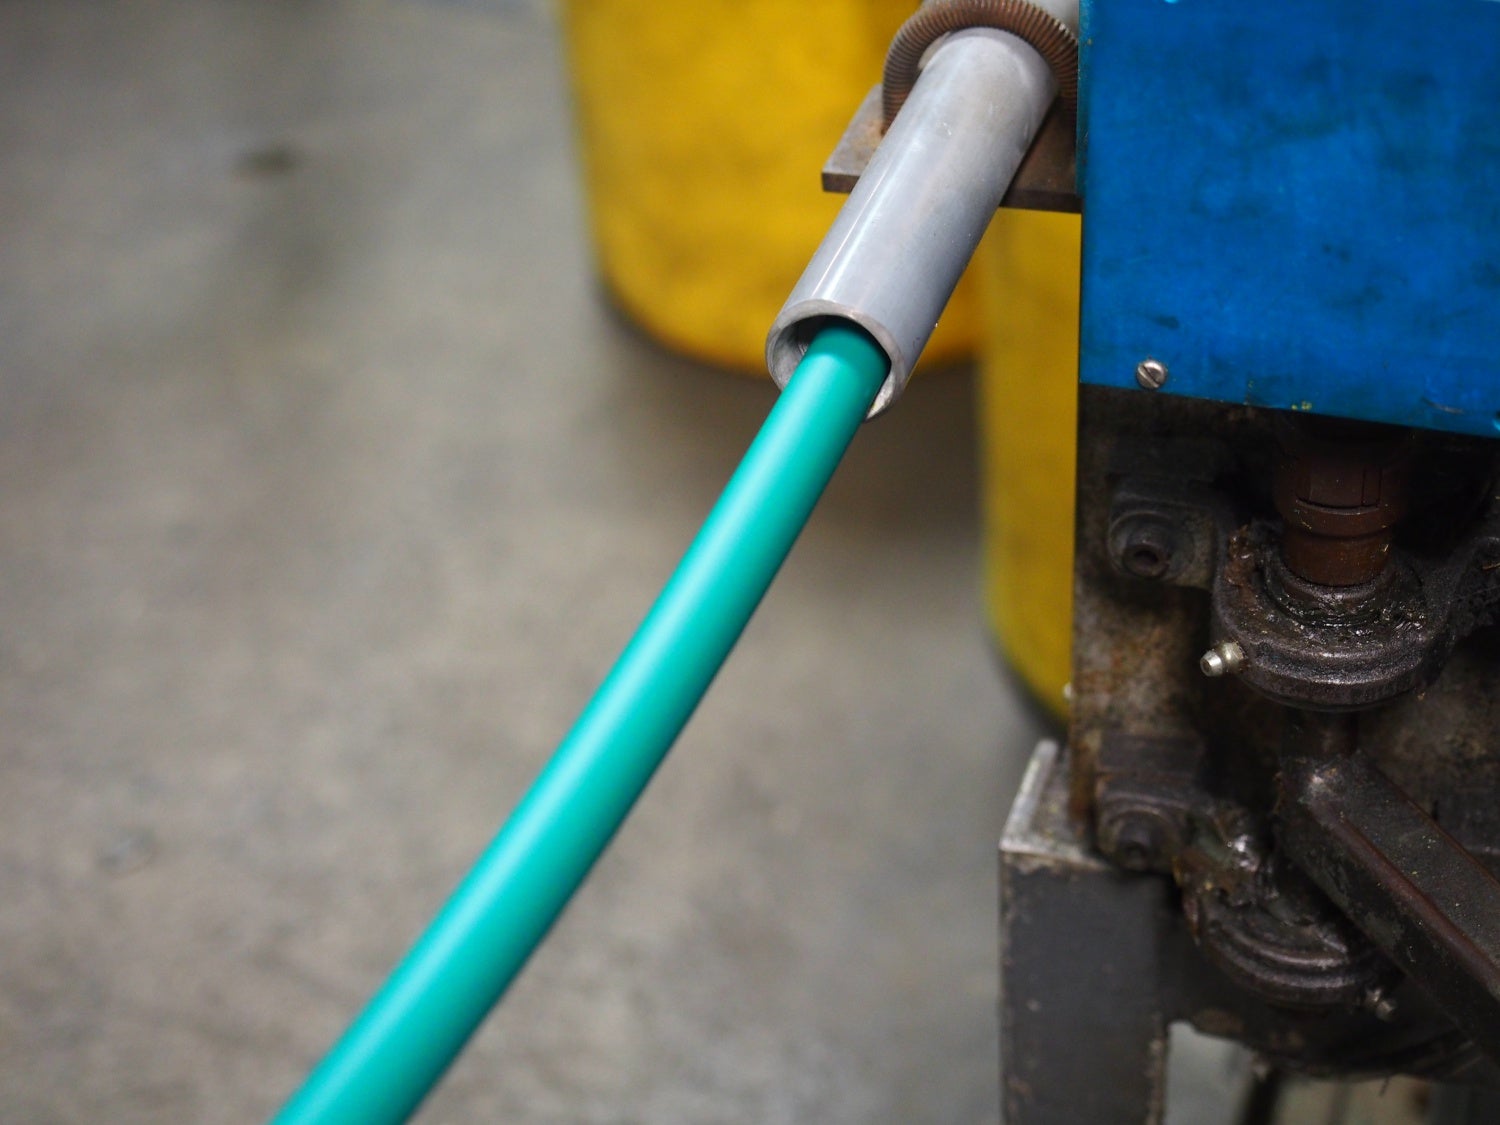
This tube is but one section of shell casing which is soaked in a heated liquid where they are eventually stretched and cut to length.

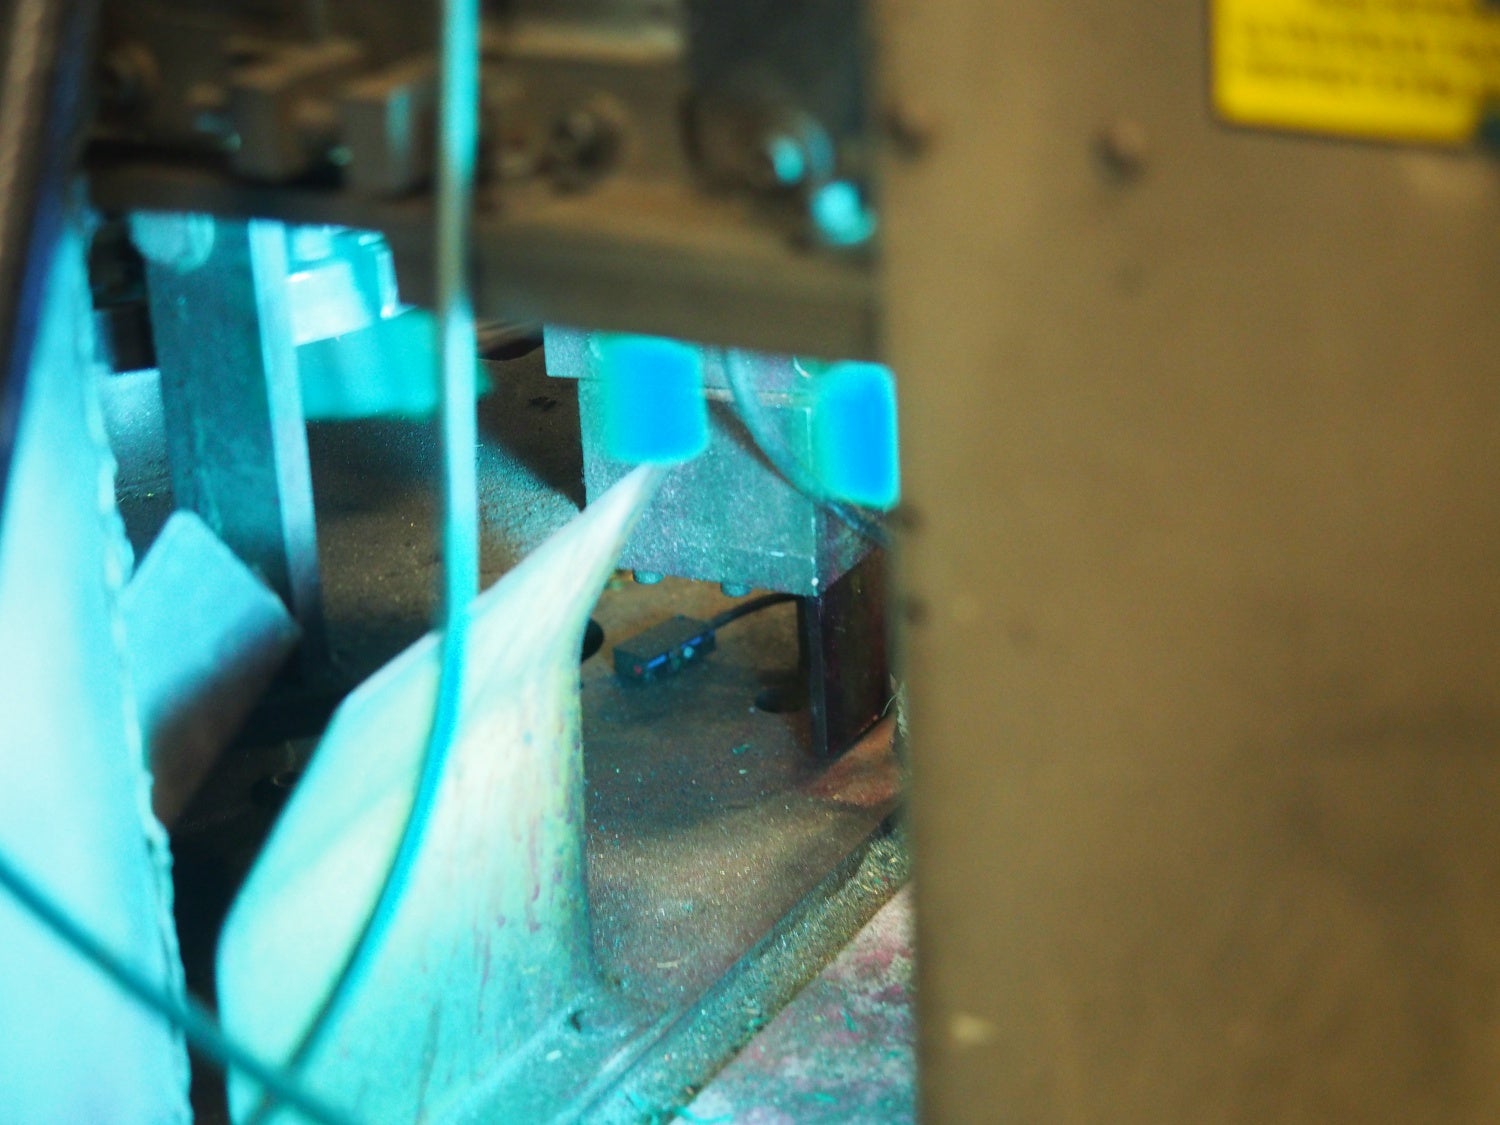
After the shells are stamped they pass through this intense light which instantly dries the print and keeps it from wearing off easily.

The process of making the brass for shotgun shells is similar to how other brass is made. As this says this is.410 shotgun brass.

20 gauge shells being loaded. after assembly and case trimming.
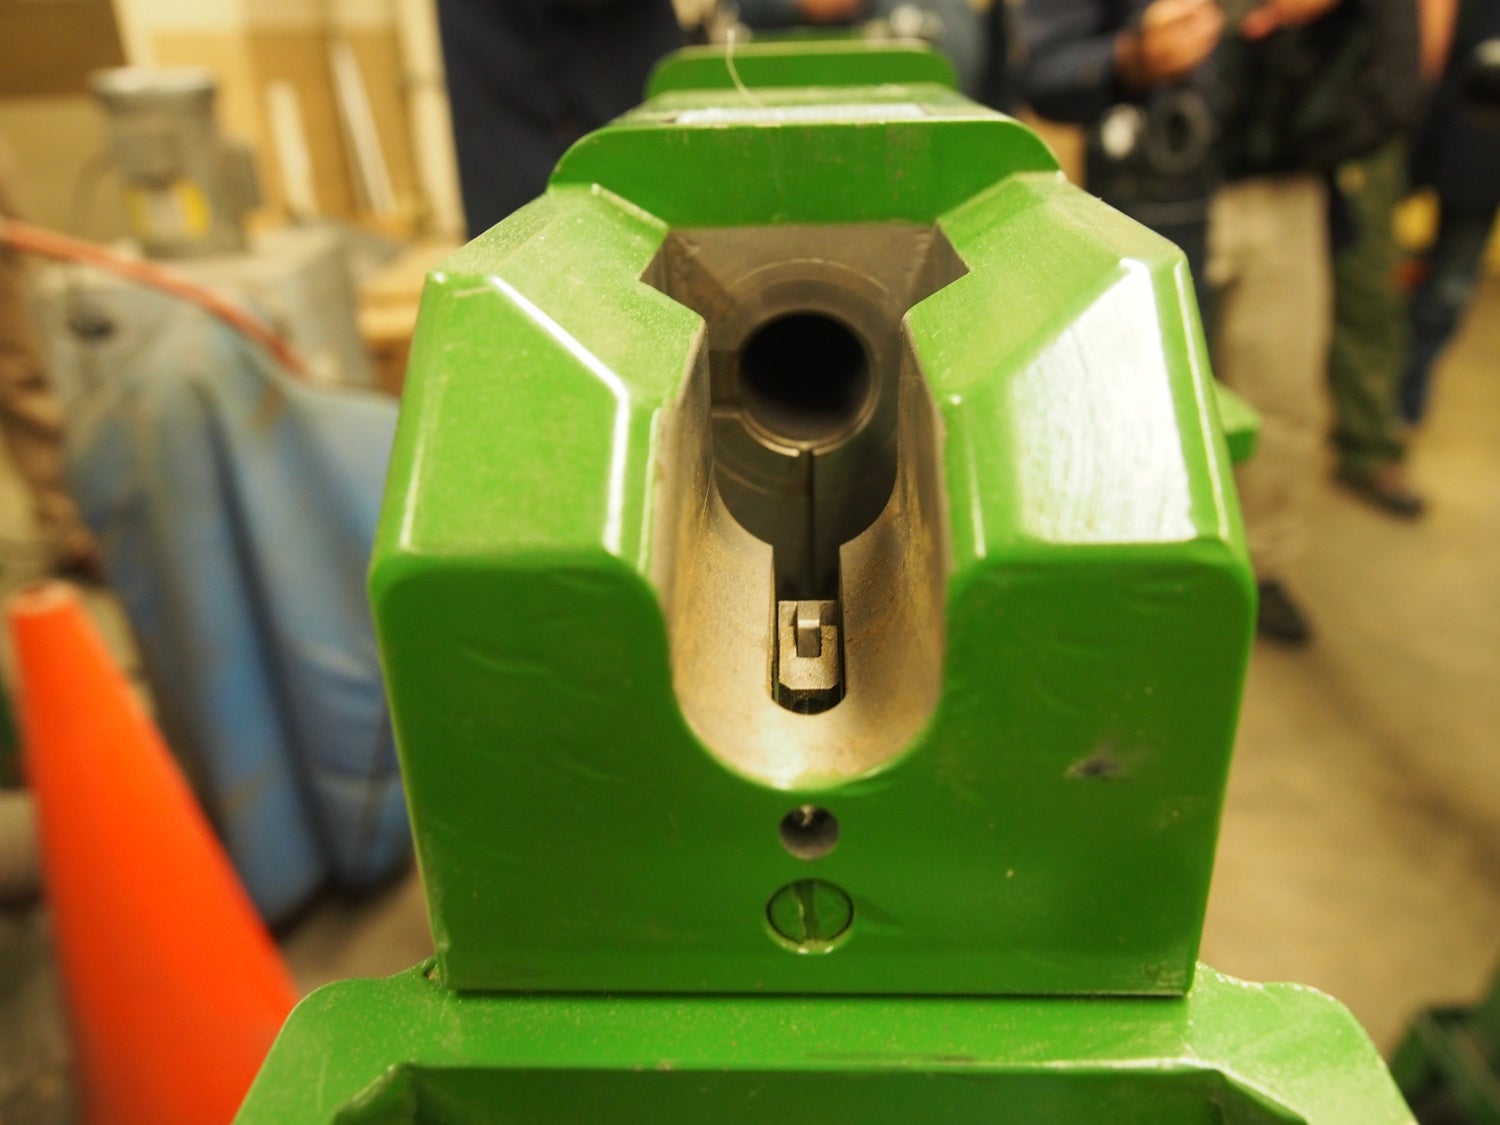
After we finished the tour our guide took us to see where proof rounds are made. They also showed us what they used to fire these rounds. I know what you’re thinking and no you can’t buy one of these we asked!
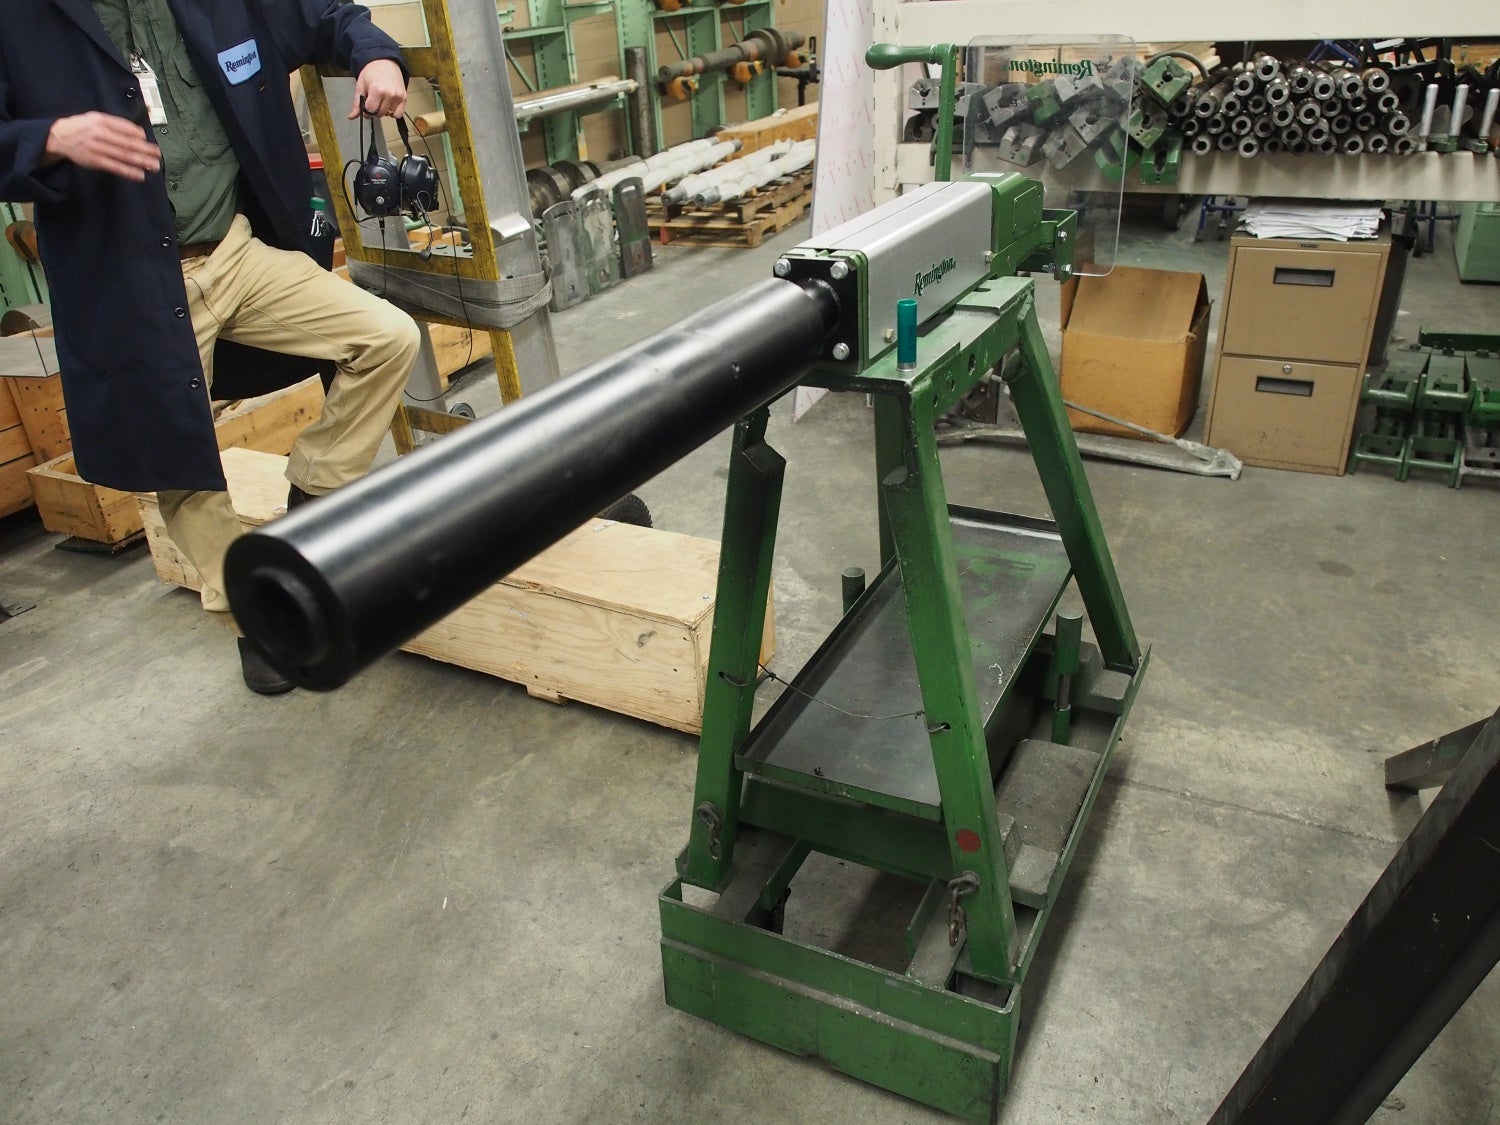
Hand made and if memory one of these will run in the five figure range when sold to other companies.

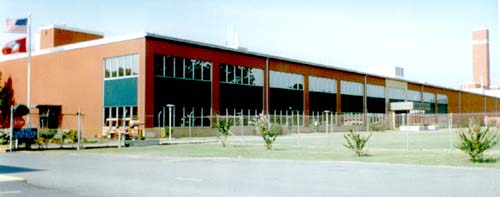
Club House
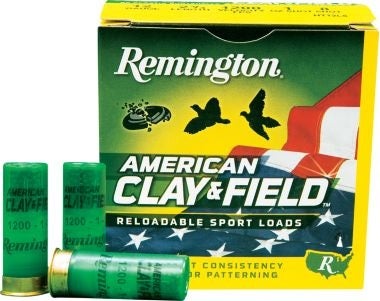
After completing the tour we all loaded up and went to the Remington Gun Club which is about a mile from the plant. The club is open to the public with no membership fees. They have 9 trap fields and 5 skeet fields. Ammo is cheap as are the clays. Anyone dropping by can shoot without spending a ton of money. The gun club website. We spent several hours shooting trap and skeet with some of Remington’s new shotgun ammo called American Clay and Field which, by the way, is reloadable. I won’t go into depth on the new ammo right now. That’s a story for another time.
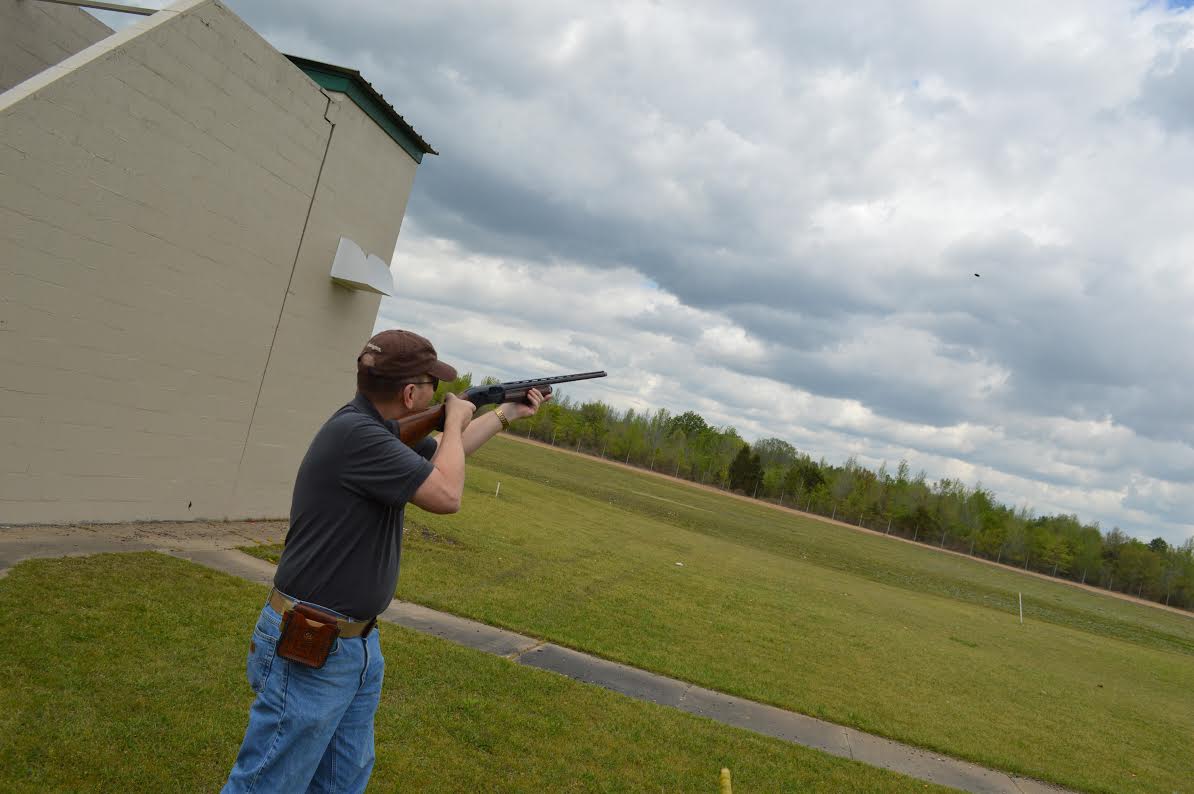
Shooting Trap with a Remington 1100. We also shot the Versa Max and V3
I hope our readers have enjoyed this three part story on the Remington ammunition plant and found it as interesting as I did. As always if you have questions please just let me know and I’ll do my best to answer them or find someone with Remington who can.