 Your Privacy Choices

At the end of part one I concluded with the method of turning raw materials into lead bullets and inner cores for what will become jacketed bullets. To begin part two I’ll once again start off with the raw materials to create jackets for both pistol and rifle rounds. I’ll also cover brass and the steps leading to a complete .223 brass case.
I never thought I would be impressed with the sight of raw copper for creating jackets for FMJ rounds. The copper arrives at the Remington plant in huge coils which standing on it’s end would be about five feet tall. The thickness is approximately one and a half feet. Heaven only knows how much each one weighs.
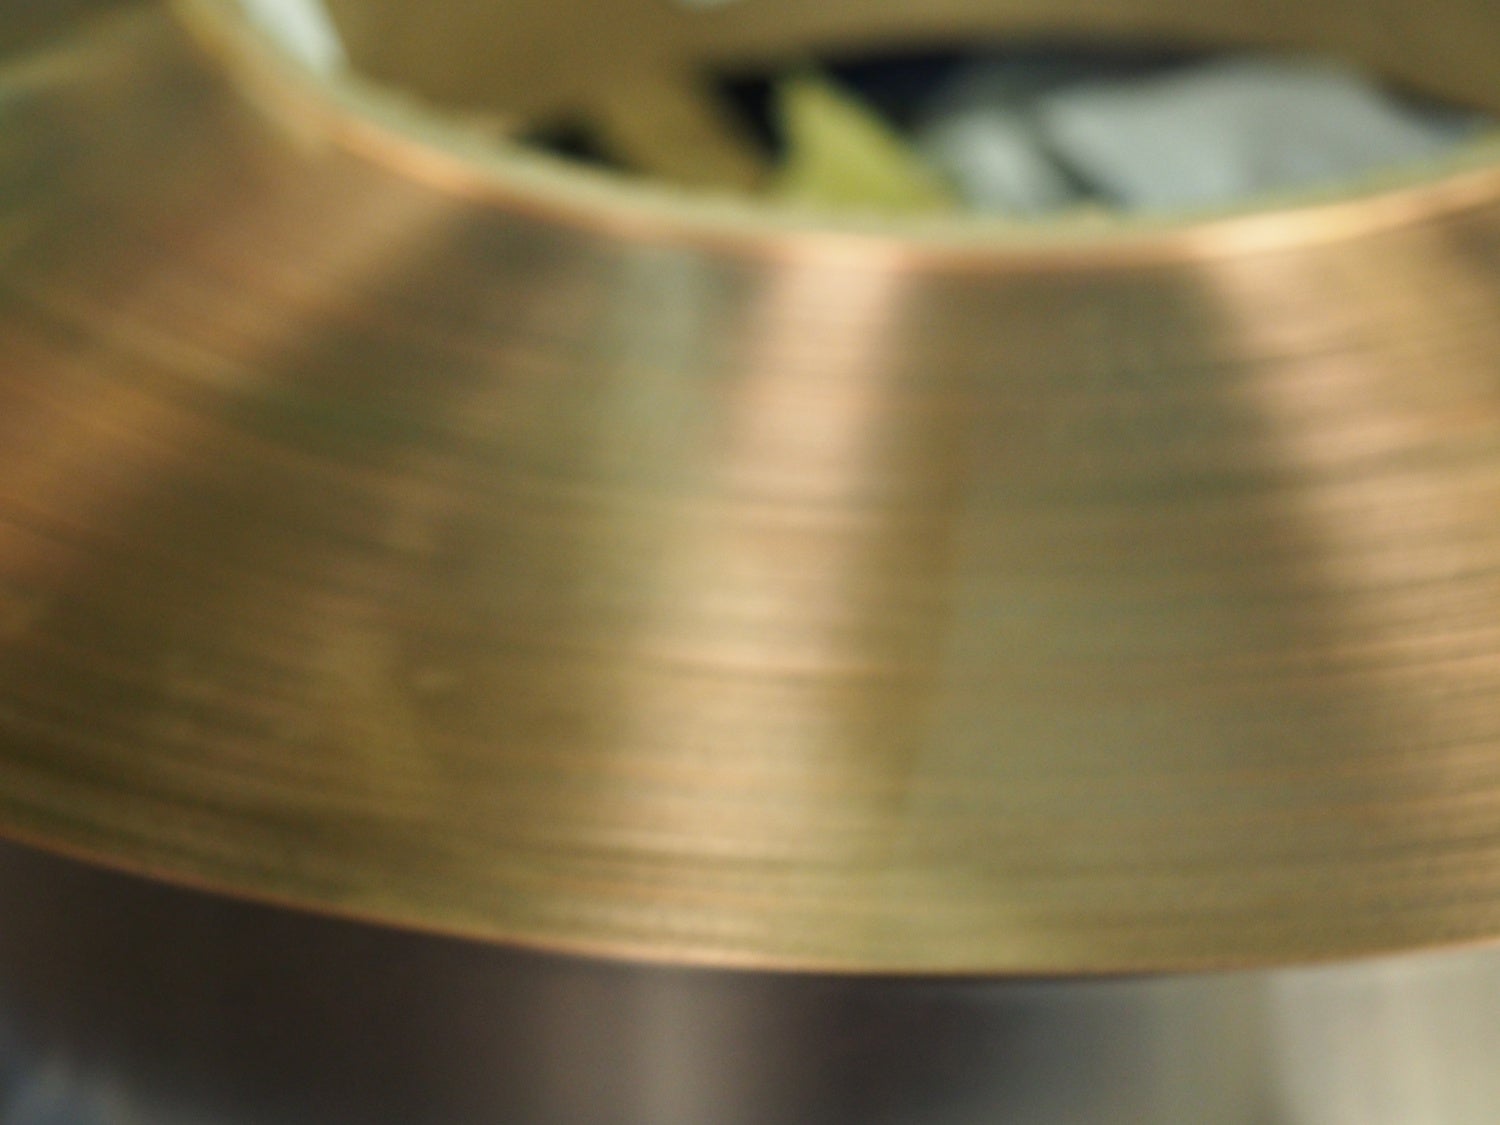
A roll of copper laying on it’s side.
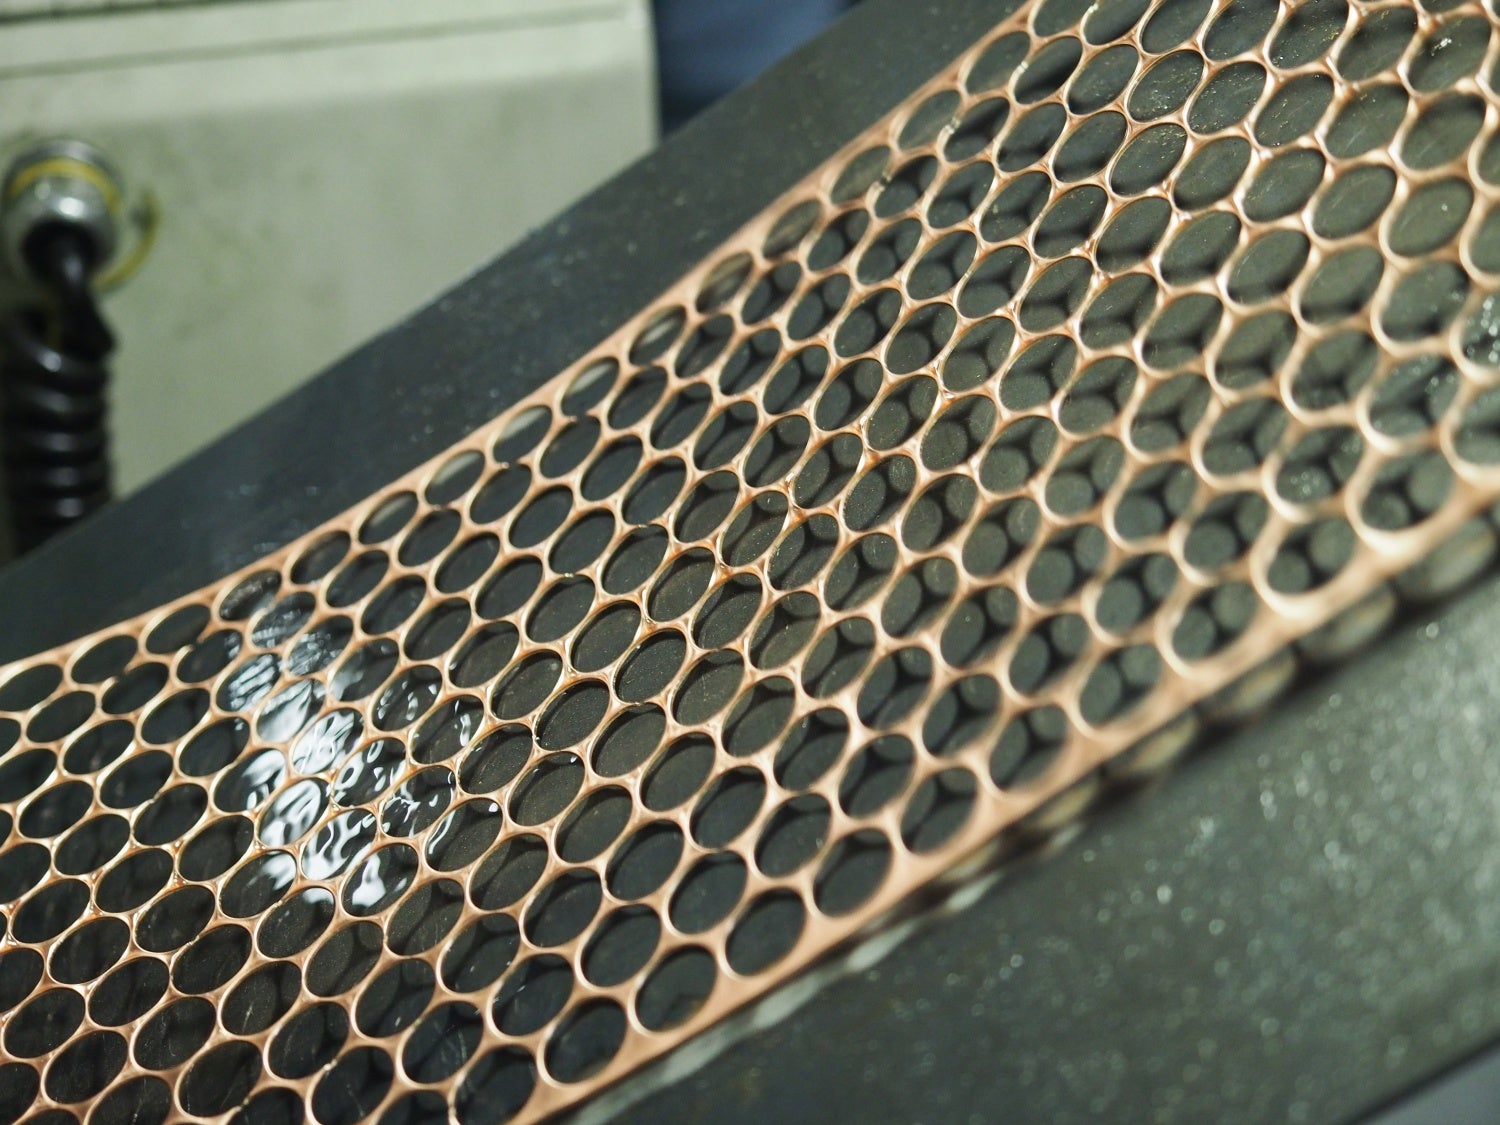
holes left from portions of copper being punched.
Copper pieces which will be formed then used as jackets for .223 rounds.

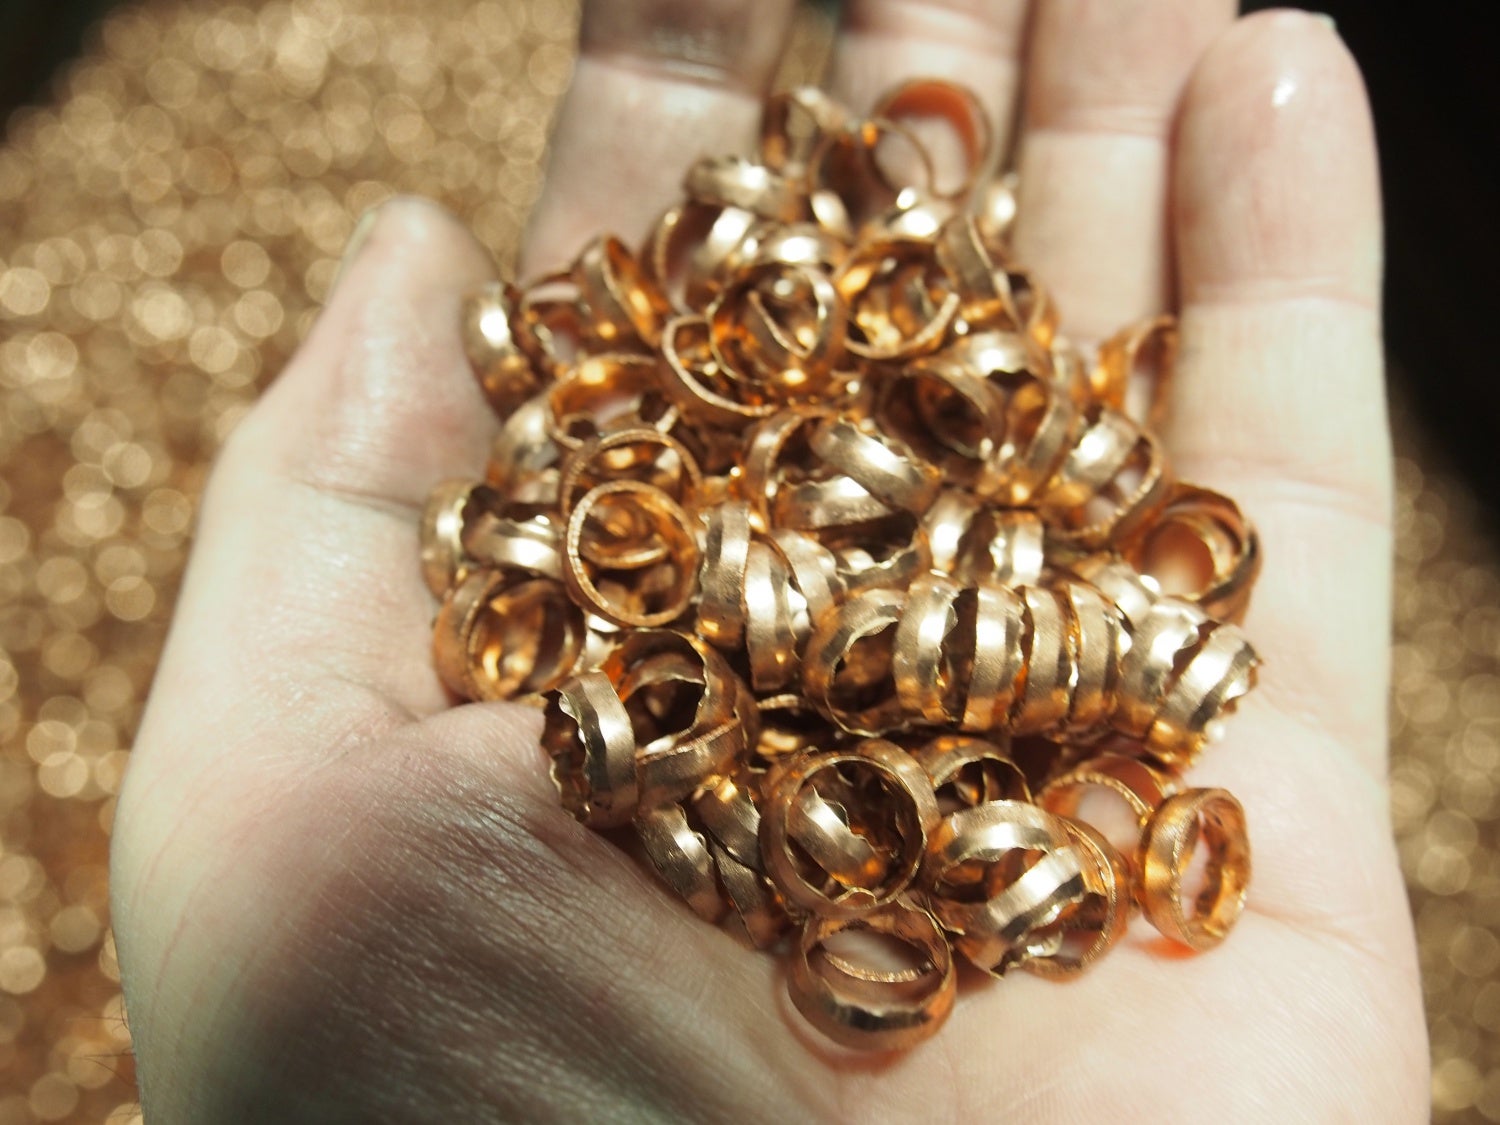
Copper scrap—very sharp!
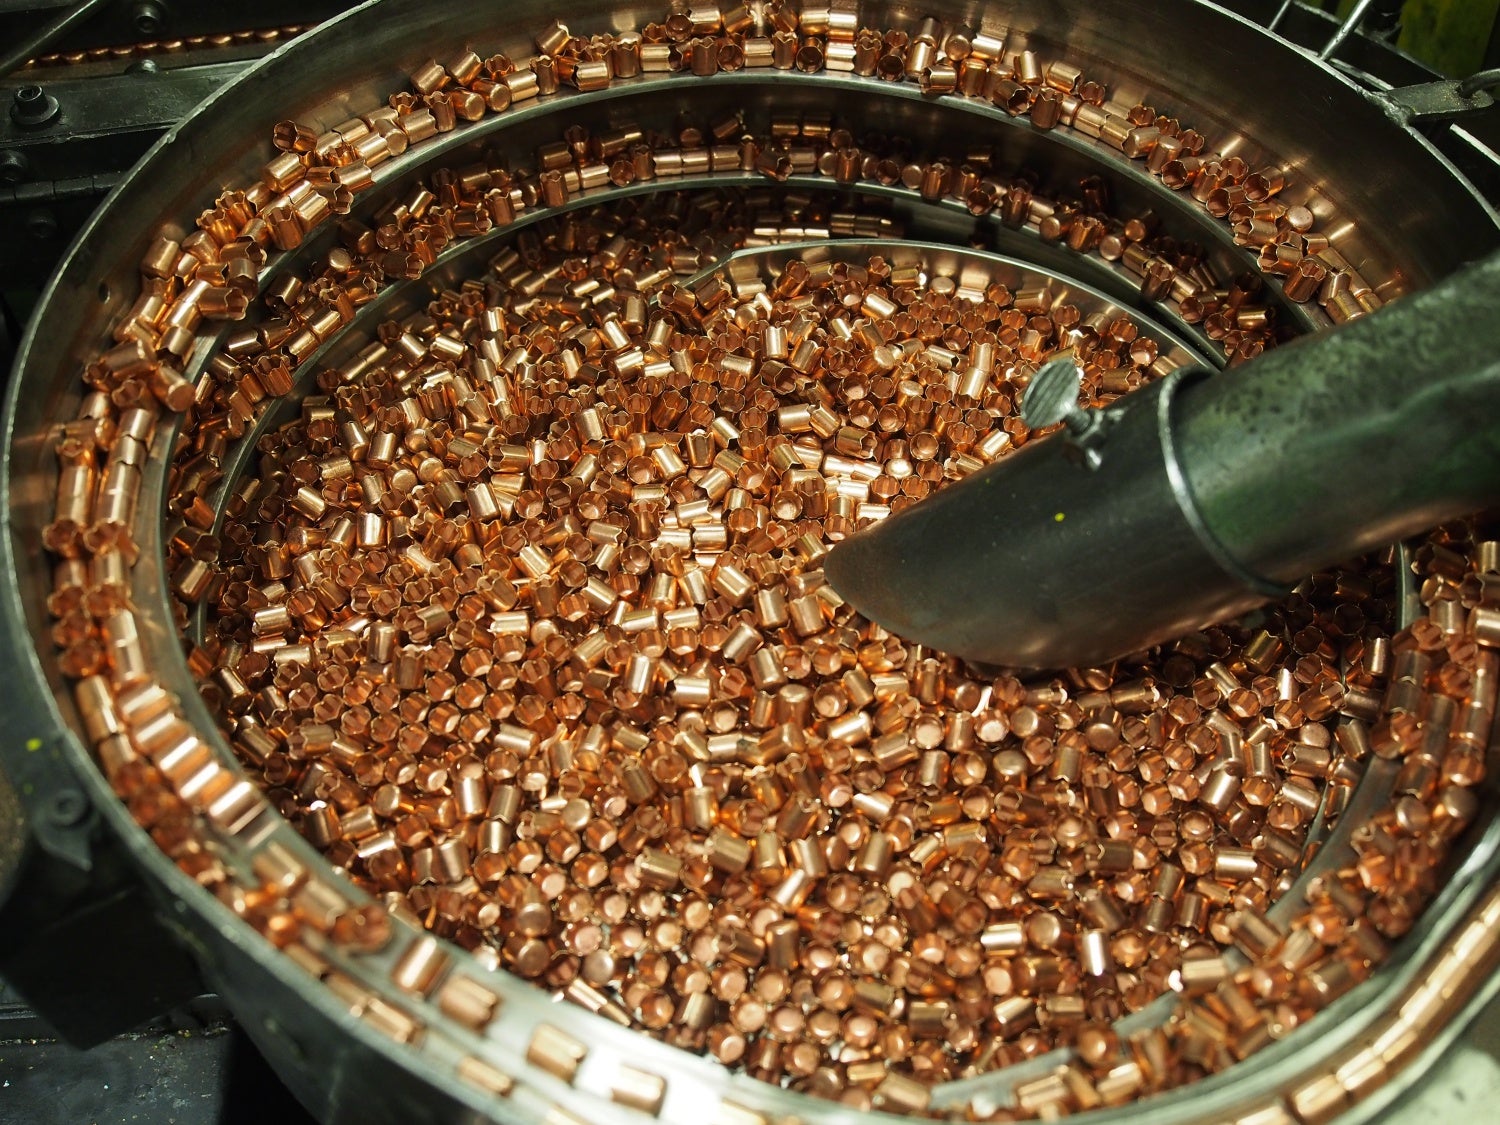
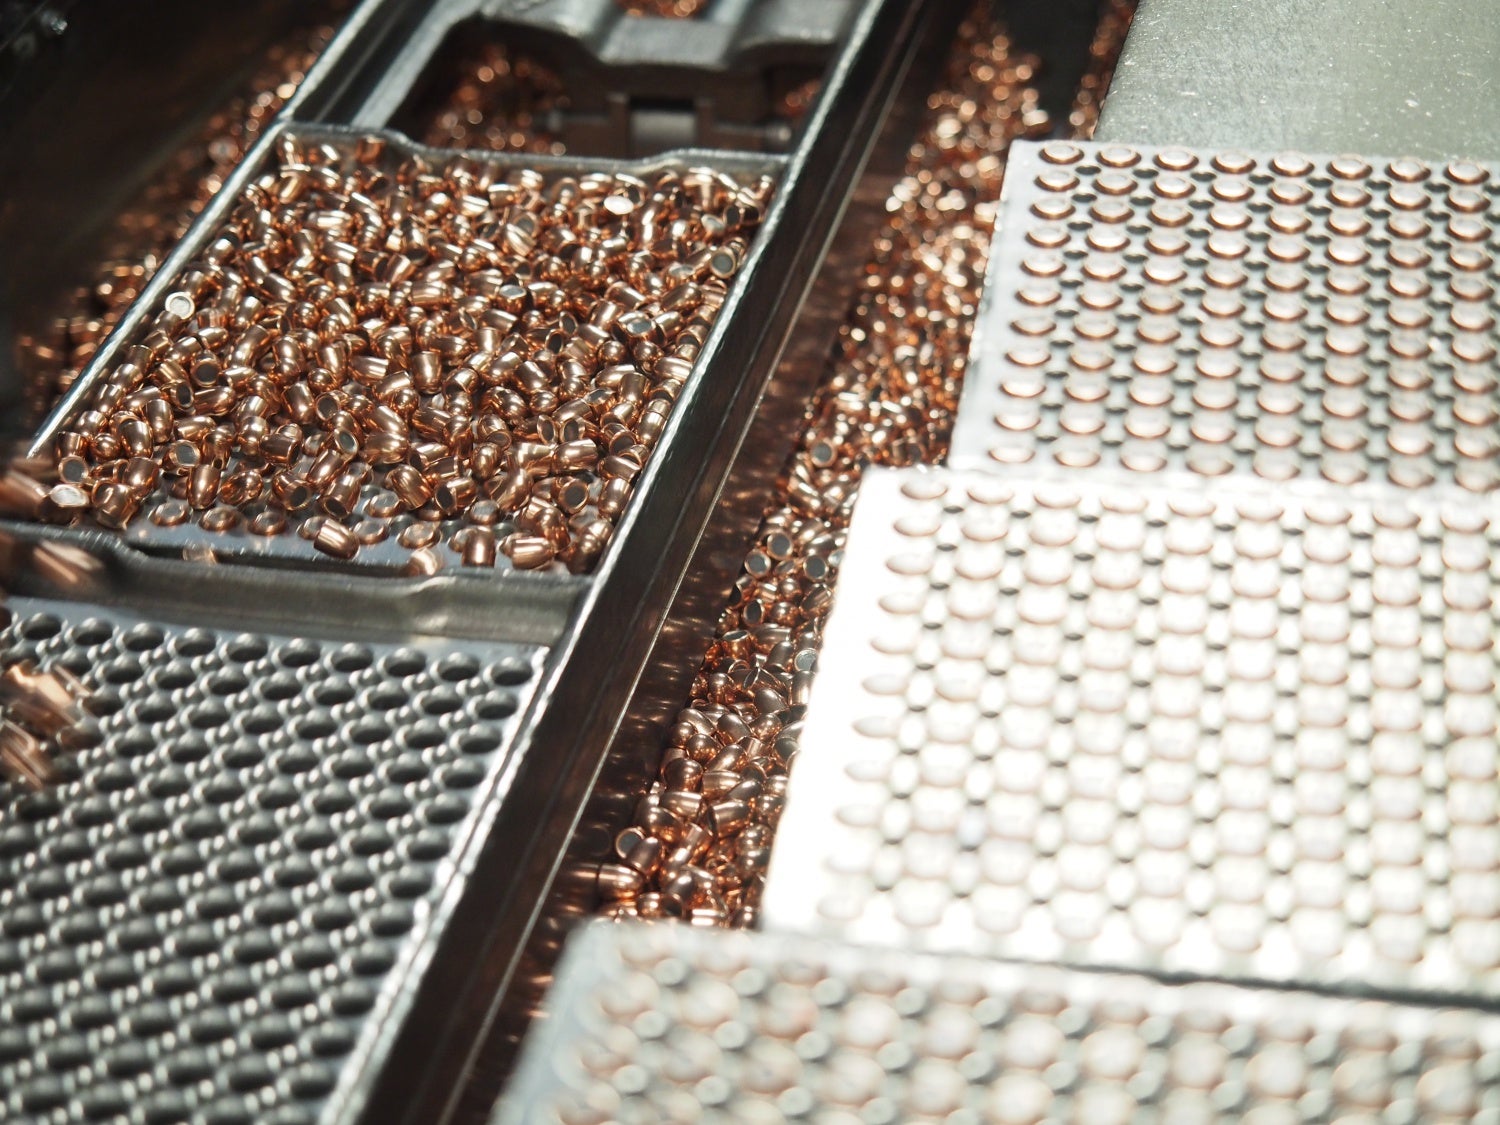
A container of jackets in the stages of forming.
The coils are fed into a machine that punches out circular pieces of copper which will later be formed into the proper size for FMJ .223 bullet jackets. The photo above shows how the copper is fed through the machinery while the second photo shows the pieces being punched out into a holding bin while the excess copper goes into another bin as scrap which will later be recycled.
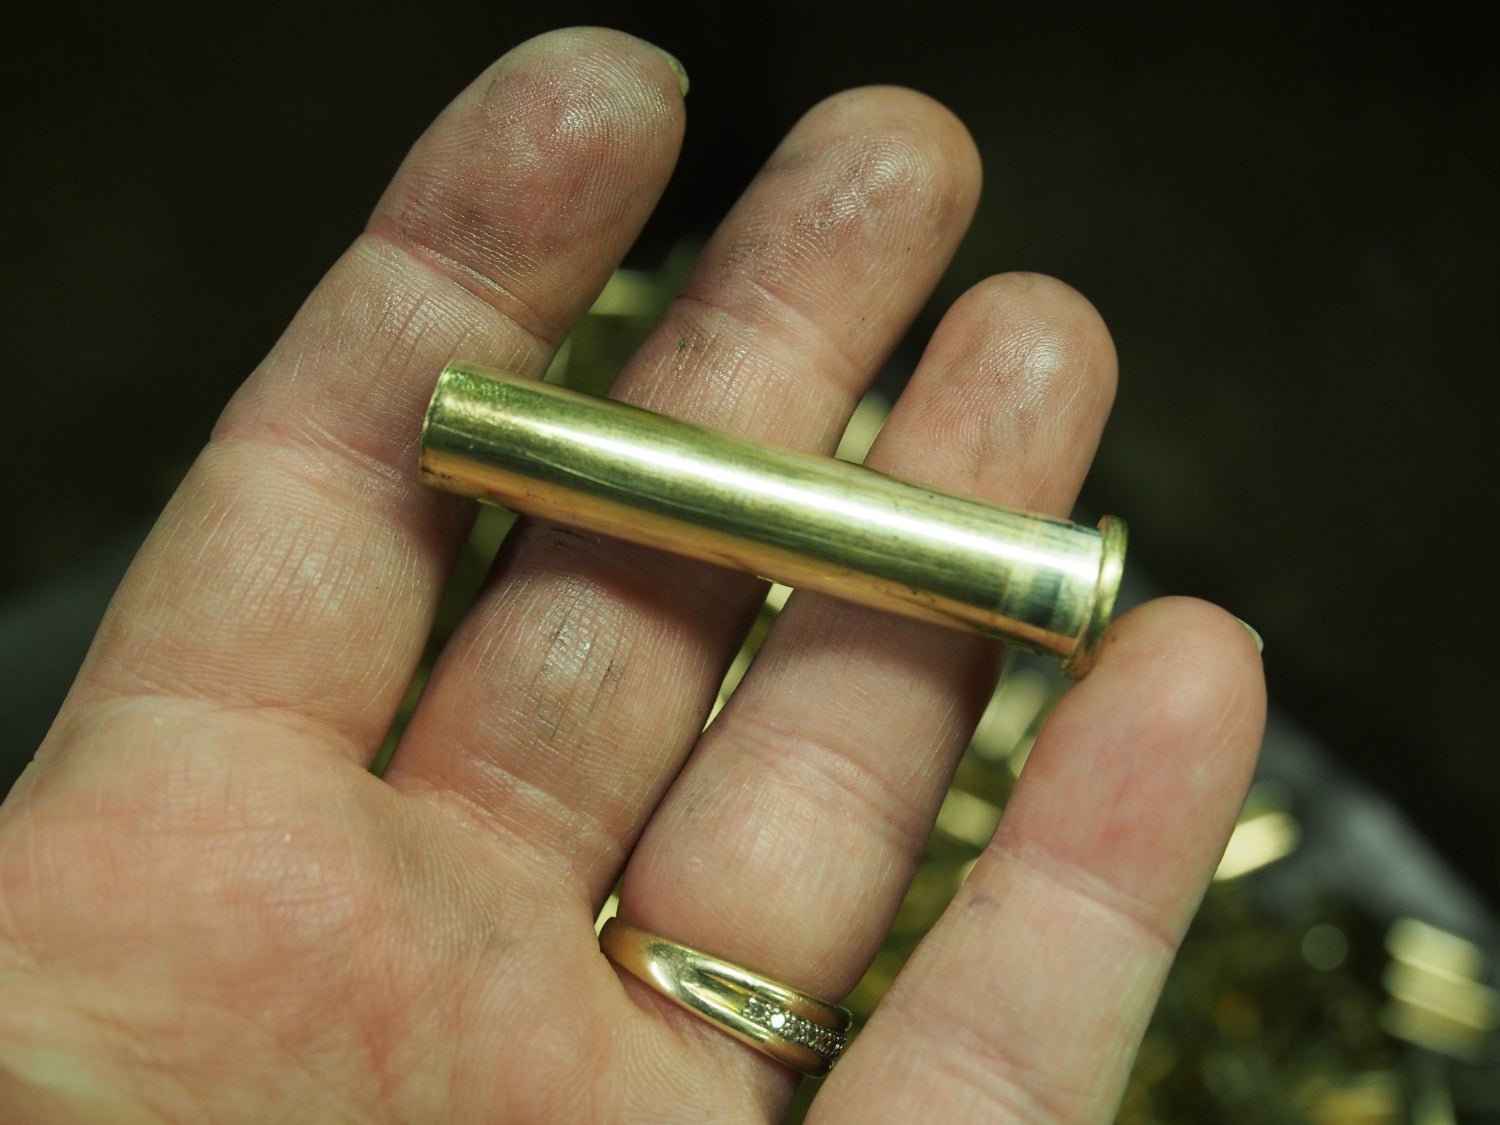
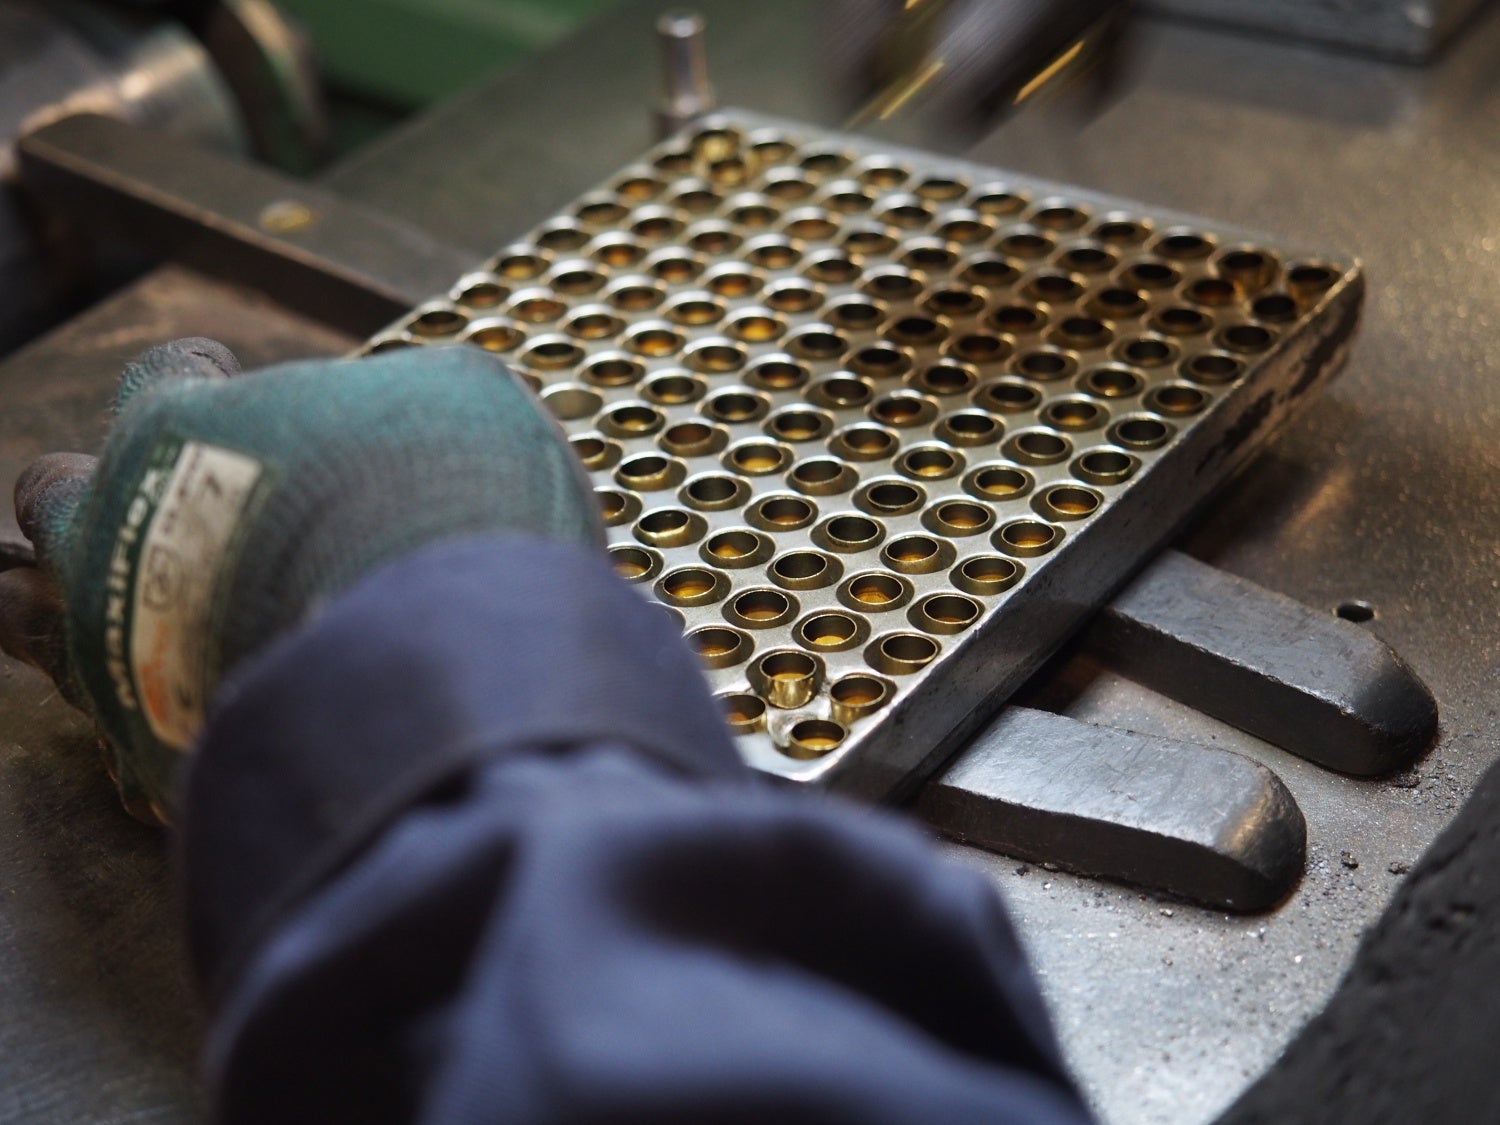
Moving along we were taken nearby where brass is formed, primer holes bored and the brass is annealed and necked down to fit a .223 bullet as well as .303 British on this particular day.
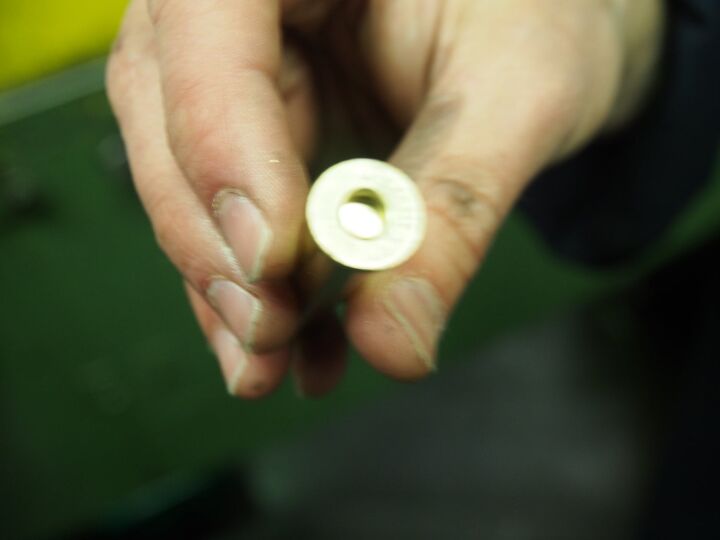
This brass case is in .303. It still has straight walls and the primer pocket is yet to be punched out.
Another view of the unfinished brass case.
As the brass cases moves down the line they eventually come to a machine with a rotating plate that creates the primer flash hole then heats the brass in a natural gas flame where the case is necked down and the case annealed. It was also interesting to note with the .223 brass the cases and eventually the completed rounds intended for the military are not polished. All cases are left with the annealed finish on. Those rounds intended for civilian use are still annealed but after that process they are highly polished. It seems the military wants visual proof that their ammo has been annealed while civilians want their brass nice and shiny!
Just a note here on annealing for those who may not be familiar with this process. Annealing is the process of applying heat to metal or glass which is then allowed to cool slowly in order to remove internal stresses and toughen the material being heated. Annealing also leaves a matte finish on the brass.
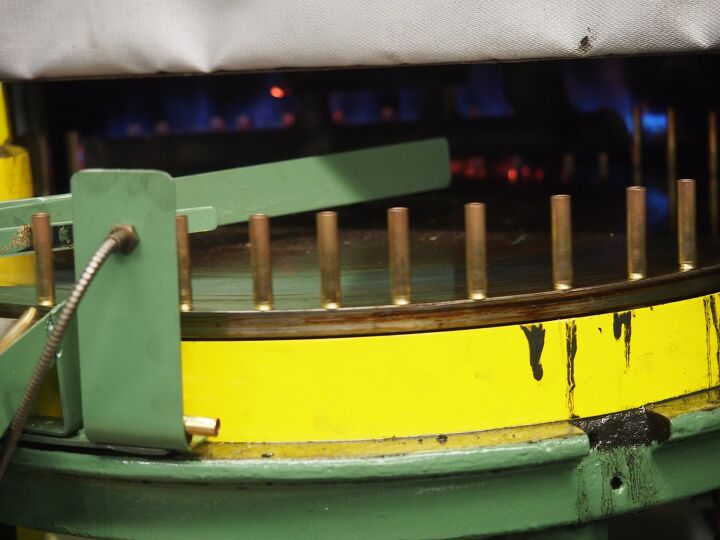
Station for annealing
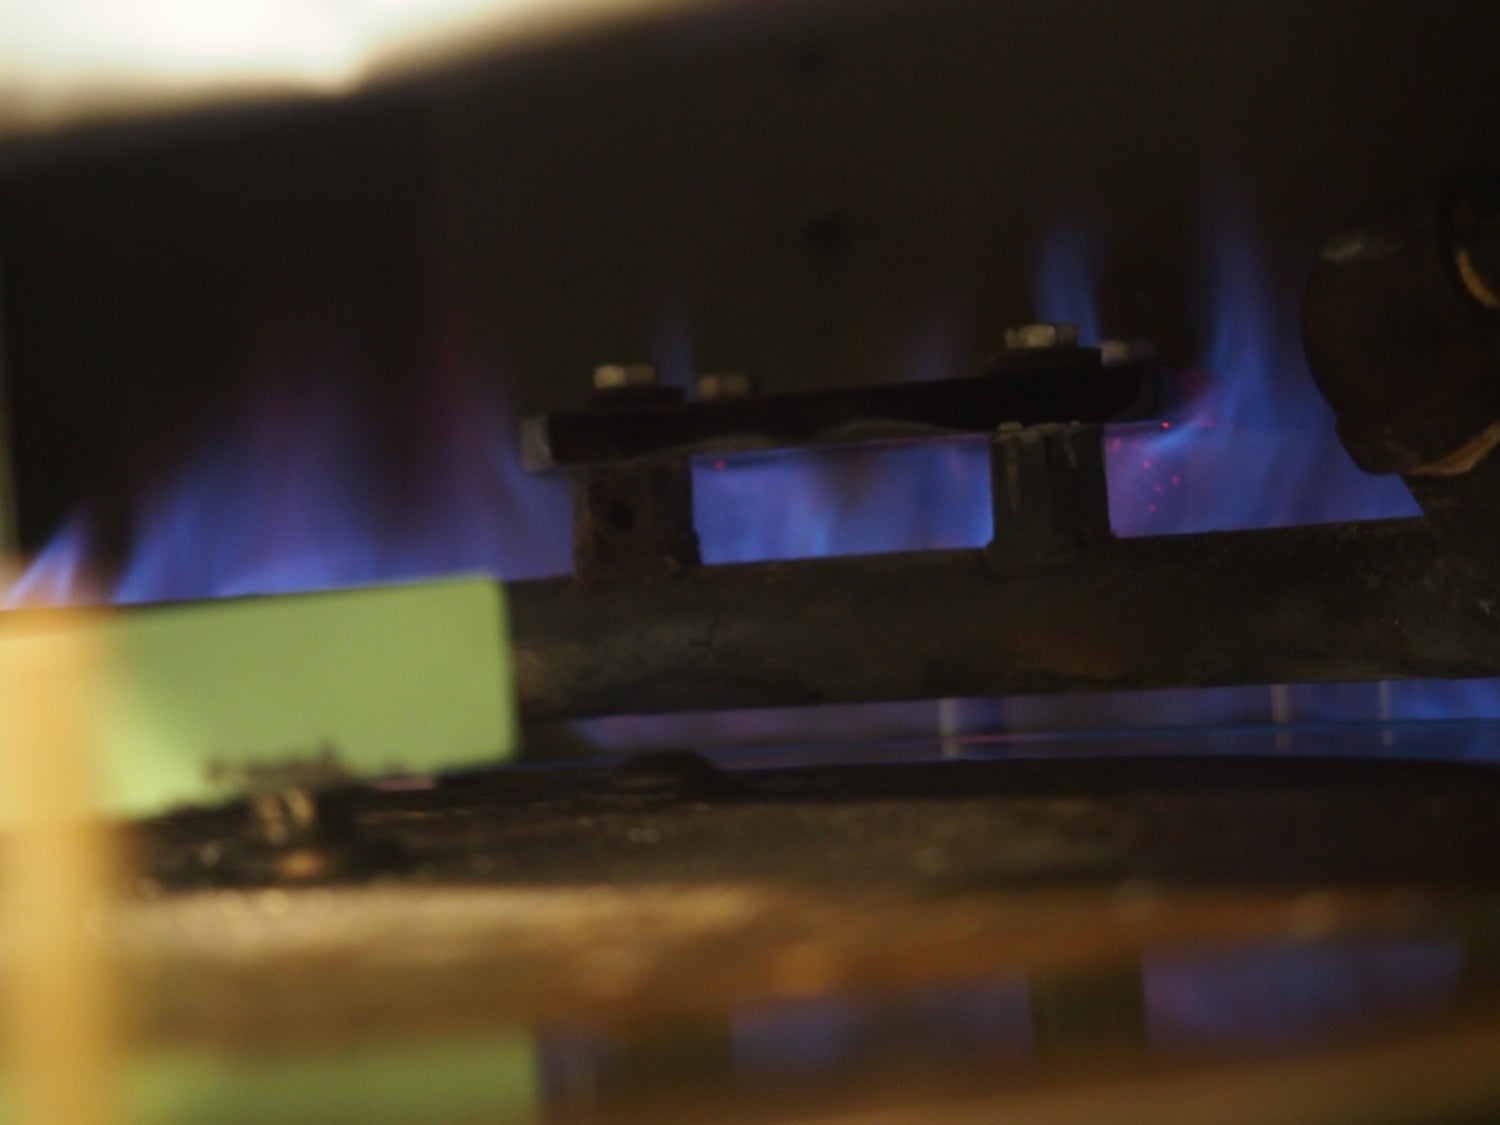
In this photo you get a better view of the gas flame heating the brass.
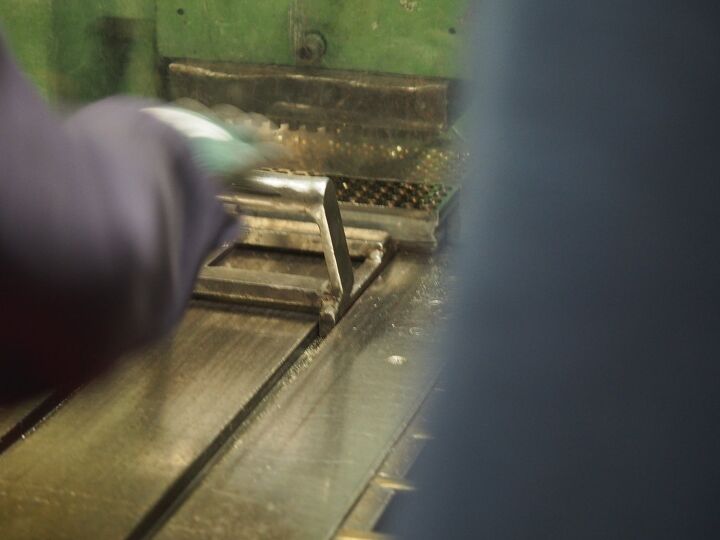
Cases being necked down after the annealing process.
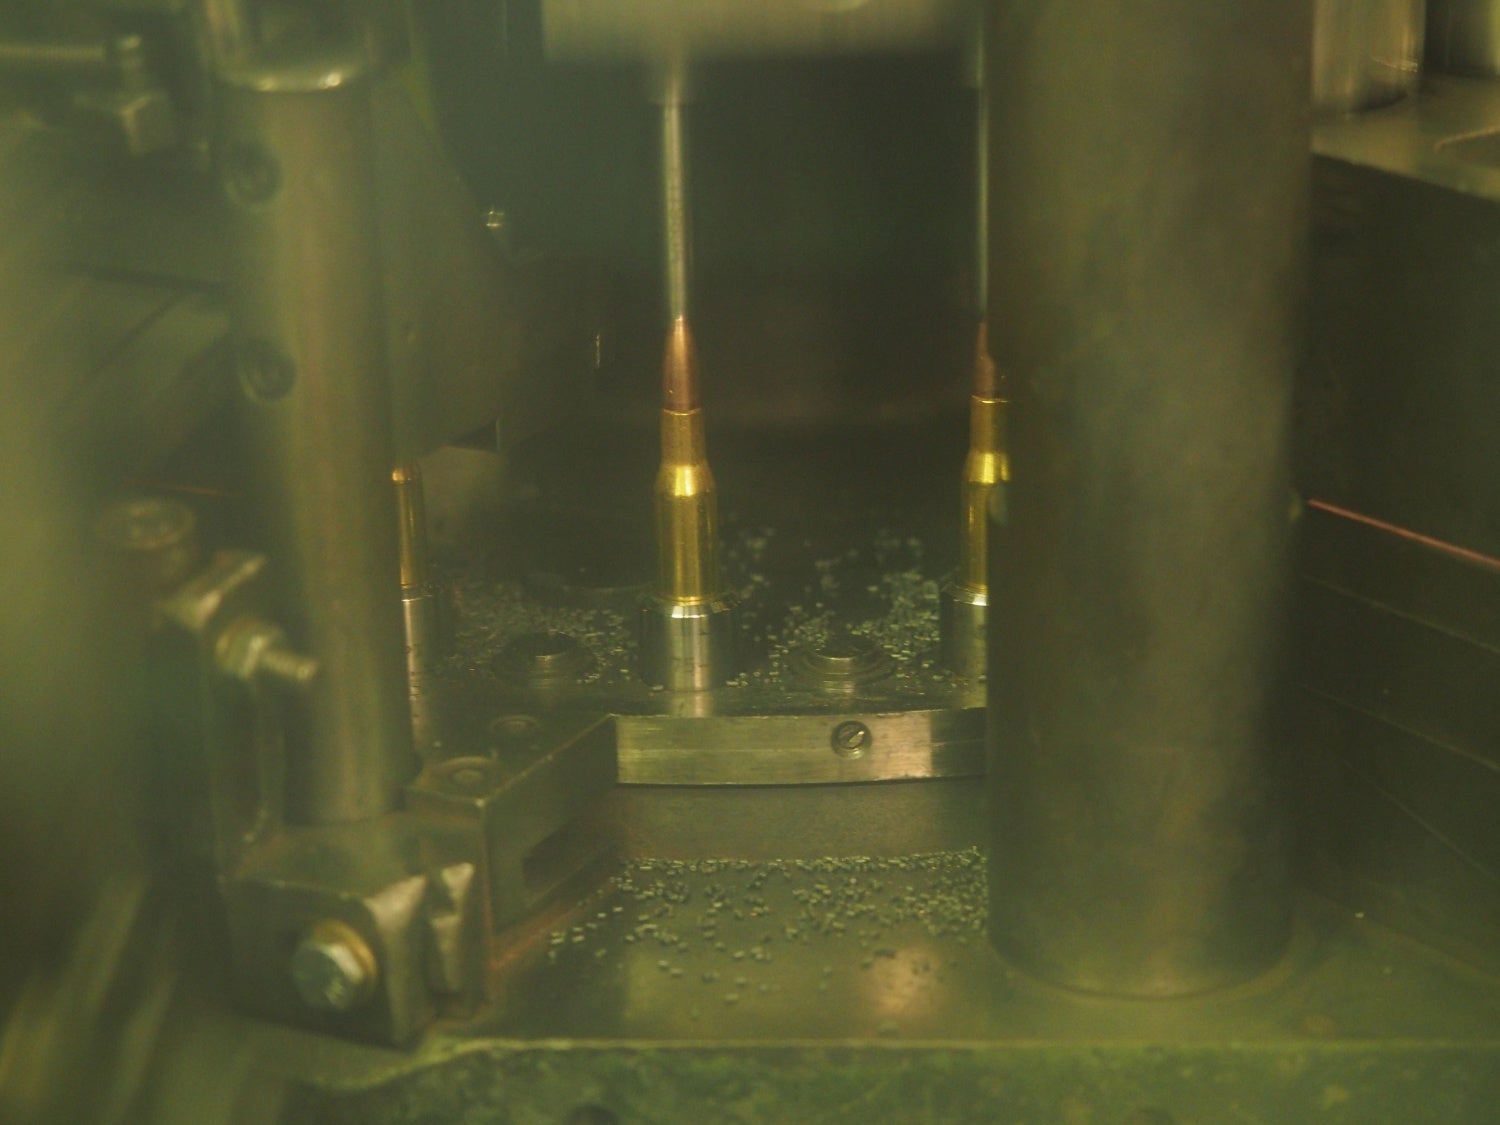
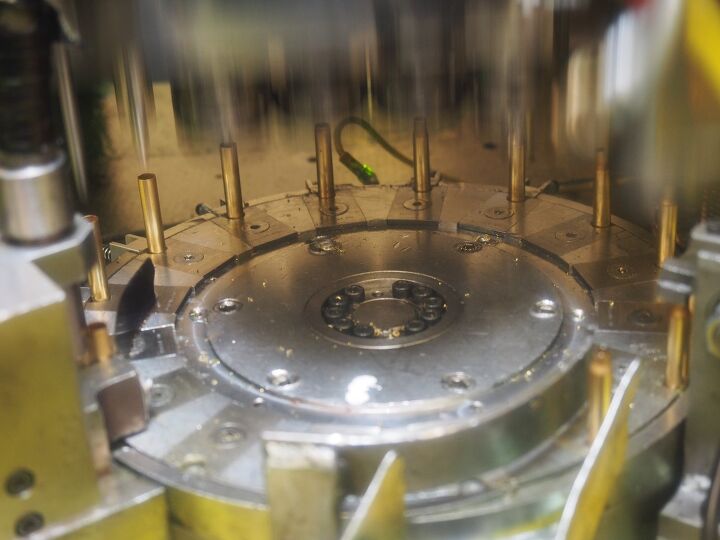
The next step seating the bullet after the brass is charged with powder.
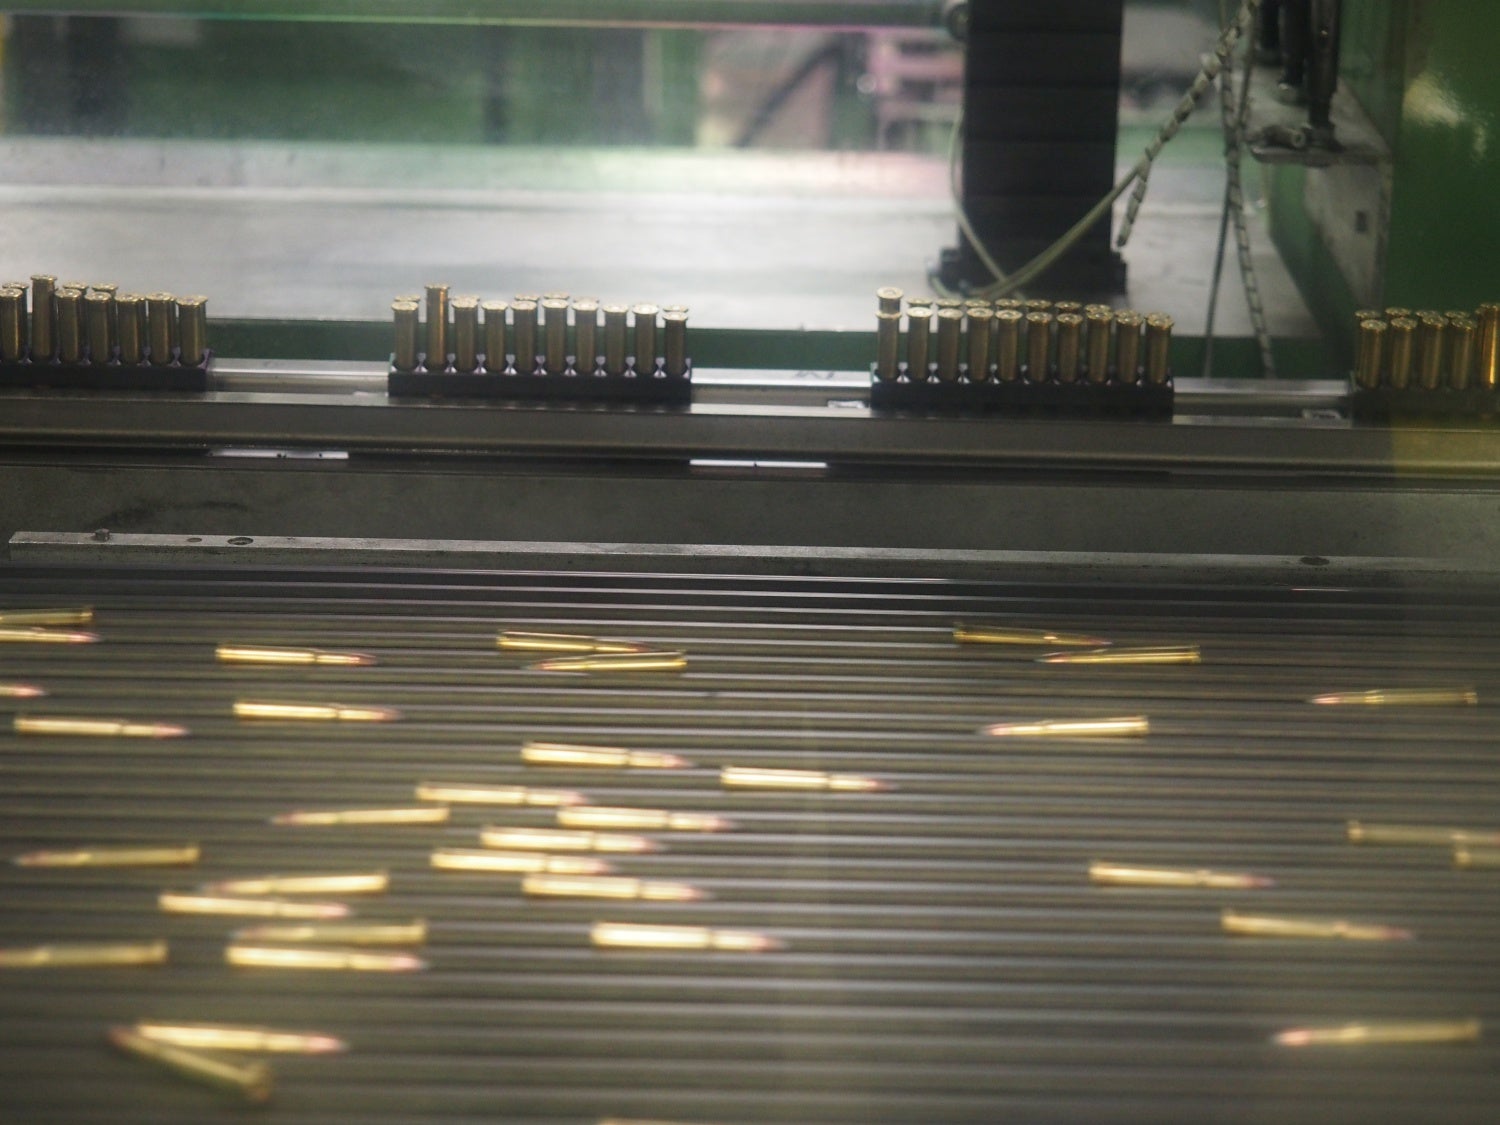
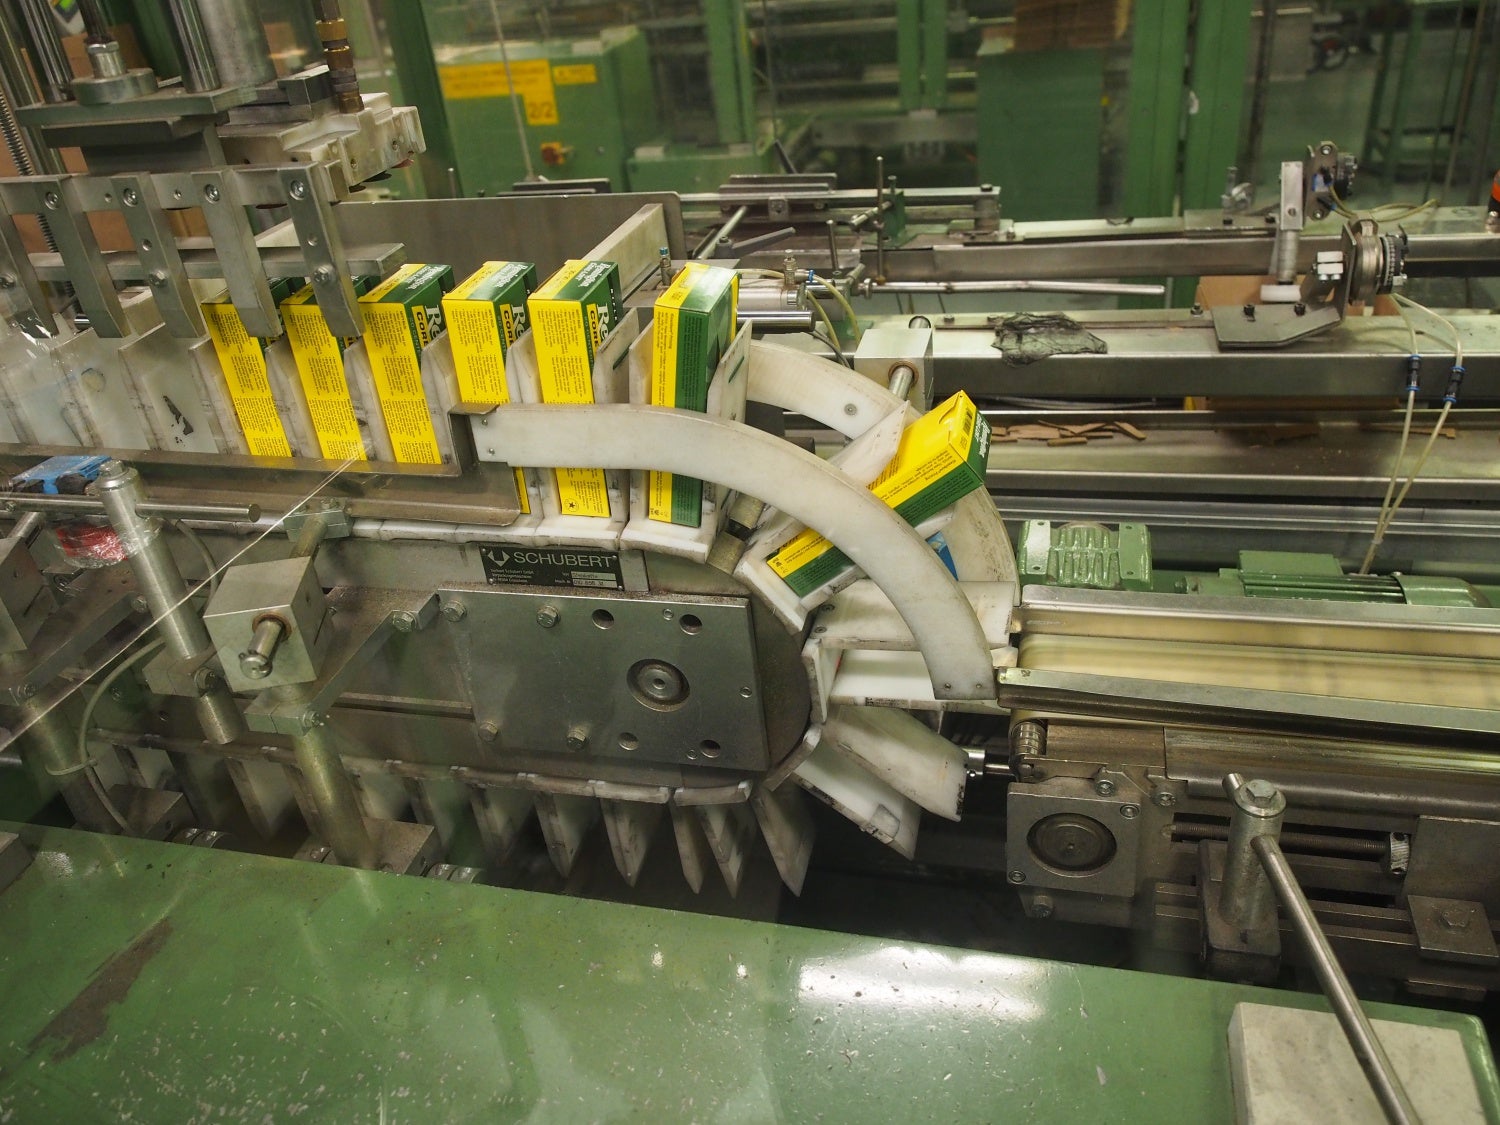
The next step in the process is QC inspection. There is one employee sitting in front of the conveyor belt using bright light and magnification to check the rounds as they pass by on the way to packaging for shipment.
Completed rounds on the conveyor belt being picked up by a robotic arm which then places each round into the plastic tray, which when full, goes into the box you later purchase.
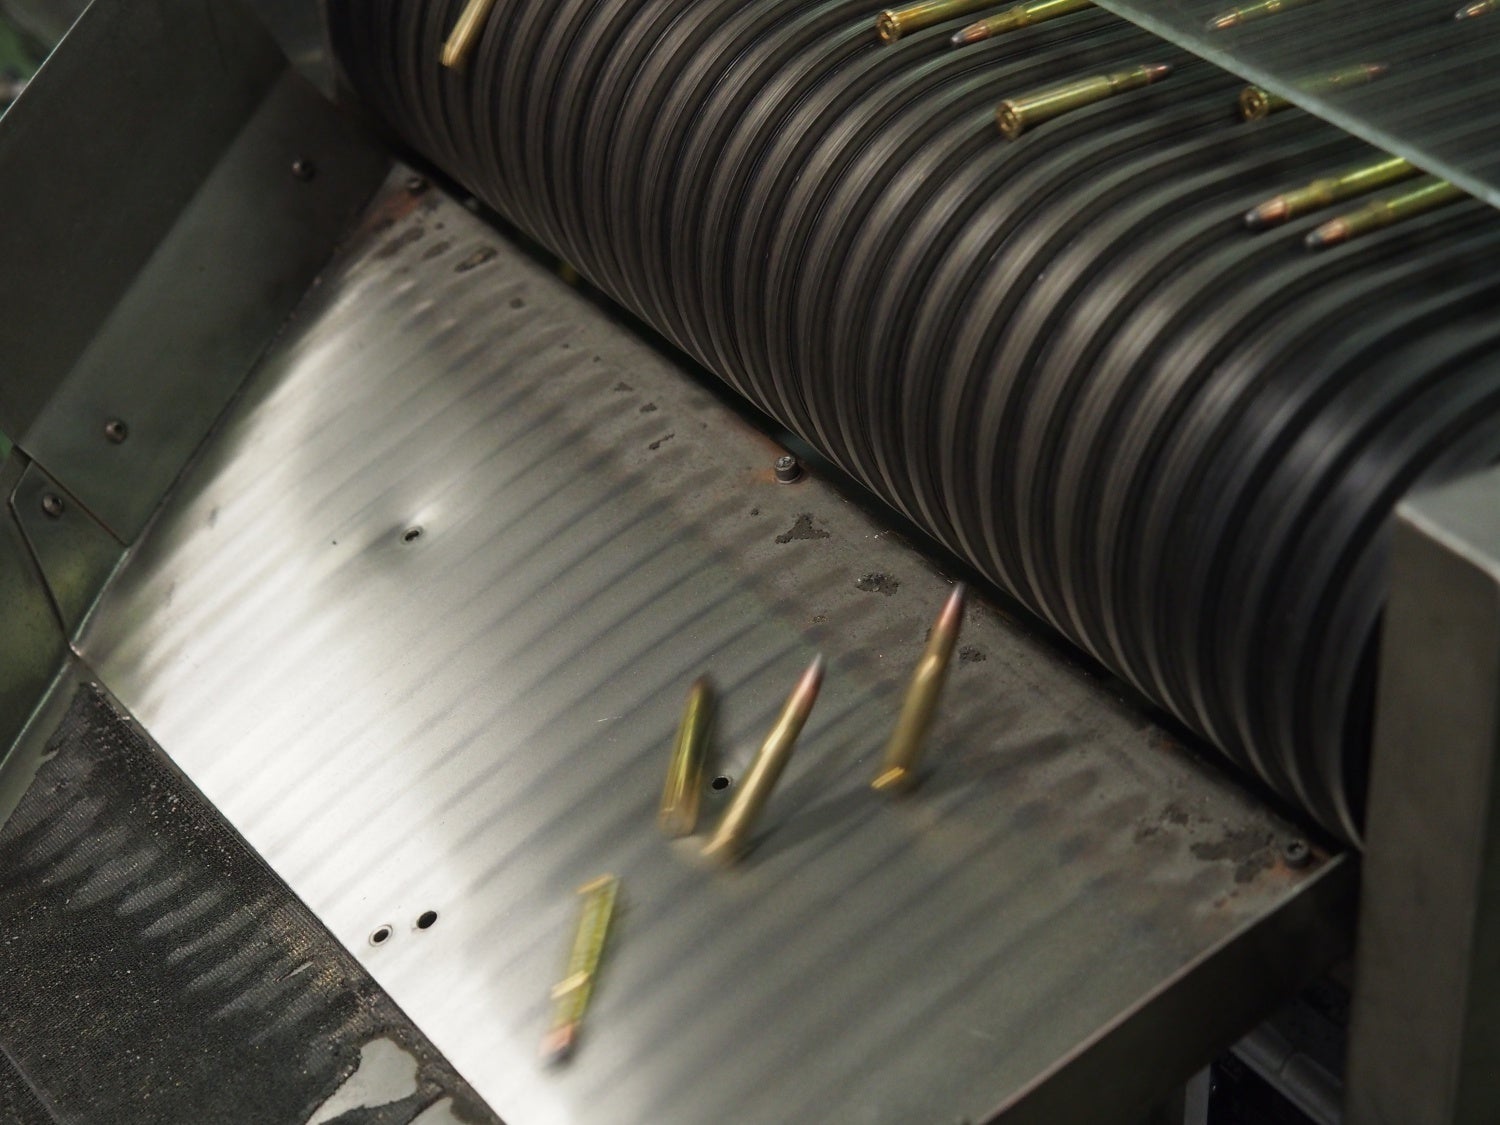
Rounds dropping down to another level for packaging.
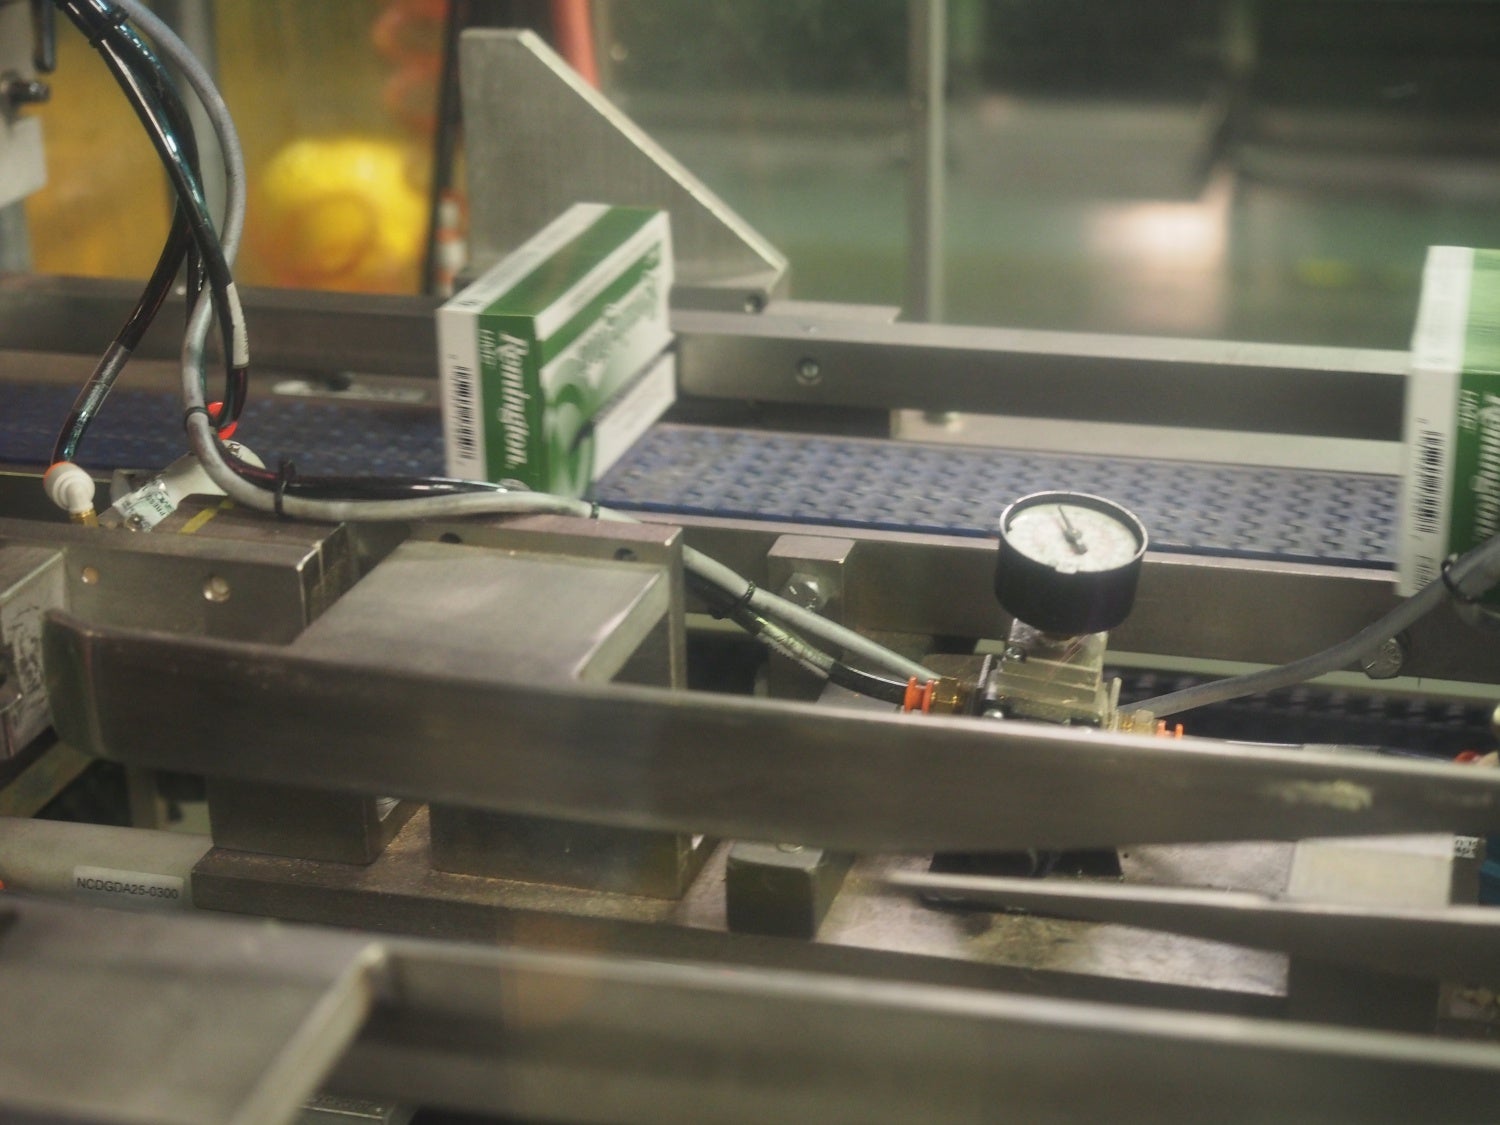
The next series of photos shows individual boxes being packed into larger boxes for shipping. Once the larger box is full a robotic arm picks the box up and moves it onto a shipping pallet. The computer knows when the pallet is full moves it out and starts on another pallet.
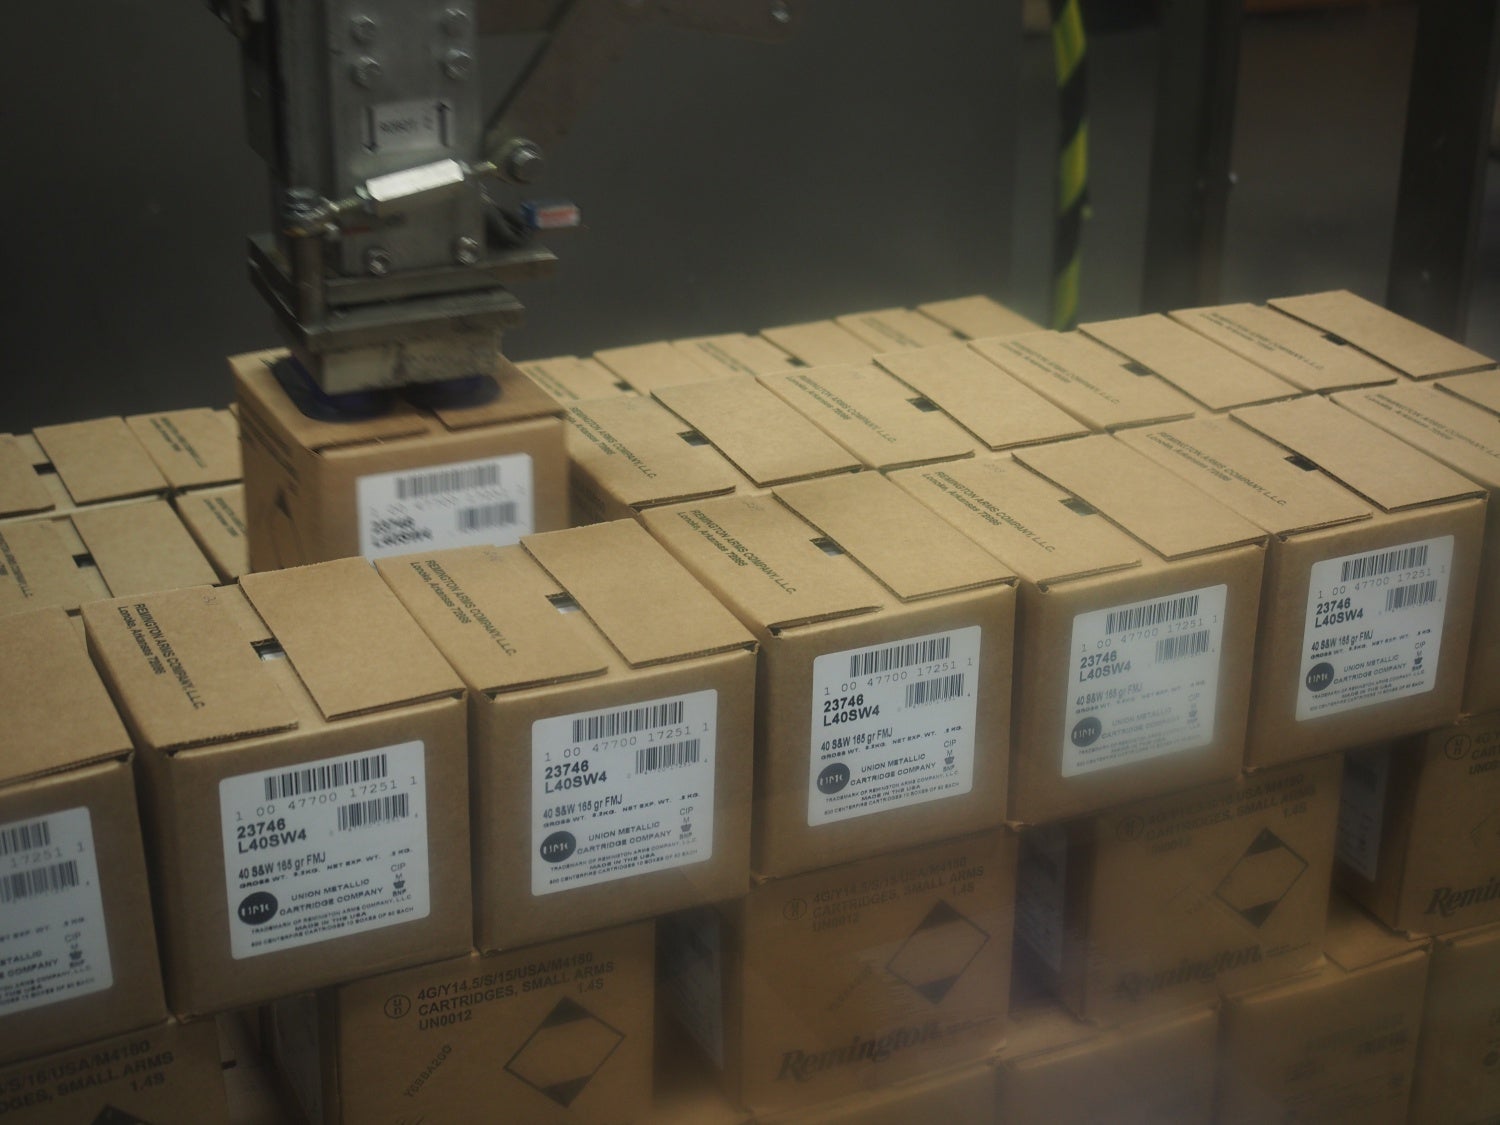
Robotic arm loading cases onto the pallet.
So, these are the steps from start to finish for the rifle rounds being loaded that day. Before I complete part 2 of this 3 part series let me show you another area where employees are loading pistol rounds which in this case are .380s. The machine that actually charges the cases, primes them, seats the bullet and finally the loaded rounds are ejected from the trays into a holding bin. The machine is so huge and does so many steps it takes 5 employees working on this one huge tool.
loading these rounds uses two trays. One tray with the brass and one with the bullets.

Trays are placed in front of these railed slides where the machine seats the bullets all in one stroke.
Employee pushing the trays into the machine where the bullets are seated in the cases.
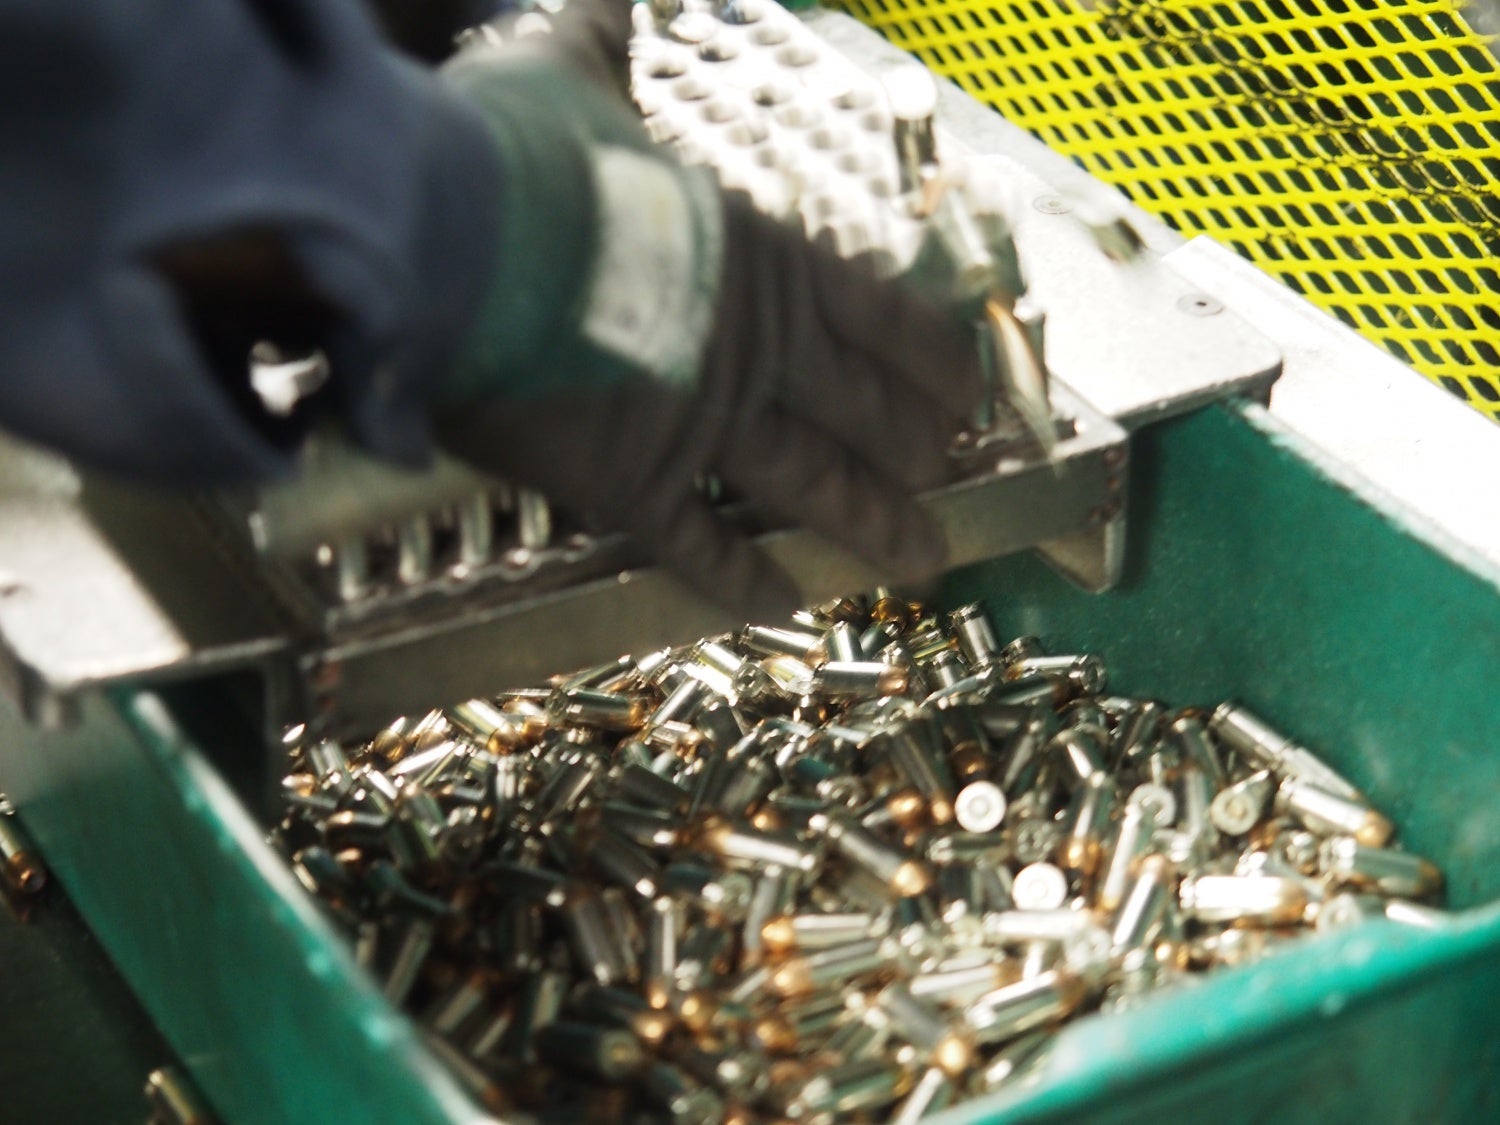
Once loaded the rounds go into the holding bin.
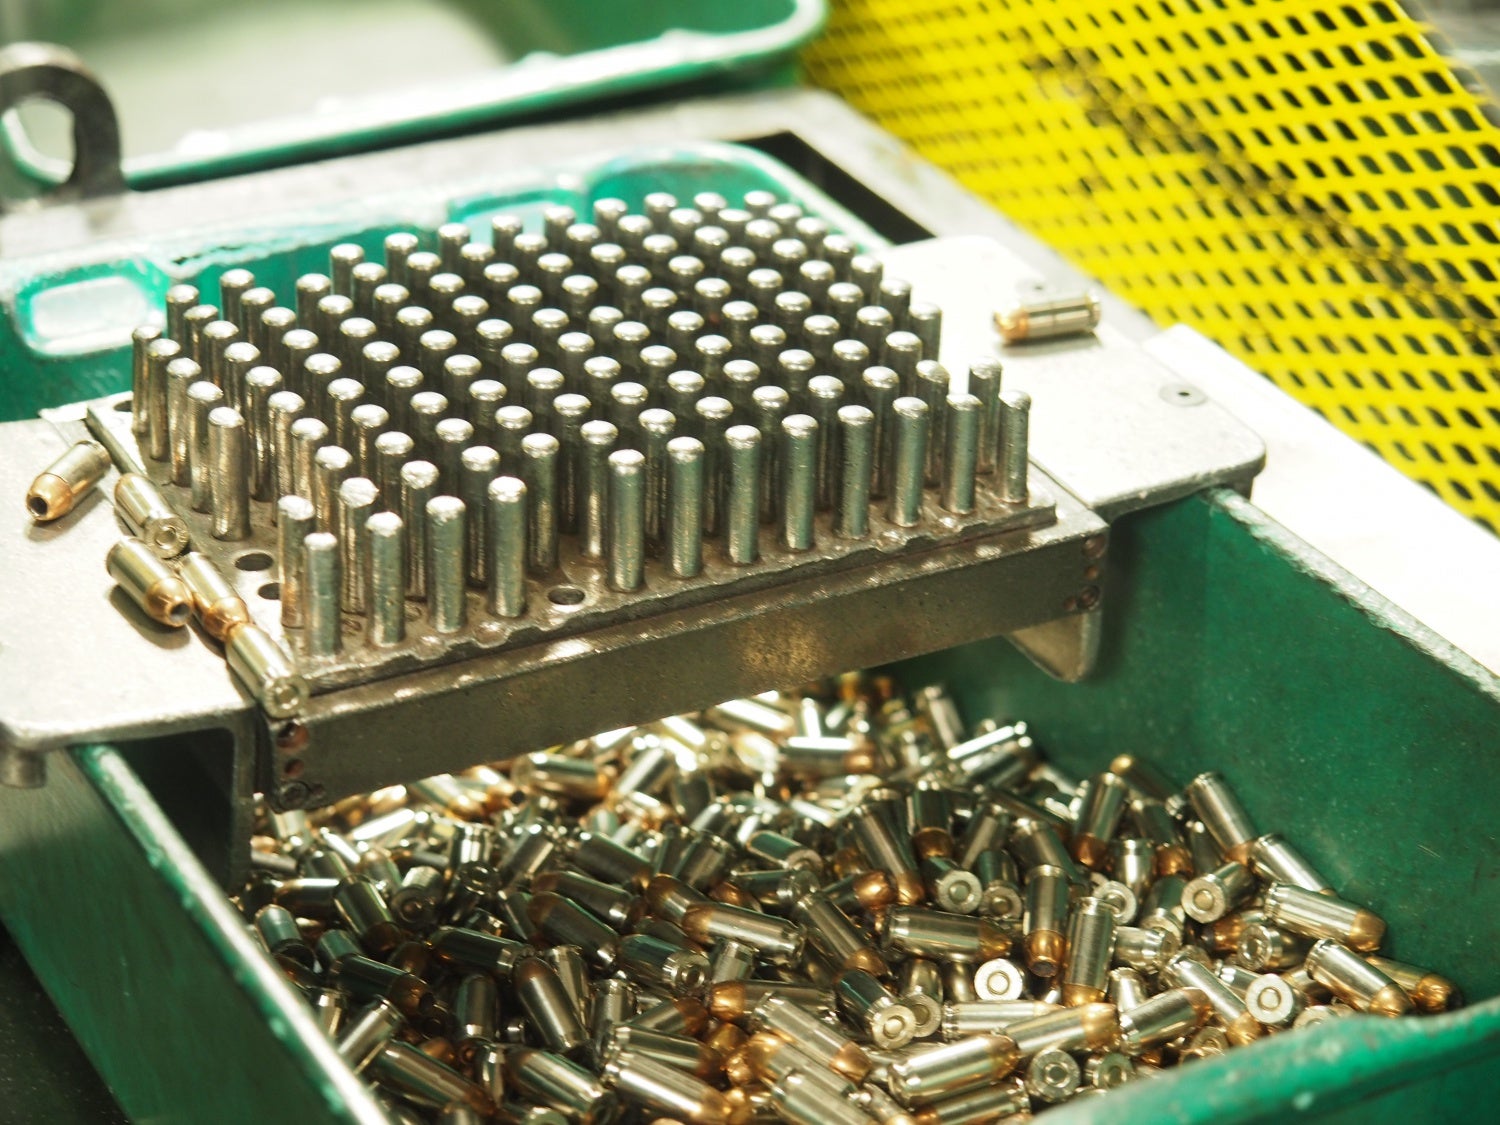
Many many loaded rounds!
This completes part 2. In part 3 next week I’ll take you through the steps from raw materials to completed shotgun shells. Personally I found this process to be very interesting. From making the plastic shells to the shot tower, sorting and storing shot to the finished shells in several gauges I believe you’ll enjoy it! In the end we sample the shotgun shells on the trap and skeet ranges at the Remington Gun Club and shoot the Remington 1100 20 Ga, Versa Max 12 Ga. and V3 12 Ga.