Your Privacy Choices
Before you, dear readers, bemoan the fact that we are reviewing air rifles, please allow me to mention that this air rifle (yes, “rifle”) can output over 85% of the energy compared to 22LR and the ammo costs less than 5 cents a shot. Got your attention? So, does the output and cost does that make this the ultimate squirrel killer or survival rifle? Read below to find out.
Author’s Note: This review is from a gun-guy’s perspective. I am not an aficionado of air rifles, but do keep an open mind to them.
AirForce and The Escape
AirForce, out of Texas, was the first manufacturer of Pre-Charged Pneumatic (PCP) airguns in the United States. PCP airguns are different from “springers,” “piston,” or “break-barrel” airguns as it uses a pre-pressurized power source instead of the mechanical action of a spring pushing a piston. PCP airguns have been around a long time, with some models going back to the 1600s. In fact, Lewis and Clark had PCP rifles during their travels to the Pacific: the Giradoni air rifle (NRA video). For those curious, Forgotten Weapons has posted up a detailed breakdown of the Giradoni rifle and its workings.

The Giradoni air rifle. A similar model was used by Lewis and Clark. Like the modern AirForce rifle, the buttstock is the air tank, although at considerably lower pressure (~800-850 psi).
PCP’s have notable significant advantages over mechanical pellet guns as they are shorter, facilitate quicker follow-up shots, can attain higher velocities, and with good parts are more consistent. There are two typical layouts of PCP rifles:
- The power source is behind the action, typically as the buttstock (like the Giradoni rifle) or as part of the buttstock (like the AirForce models)
- The tank is mounted below the barrel. Typically, the tank is long and slender closely matching the barrel profile.
The Crossman Marauder, an example of a typical over/under design.
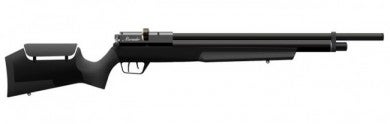
AirForce first announced the Escape series at SHOT 2014 is Las Vegas. The three rifles are aimed at the hunter and survivalist crowd, prioritizing weight, size, and flexibility. There are three models available, the Escape (full-length 24″ barrel), EscapeUL (18″ barrel), and the EscapeSS (12″ barrel with built-in sound baffles). The Escape models are available in only .22 and .25 calibers, as smaller calibers would be too light for the high air flow.
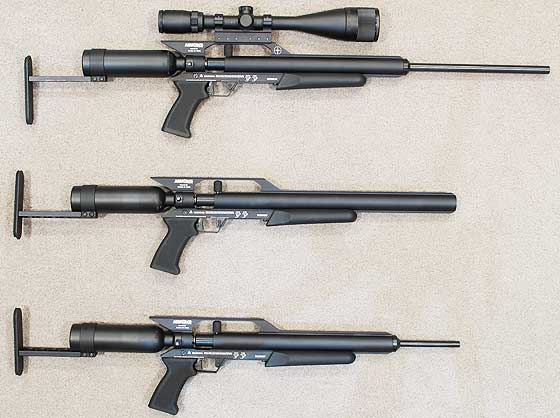
The various Escape models. From top to bottom: Escape, EscapeSS, EscapeUL. Photo courtesy of PyramidAir
The Escape series is the result of an atypical collaboration of Ton Jones (of Auction Hunters fame) and AirForce’s owner John McCaslin. During a hunting trip, Ton and Jon discussed survival rifles. Nothing then on the market had met Ton’s needs for a rifle that combined accuracy, power, and the ability to go “off grid”. John and Ton worked close together to hone the Escape line.
The Escape rifles were designed with compatibility in mind. The Lothar-Walther barrels are interchangeable with the entire AirForce product line (12″, 18″, and 24″ barrels are available in all three .177, .22, and .25 calibers). From the Condor rifle, the most obvious change is the smaller tank, which is “easier to fill” than the large ones. (Author’s Note: You still cannot fill the smaller thank, even with my 250-lbs frame). The major internal change is that the Escape uses the valve from the TalonP pistol.
Set-Up & Filling
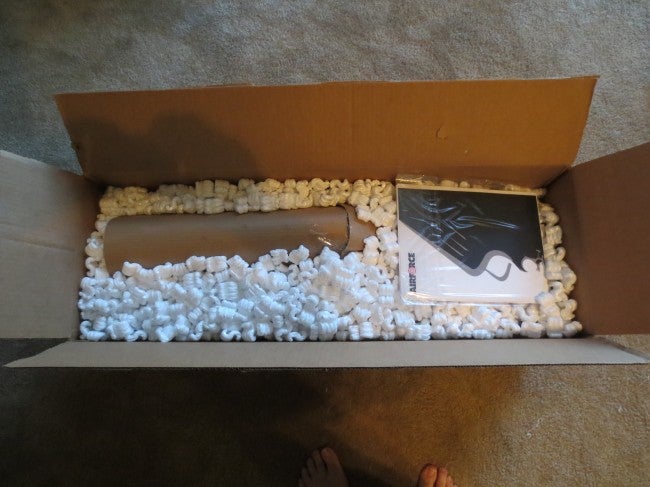
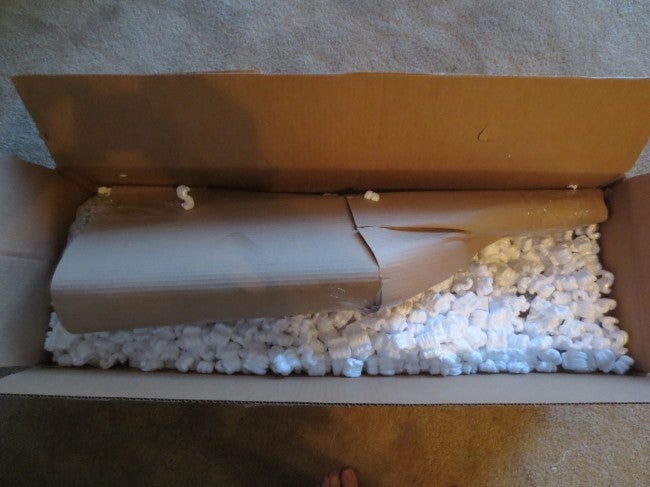
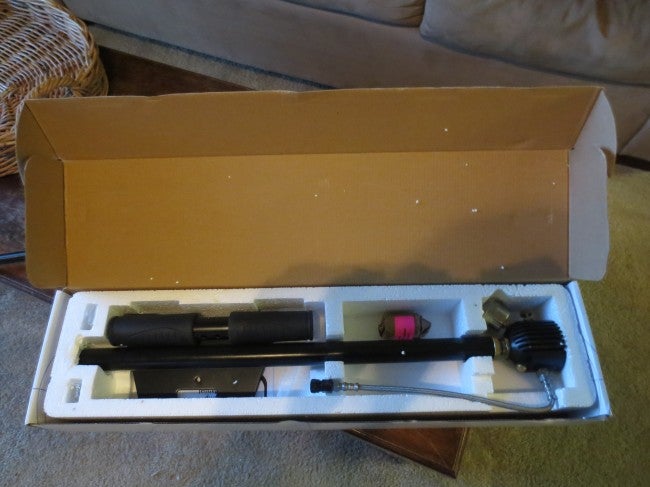
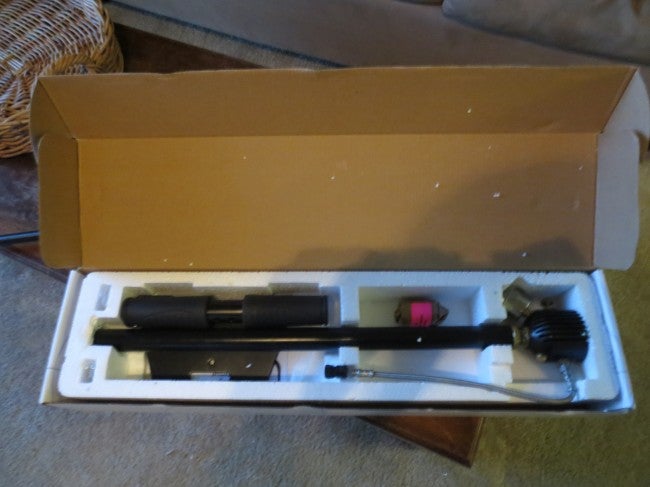
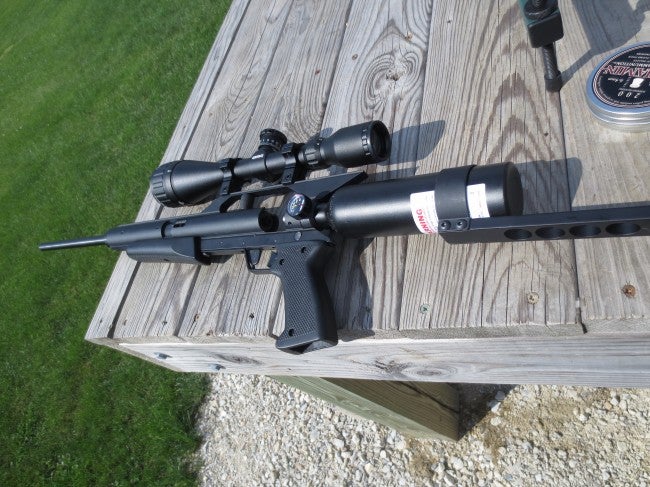
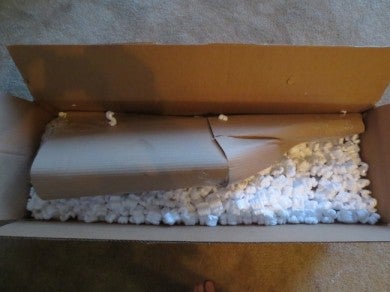
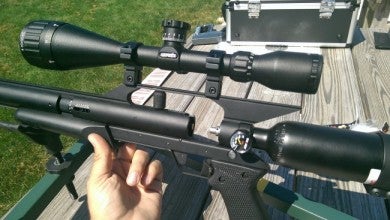
AirForce sent TFB their top-of-the-line .25 caliber Escape with the 24″ barrel & Spin-Loc tank system, a hand-pump, and their 4-16×50 scope. It arrived in a demure box packed to brim with peanuts. The rifle was in a cardboard sleeve, with the scope pre-mounted and the hand-pump in its standard retail box packaging.
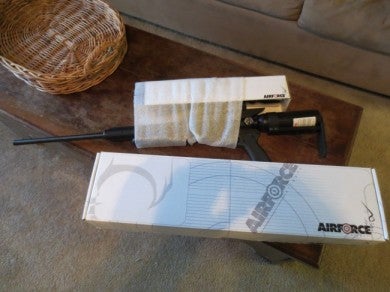
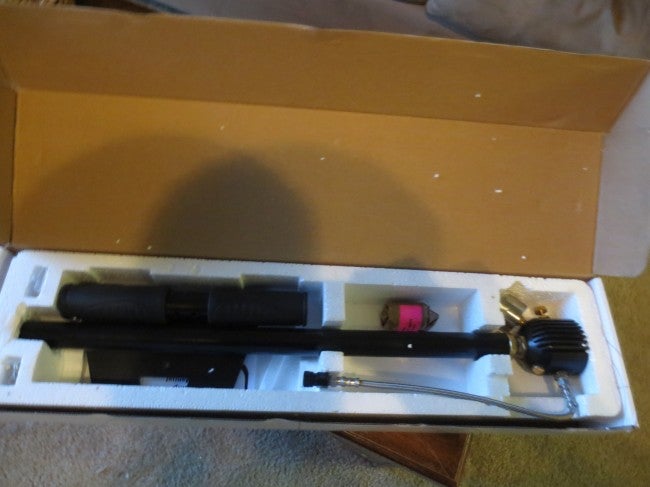
Per shipping regulations, the tank was shipped empty. Since scuba shops are few and far between in the Mid-West, I opted to use the included hand-pump. It arrives unassembled, but its operational in under five minutes with the included tools and screws. The pump is a standard bicycle-style with feet and a long vertical stroke.

The pump, right after opening. It arrives disassembled.
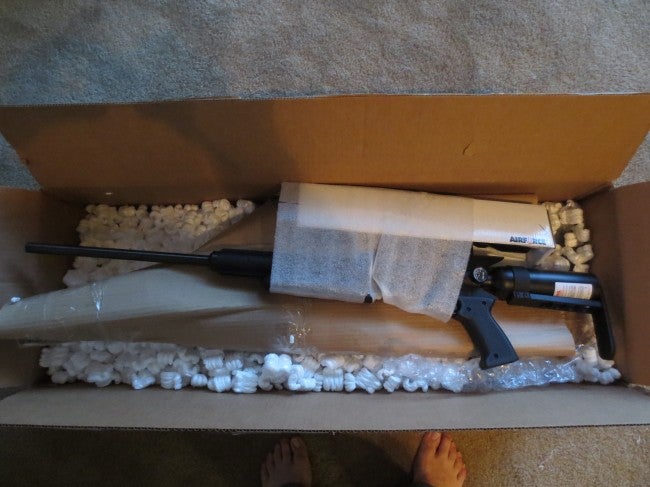
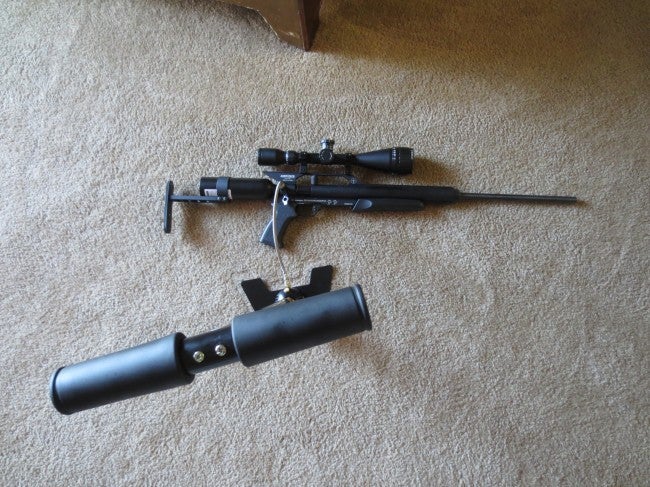
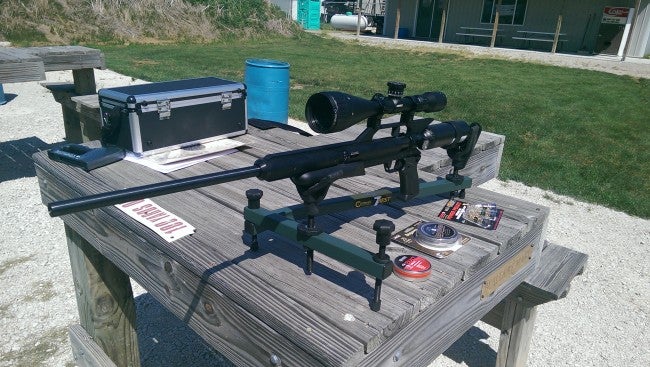
Prior to hooking up the pump, I took a moment to fish the rifle from its packaging. The first two things I noticed was it was long and that it was, aesthetically-speaking, bad-@ss. Fit and finish is fantastic. The matter black was even across all plastic and metal parts and there was no wobble between the receiver, grip, barrel, tank, or scope.
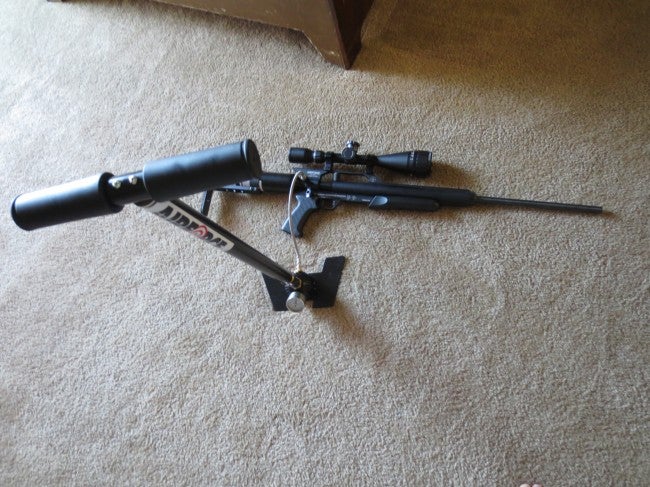
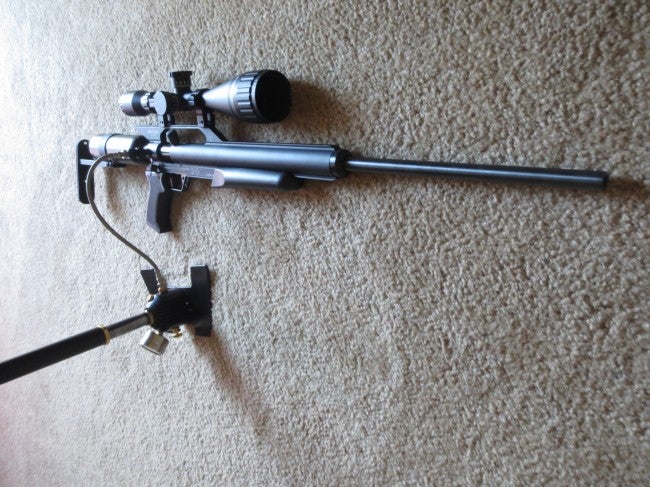
Set up and ready to start pressurizing the system.
I had to set the rifle on the floor for the pump system to reach the fill nipple. The metal-braided fill cable is a bit too short for my tastes. The first few strokes were met with a constant hiss of escaping air–not good. Fortunately, I missed closing the valve on the pump. After closing it, I pumped about twenty more times. Again, a hiss, but this time much quieter.
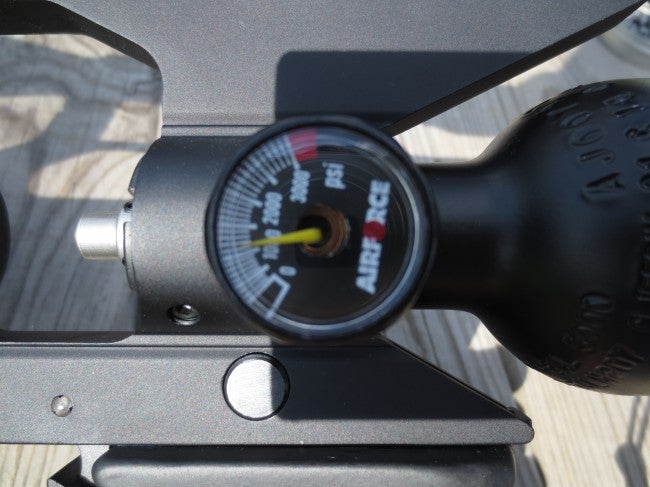
Troubleshooting revealed that the tank was letter air out from the primary nozzle. Not much, but enough to make a sound and my pumping futile after a few minutes. Fortunately, the fix was quick. I cocked and dry-fired a few shots. The seals in the tank set in and held pressure. I resumed pumping… for about a half hour. (The manual states “it takes about 75 pump strokes before you notice that the needle on the pump’s gauge is slightly above zero. Once the tanks starts to register a charge, you will notice that it takes 14 or 15 pump strokes to raise the tank pressure by 100 psi. That’s true at all pressure levels.”)
After reaching about 2500 psi (the tank is rated to 3000) the back-pressure in the system was too much for even my 250 lbs girth. Unless I committed to a “Super Size” diet long-term, I could not pump more pressure into the tank. If this is the easy fill tank, I dread the larger one.
Personal recommendation: For the full system pressure, use a scuba tank or larger paintball tanks as a mother-daughter system.
Shooting the Escape
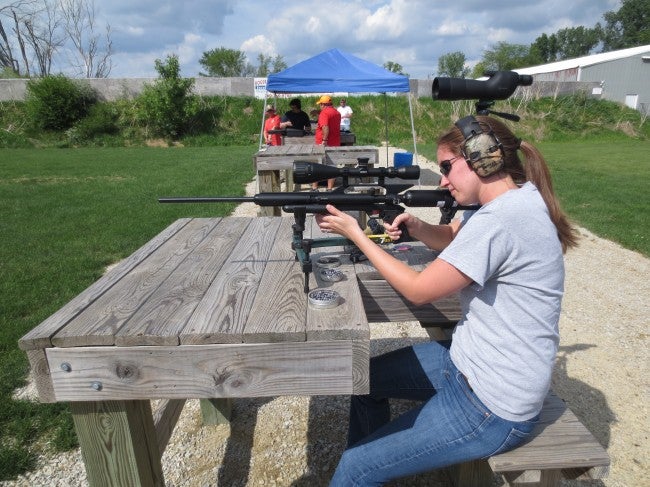
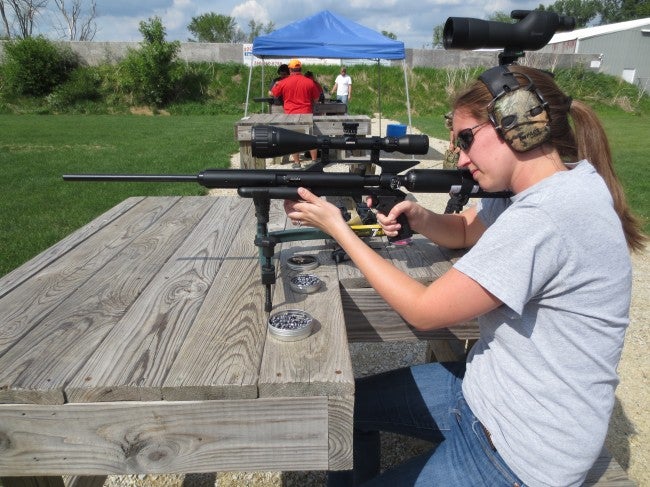
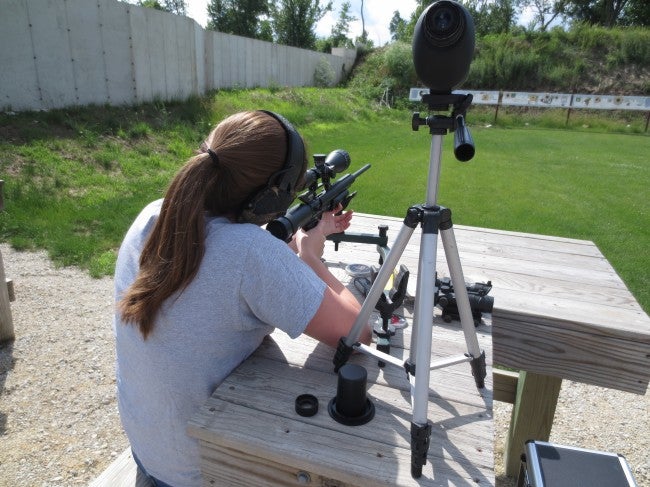
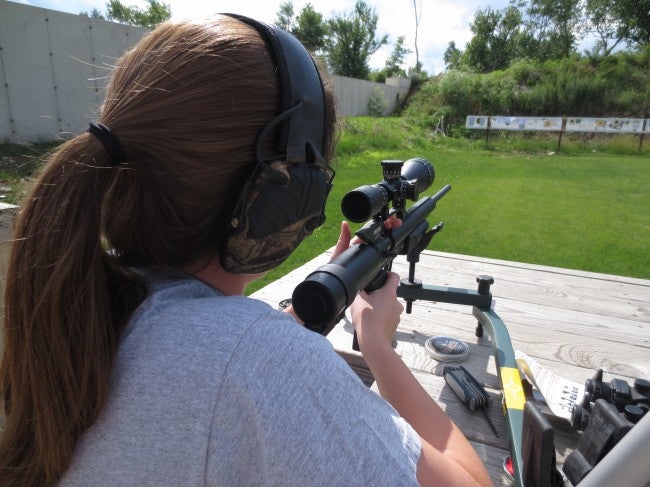
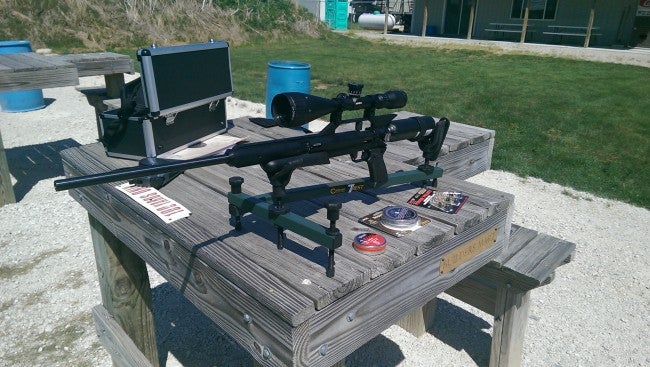
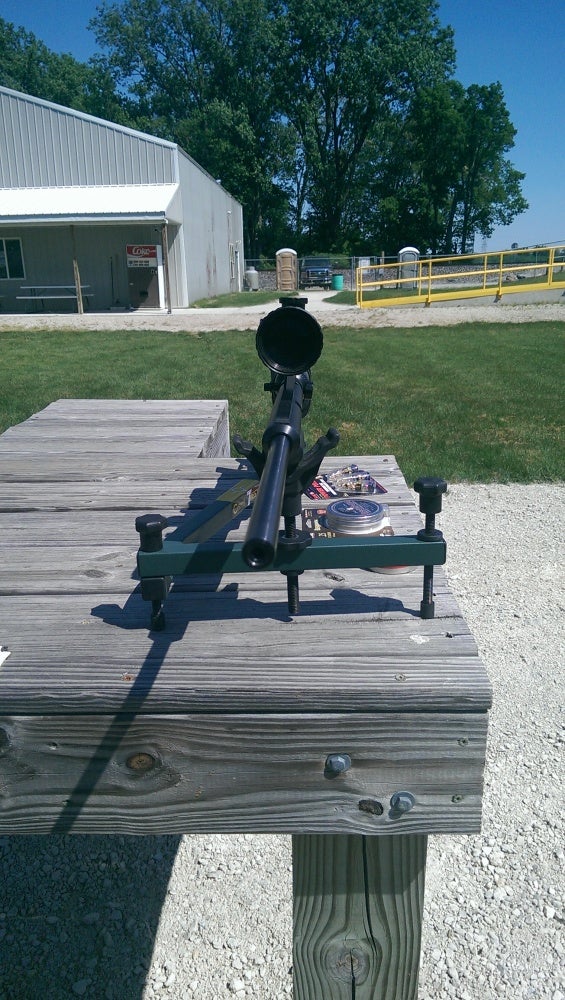
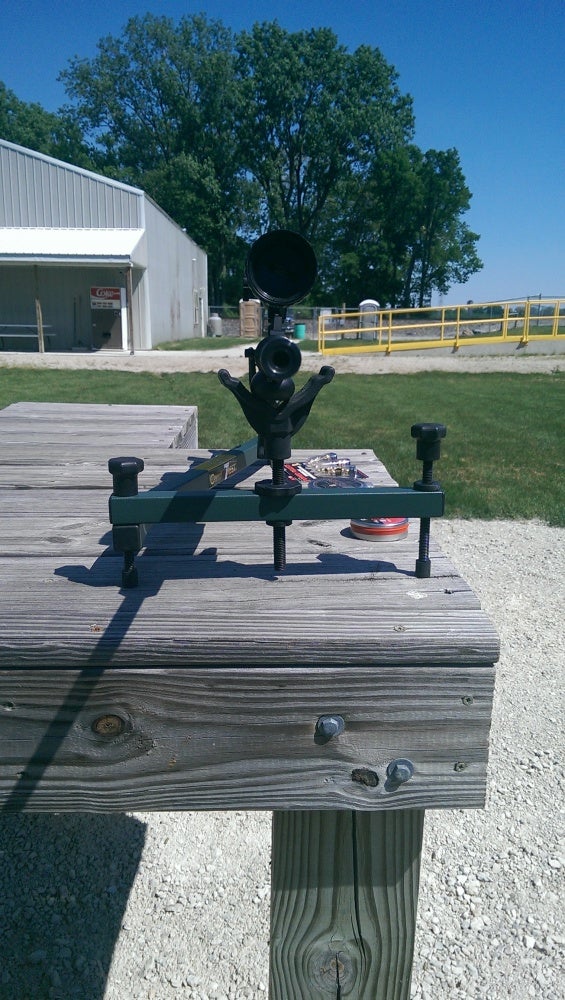
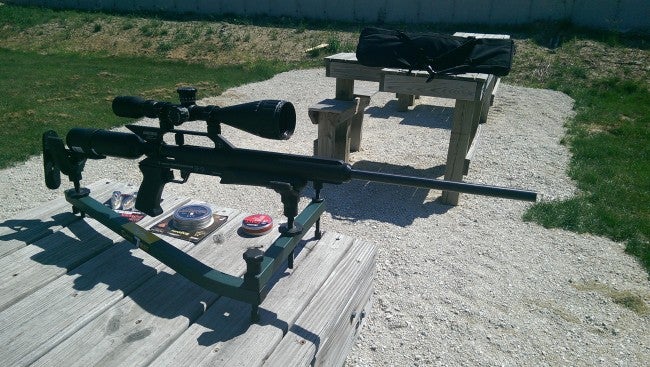
Now sweating profusely from pumping, I headed to the range one of the typical 90+ degree Indiana summer days. my range set up was a Caldwell 7 shooting rest, 3″ targets on white backing, a FireField spotting scope, and plenty of time to wring out the Escape’s performance.
Unlike bolt-action guns that pull to the rear, the chamber cover moves forward, exposing the “chamber” (which is really just the beginning of the barrel). Pellets are inserted one-by-one manually . Close the charging handle to the rear and the rifle is primed to fire. Annoyingly, there is no shelf under the barrel in case you drop the tiny pellets.
The chamber area exposed by pushing the charging cover forward.
The safety is similar to the M1 Garand and M14, a blade set in the front of the trigger guard. Push it forward to disengage the safety. Pull the trigger to the rear and the rifle will “fire” by releasing gas from the rear tank behind the pellet propelling it forward. Opening the chamber cover recocks the rifle and resets the safety. Load another pellet and repeat cycle.

The chamber is closed and in the rear position. The handle can set to either the right or left hand size of center.
Shooting the Escape is pleasant. AirForce states the trigger is “two-stage” but I contend that this is more marketing that design. The trigger has too much take-up (over 5mms) prior to hitting the break.. The break itself is crisp, clocking in at 2 – 3lbs at the extremes with 2.5lbs being the norm. It was much more a “match” trigger than a “battle” one.
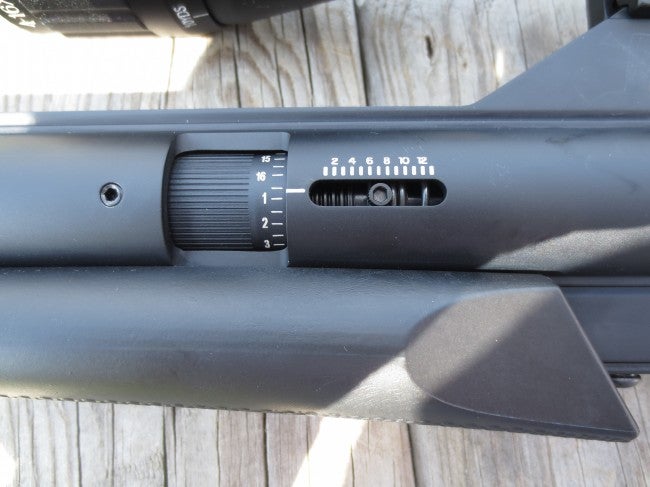
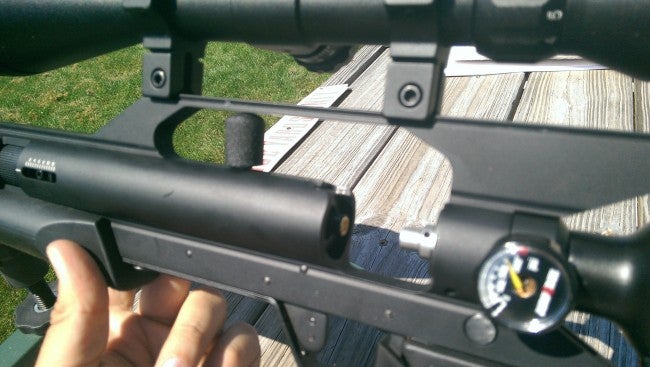
The power is adjustable from “0” to “14”. “0” would equate to 800fps with .25 pellets and “14” up to 1300fps with .22 pellets (at full tank charge). The manual states that above 10 “air is wasted” in the Talon series (the Escape can handle the full 14) so I opted for about an “8” which gave me roughly 15 shots prior to noticing pellet drop. If I could have pumped the pressure up higher, I probably could have gotten more.
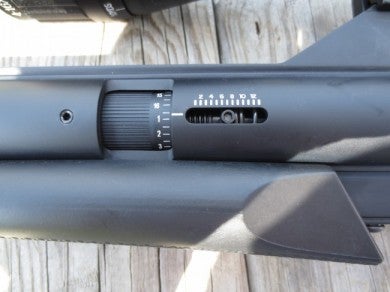
Power is adjusted by spinning the dial on the left. It is easily hand-turnable from the lowest to the highest setting and is nicely textured for grip even with sweaty fingers.
Recoil is in line with a .22LR. Since the gas is pushing forward against the pellet, recoil is pleasantly to the rear. The sound of a shot breaking is definitely not ear-safe, again similar to .22LR. After two shots, I put my ears back on. The blast even fooled a few new shooters down the line into thinking this was a real firearm.
Despite my grievances earlier with pumping, the rifle was accurate and consistent. I did not experience any vertical stringing which is indicative of velocity inconsistency. More often than not, back-to-back shots printed on top of one another.
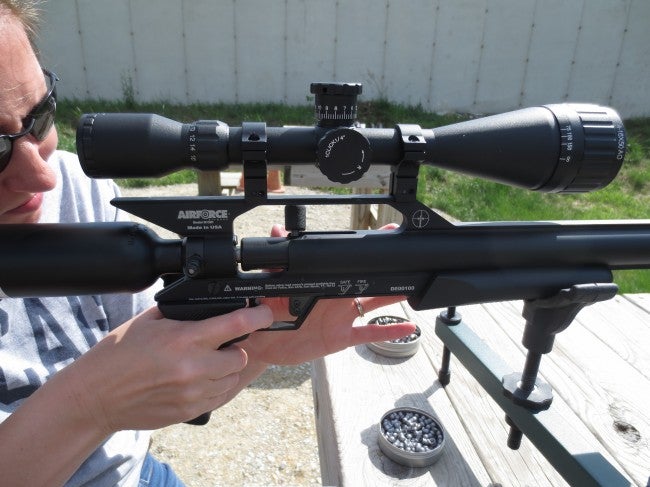
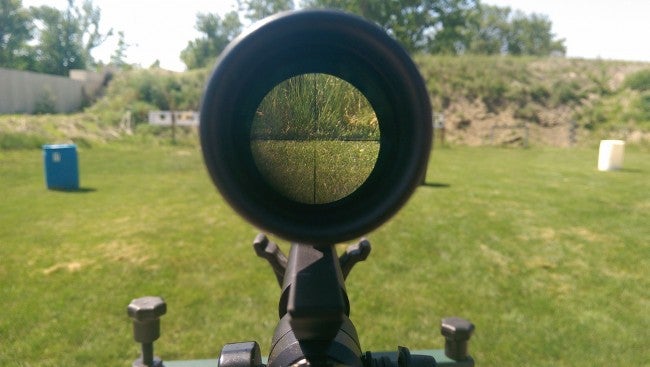
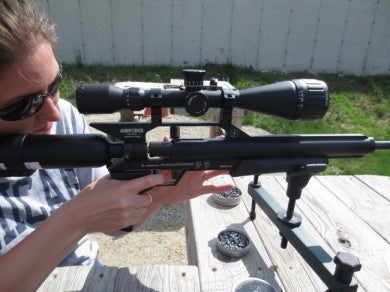
The scope was bright and clear on the bright day. At full 16x power, there was some darkening, but it was still usable in the good light. Of particular note, since airguns are typically shot at close range the scope did have adjustable focus by rotating the hood around the front of the scope. The knobs adjusted evenly, with predictable shift at the testing ranges. That said, it was mounted high and was difficult to get a solid check weld. Second, eye relief was long. I had to mount the scope as far forward as possible. Annoying, but workable.

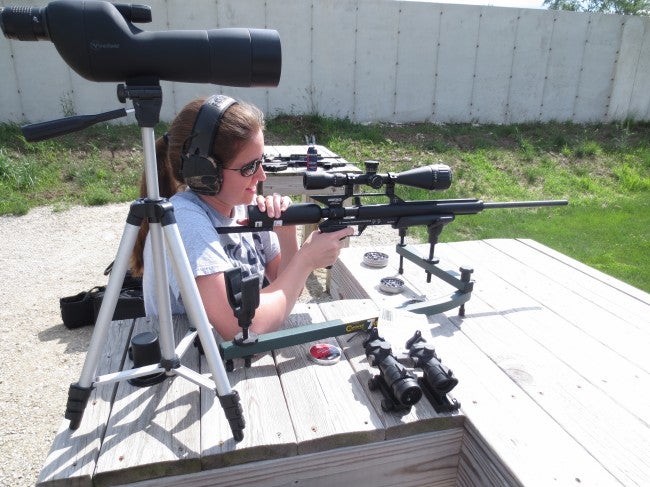
AirForce purposefully uses a smaller (ie shorter) tank. While great for transport, the short tank fails pulling double-duty as a stock. With the “stock” adjusted to my preferred length of pull, the tank did not extend far enough back to get a good cheek weld. I was more using of my chin on the tank than I am accustomed to with rifles. As such, it was difficult to shoot accurately. I could not get “tight” with the rifle.
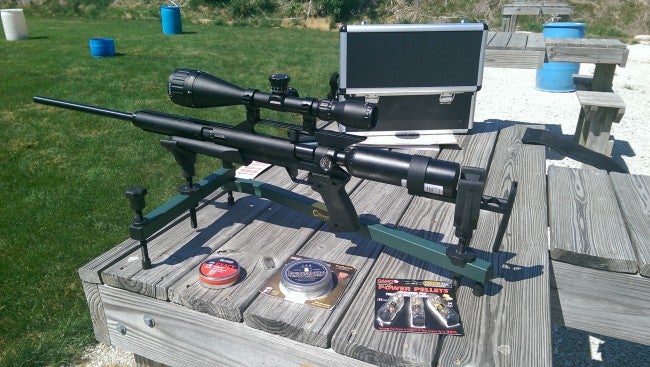
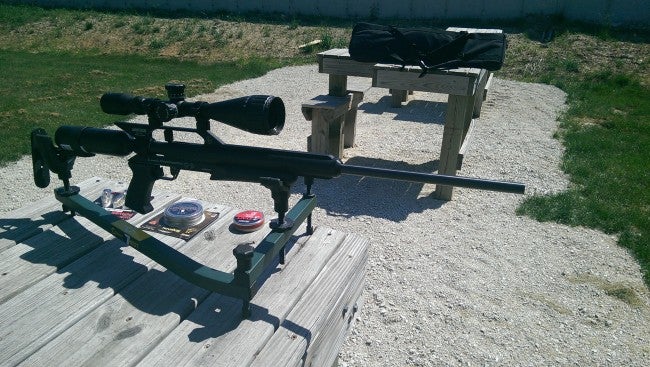
The escape at my preferred length of pull. The stock is held in place by a friction mount to the tank. It requires an allen key to adjust.
Even with the difficulty on the scope, the rifle performed marvelously. The pre-mounted scope was on paper, only about 4″ off at 25 yards and clicked into place easily. I had 3 types of .25 pellets with me including Crossman Benjamin (no weight listed), JSB Match Diabolo EXACT (23.39 gr.), and Gamo Raptor Power Pellets (no weight listed). For accuracy testing, each was fired on a topped-off air tank.
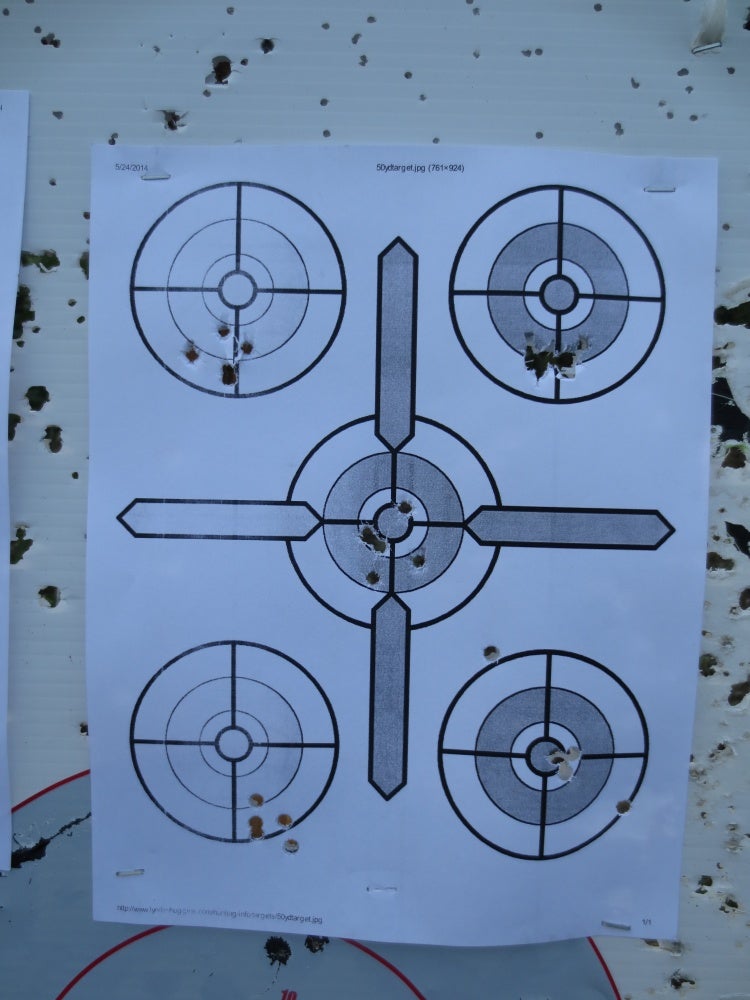
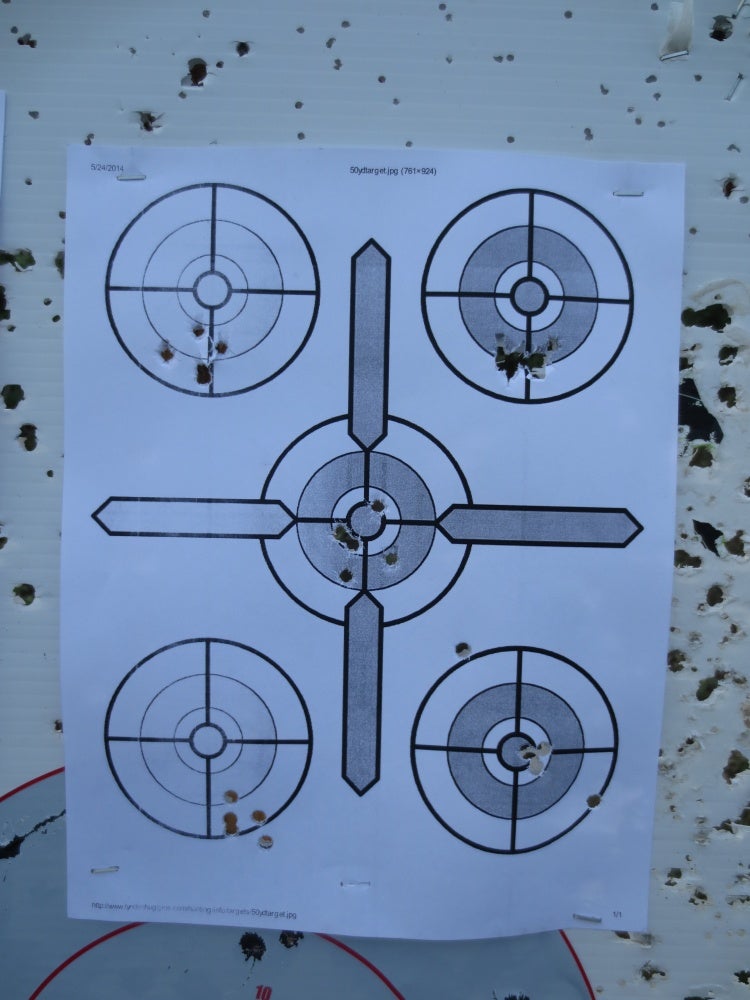
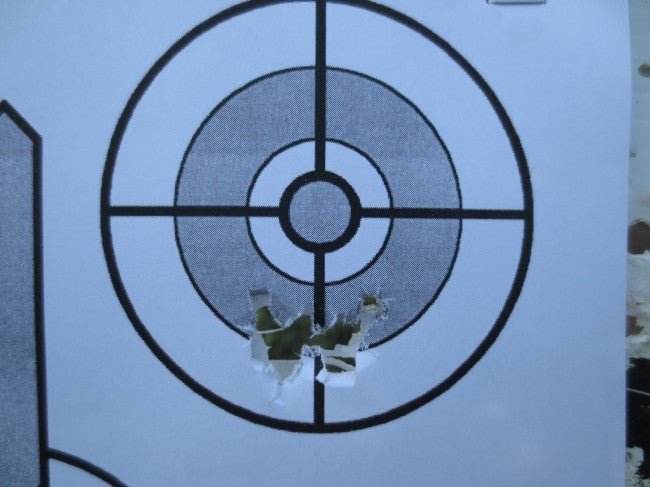
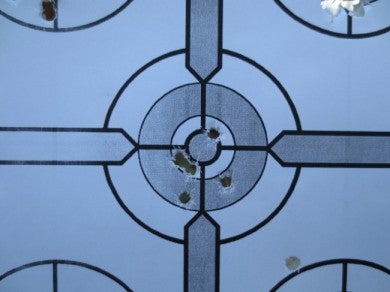
The Benjamin pellets were the most accurate, yielding a 10-shot group at 25 yards just under an inch but had a 1″ drop compared to the Raptor and Diabolos. The Raptor’s performed well, but the first two shots were flyers. Lastly, the Diabolos were consistent, but exhibited a larger spread than the first two (ignoring flyers).

Benjamin Group. The first 5 shots were a ragged hole. I shot another 5 to verify.

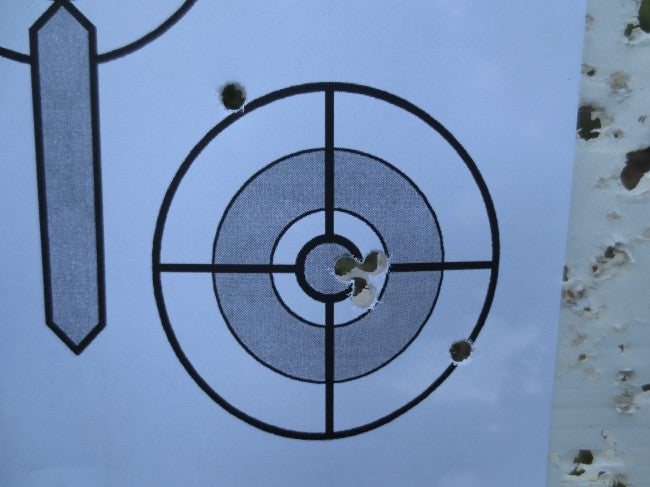
The Gamo Raptor group. The first two shots went wild (no idea why), but the last three were excellent.
Finally, the Diabolo group. About 1.5″ across.

Stepping up the power, the rifle did not exhibit any shift on paper. The report and recoil increased slightly, but otherwise, there was no appreciable difference in performance. Of note, the PBA Raptors were supersonic for the first two shots off of a full tank. After the first two, the shots were resumed subsonic velocities.
The Good:
- Accurate. (With the right ammo, of course)
- Consistent velocity so long as the tank is above 1500 psi.
- Great trigger (but lots of take-up, ~2.0-3.0 lbs break)
- Scope works for what it needs to do.
- Interchangeable barrels allow users to change length and caliber easily.
- Able to be run “off the grid” with the optional hand pump.
The Noteworthy:
- The manual safety resets with each shot. The shooter must disengage it for individual shots.
- Like powder rifles, it is ammunition sensitive.
- Available in .22 and .25 calibers. (Personal suggestion, get the .22, its a good balance between the two for weight and power. Plus, you can actually find ammo at your local outdoor stores)
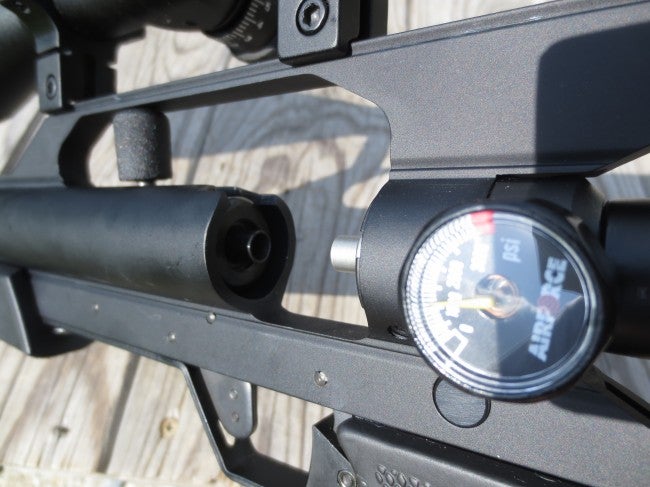
- Options are available for either Q/D tanks or the Spin-Loc system, which uses a nut system similar to an AR-15 barrel nut. The Spin-Loc gives the user a read-out on their remaining pressure and an input valve for HPA tank refills.
The Bad:
- No loading ramp for the pellets. The open chamber makes it easy to drop them while loading, slowing down follow-up shots.
- The hand-pump works, but unless you are 300+ lbs, it is impossible to pump to the full 3000 psi.
- The tank is too short to act as an effective stock.
- MSRP is high compared to similar-use firearms.
Wrap-Up & Conclusion:
As a gun guy, I walked away impressed with what an air rifle could do (and bigger triceps from pumping it full so often). It has aggressive looks, is accurate, easy to load, and is cheap to shoot.
However, the rifle has a high upfront cost. MSRP pricing for the rifle as configured crests just over a full grand.
- Rifle (.25) w/ Spin-Loc Tank – $660
- Pump – $212.00
- Scope w/ Rings: $186.25
- Total: $1,058.25
For someone looking for a general plinking or pest-control firearm, I can’t bring myself to recommend it. For the asking price, one can easily procure a solid repeating rimfire and significant amounts of ammunition.
However, as a viable SHTF gun or something to take care of a rodent population in city limits, its a solid contender. It will shoot the nuts off a squirrel at typical ranges, is light, compact and most importantly, fully self-contained for when the stores stop filling tanks and selling ammunition.