 Your Privacy Choices
While we were at Honor Defense taking a tour of their facility, we were offered the chance to not only see how they built the single stack Honor Guard but also have a chance to build our very own! I would be foolish to turn down the chance to build my very own gun in the factory. On top of all of that, I was going to get a first-hand lesson in how different the Honor Guard is from the M&P Shield even though they look very similar on the surface.
I was paired up with Bob, a veteran, and all around cool guy. I watched Bob build a couple of pistols and was pretty impressed with the sense of purpose that he had when putting each one together. I guess it isn’t hard to do when you are building a product that you believe in.
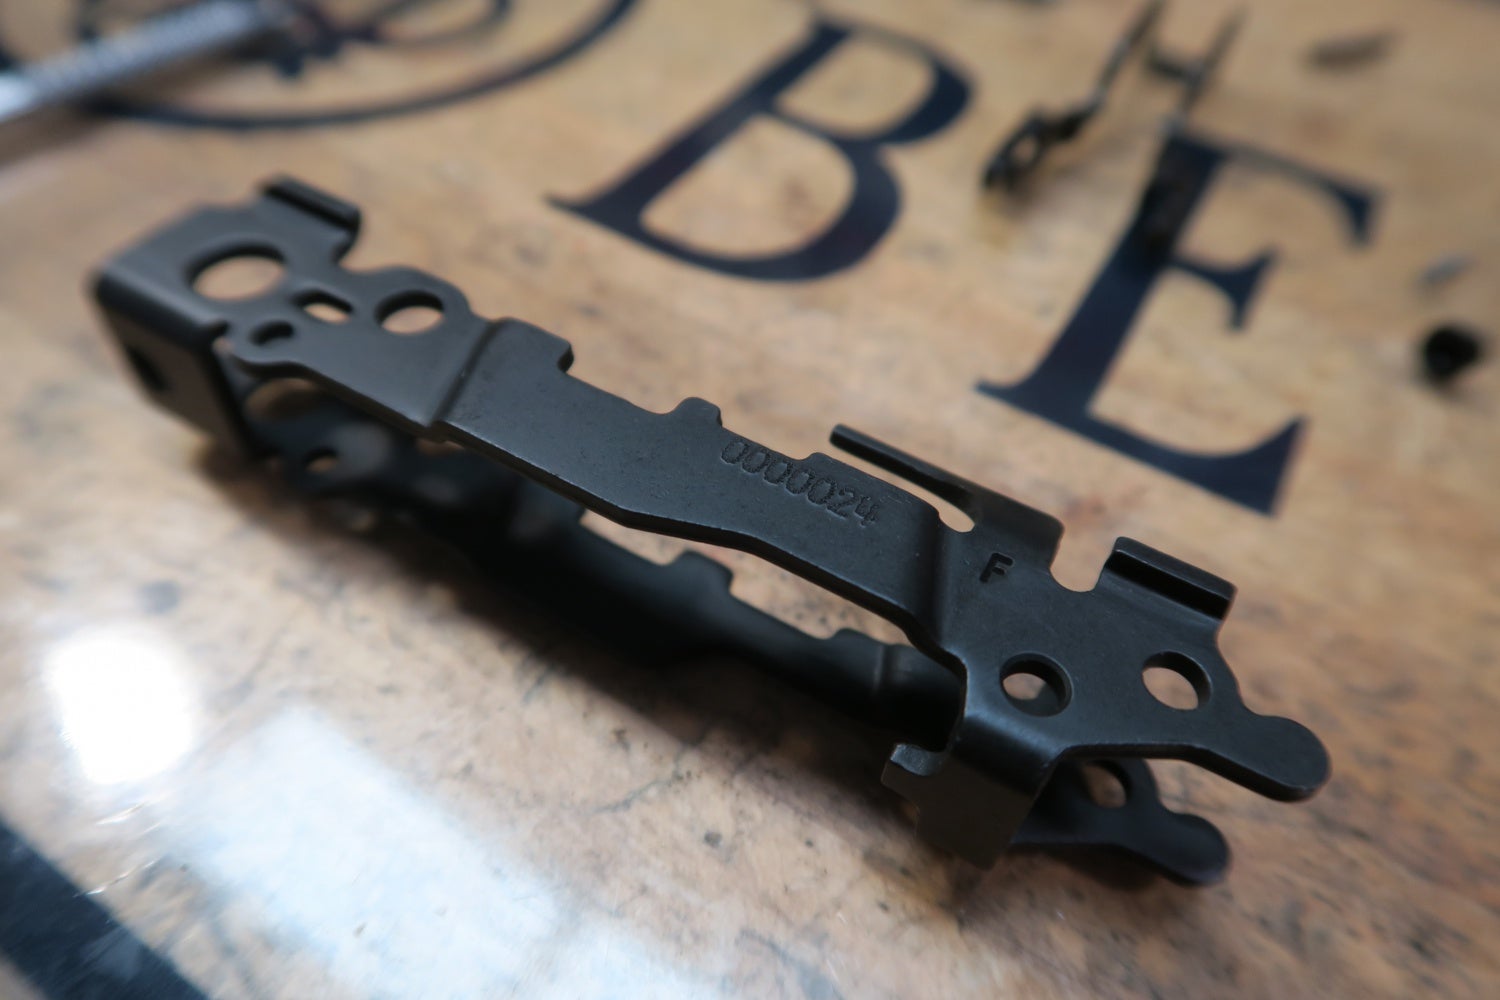
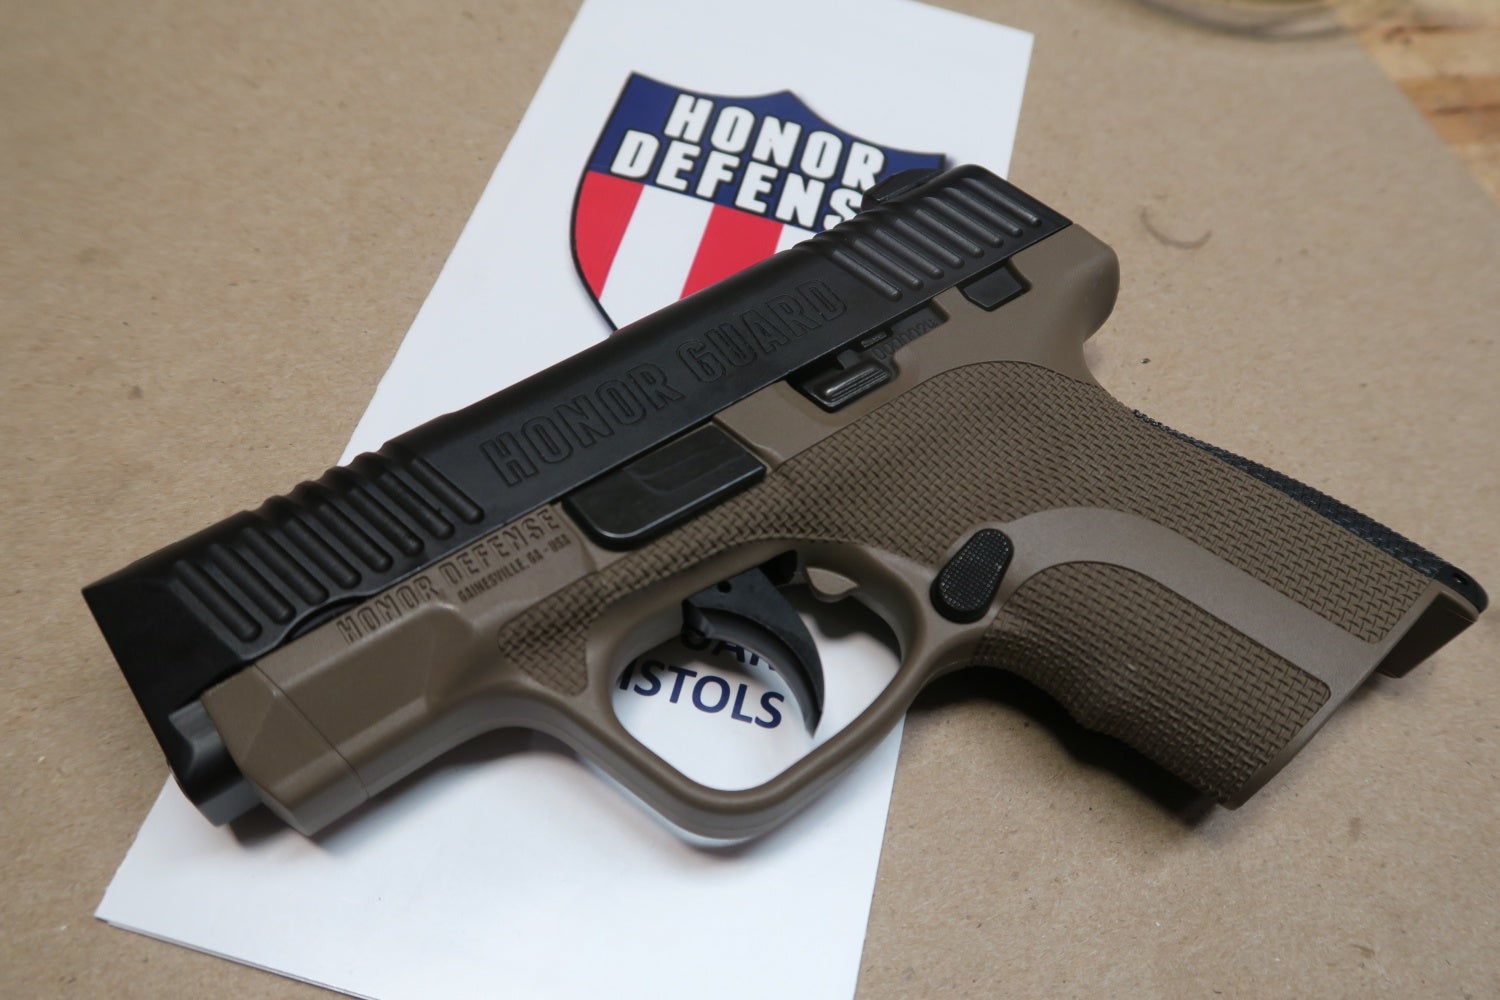
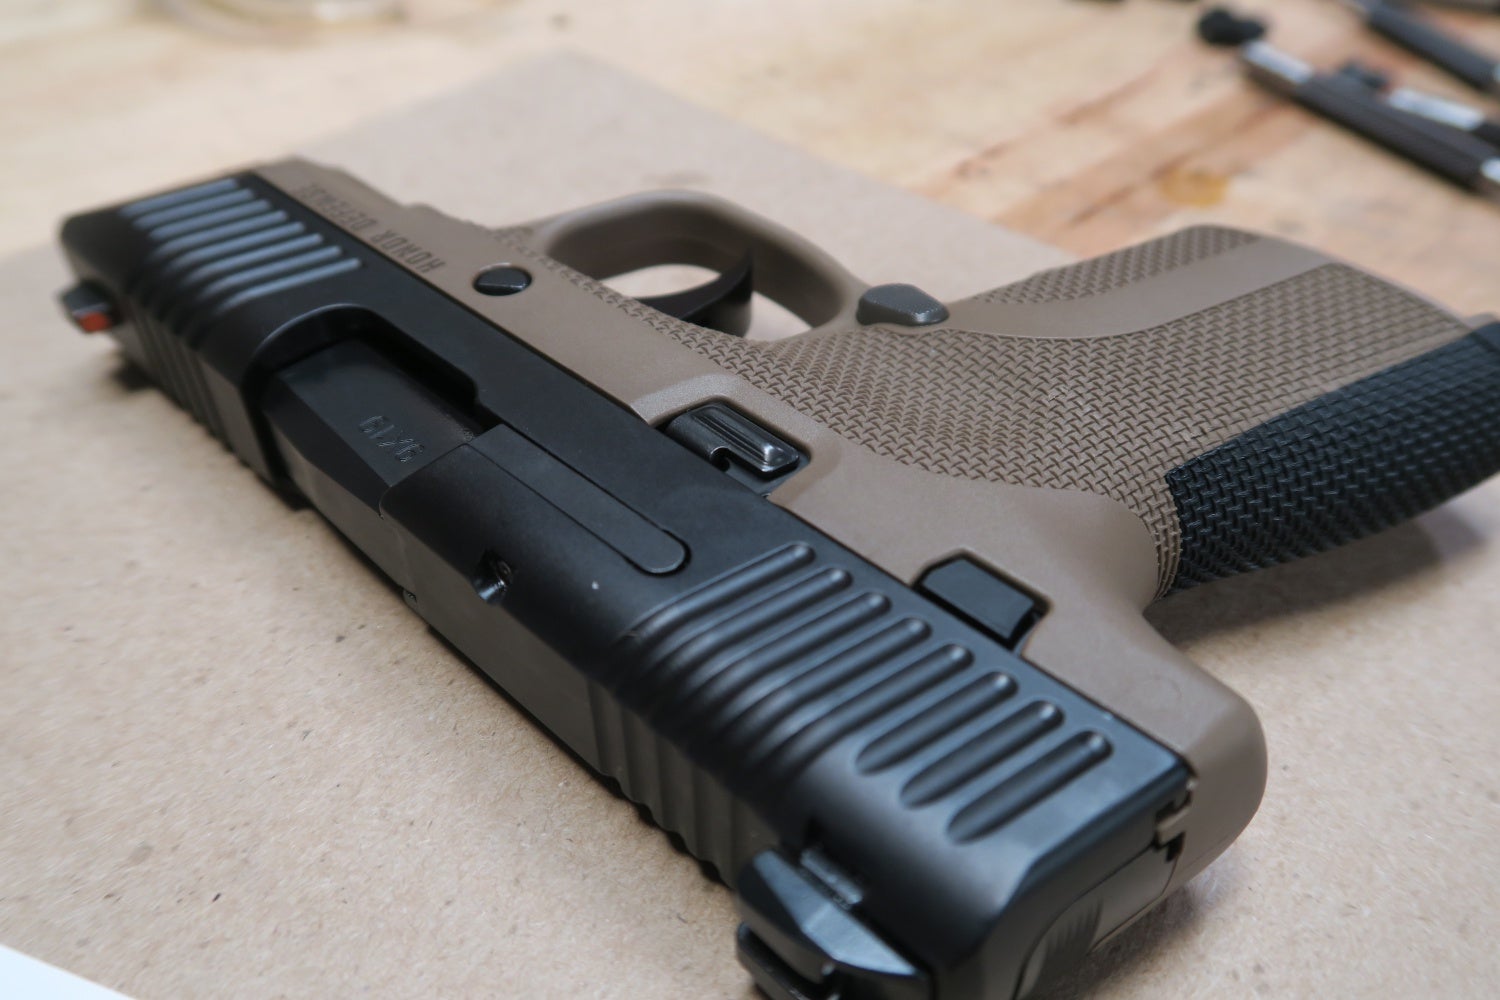
Bob handed me a frame, serial number 24, and got me started. The frame is made from stainless steel and very closely resembles the SIG P320. I can’t be mad about that; the P320 is a great pistol that I enjoy quite a lot. The availability of a single stack gun that is largely the same concept is something that buyers should consider.
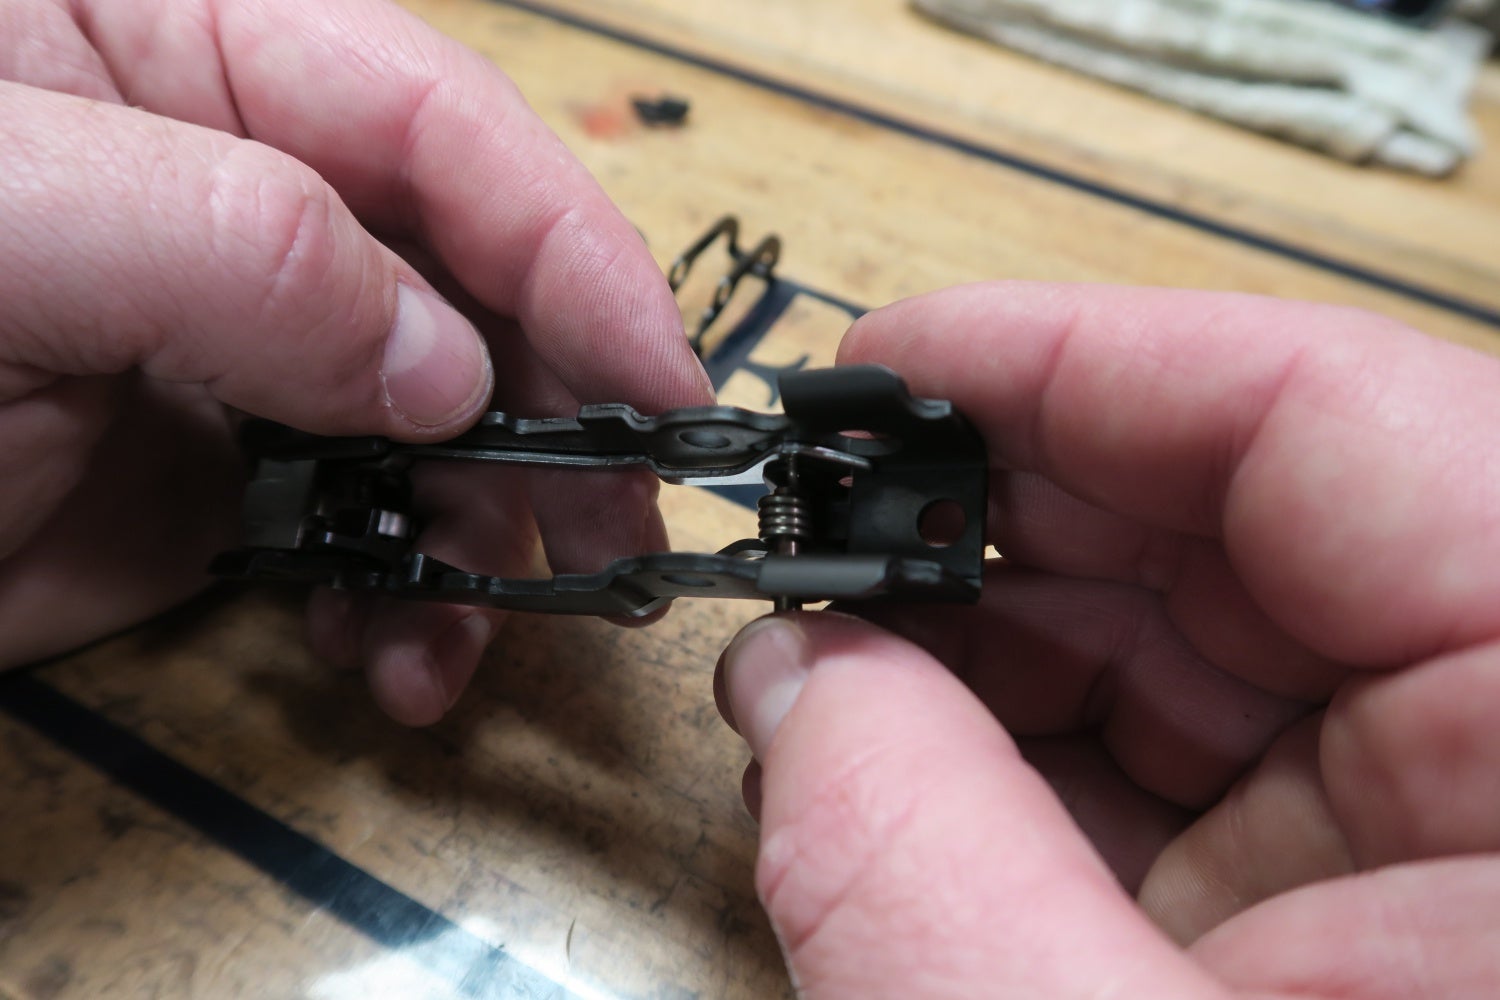
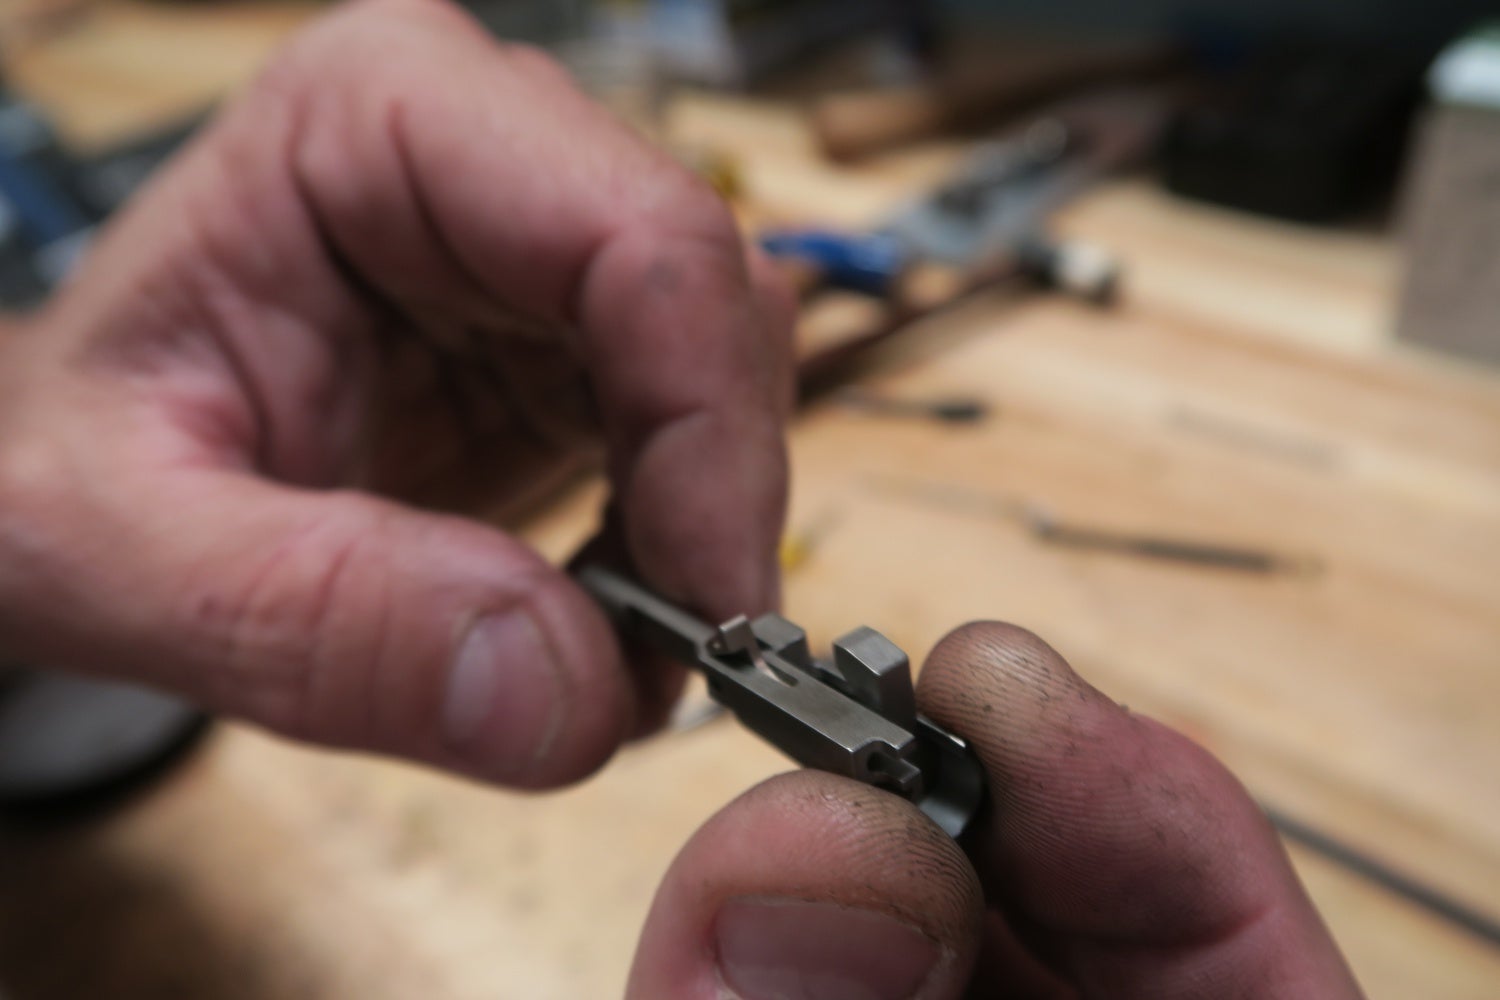
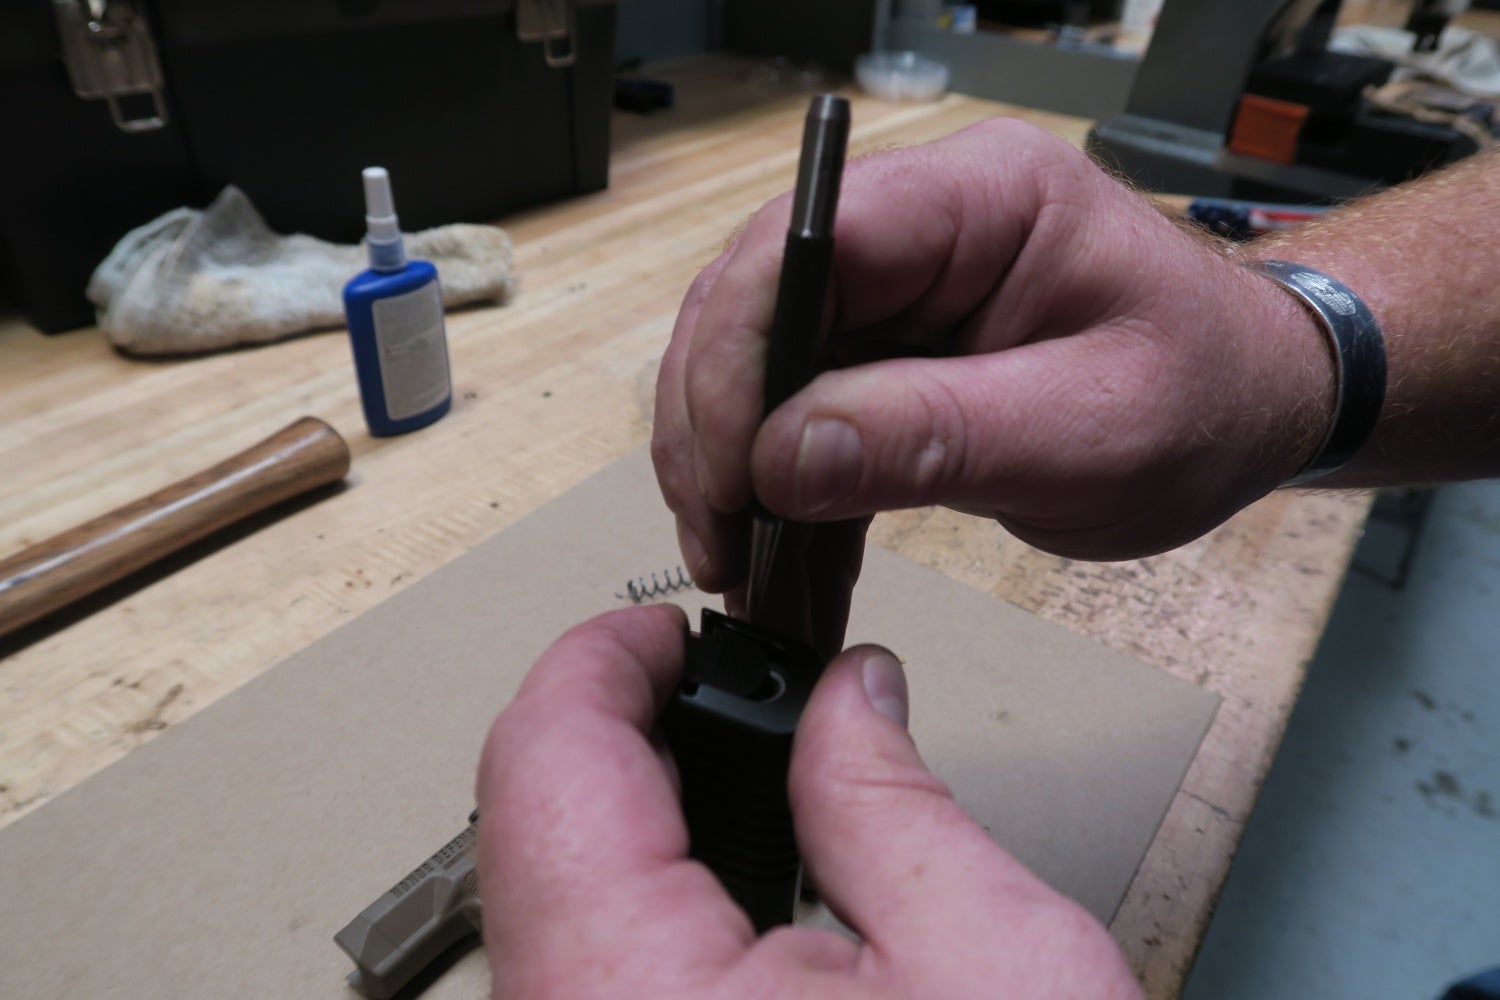
We started with the sear, sear pin, and the necessary springs. Even though the guys on the assembly line make it look easy, working inside that small frame is pretty tough. In the amount of time, I spent fighting one pin and a couple of springs Pete, the guy next to me, had already finished a frame
Next up was the trigger and trigger bar assembly. Before it being installed I had to connect the two parts with a roll pin, then partially insert the trigger pivot pin and hold it in place so that the trigger return spring can be inserted. 
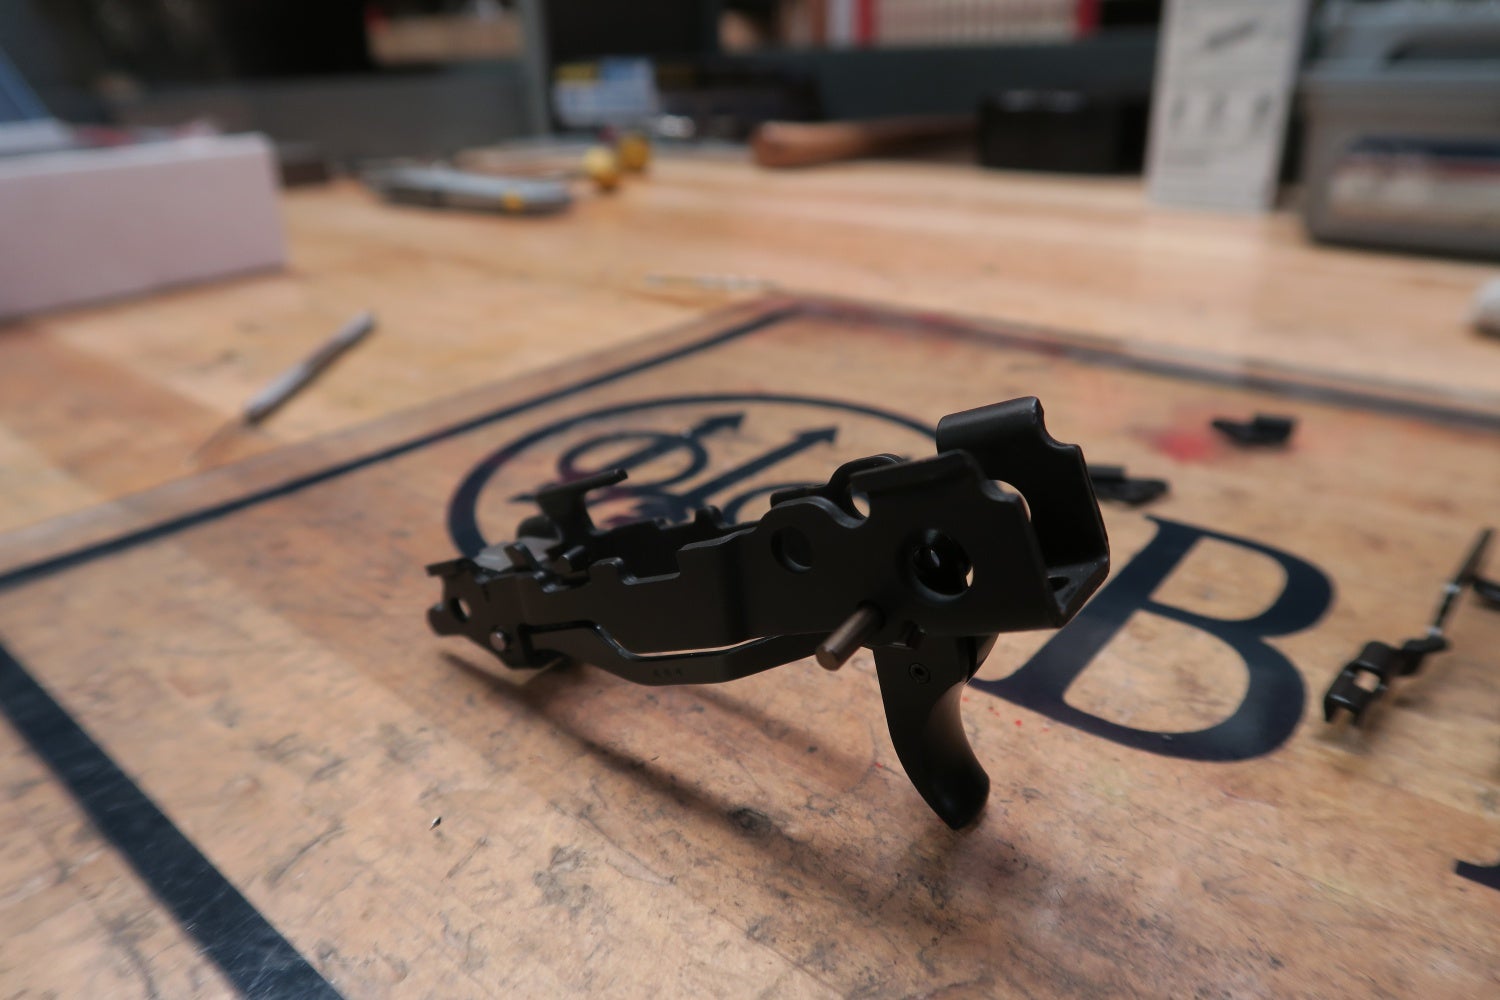
The only thing left to do was install the pin that keeps the sear springs in the right place, the slide stop, pin, and slide stop plunger. This step was reasonably easy compared to fitting the springs inside the frame. I opted for the non-safety model, so two block off plates were installed to cover the holes where the safety is normally located. 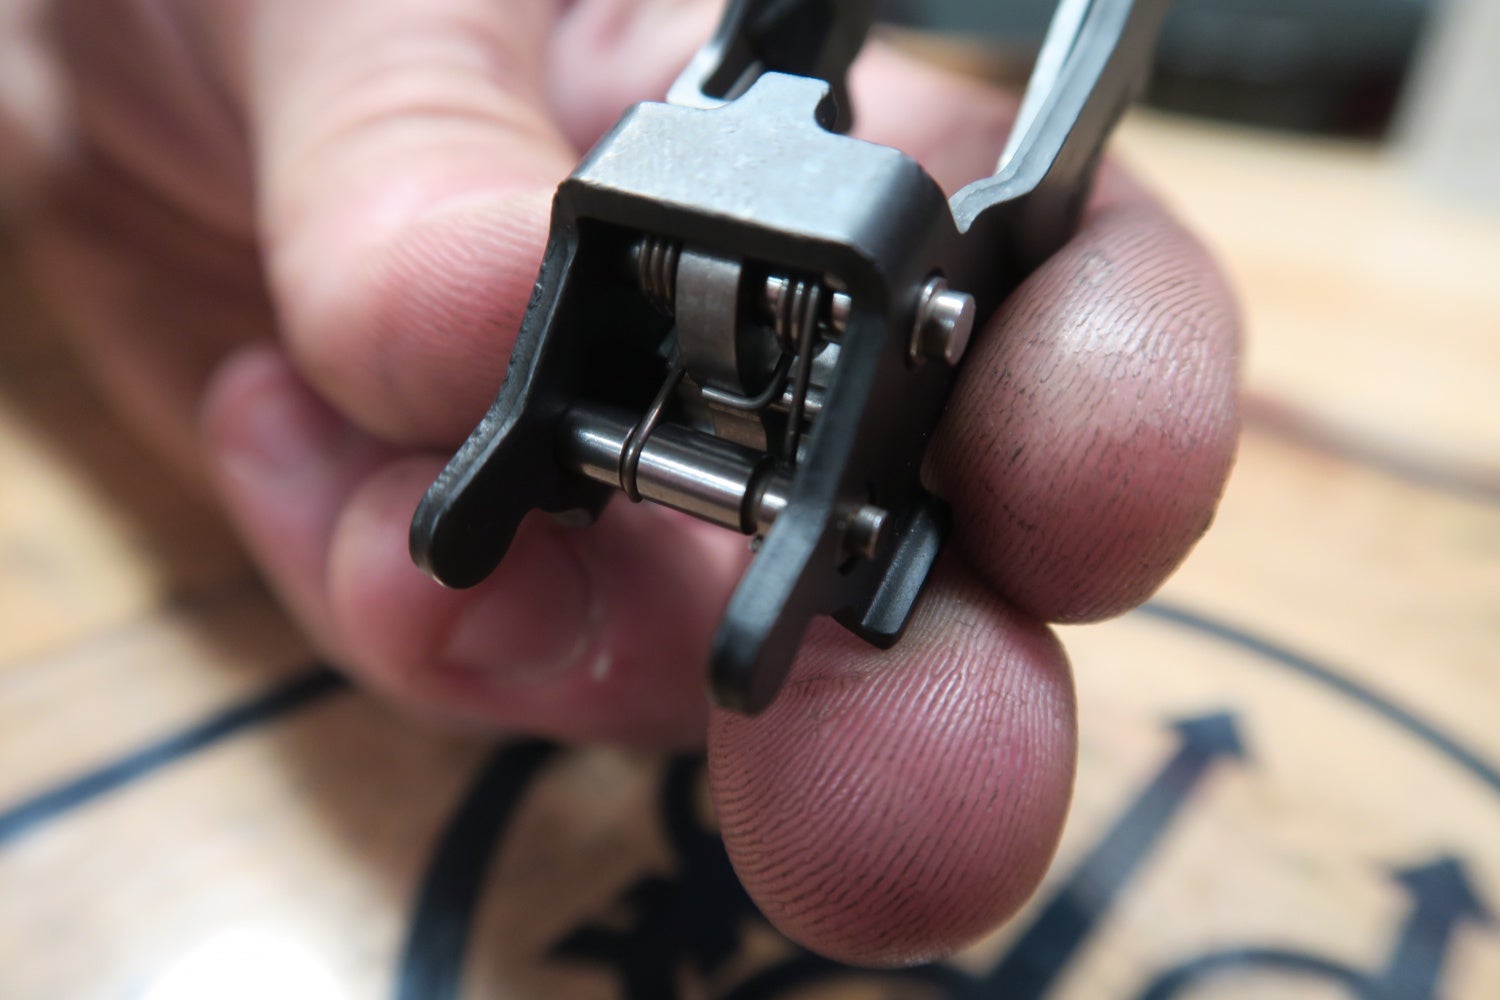

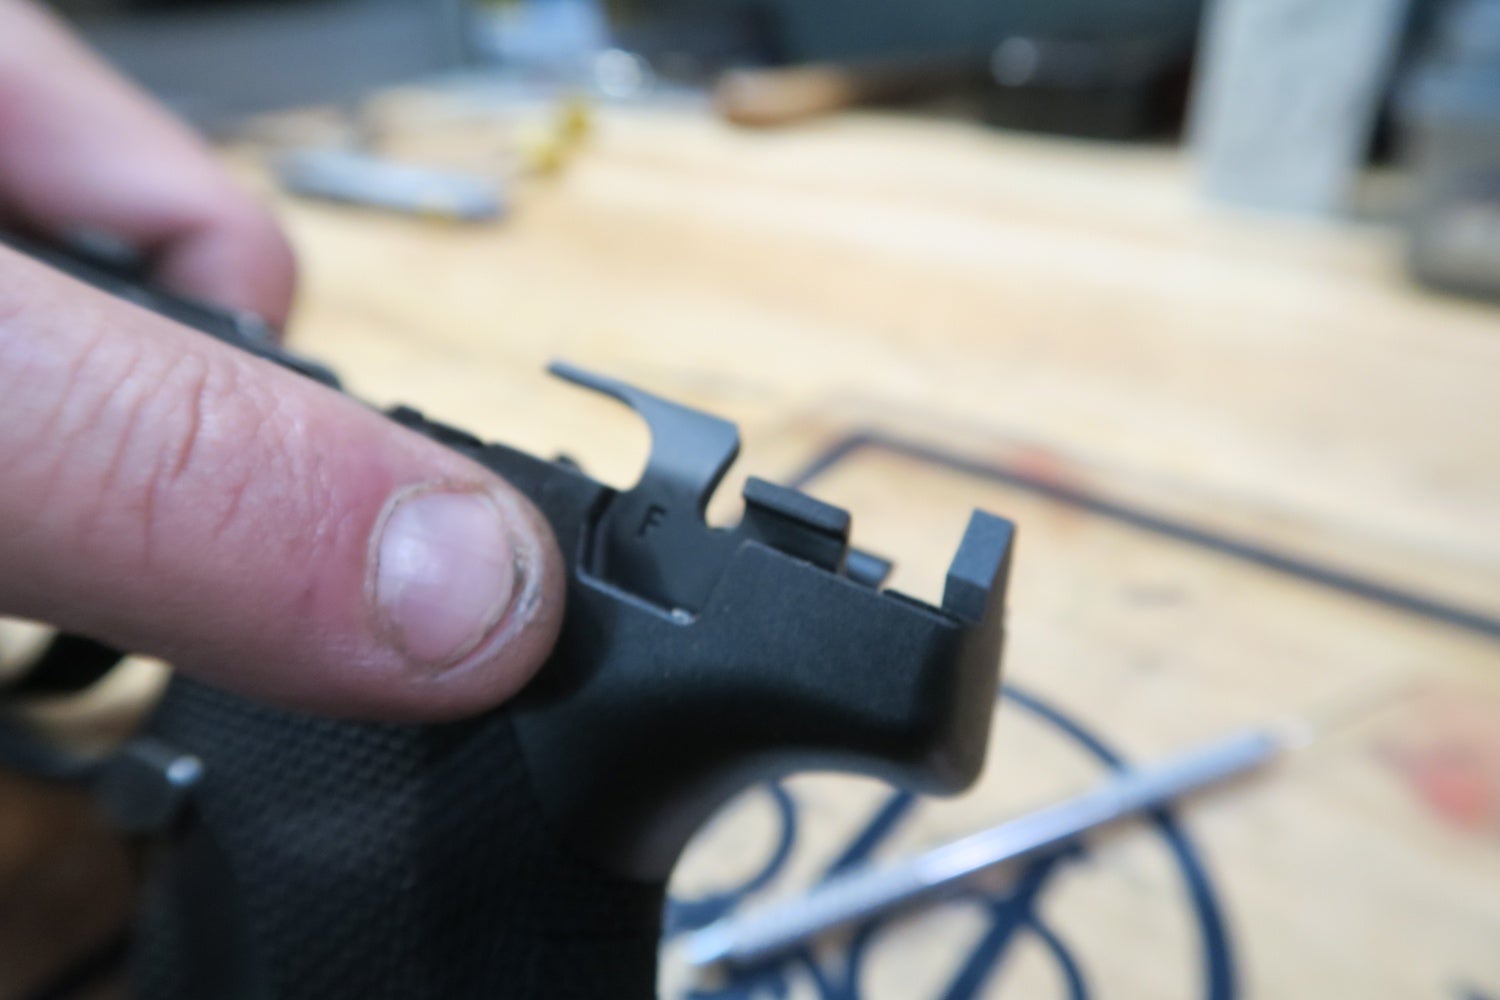
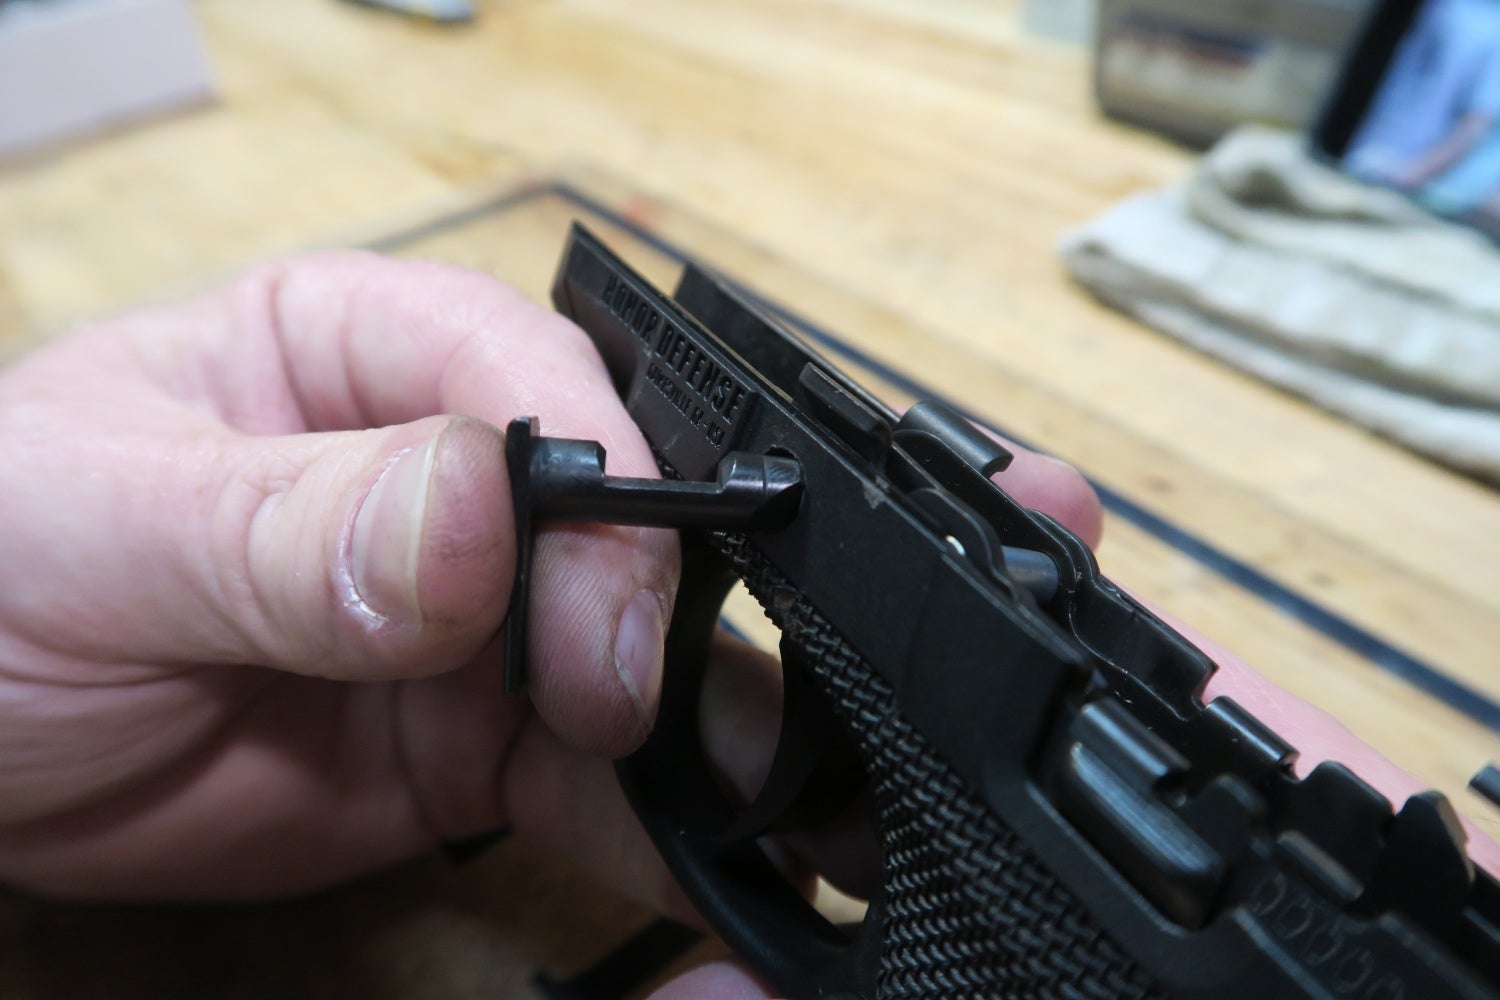
With the frame inserted into a grip module for a test fit, I installed the takedown lever to complete the bottom portion of the gun. 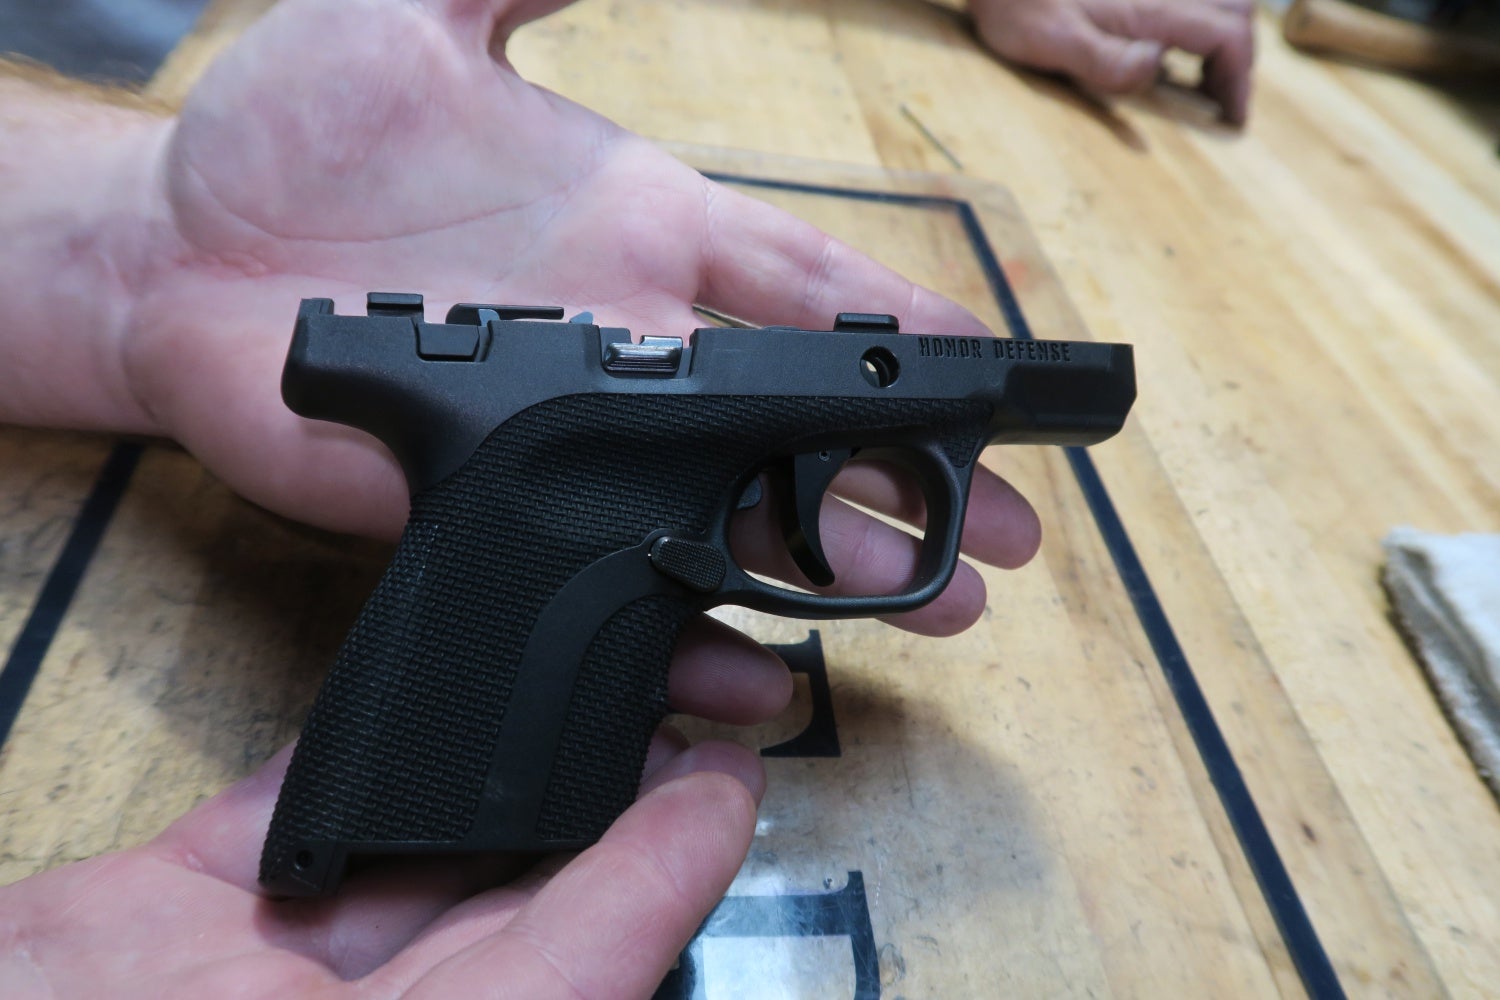
With the frame completed we moved onto assembling the slide components. Bob told me that they start with a process called “flagging” the striker assembly. A pin is inserted to hold the firing pin block and spring together so that a roll pin may be inserted easily. They use a jig to hold everything steady when driving the roll pin in place making it even easier. 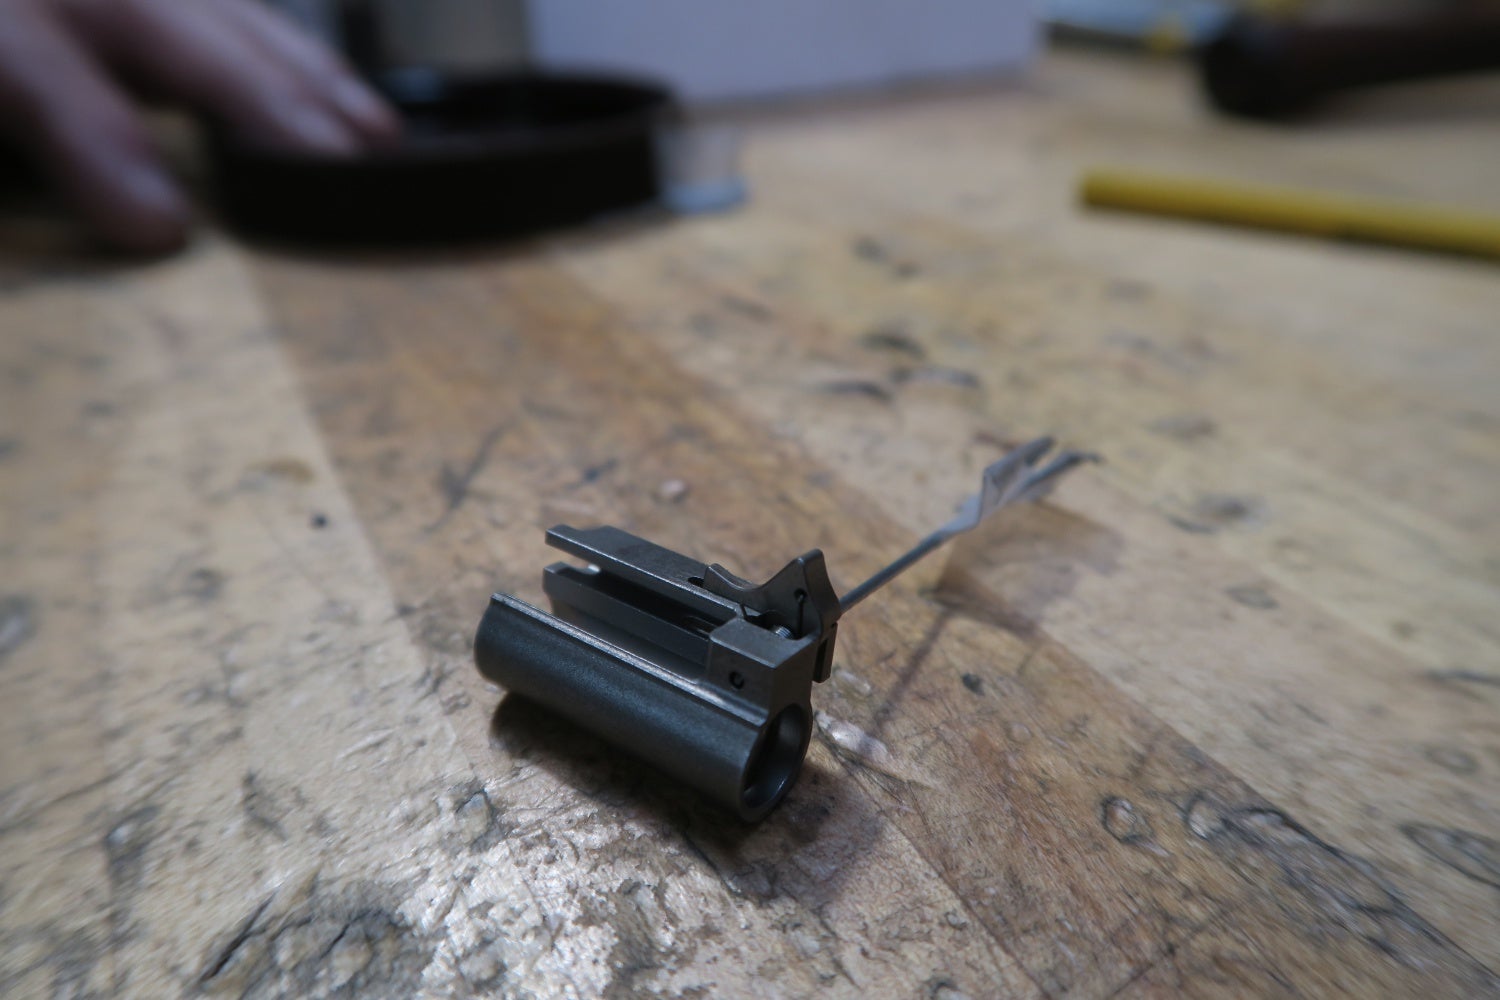
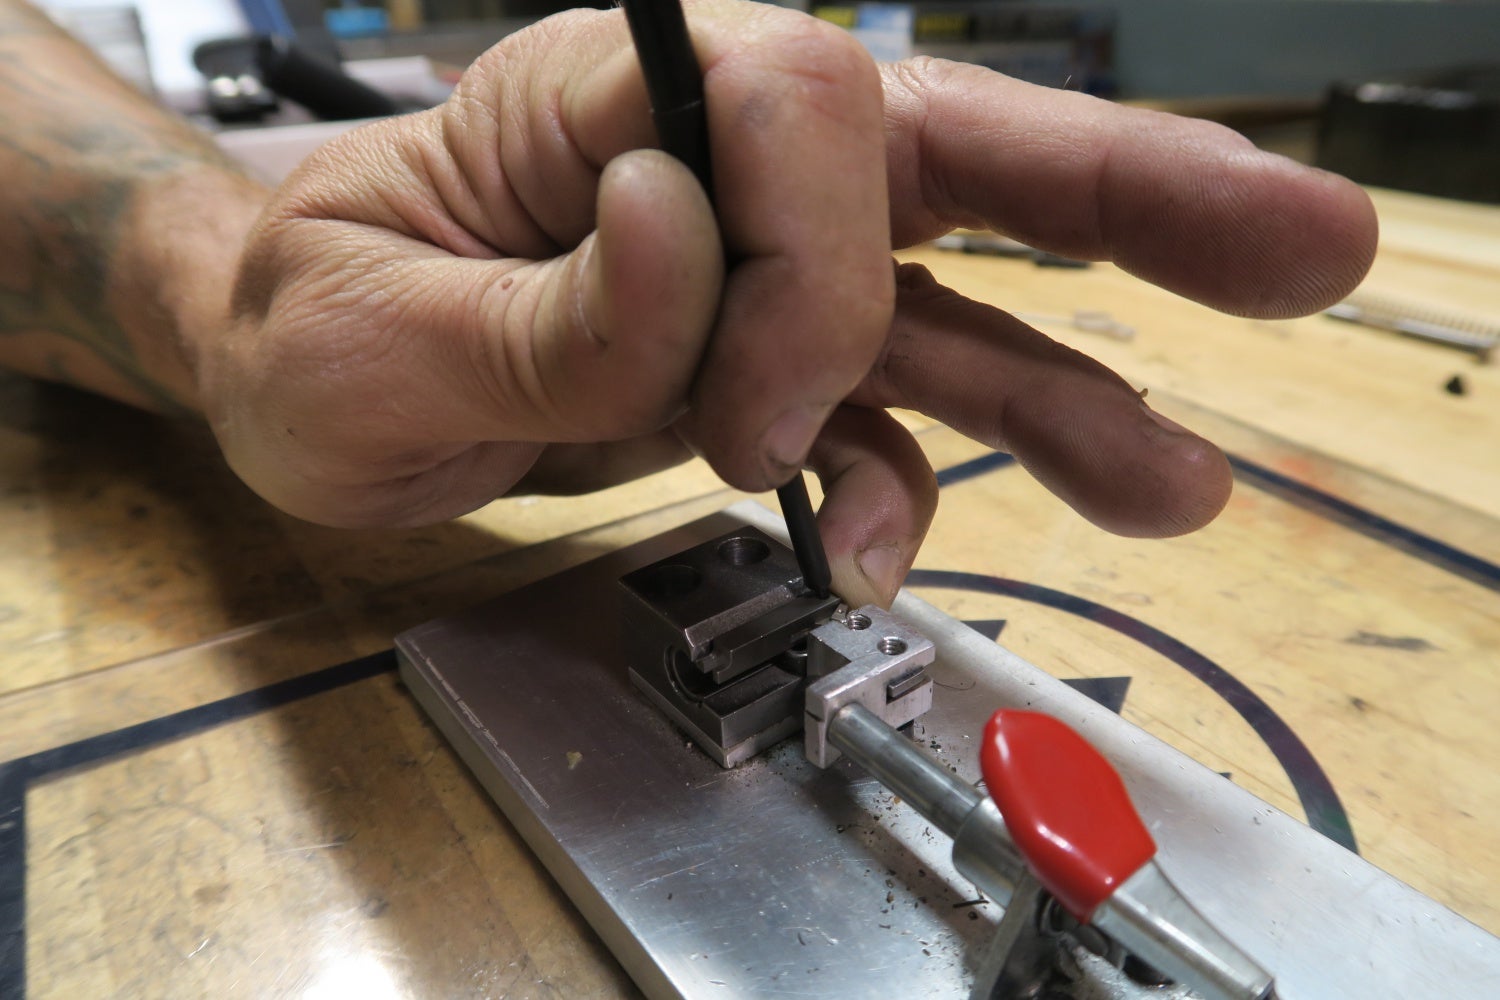
With that done, the next jig came out. This one was designed to make installing the striker, striker spring, striker return spring, and spring cup. Anyone who has installed a Glock spring cup by hand knows that it is a bit of a bear sometimes. The jig allowed me to complete it in just a few seconds. 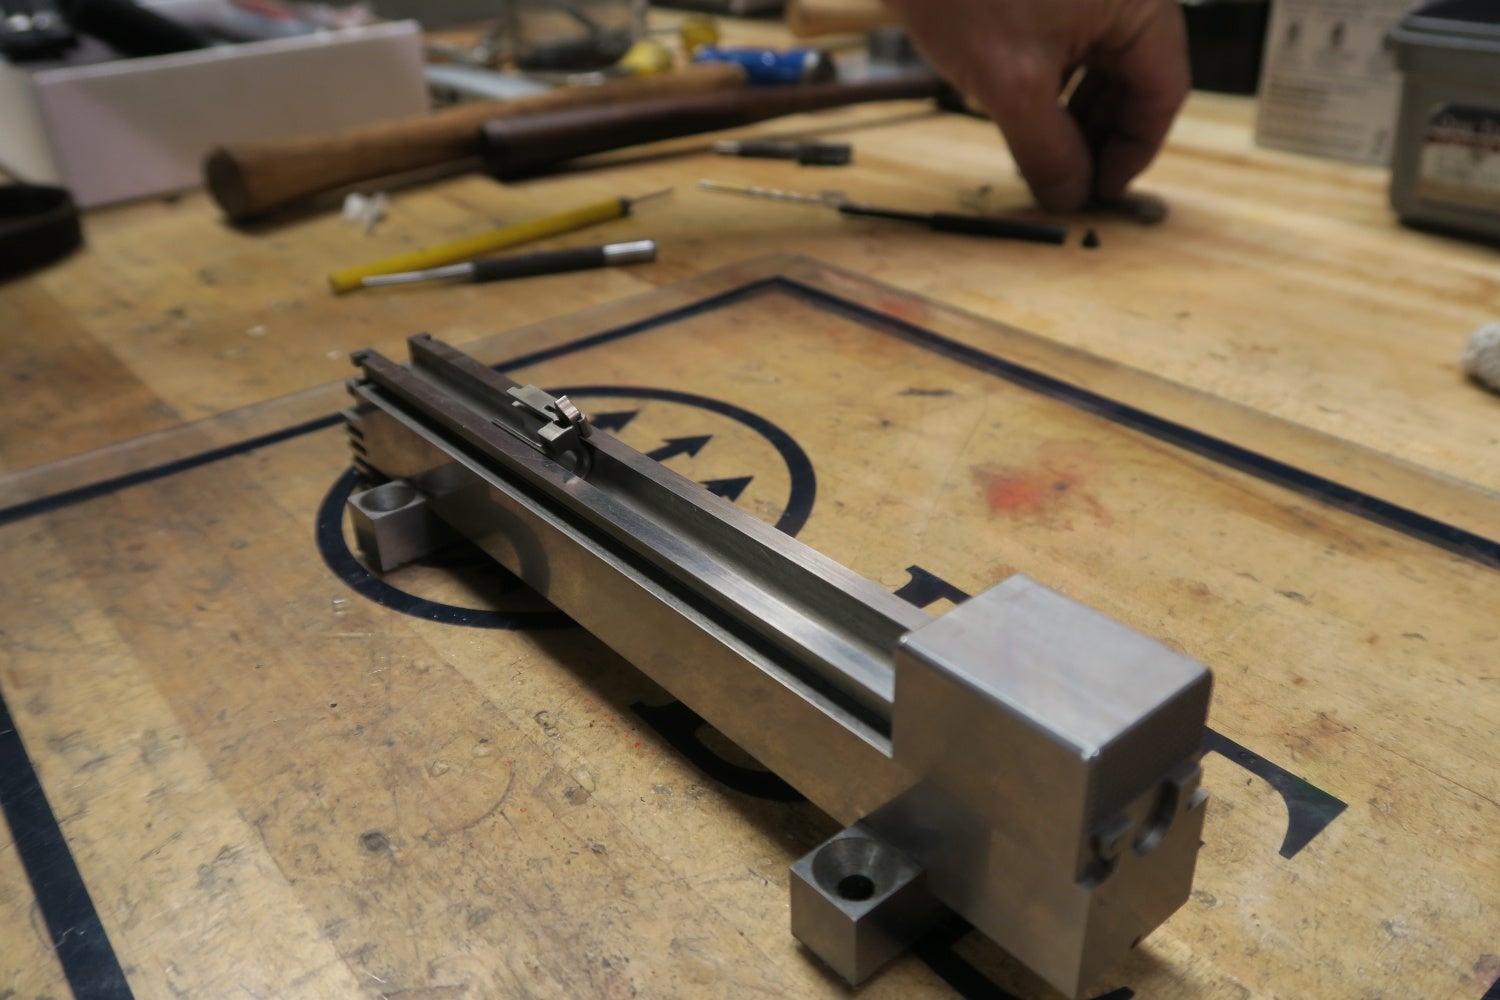


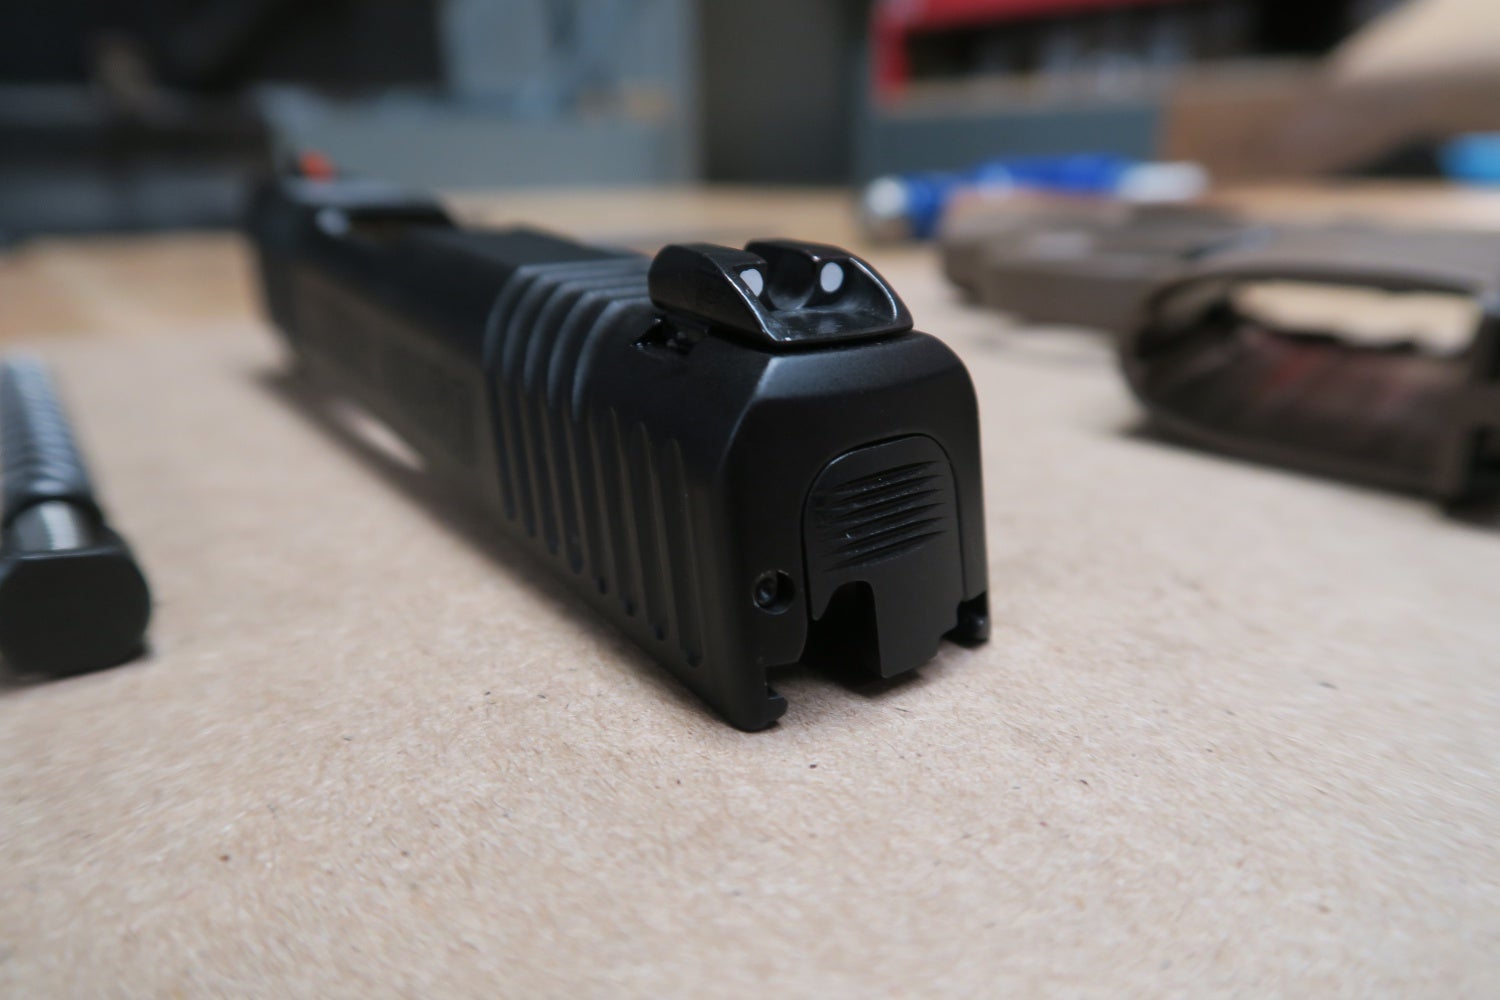
As I mentioned in the article covering the tour portion of the day, the rear sights are kept in the break room freezer to contract the metal just a touch. I have been informed that the rear sight has been changed a bit since I built my gun by adding a set screw. 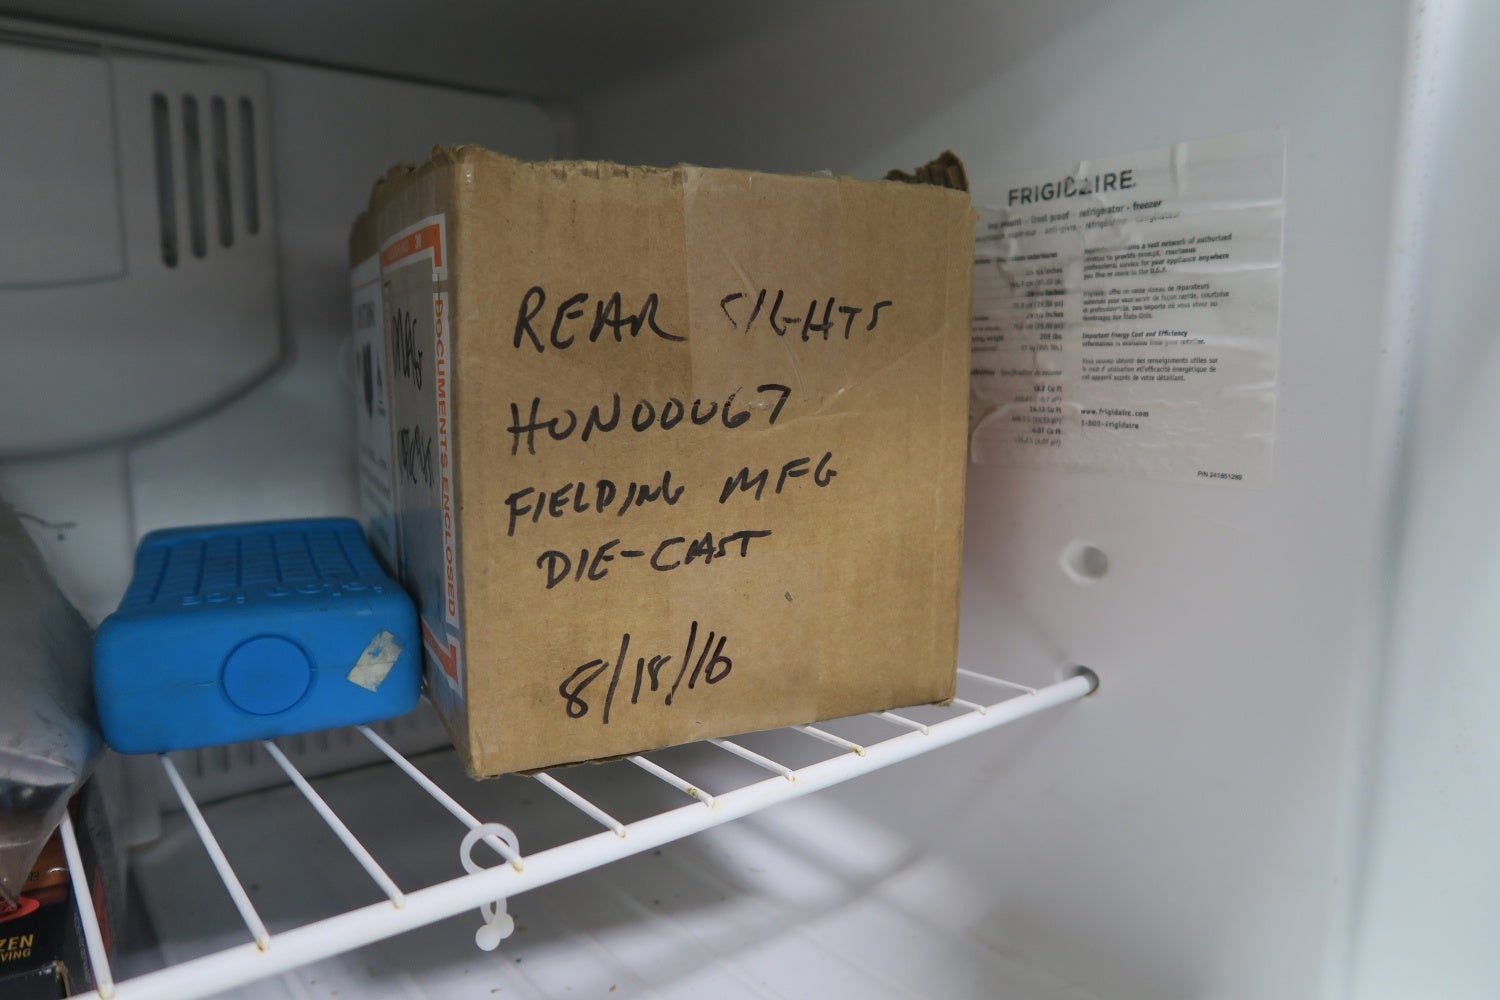
Installation of the rear sight is completed with a press and a piece of cardboard to prevent marring. I messed up the first rear sight when installing it; the second go around was successful. 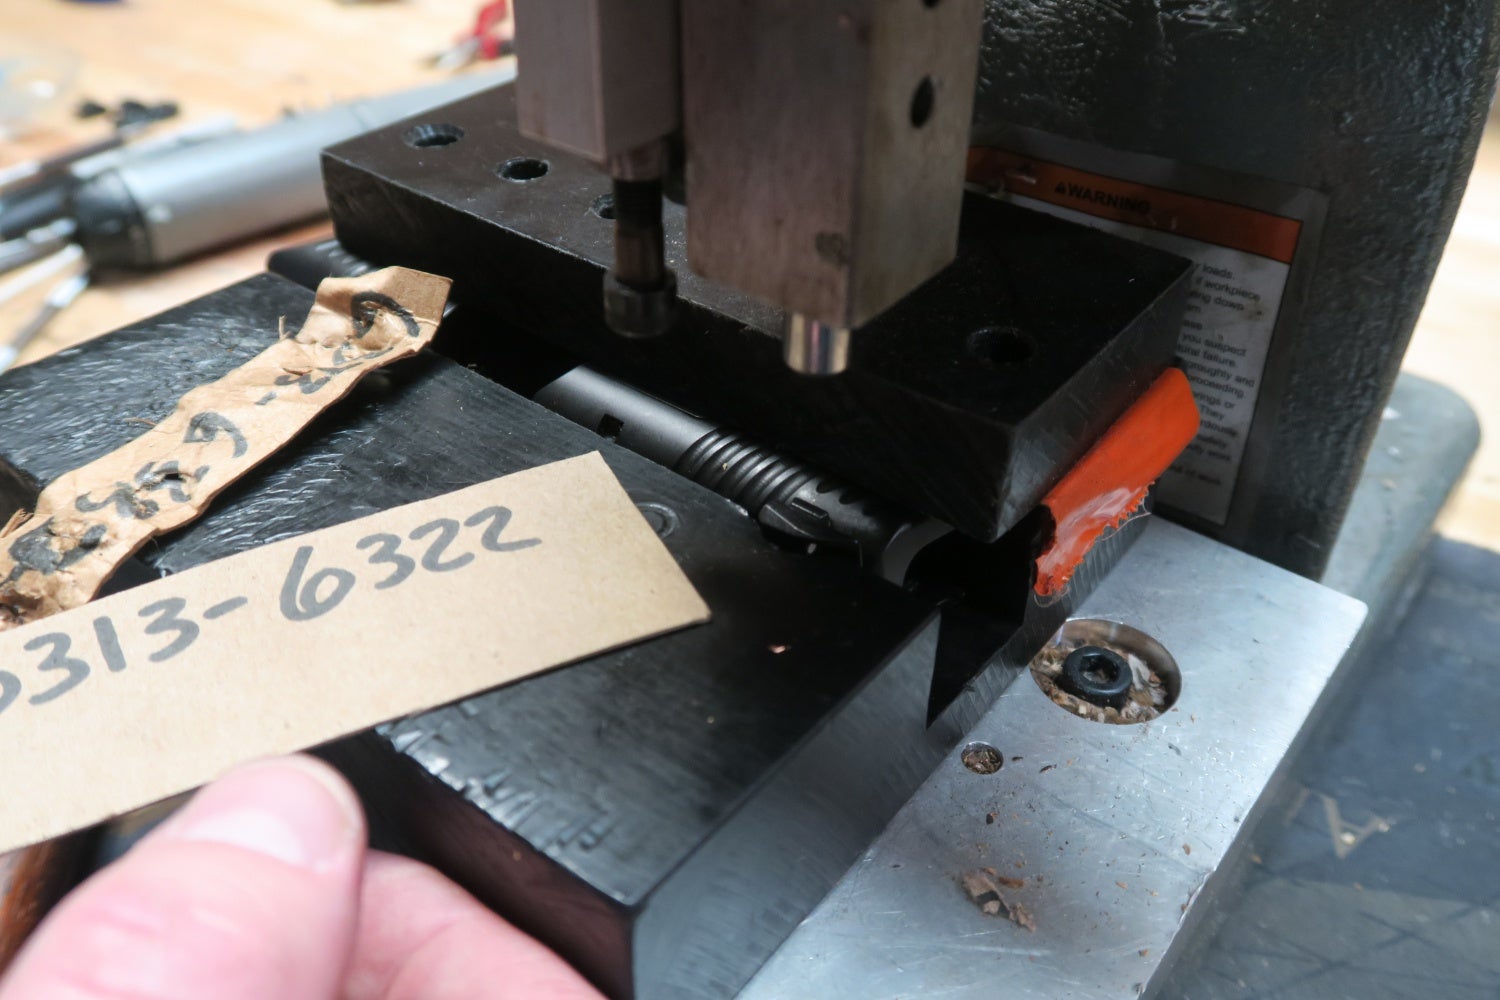
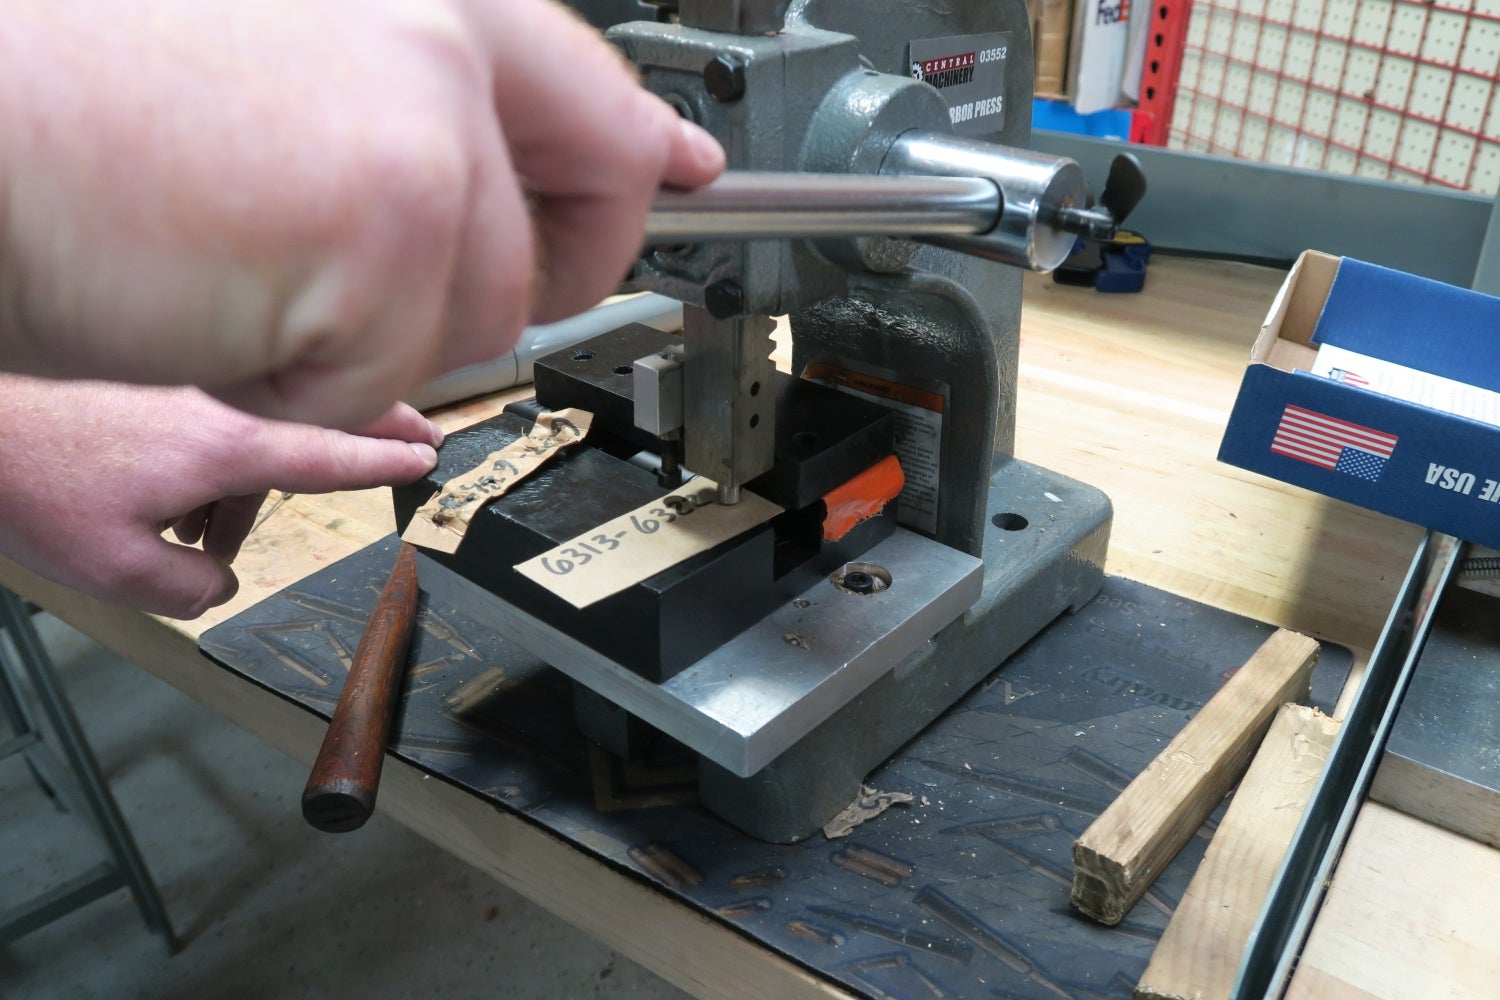
Since the sights are just Glock 43 sights, installing the front sight is a snap. Insert the front blade and grab the only power tool used in the assembly process to tighten the front sight post. Job done. 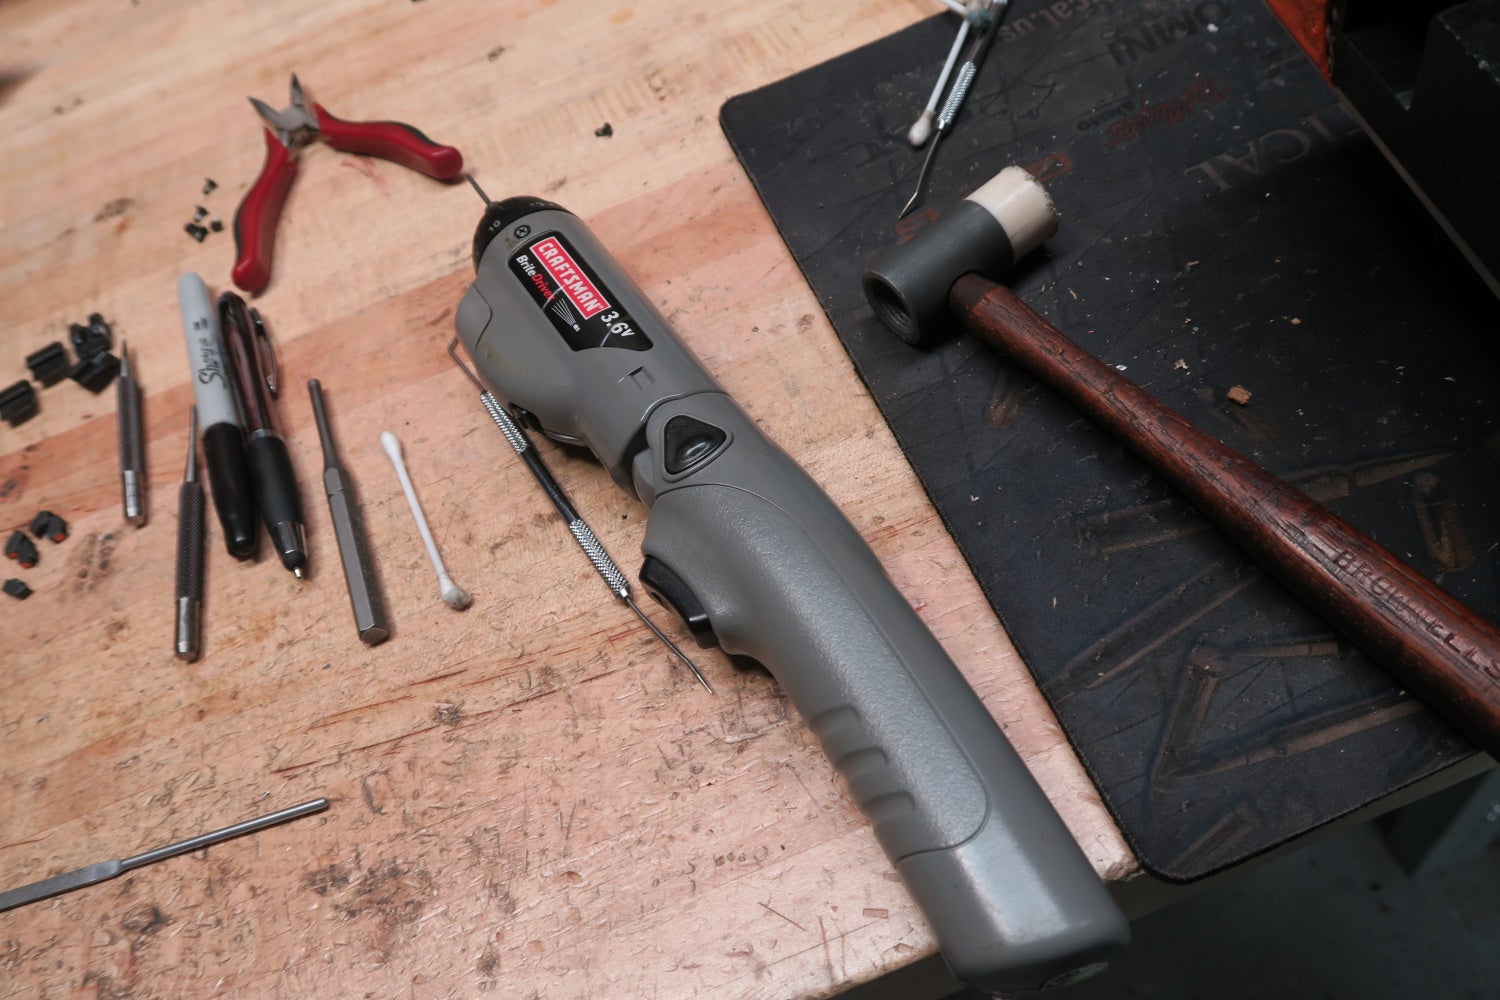
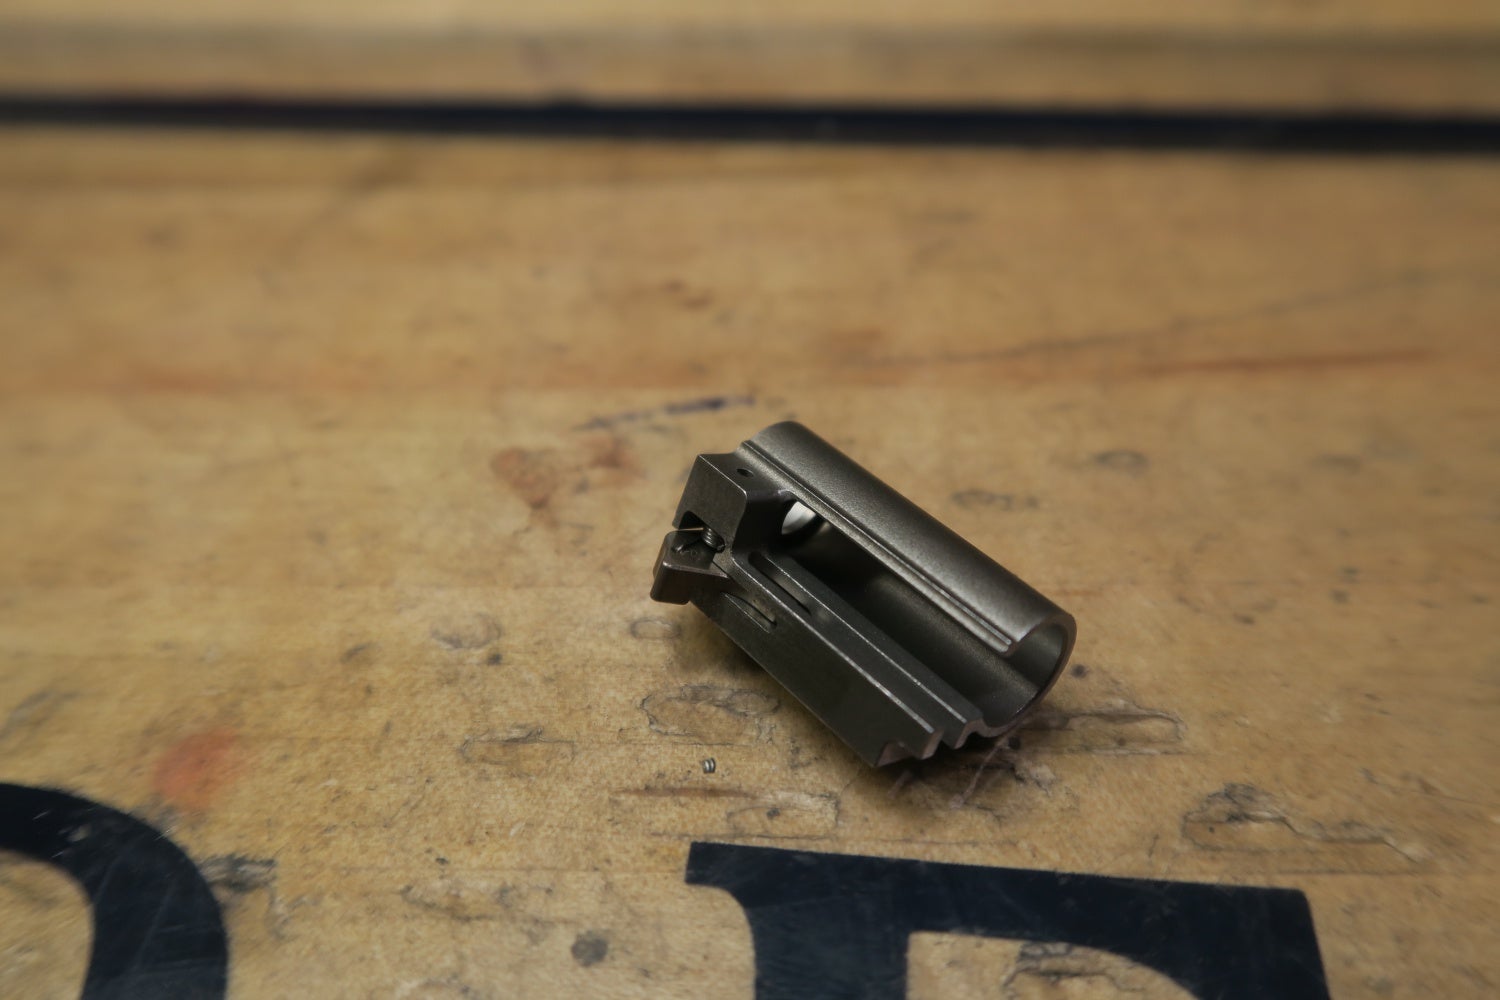
Now that the sights have been installed, it was a matter of inserting the striker assembly, end plate retainer spring, end plate retainer, and endplate to complete the slide. Adding the barrel and recoil spring is no different that putting the gun back together after cleaning, not too interesting.
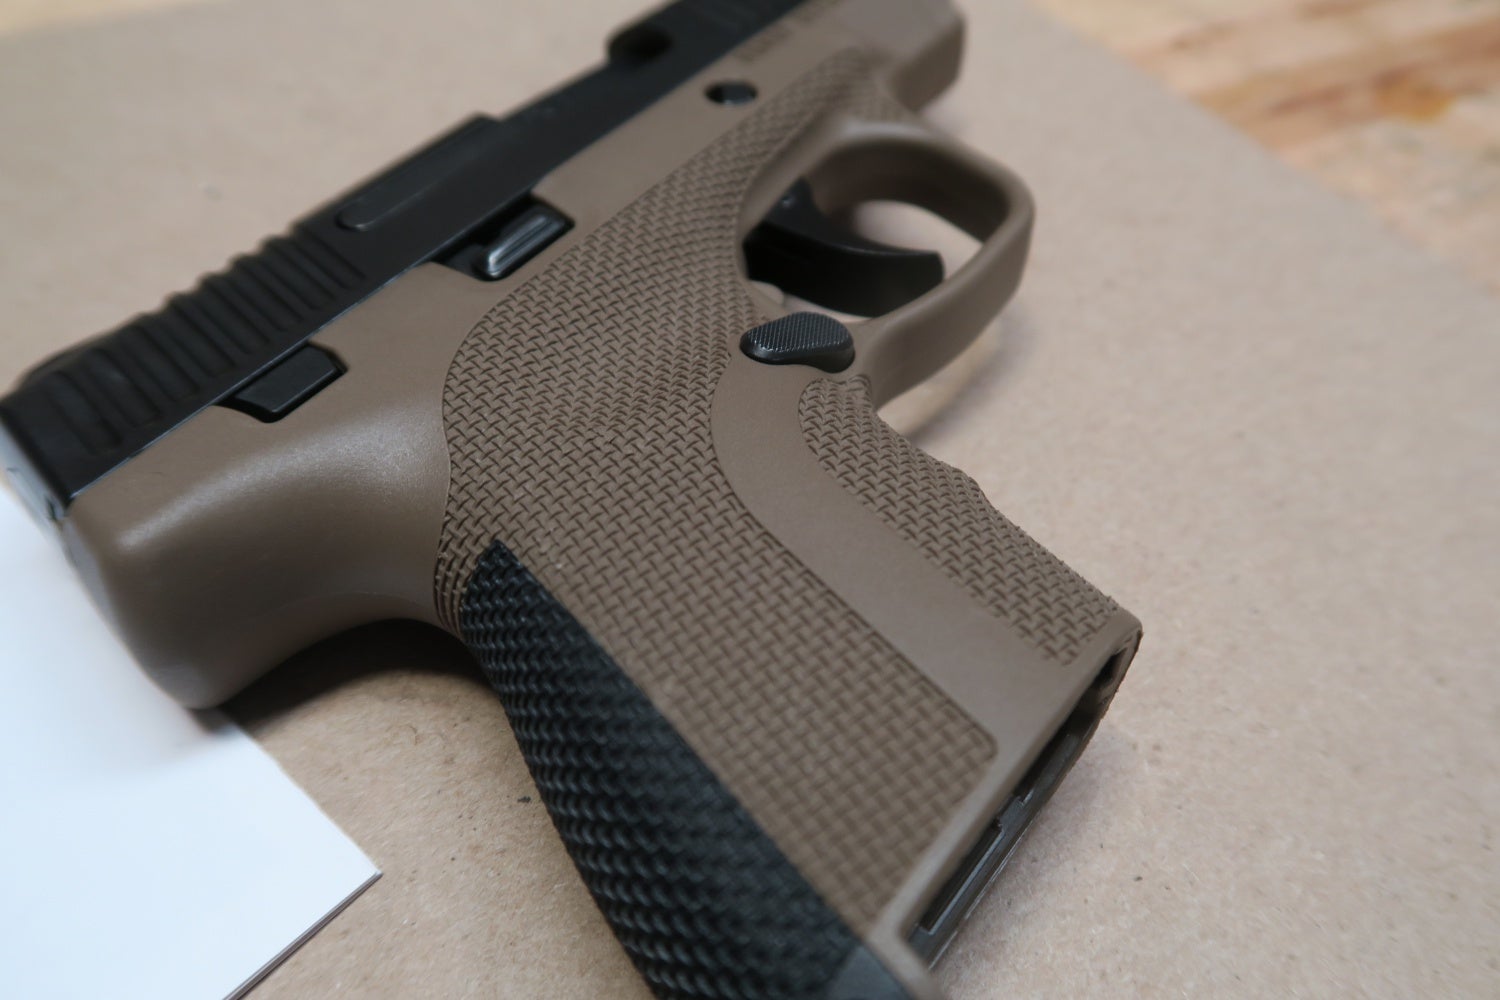
With the slide done, I spied an FDE frame that I wanted to use to build the gun. The catch is I needed to install the mag release and spring. The small spring is easy to install; the trick is to position it just right, or the mag release is heavier when pushed to one side than the other. 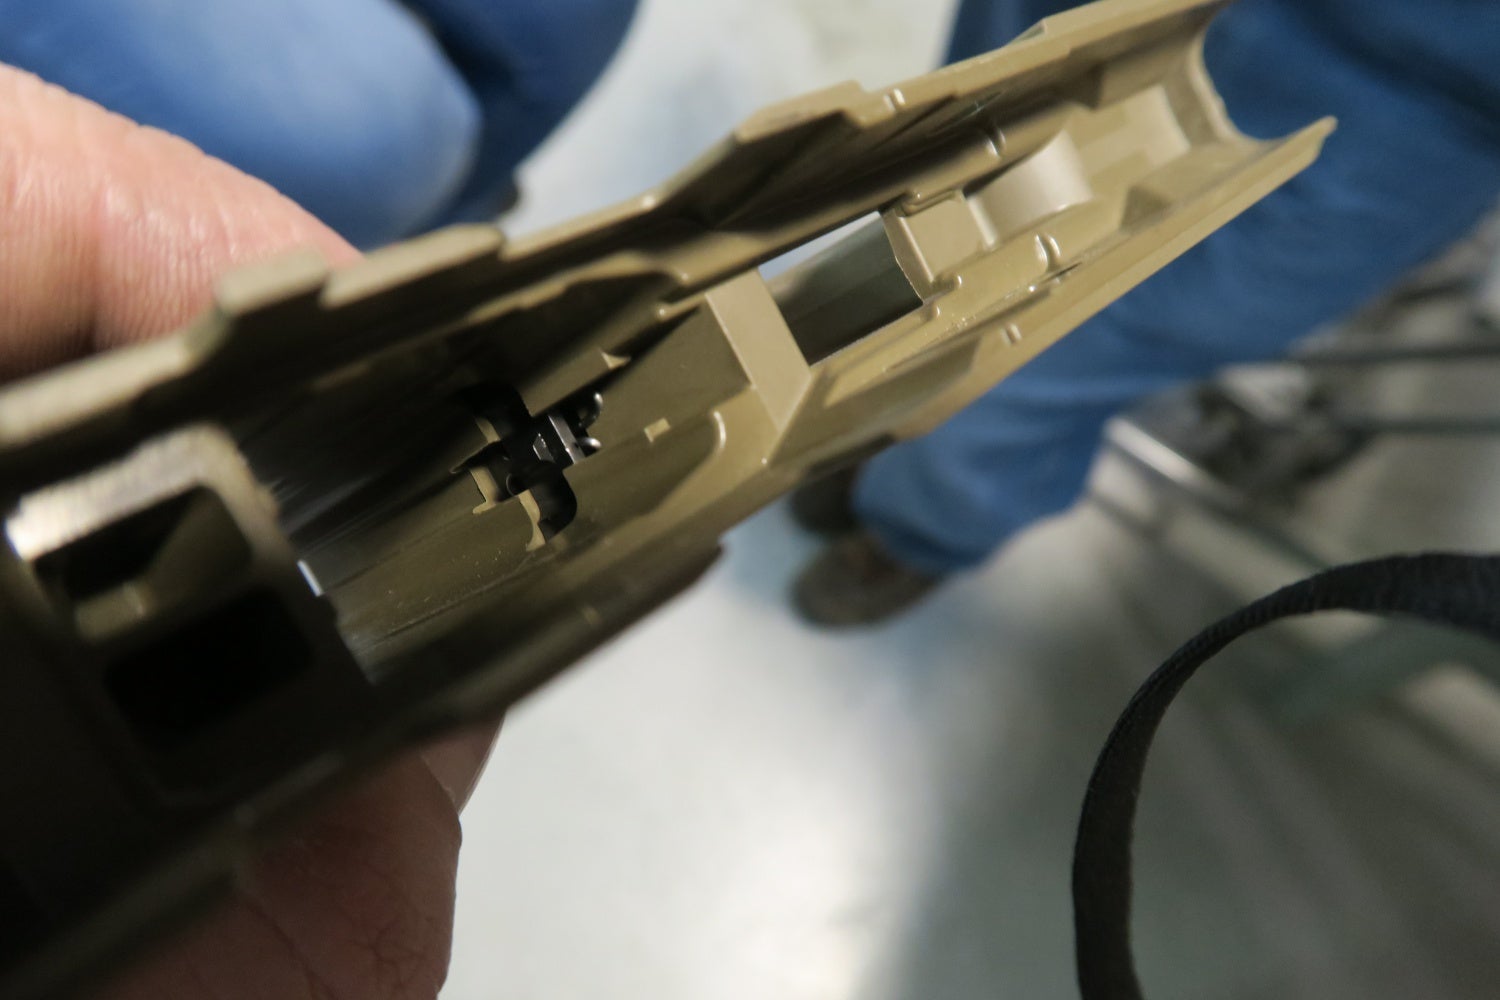
Now that the small parts had been assembled dropping the frame into the grip, inserting the takedown lever, and dropping the completed slide onto the gun completed the build. 

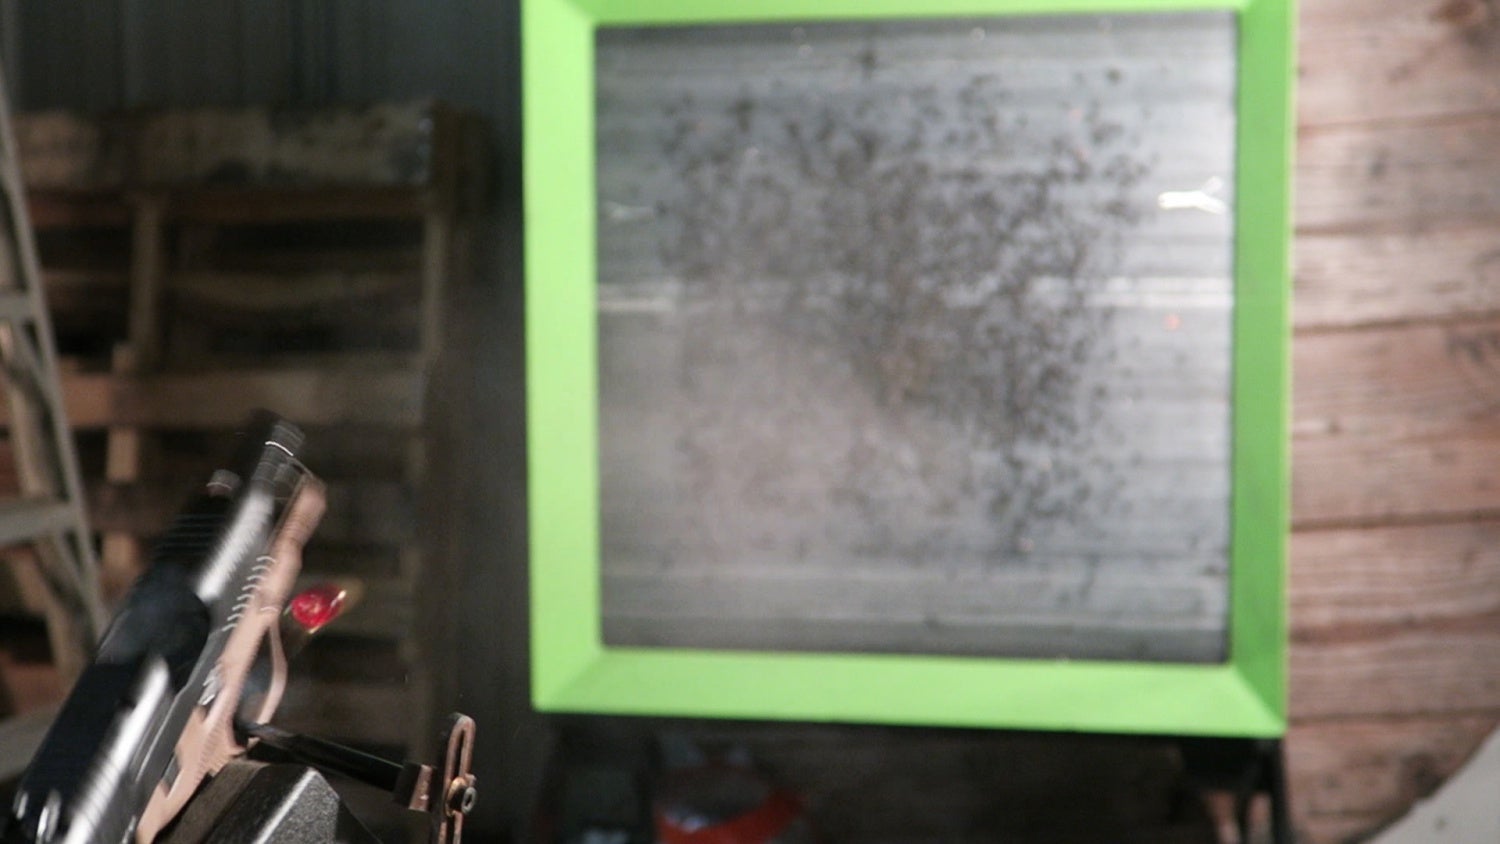
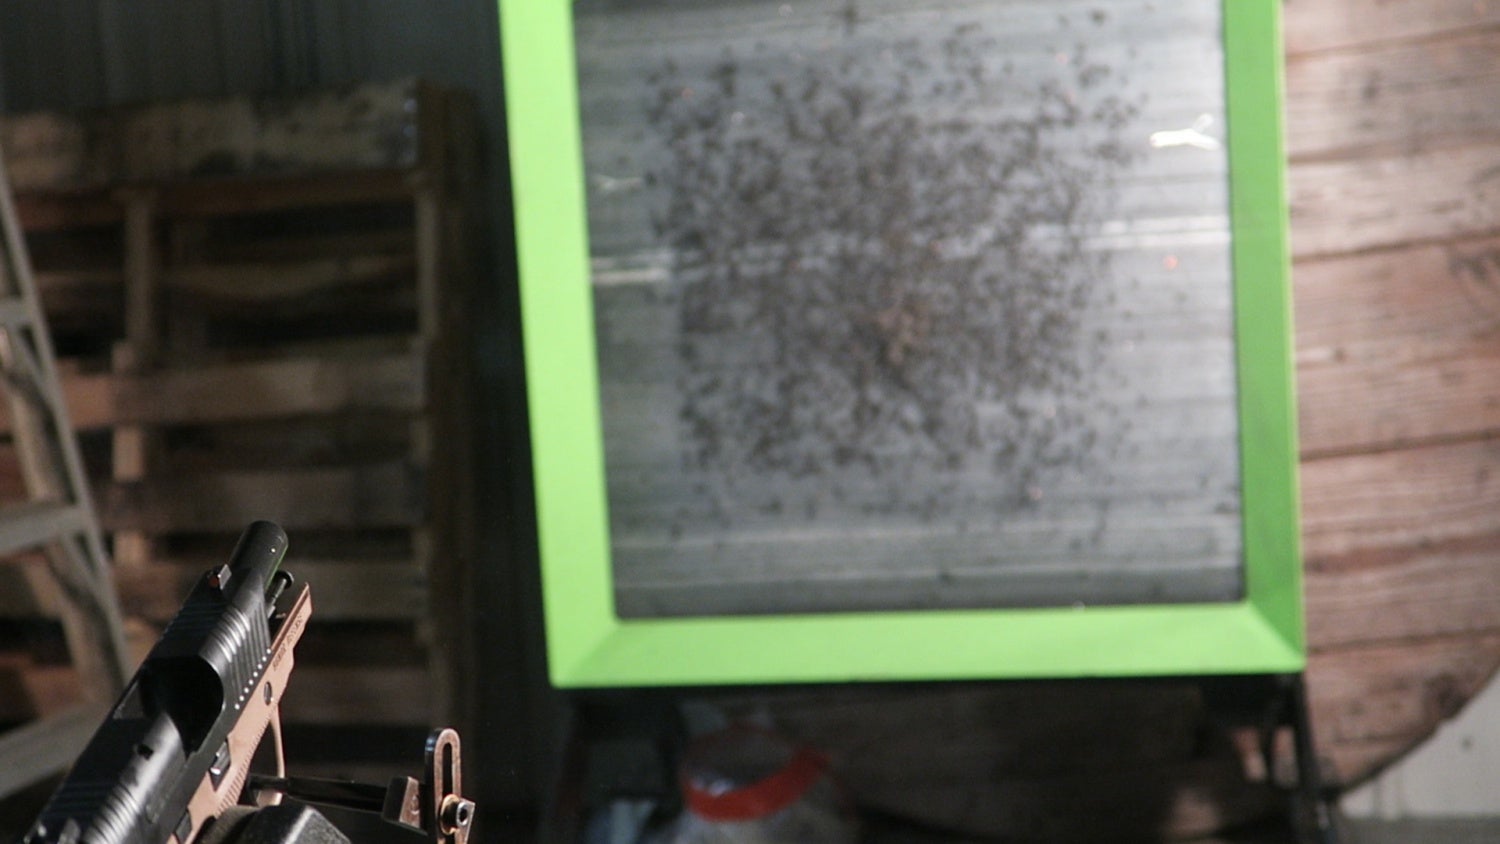
Before Gary let me box it up, I had to proof the pistol with a +p Double Tap proofing load. I set the pistol up in the Ransom Rest, lined the sights up, had Gary verify that it was on target, then pulled the trigger. 
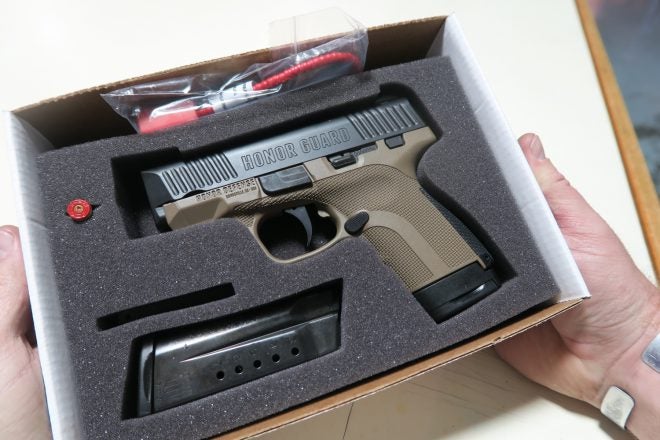
With the gun in the box, it looked like a professional had built it. Once I was done I planned on buying the gun; I don’t know if I like the idea of the first Honor Guard I built ending up in someone else’s holster. Honor Guard #24 is going to make a great addition to my safe. 
I rather enjoyed my time working with the guys on the assembly line; it is a far cry from the normal day at the office for me. It must be nice going to work and only glancing at a computer now and again.
I can’t thank Gary, Bob, and the rest of the crew enough for taking the time to walk us through building a gun. Not only did we learn how Honor Defense does things, but it was a great way of showing how much they differ from the M&P Shields.
You can read our review of the Honor Guard HERE, See the factory tour HERE, or visit their website HERE.