 Your Privacy Choices
If you live in the US and are a shooter, chances are you are fully aware of the 16″ barrel length requirement by the ATF. The regulation presents a bit of a problem for some shooters thanks to the cheap and available 14.5″ barrels coupled with the knowledge that our general military service rifle features the same barrel length. Many buyers fall into the trap of using one for their build without thinking through the need for a permanently attached muzzle device that brings the barrel length up to the required 16″ in the ATF’s eyes.
I fell into the trap of a 14.5″ barrel thanks to a sale that Bravo Company was running for 14.5″ mid-length, light weight, chrome lined barrels at about half what the normal price is. Before buying it I thought to myself “this shouldn’t be too hard to pin and weld myself” and convinced myself to hit that checkout button. The one thing I didn’t account for was my drill press dying while waiting on the new barrel leaving two options, buy a new drill press or take it to a gunsmith. Since I hardly used the old drill press anymore, the choice was an easy one.
I called my friend Joe who is a gunsmith and asked what kind of bourbon it would take to bribe him to pin and weld a muzzle device to my shiny new barrel. Thankfully his taste in spirits aren’t exactly highfalutin, and I was able to have the work done for a mere gallon of the most moderately priced bourbon on the shelf. Joe was even kind enough to allow me to take photos in his humid, camera destroying shop so I might share the process with TFB’s readers.
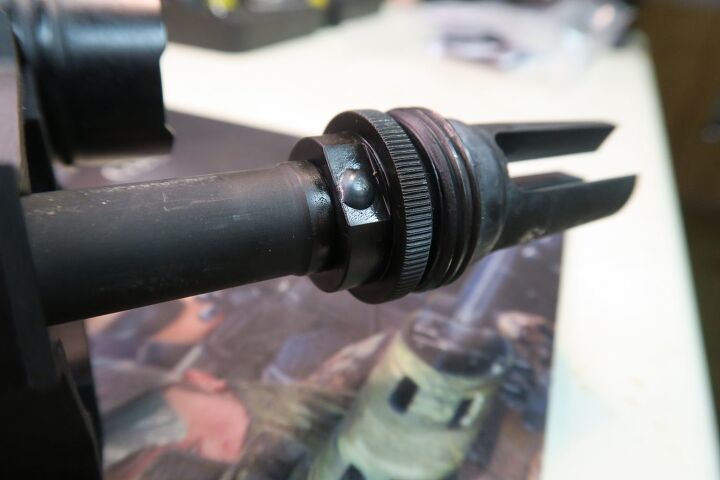
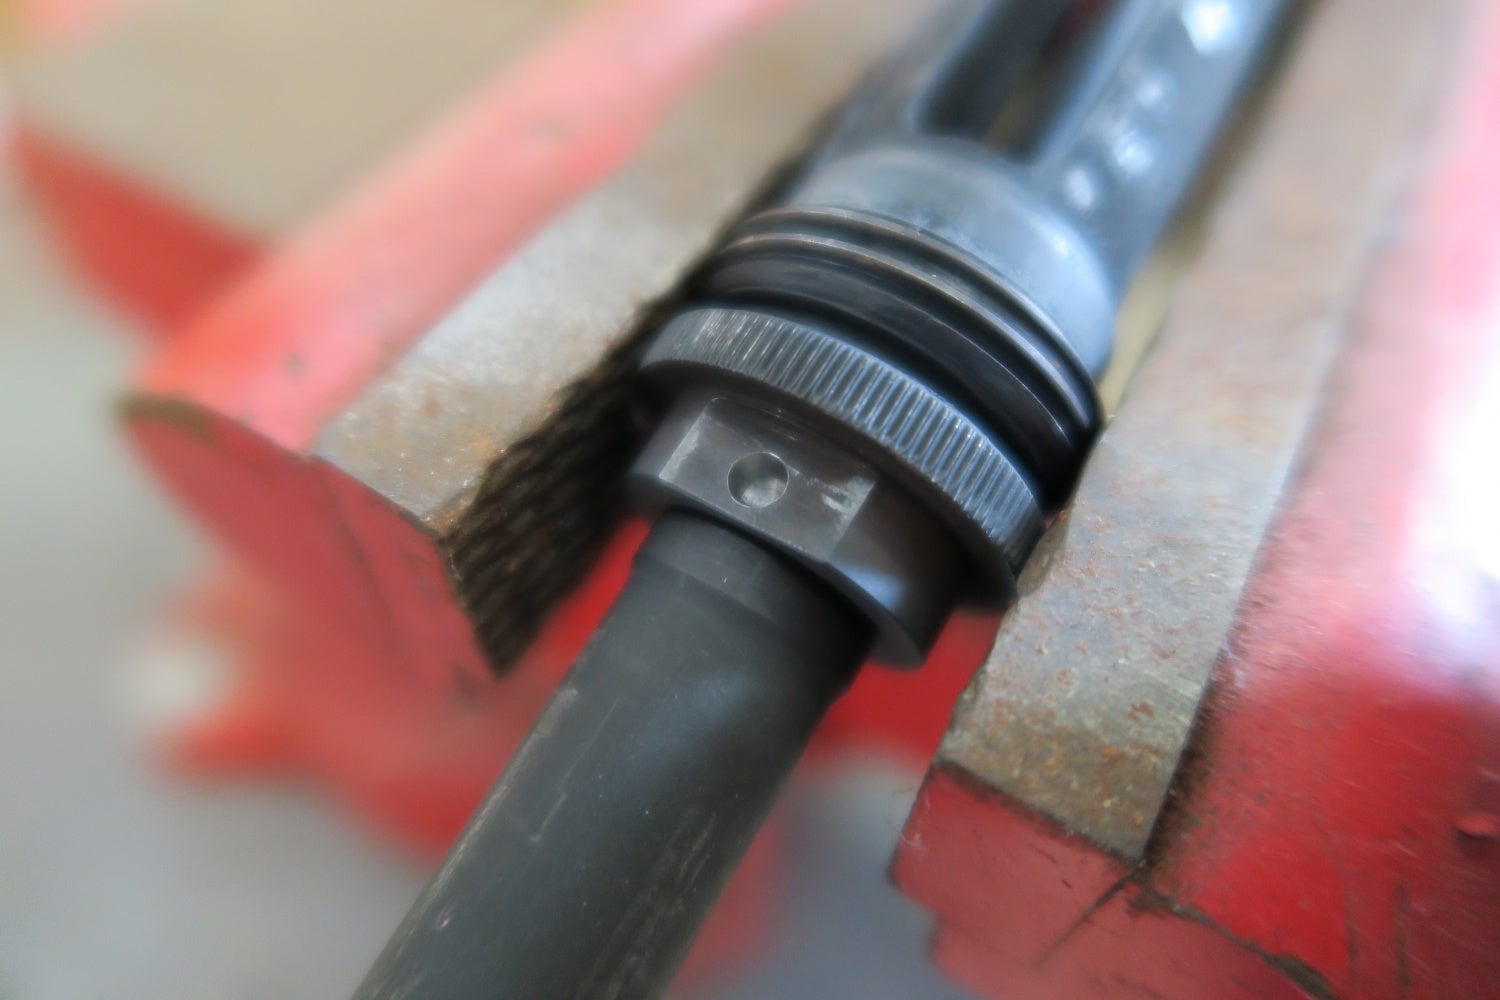
Joe started by removing the muzzle device from my assembled upper so that he could measure what depth he needed to drill to, degrease the threads, and LocTite the muzzle device in place so that it didn’t move during the process of pinning.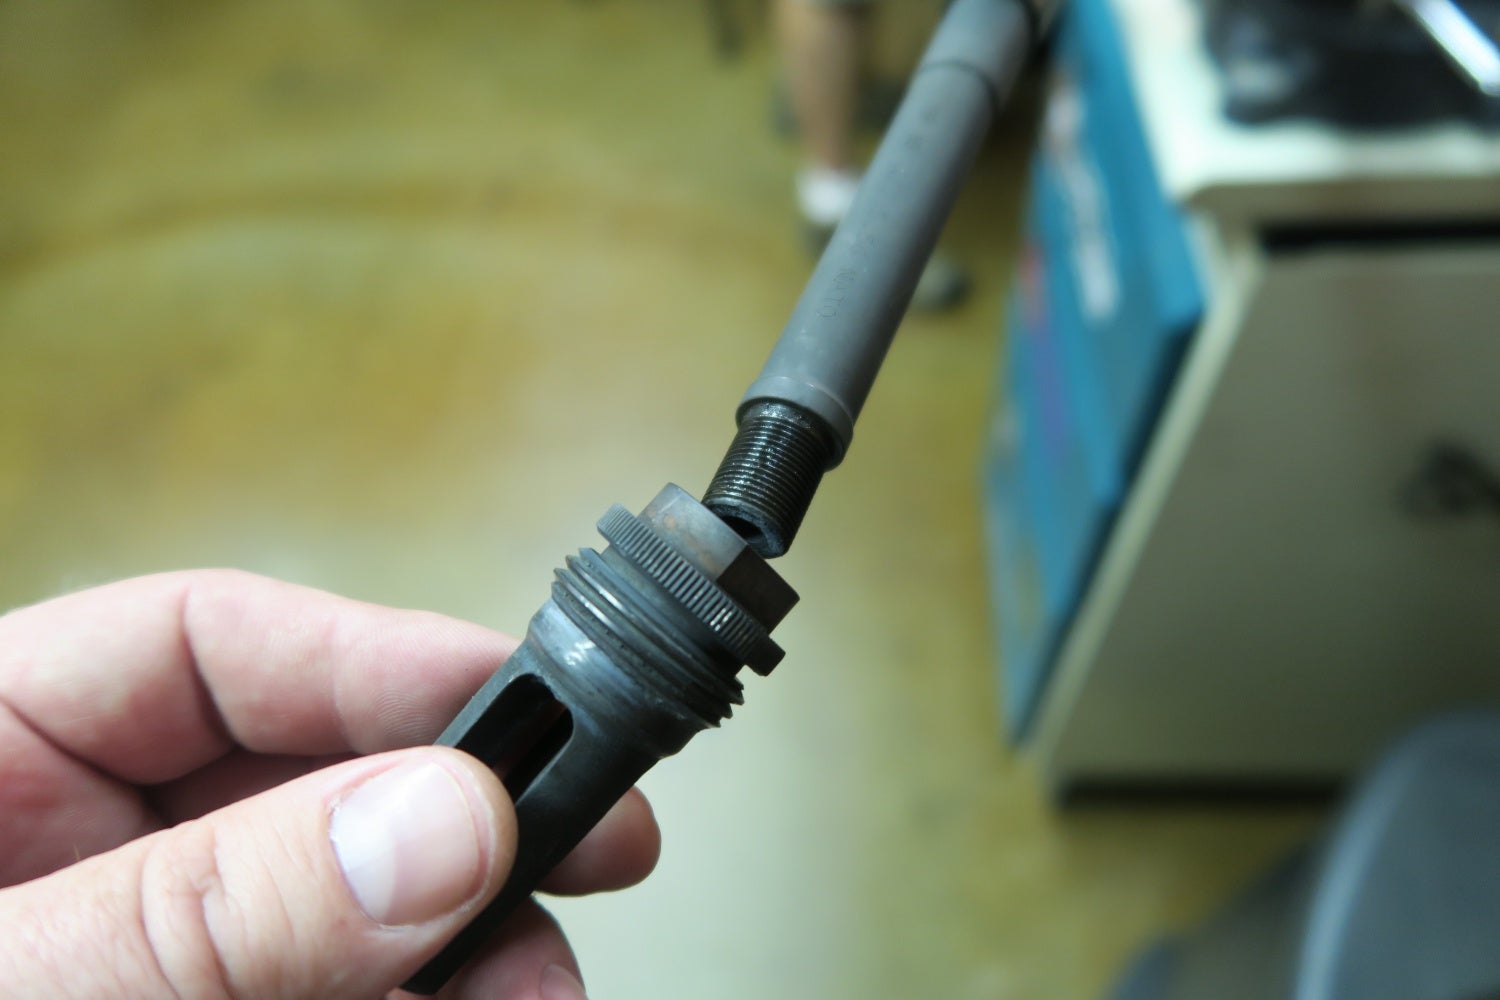


Joe then retrieved a section of steel rod that he uses for all of the pin and weld jobs he does and cut off a small section that was long enough to fill the hole that he intended to drill. After he sized it up on the muzzle device to make sure that it was thin enough for the area we had to work with we headed over to his Bridgeport mill.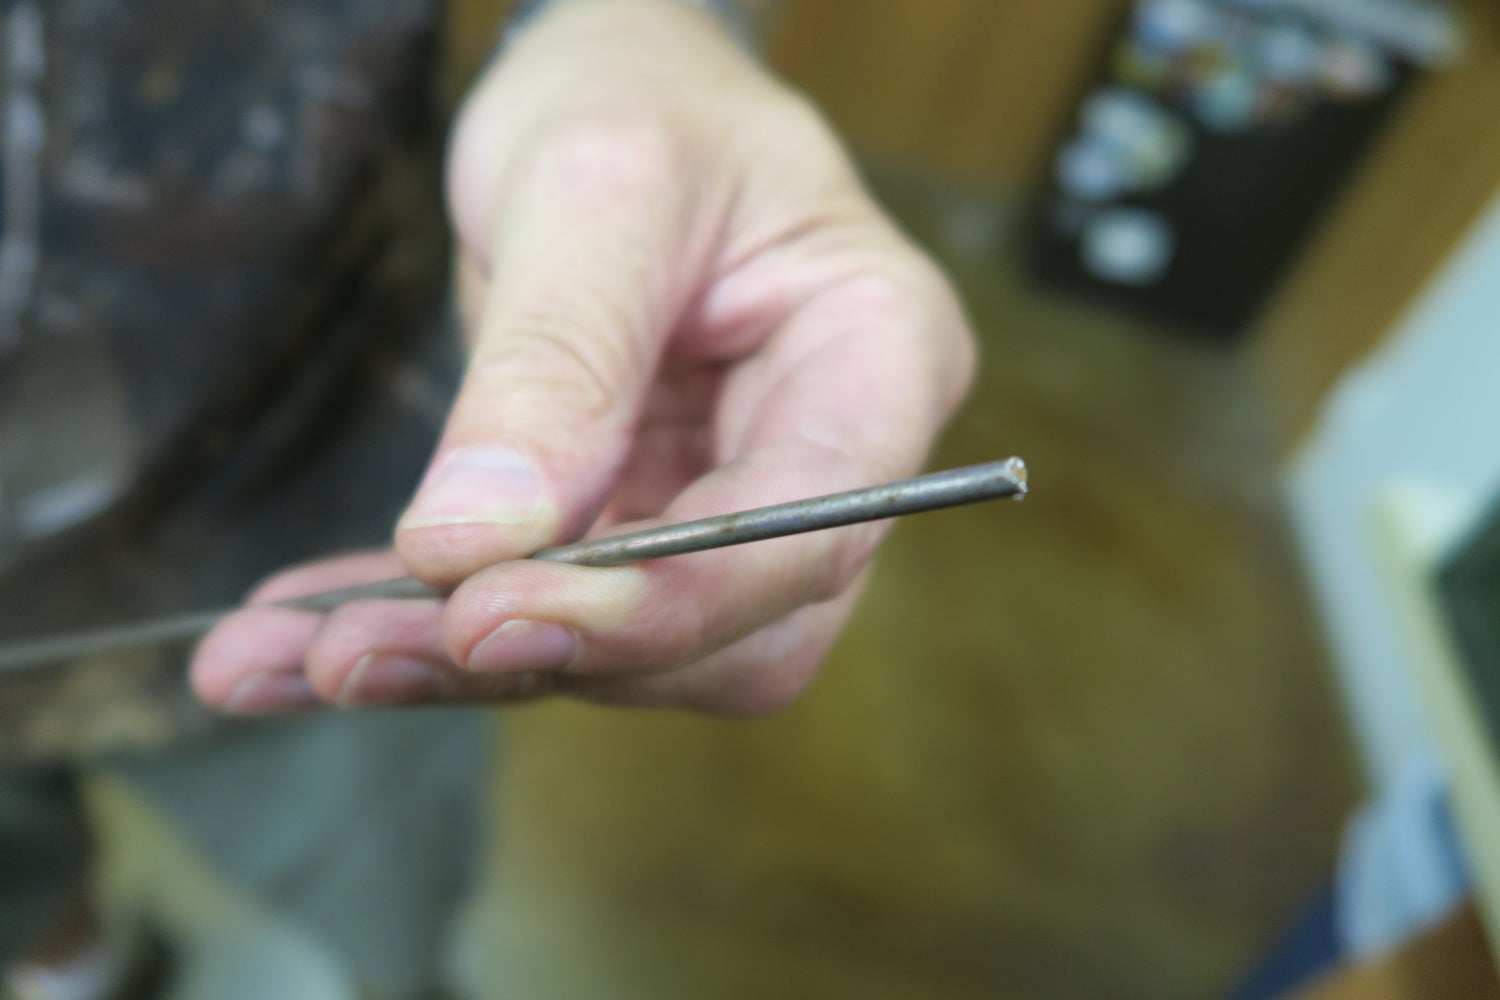
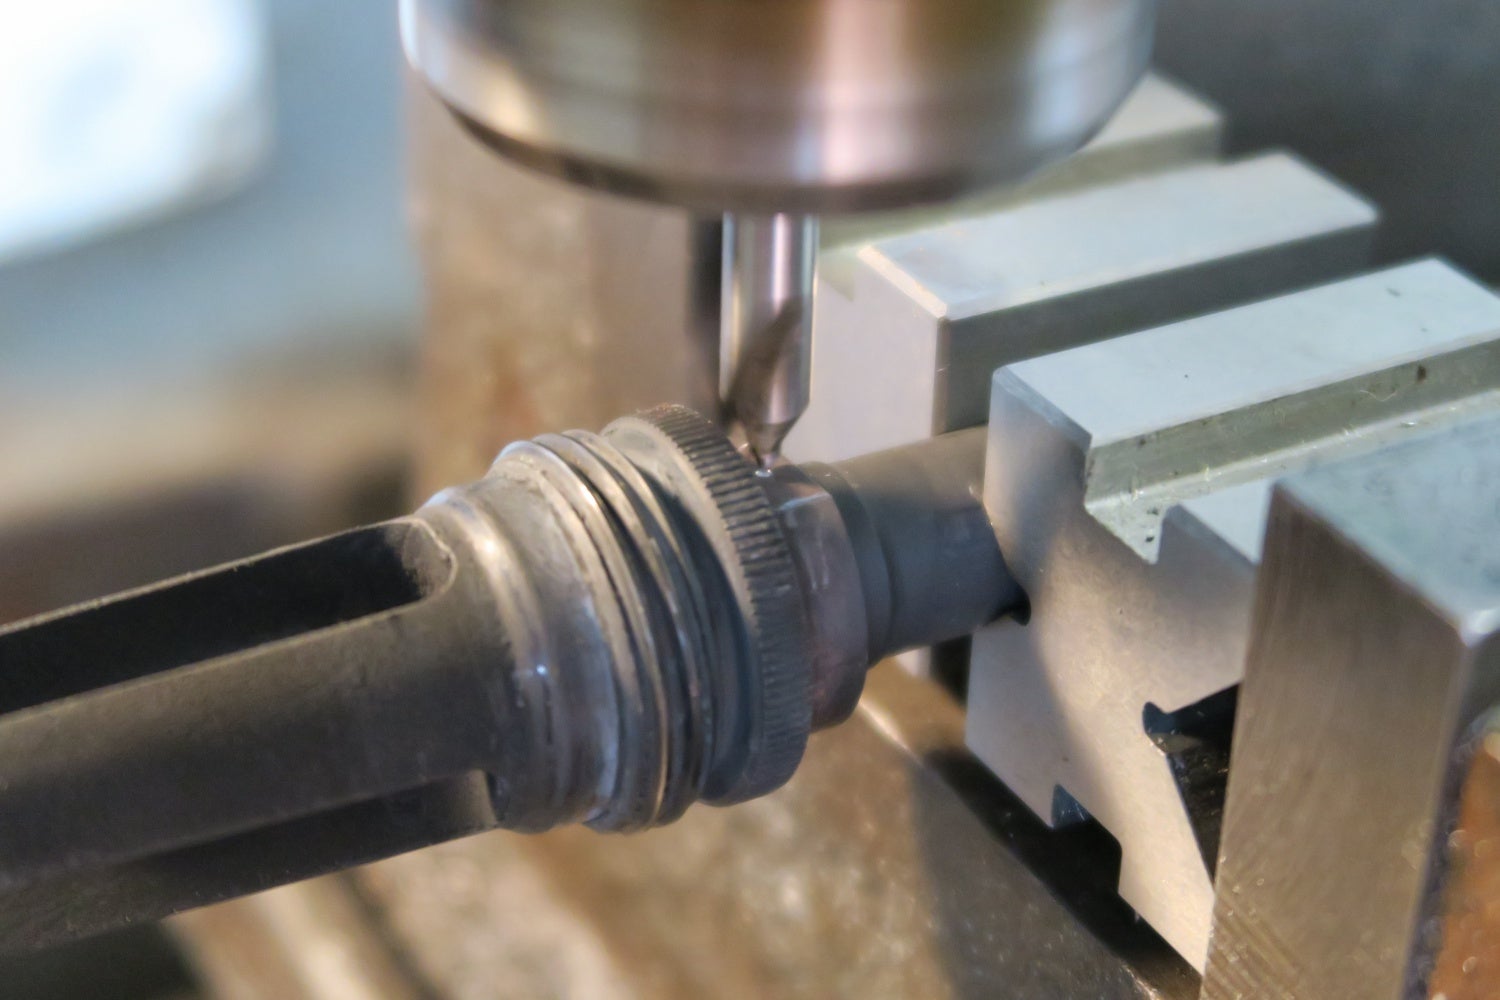
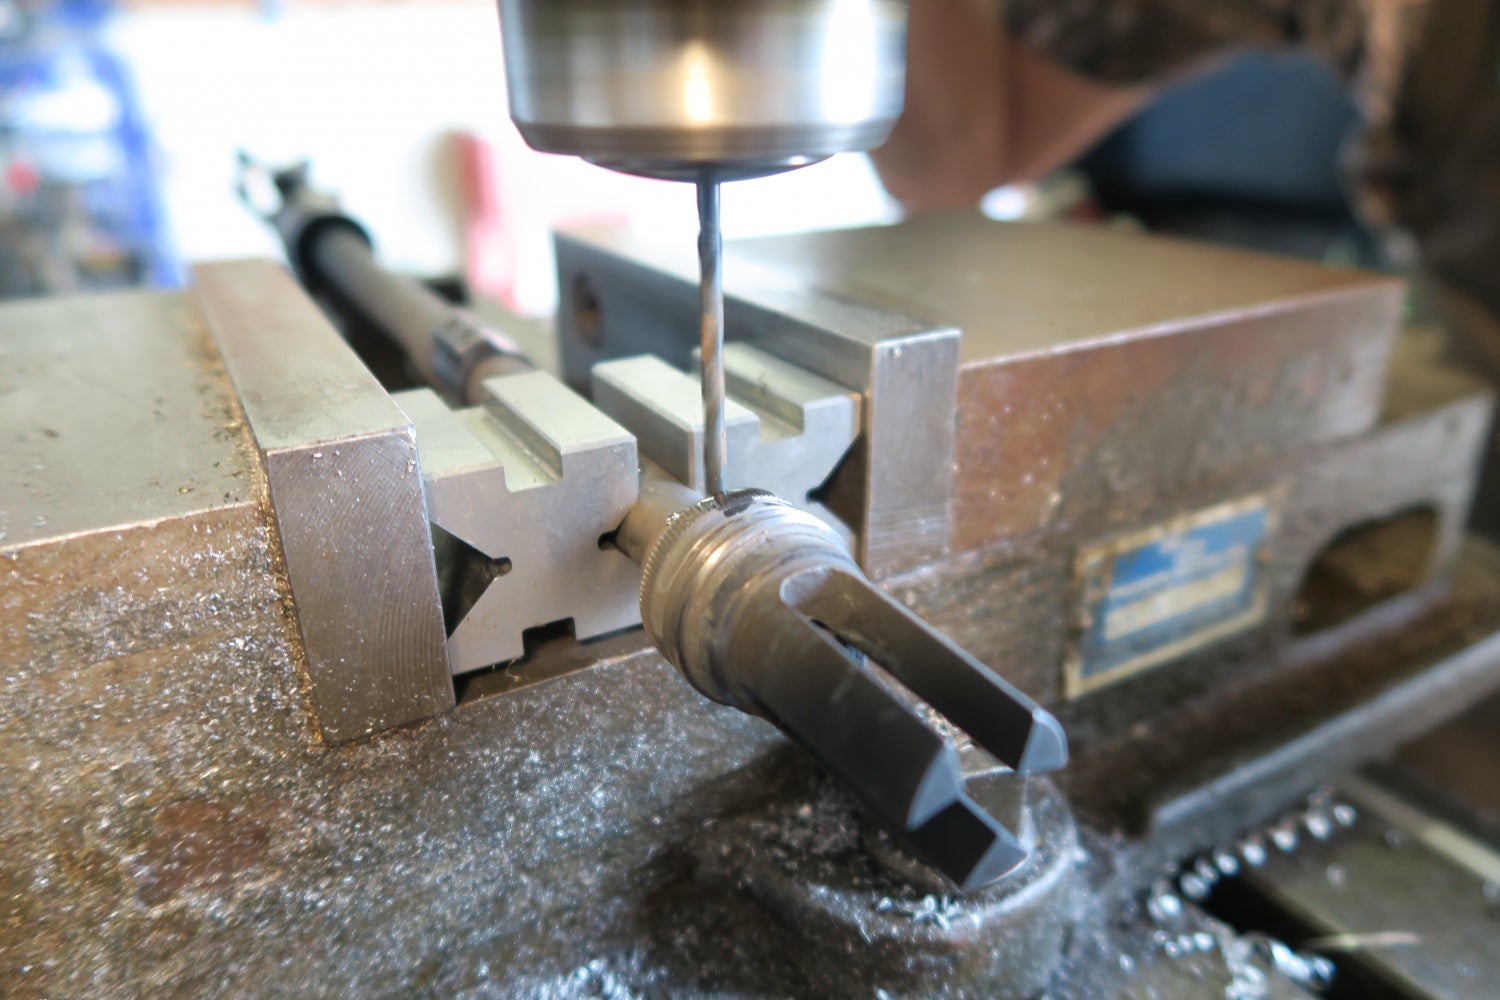
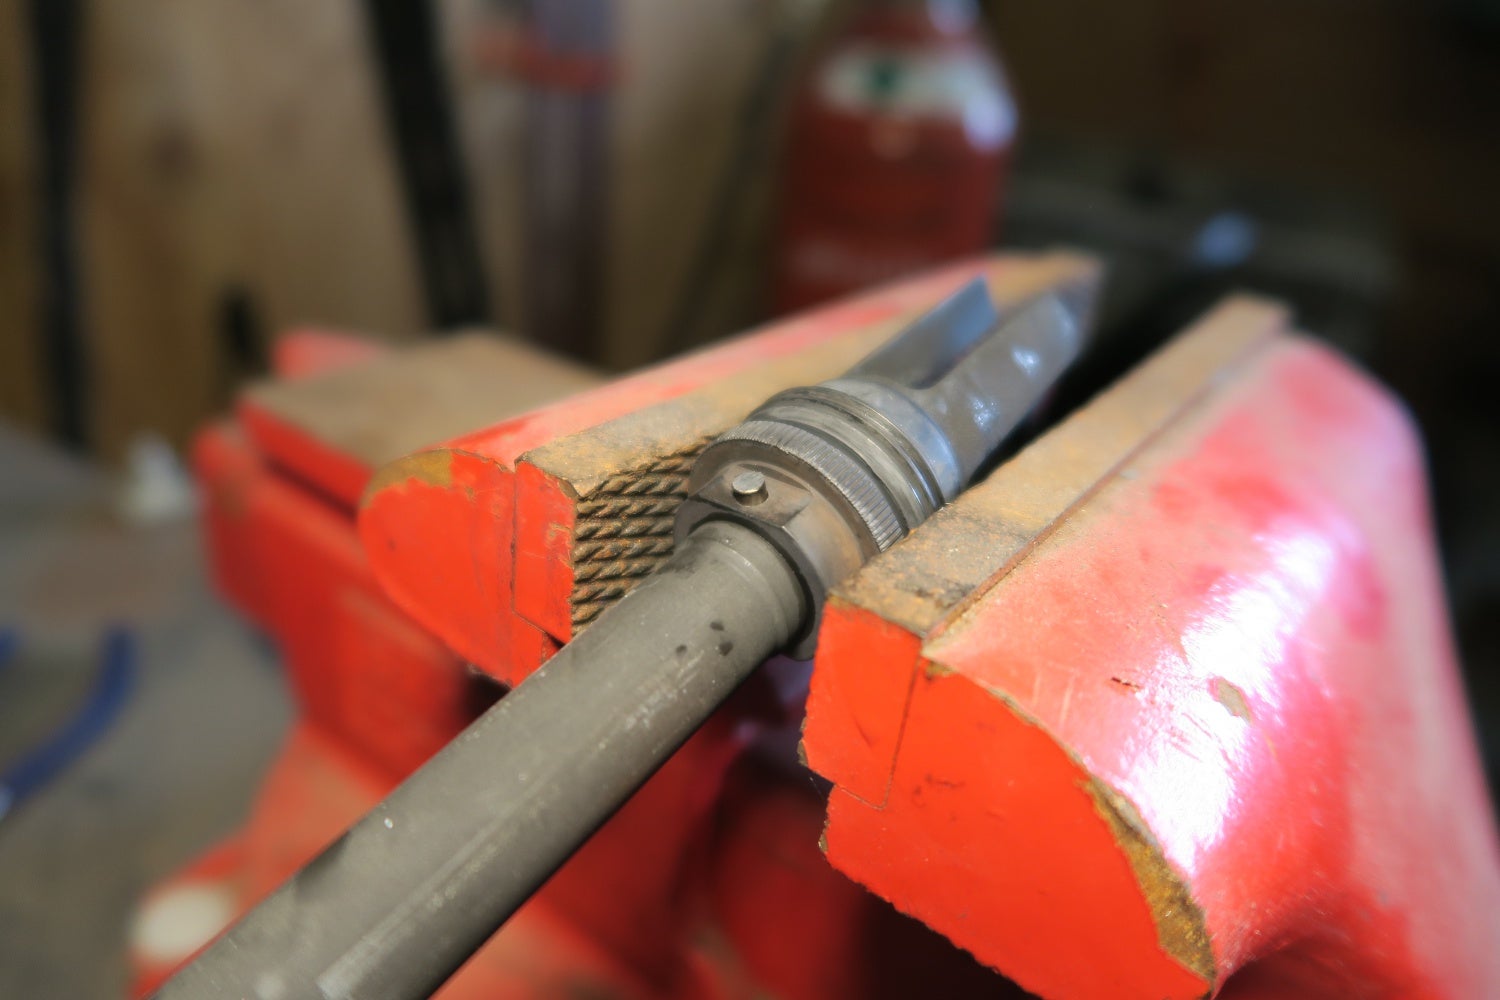
Once the barrel was clamped in place, Joe used the control module to find the center of the muzzle device with an edge finder. Once that was all setup, Joe used an anti-walk bit to cut a dimple into the barrel so that the drill bit didn’t have a prayer of moving once he started the hole. After changing the bits out, he drilled the hole to the exact required depth to get just through the threads on the barrel without compromising the barrel wall strength. 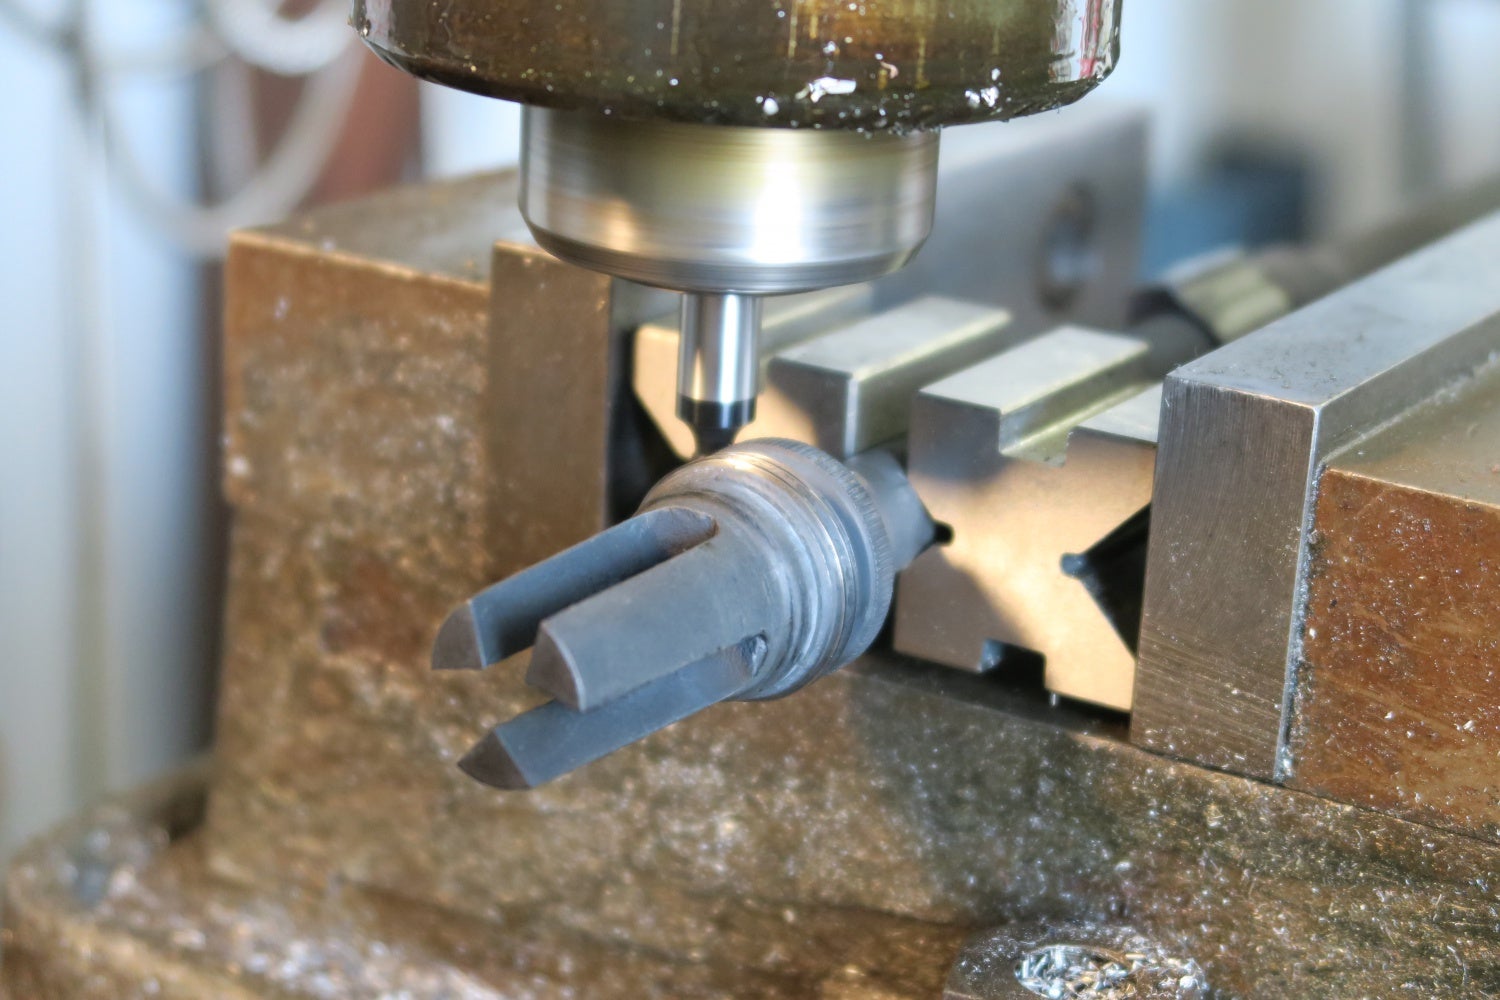
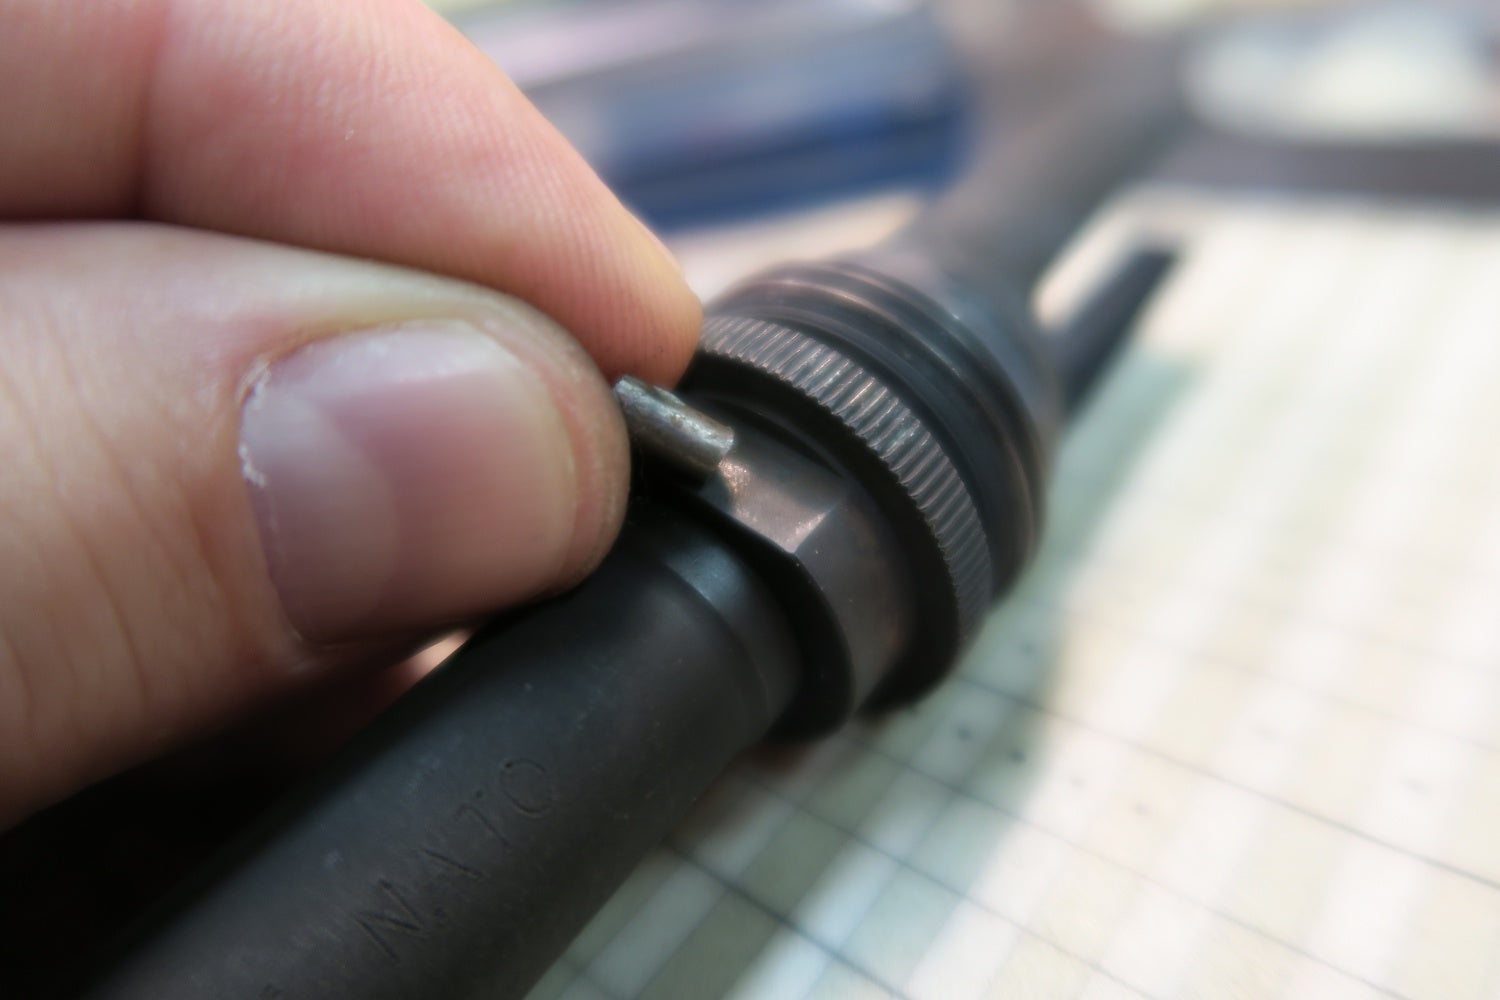
After a quick spray in the parts, washer to remove the cutting oil and shavings the barrel was ready to take over to his welding station. The hole that Joe had drilled was nothing short of a perfect circle void of almost any tool marks. The last step before welding is to tap the small bit of rod into place to act as the pin.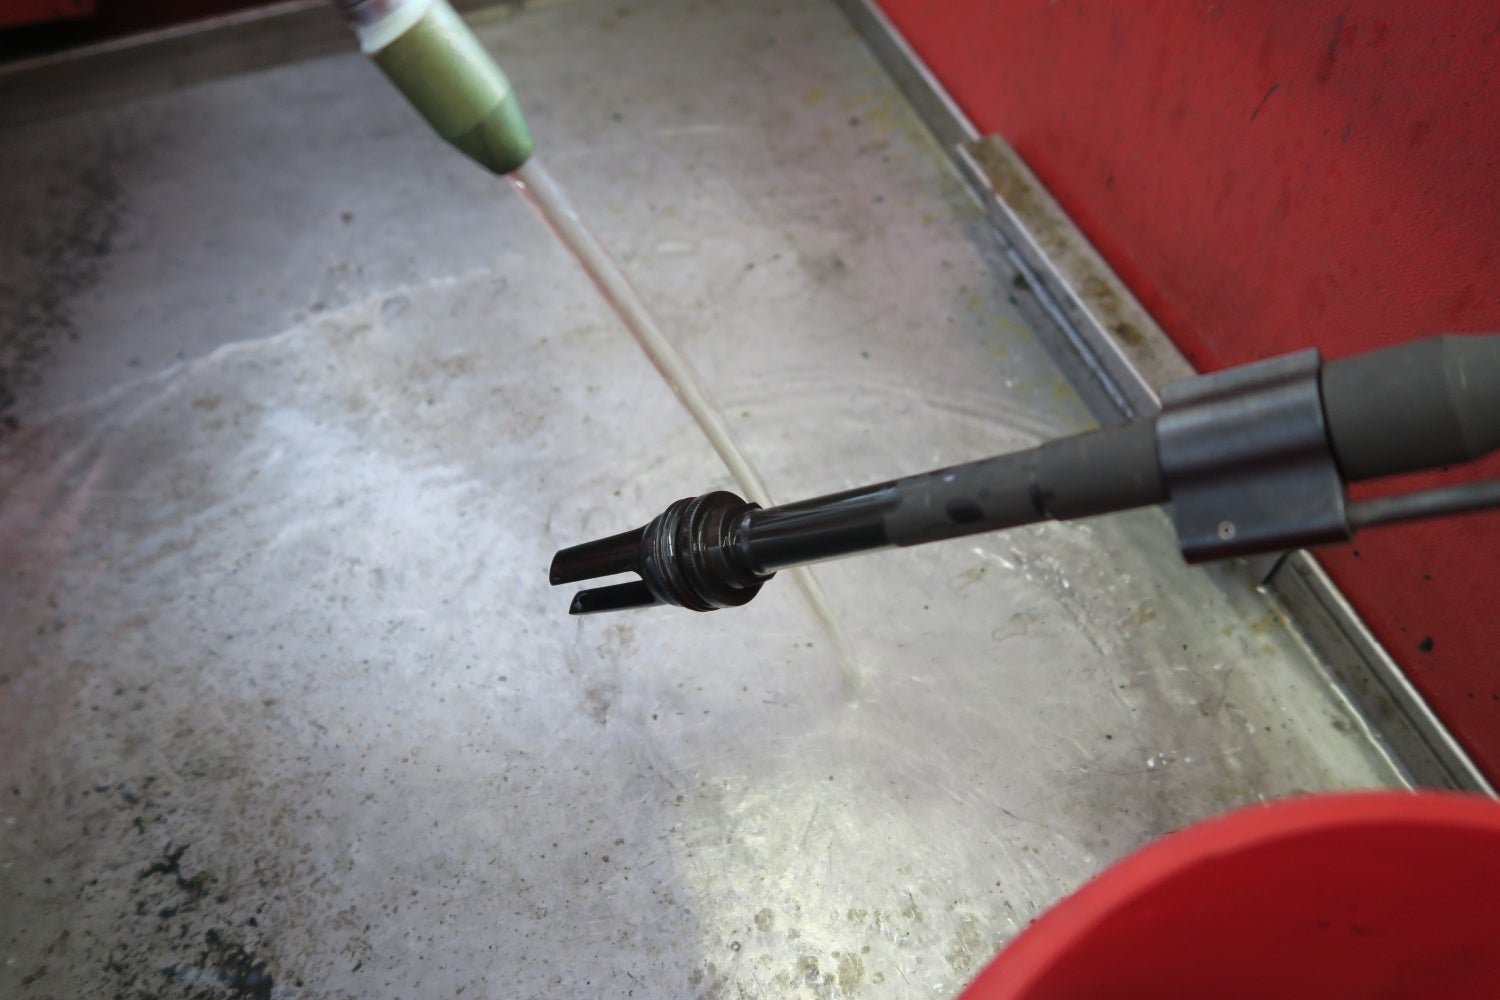

A quick zap with his welder and the pin turned into an almost perfect dome. After we cleaned it up again and applied some cold blue to the weld the new addition to the muzzle device looked like it came from the factory that way.


After seeing how much work goes into properly pinning a muzzle device, I don’t think I will be balking at a $60 shop fee for a competent gunsmith like Joe to do the job. After all, anything under a hundred bucks is a whole lot less than it would cost me to replace the barrel when I screwed it up.