 Your Privacy Choices

If you live in a state that allows the use of night vision for hunting, the ATN X-Sight HD digital night vision riflescope would be an excellent choice of optic. The ATN X-Sight HD series of night vision rifle scopes are digital night vision scopes. These scopes do not use an Image Intensifier/Photocathode, but rely on a CCD sensor and an infra-red light source. Essentially they are a camcorder, or a digital night vision camera with an adjustable infra-red filter and a reticle. Since they do not have an Image intensifier/Photocathode, end users do not have to worry about burning out the Image Intensifier, they can be used in the daytime and they are less expensive.
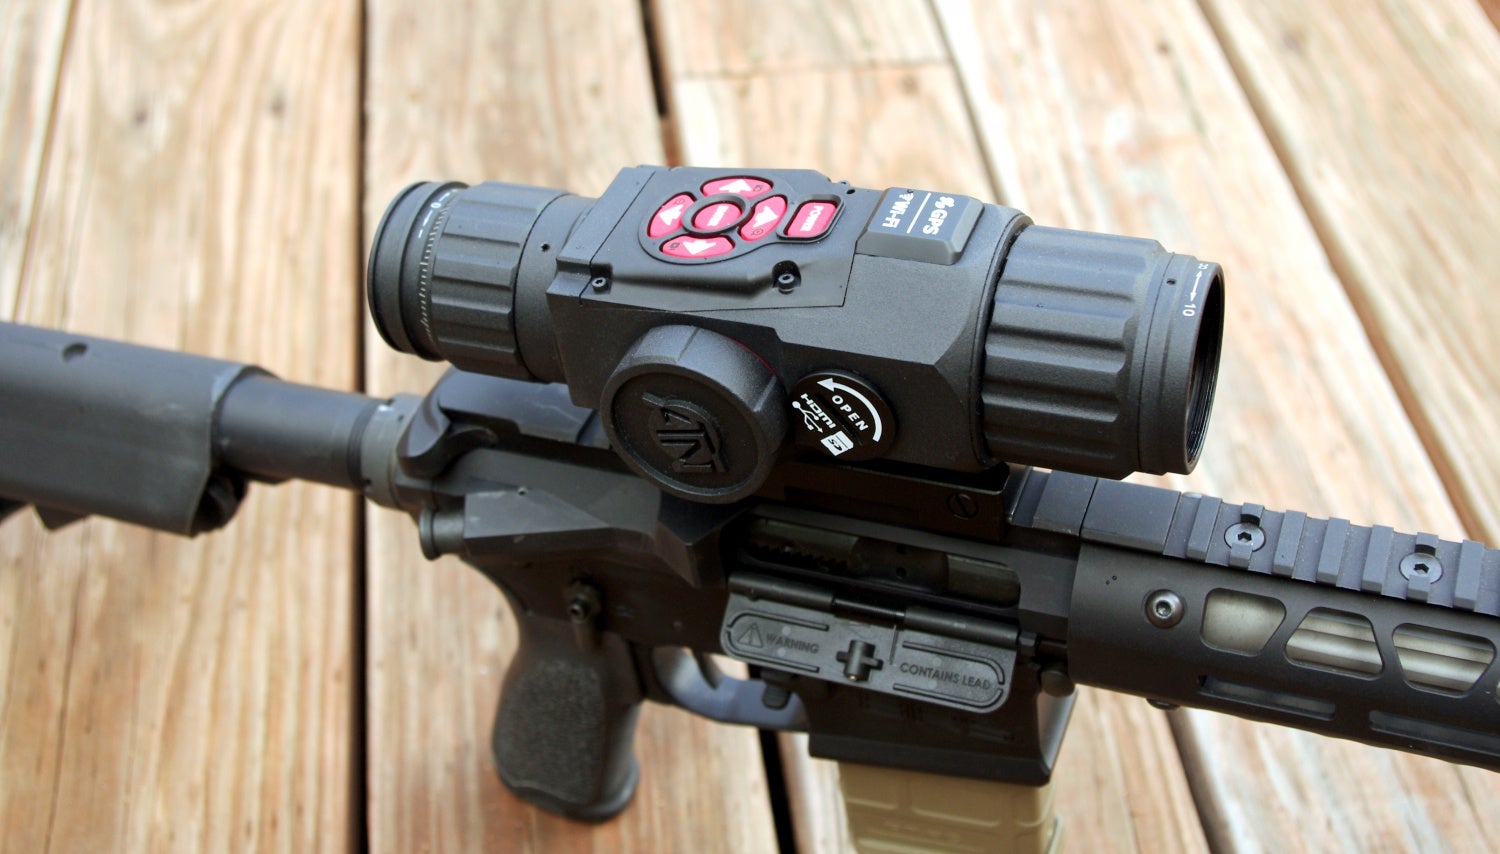
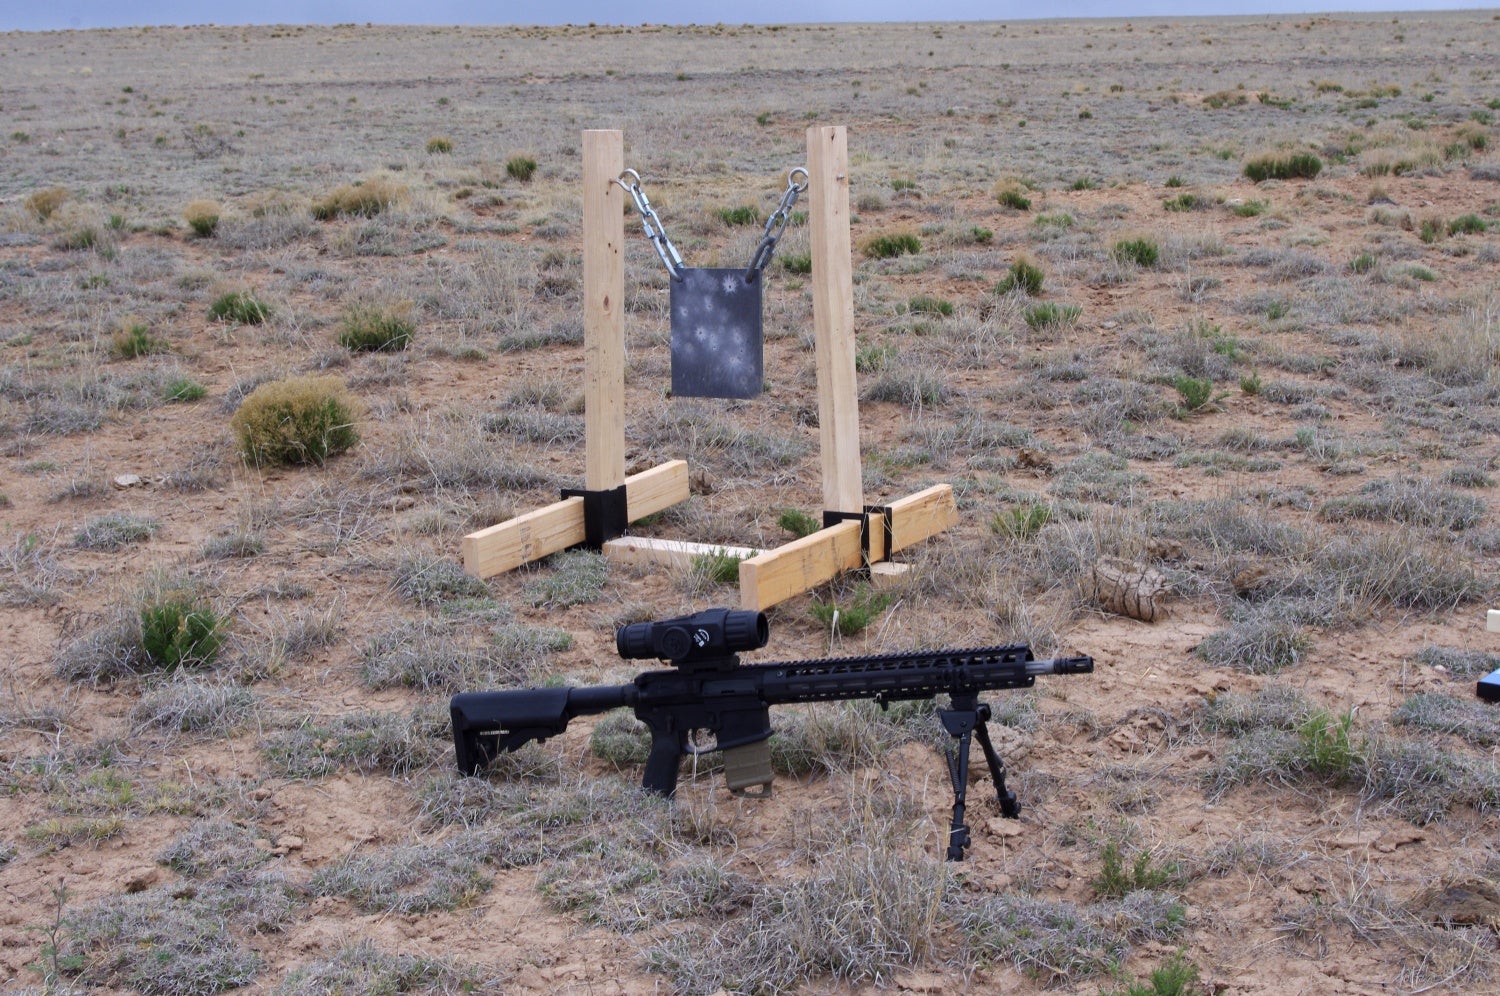
ATN X-Sight HD atop my precision Ar-15. Surprisingly lightweight and not as bulky as similar products. From this angle you can see the housings for the batteries as well as the Micro SD, Micro HDMI and Micro USB ports.
Key Features of the ATN X-Sight HD 3-12:
- Night and Day scope
- The ATN X-Sight HD can record video and capture pictures
- GPS/Image Stabilization/E-Compass/Altitude
- Multiple reticle options to choose from.
- The ATN X-Sight I tested was a variable 3-12 power scope. Magnification was adjusted via the E-Zoom feature
- Runs on 4 AA batteries
- The ATN X-Sight has slots for a Micro SD, Micro USB as well as a Micro HDMI. Accepts 2 to 32 Gb Micro SD cards.
- Eye relief is 67 mm. Diopter Adjustment is +/-5 (This is for vision correction/focus)
- LCD Display within unit is 800×600 px
- Remote view finder application is Android and IOS compatible.
- The ATN X-Sight weighs 2.3 lbs. Dimensionally it is 8”x3.25”x3.13”
- The ATN X-Sight comes with a removable IR illuminator. The illuminator is 850mW, and when looking at the light source, appeared to be in the near IR frequency/range.
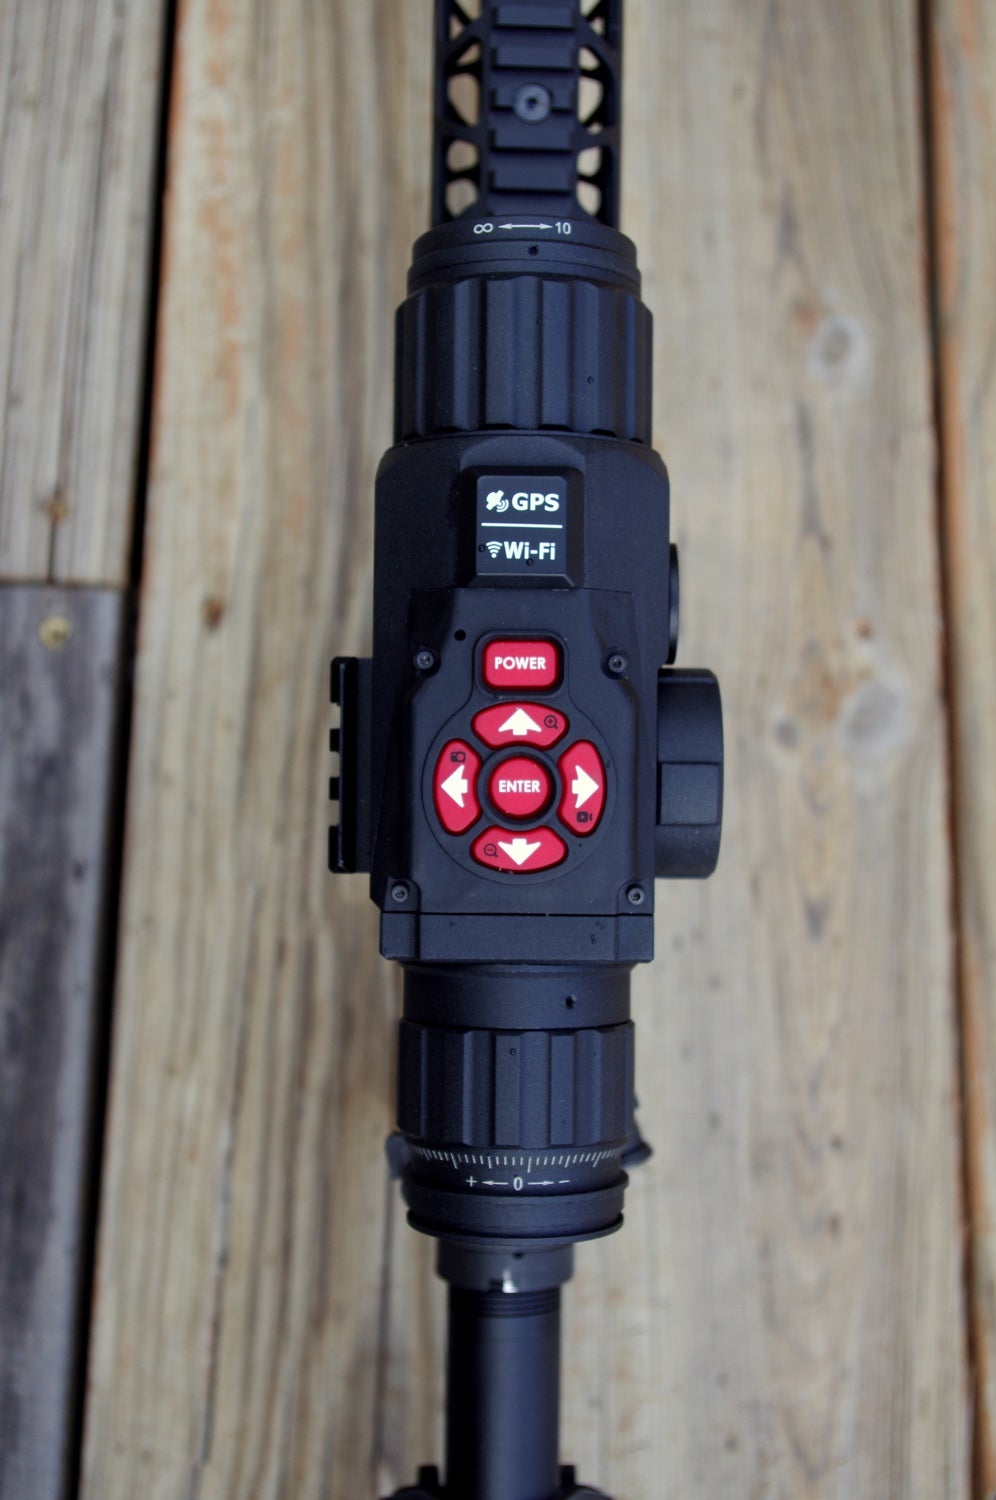
Top view. Note the focus and diopter adjustments.
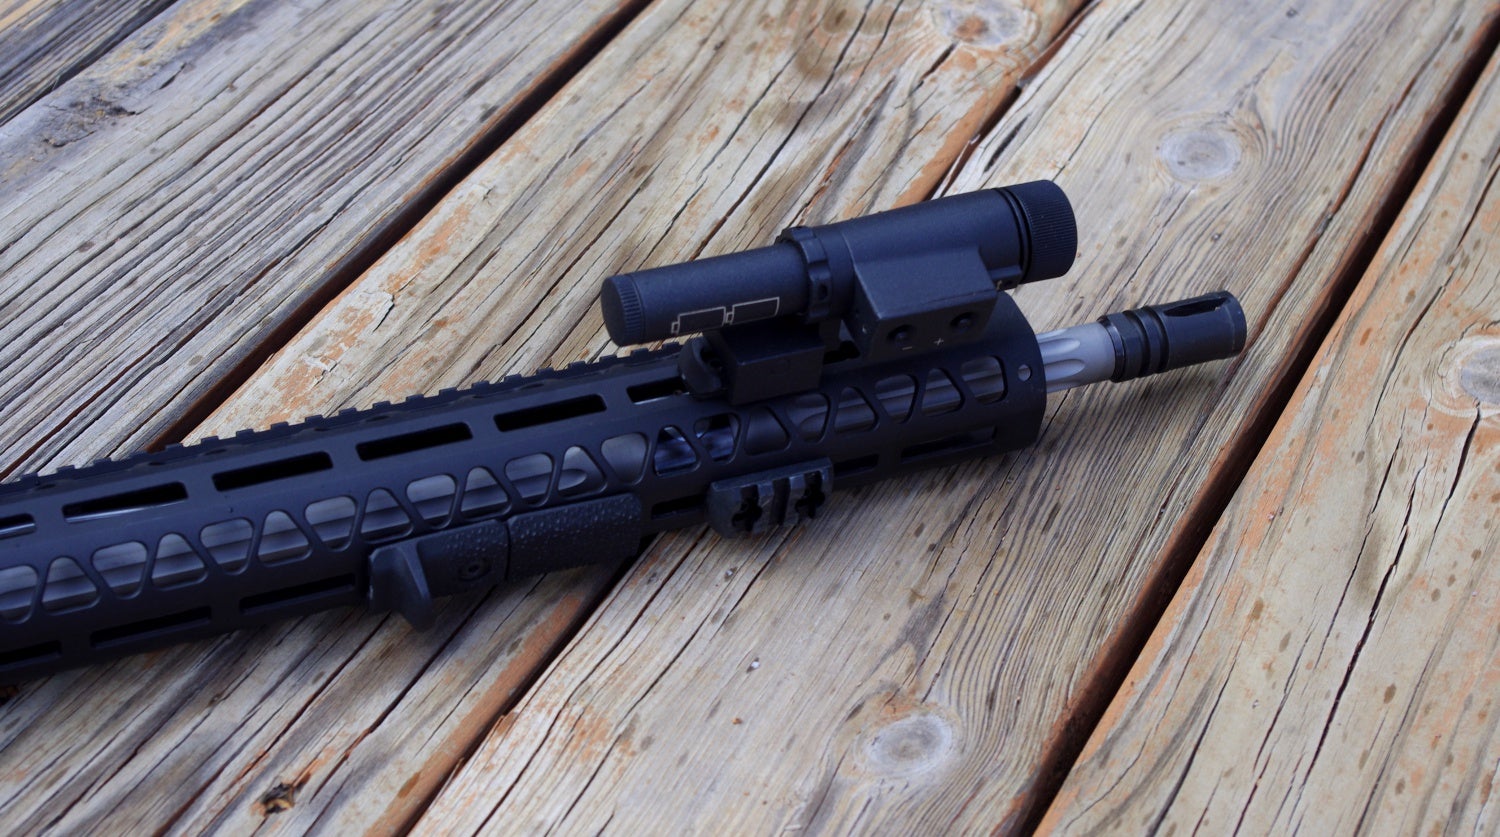
The ATN X-Sight includes an 850 mW Infra-Red illuminator. The illuminator is powered by two CR123 lithium batteries. The intensity and beam width can be adjusted. The ATN X-Sight has a MIL-STD 1913/Picatinny rail installed on the main housing. I found this “bloomed out” my sight picture. During testing, I found the best place to mount the illuminator was distal to the sight.
Field testing was done at the family ranch in the highlands of Central New Mexico. I got to the ranch around 2 p.m. and set up both a paper target and an 8”x10” steel target. For precision/scope tests I use several rifles. For this test I chose my Billet Rifle Systems AR-15. The Billet Rifle Systems rifle is my precision AR-15. It features a billet upper and lower receiver that have absolutely no play or wobble between the receivers. The barrel is a 16” heavy fluted, mid length, 1/8 twist from FAXON Firearms. The trigger is a Mil Spec trigger that has been enhanced with Taylor Tactical’s AR-15 MIL-SPEC Trigger Adjustment Grip Screw. The trigger has zero creep, a clean break, and a short reset. The trigger breaks at around 5.5 – 6 lbs. My Billet Rifle Systems AR-15 can easily shoot sub minute of angle paired with the right ammunition. All shooting was done off of a bipod in the prone position. During zeroing, my Kestrel Weather meter was showing minor gusts of 2 – 3 mph from my 9 o’clock position. After consulting Knights Armaments Bullet Flight, I settled on a 100 yard zero. For a 100 yard zero, the ballistic solver showed the bullet would be .5 inch low at 36 yards. Walking back 36 yards from my paper target, I settled on a reference point and fired a 4 shot group.
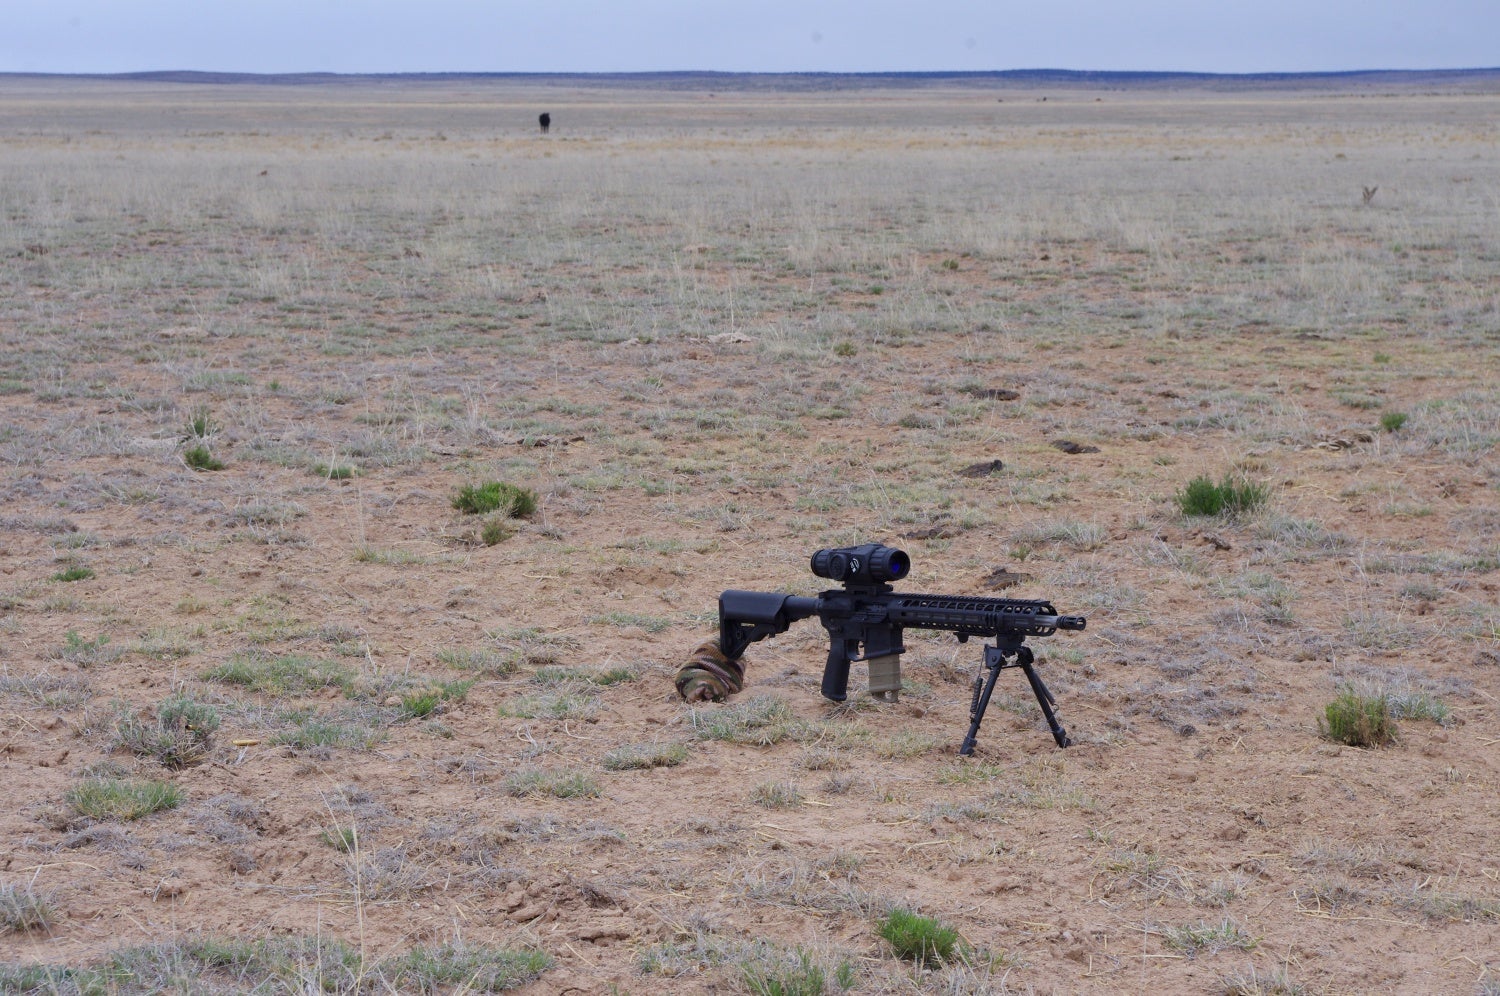
My Billet Rifle Systems precision Ar-15. Testing was done in the prone position off of a bipod. Note the curious cow in the background.
An 8″x10″ steel plate was used for field testing after establishing zero.
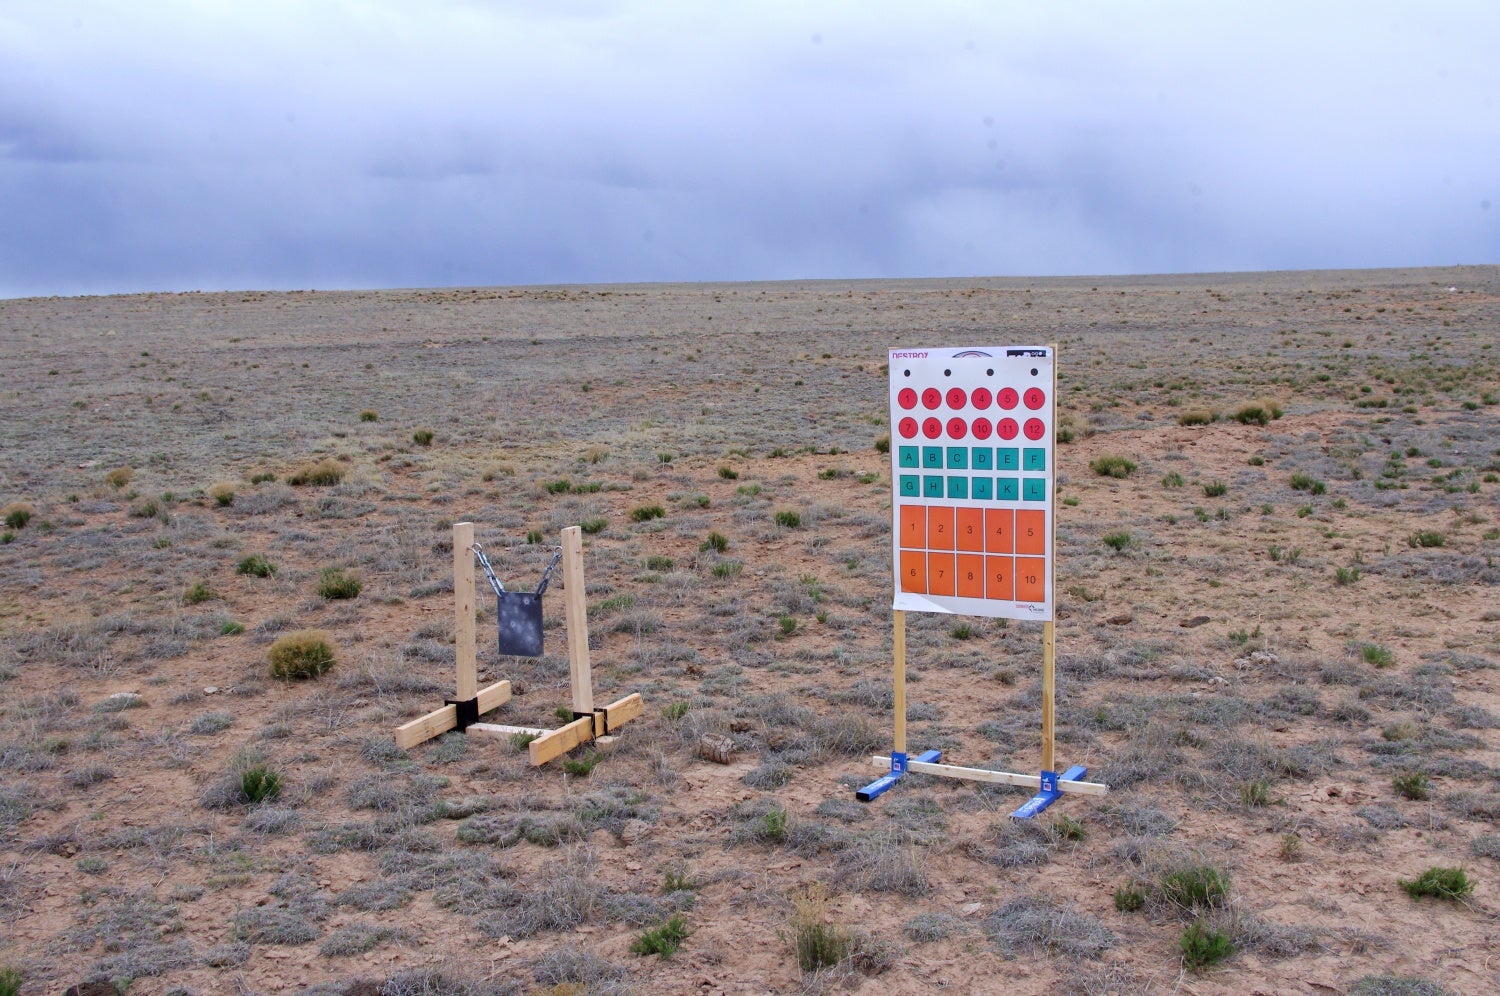
Zeroing was done on the paper target. Distance shooting as well as night shooting was done on the 8″x10″ steel target.
Zeroing the X-Sight is very easy. After shooting the first group, I went into the main menu, and found the “Zero setup feature”. Holding the rifle steady, I adjusted the reticle to the center of the first group. After adjusting, I fired another 4 rounds and was delighted to see my shots landing right where I wanted them. Walking back 100 yards, I aimed at the center of the steel target, slowly squeezed the trigger and observed my round land exactly where I was aiming. After confirming at 100 yards, I took the batteries out of the ATN X-sight to confirm that my zero would not be lost. I inserted the batteries again, powered on the ATN X-Sight, aimed dead center of the target, squeezed the trigger and was delighted to see my XM193 round land almost on top of my initial shot.
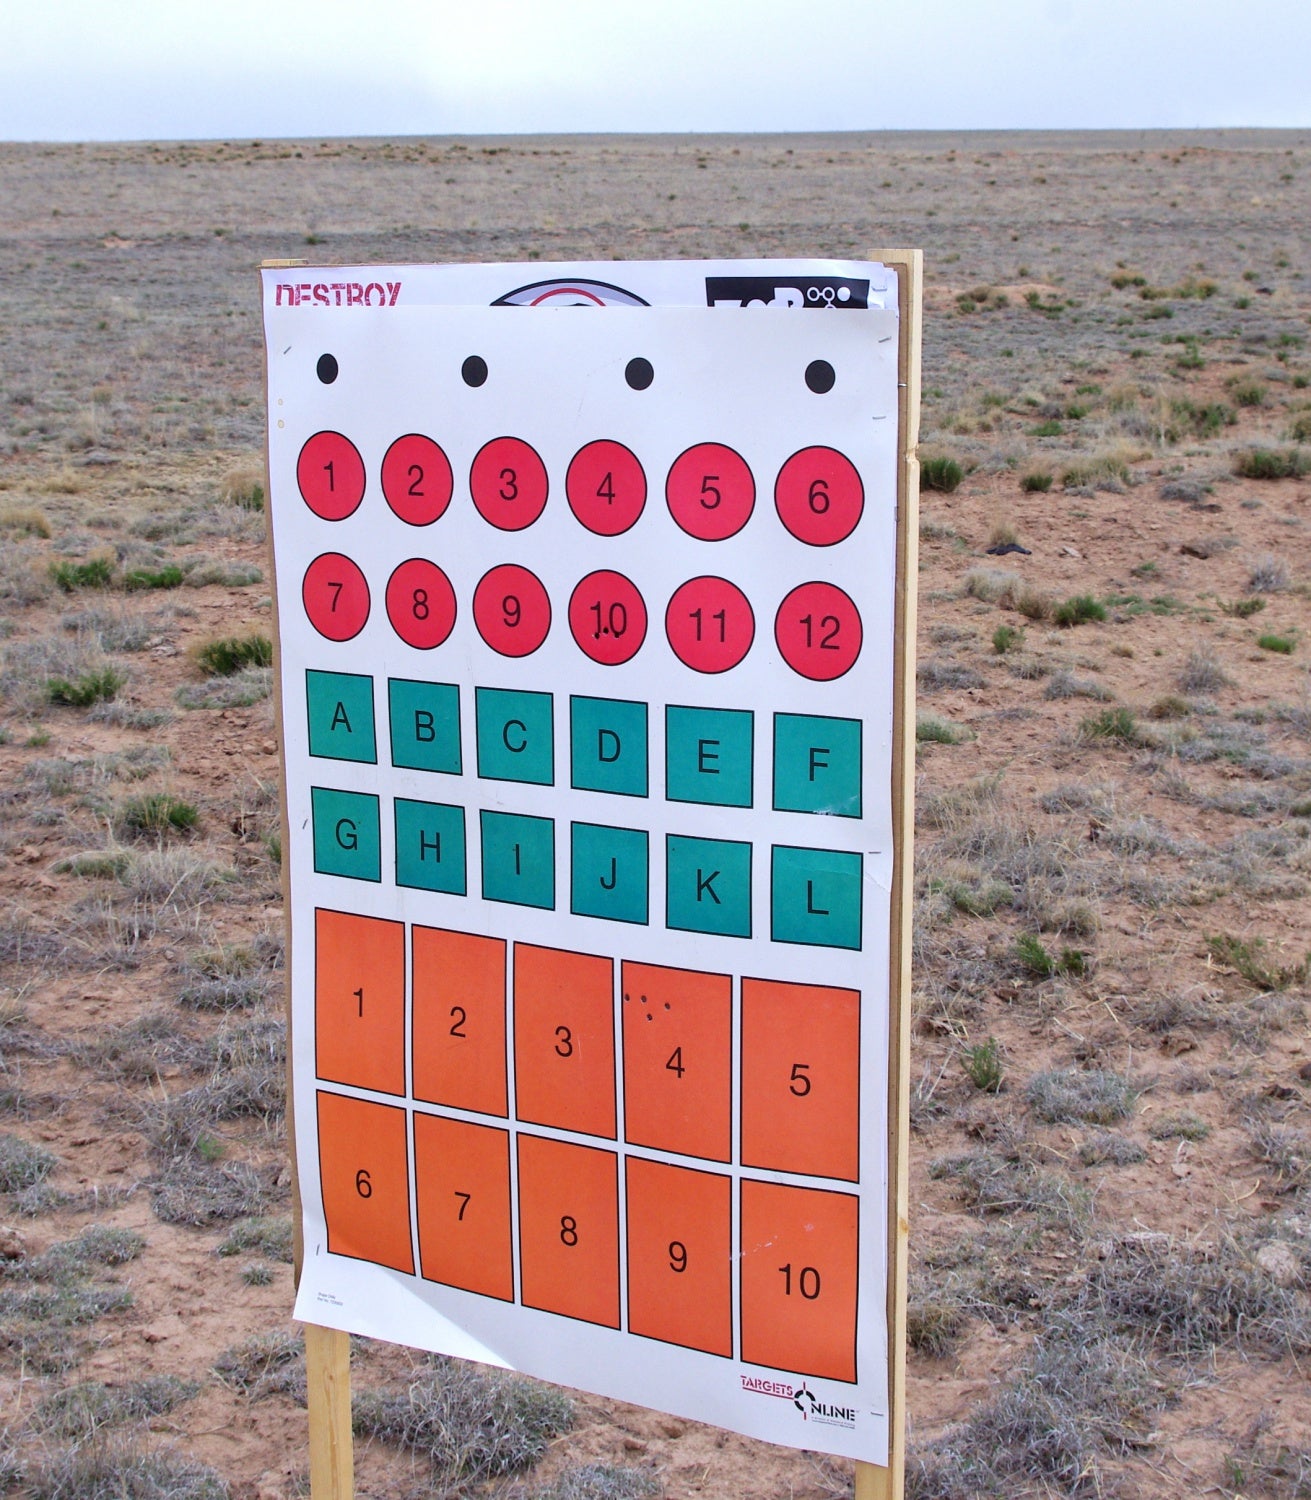
After proning out at 36 yards, I aimed at the bottom right corner of the box with the “J”. After adjusting the zero I aimed for the center of the “10” circle. For a 100 yard zero, I needed to be .50″ low at 36 yards.The ATN X-sight is extremely easy to zero.
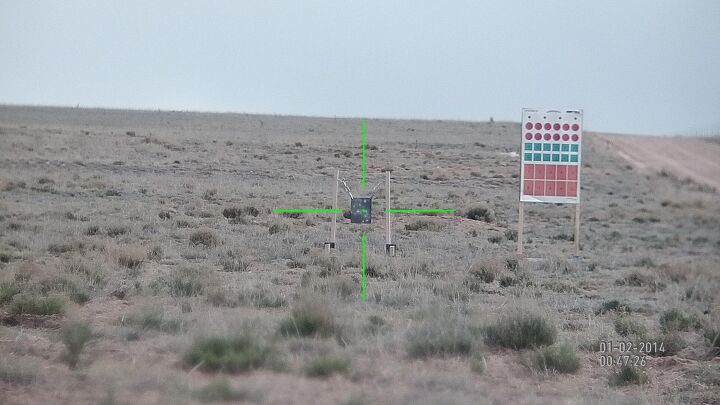
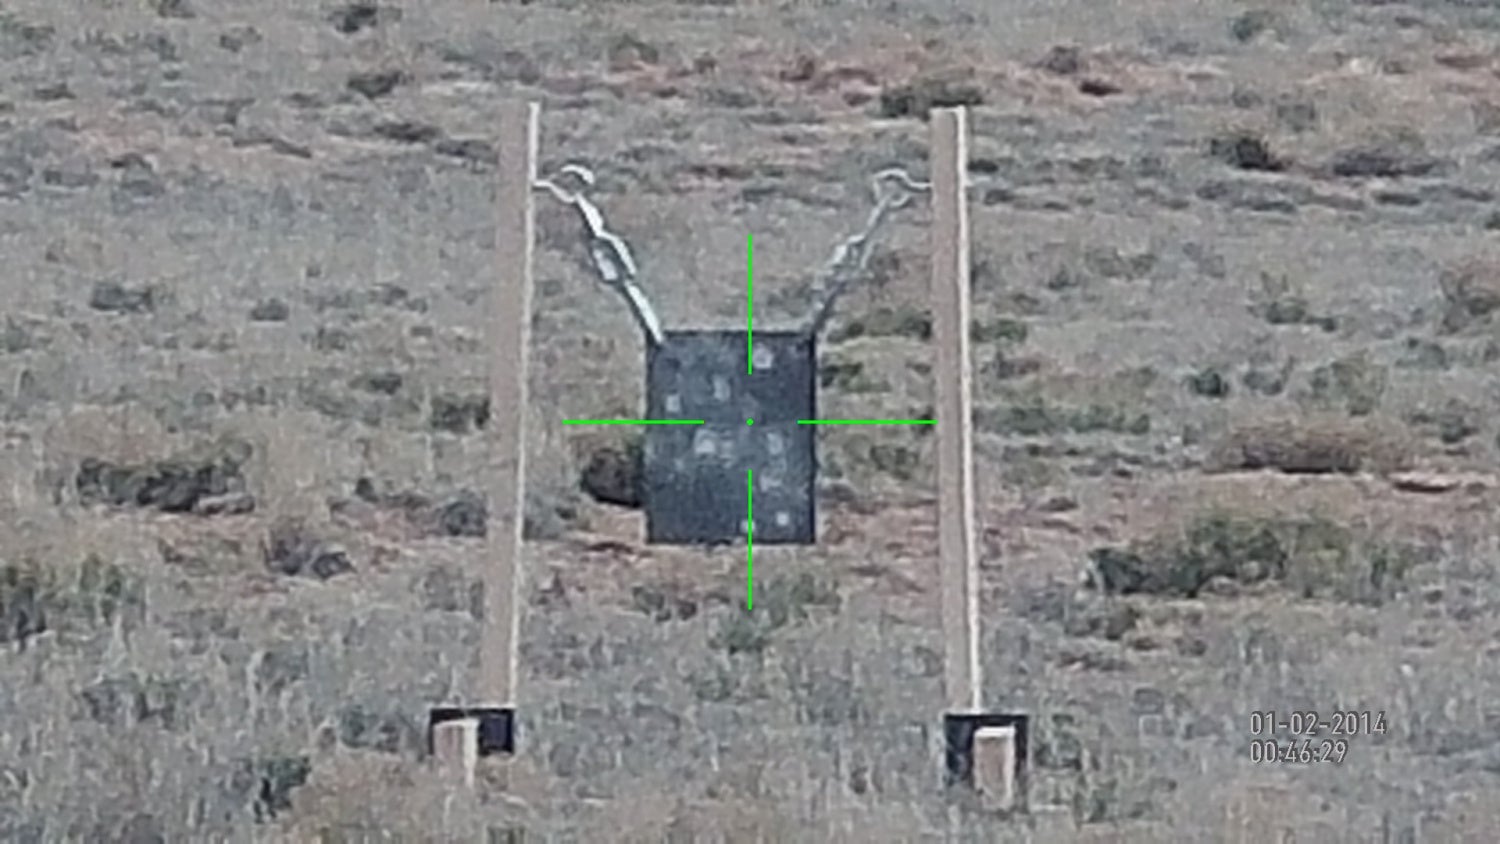
The ATN X-Sight can record video and take pictures. This is my sight picture at 36 yards on 3 power.
Grabbing my range finder, I walked back another 100 yards. I have to admit, picture on the LCD was grainy and pixelated. At 200 yards I had no problems hitting the target. I sent 5 shots down range and observed/heard 5 hits. Walking 300 yards from the target, I proned out, electronically zoomed the scope to 12 power, adjusted the lenses to get a better sight picture, loaded the bipod, held 6 inches above the target, rotated the safety, let out the air in my lungs, gently squeezed the trigger and sent a round down range. Through the grainy pixelated LCD screen in the ATN X-Sight I observed a sway of the steel target then heard a nice solid “ping”. I fired 3 more shots and heard/observed 3 more solid hits. Walking to the 400 yard line I could barely see the target due to the pixelation. Holding roughly 30 inches above the target I hit the target on my 3rd attempt. In total, zeroing and daylight testing only took about 45 minutes. Since it was 3 p.m., I needed to wait about 5 hours for complete darkness. Since I had 5 hours to kill, and since at the time of testing, I was training for a Survival Trial competition, I grabbed my hiking backpack, which weighed 53 lbs, and went for a 12-mile ruck around the ranch.
36 yards sight picture with 12 power magnification
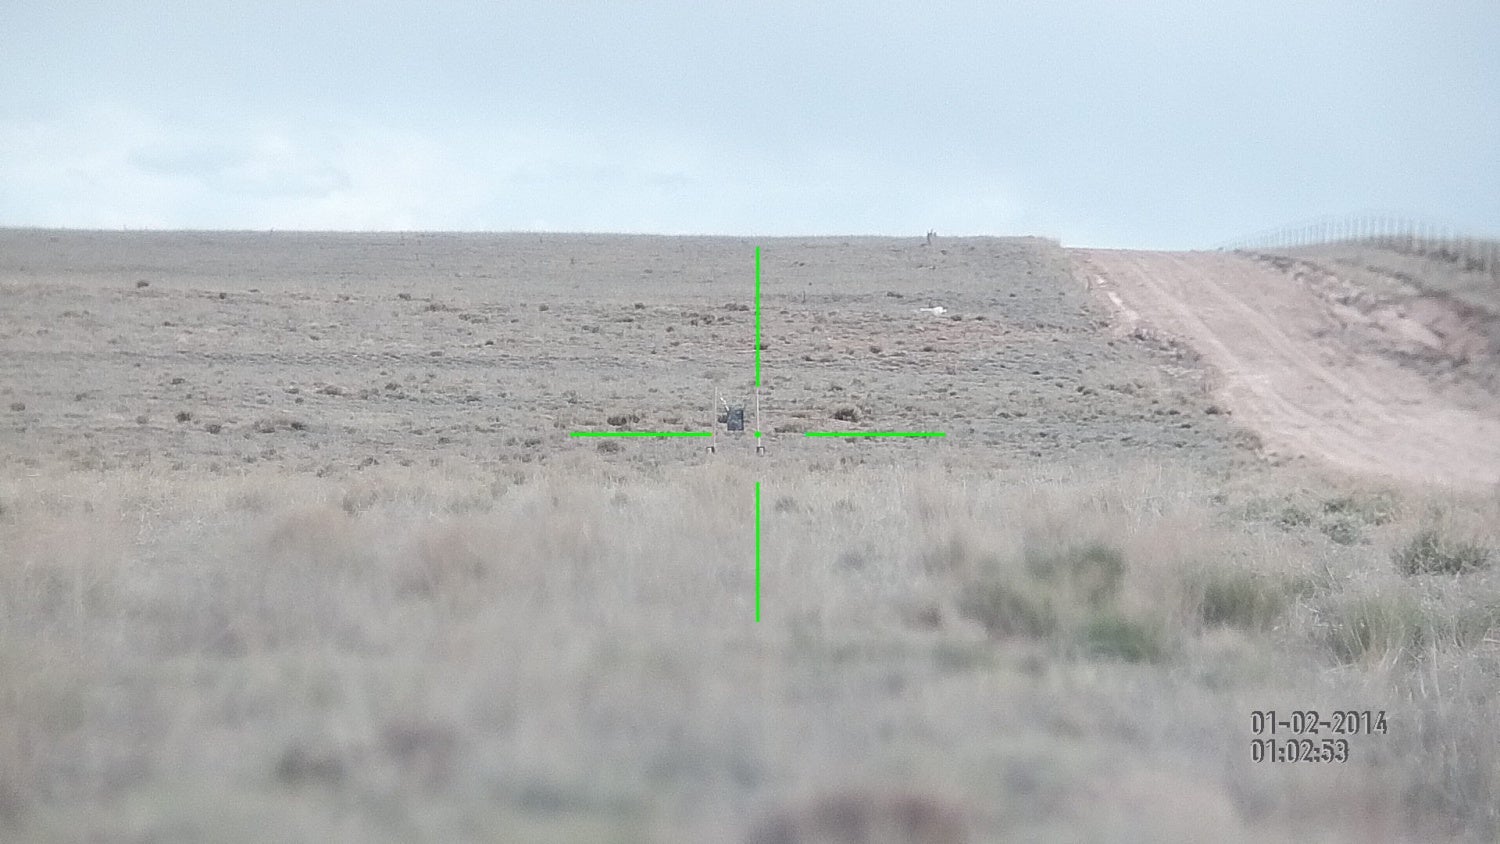
200 yards sight picture at 12 power.
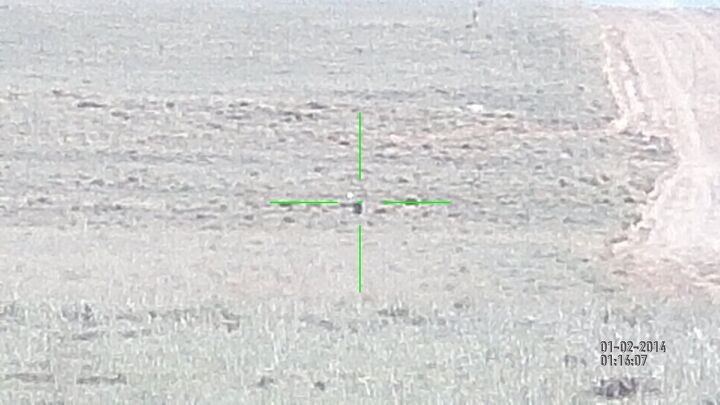
300 yard sight picture on 12 power.

After completing the daytime testing, I grabbed my 50 pound backpack and went for a 12 mile ruck. At the time of testing I was training for a Survival Trial event. My colleague and teammate, Tom R, did a wonderful write up of the event.
After knocking out 12 miles and seeing some beautiful country and a huge herd of antelope, I ate a quick dinner and got set up for the night portion of the test. For safety purposes I put a glow stick near my steel target and scanned the range with my 600 lumen flashlight before every shot. Starting at 300 yards, I proned out, turned on the IR illuminator provided by ATN and tried to see the steel target. At 300 yards I was not able to observe the target. I could not see the target well enough to shoot it till I got within 70 yards of it. At 70 yards, I proned out, adjusted the scope and squeezed off 5 rounds in fairly rapid succession. All shots hit the target. Walking within 50 yards of the target, my view of the target rapidly improved.
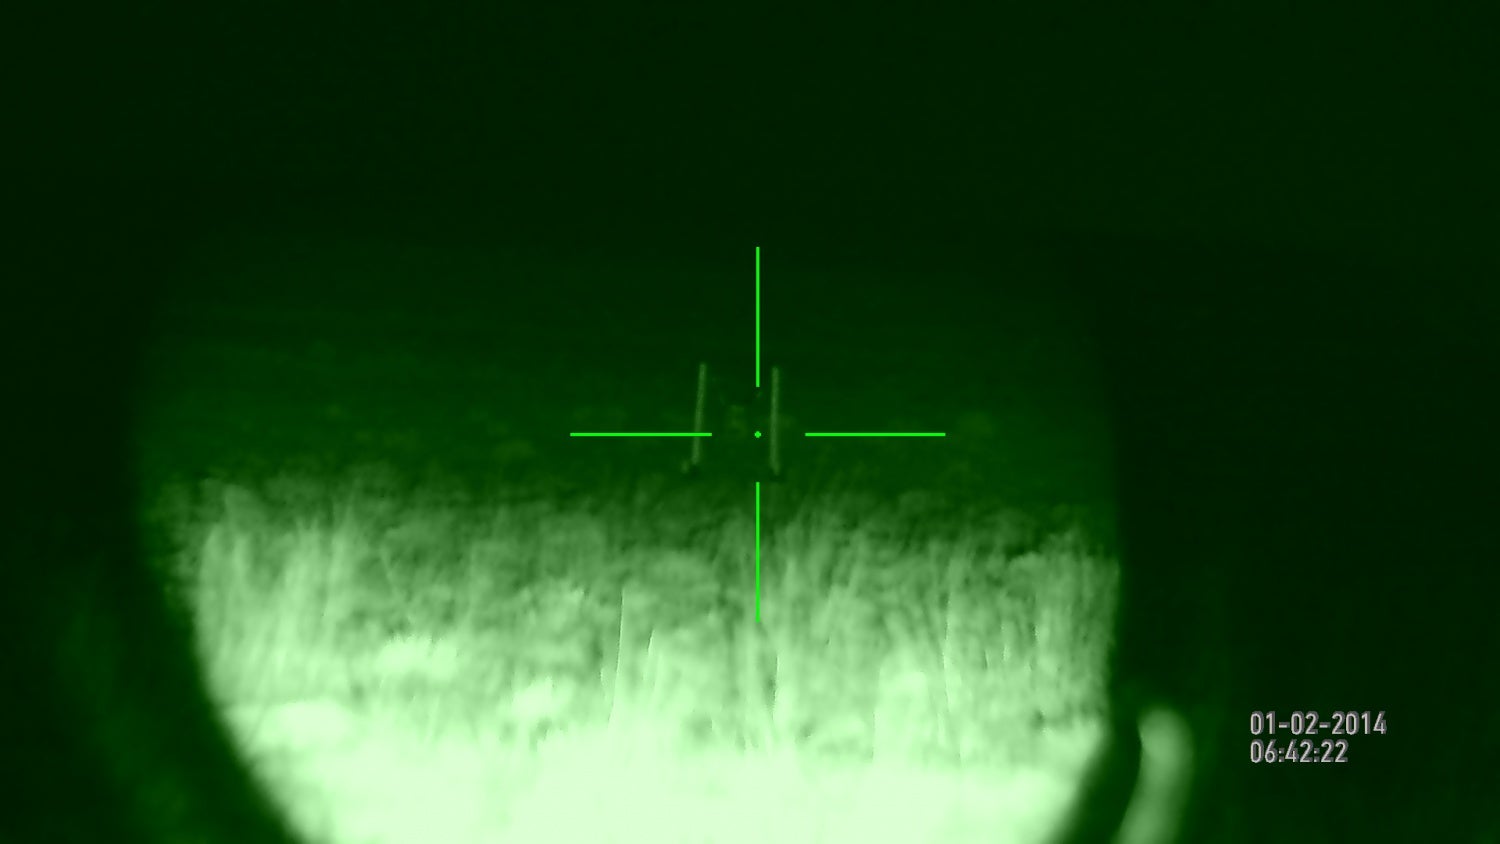
Sight picture at 70 yards using the “green image”. Magnification was set to 3 power.
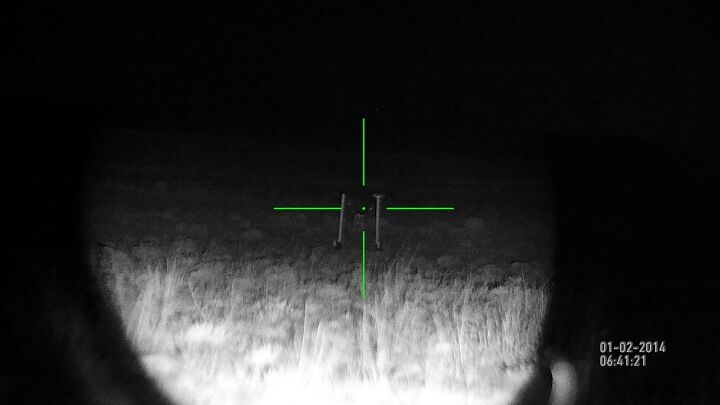
Sight picture at 70 yards using the “white image”. Magnification was set to 3 power.
After 3 hours and 40 rounds of XM193 I came to the following conclusions:
- I think the ATN X-Sight was designed for static varmint, predator, or hog hunting.
- Zeroing was fast and extremely easy.
- If you are hog hunting using a feeder, experiment with hanging some IR flood lights around your feeder. You will get a really good sight picture.
- Experiment with placing the IR light. When I mounted the light on the actual scope, the light illuminated my front rail. I was not able to get a good sight picture.
- In its night vision capacity, the ATN X-Sight performs really well 70 yards and closer. If you want to push further you will have to get a lot more IR illumination.
- The daylight feature is nice for recording and zeroing though I would never use it for daytime hunting. Even the cheapest rifle scopes beat the image on an LCD screen.
- Check local and state laws before you use this scope for hunting! I cannot stress this enough!
- Use lithium batteries. I used standard alkaline batteries and the unit lasted about 20 minutes. With lithium batteries I had the scope constantly on for about an hour.
- I don’t think this series has any law enforcement application, but ATN makes a lot of products that have both Military and Law Enforcement Application.
- The scope has multiple reticle options. This was a really neat feature.

With any electronic device, it is good to have a back up. If I were traveling far from home to hunt predators I would keep a standard rifle scope with an illuminated reticle just in case the electronic device failed, or for inclement weather.

ATN X-Sight atop a 300 WSM Tikka T3 Lite. One feature I really liked about the ATN X-Sight was how small it was. Below – I recorded a video using the ATN X-Sight. I was at 70 yards and I went from 3 power to 12 power.
ATN did a really good job with the X Sight. ATN recently released the second generation of this optic with the ATN X-Sight II HD Scope. The ATN X-Sight II claims to have a better sensor that provides a better, less pixelated picture. I was very impressed with the ATN X-Sight, and if I had problems with feral hogs on the ranch, I would not hesitate to use the first generation ATN X-Sight for removal of these destructive but tasty pests.
As always, tips, gripes, jokes and humor are welcome in the comments below.
Phil Note: I have the second model coming for review. Several significant new features have been added.