 Your Privacy Choices

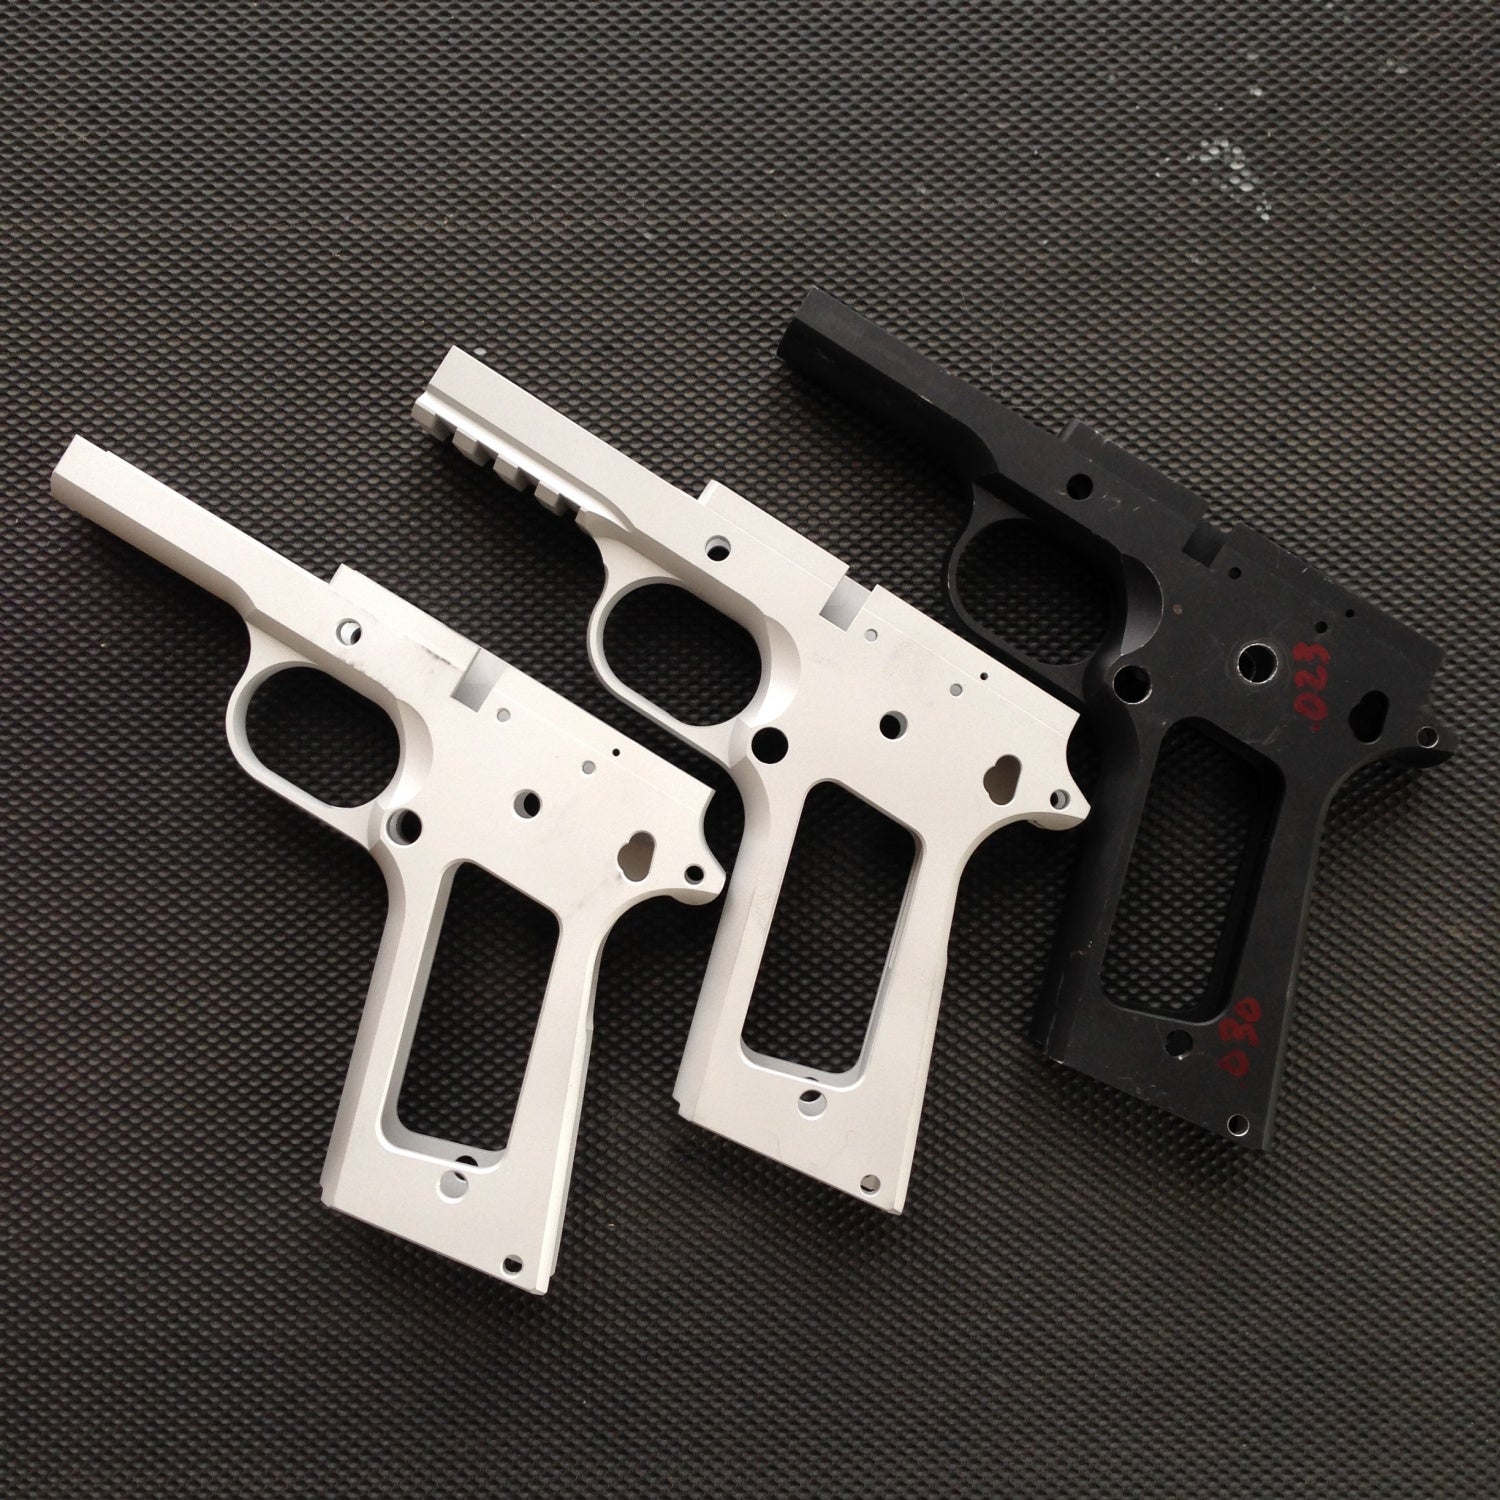
Stealth Arms sent me one of their Phantom Jigs for completing their 80% 1911 frames. They sent me a test frame, regular 1911 frame and their railed frame. I have never completed an 80% frame let alone a 1911. So I thought this would be a fantastic experience.
The Stealth Arms Phantom Jig comes with all you need to complete their 80% 1911 frame. You do need to provide your own drill press and vice though.
The Phantom Jig Kit consist of two plates and a car for cutting. The kit also includes drill bits and pins for the jig.
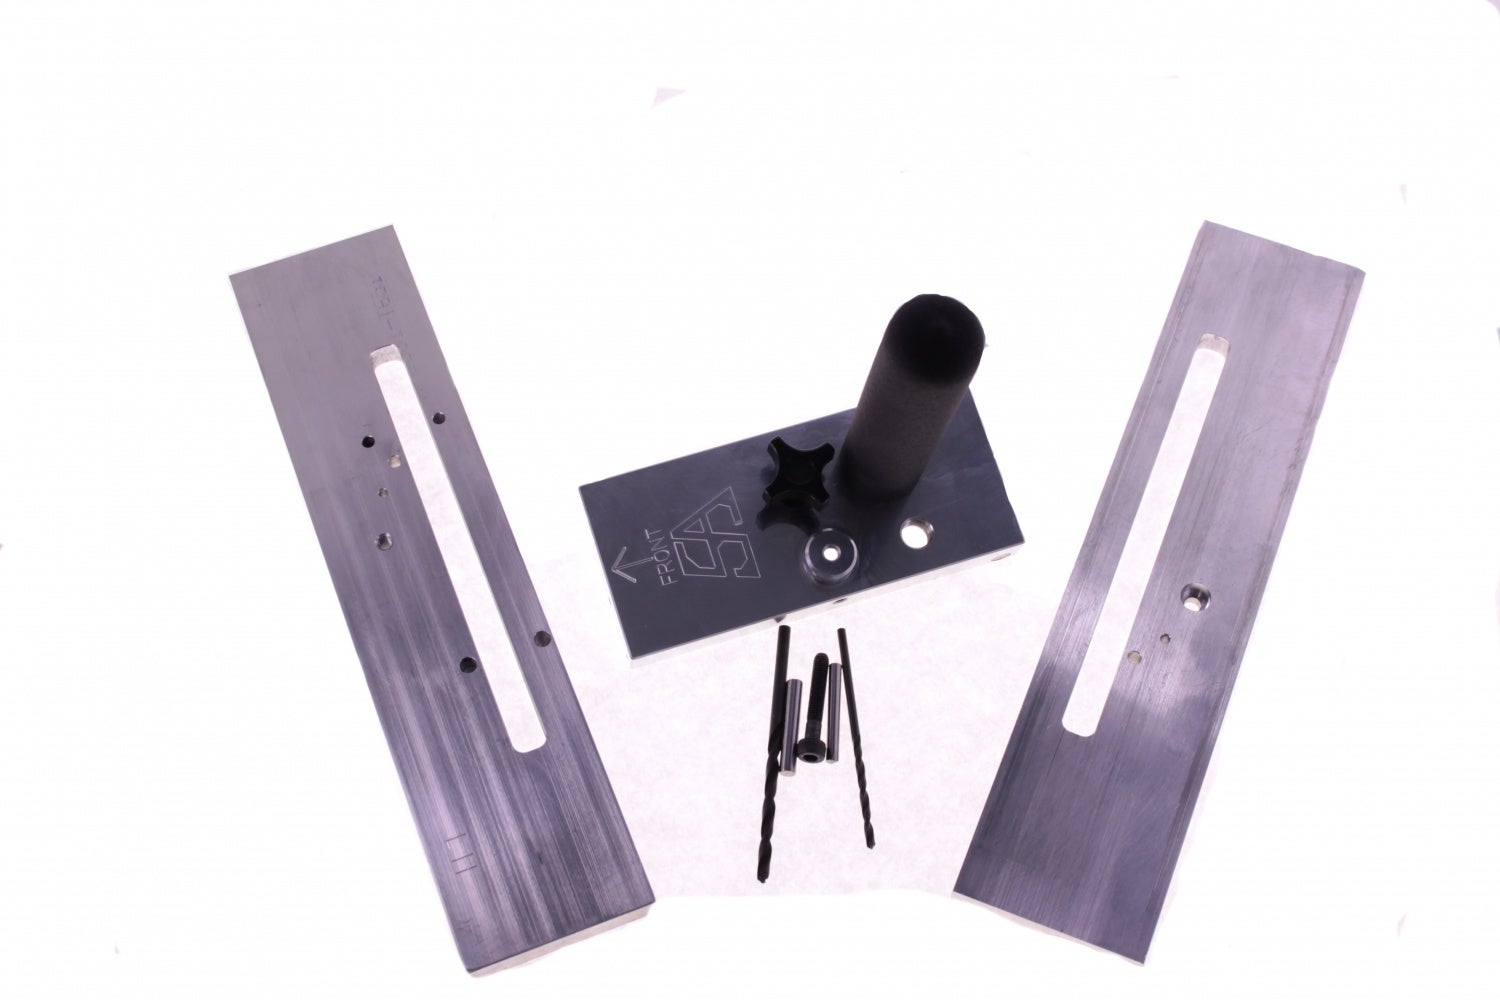
The cutting car is basically a machined plane that you use to cut the slide rails and barrel seat out of the frame.
Here is a stock photo of the cutting car cutting the slide rail into the left side of the frame.
The test frame was provided so I could familiarize myself with the Jig and car operations. However due to the anodizing on the frame and the tight tolerances of the jig pins, I could not use the test frame. So I used the regular 1911 frame as by guinea pig.
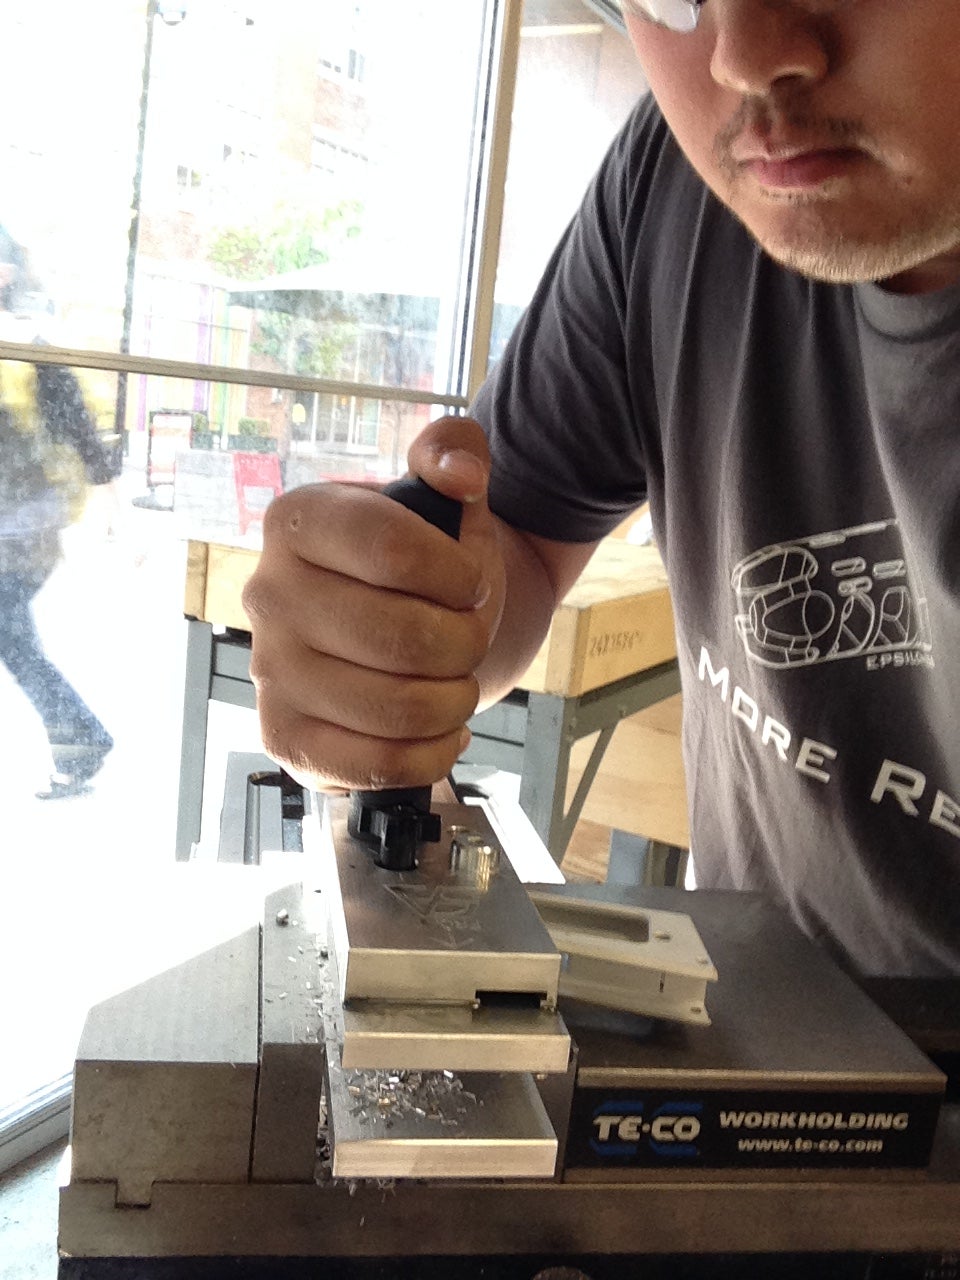
I used a drill press at Techshop in Pittsburgh, PA. As I was helping a friend out who has a membership there. The jig assembled rather easily but be careful about the pins. The tolerance is extremely tight. I have to admit, I was a little bit overwhelmed by the instructions. But once I started completing the frame, it became a lot easier once I understood what I was doing and how little work there actually was.
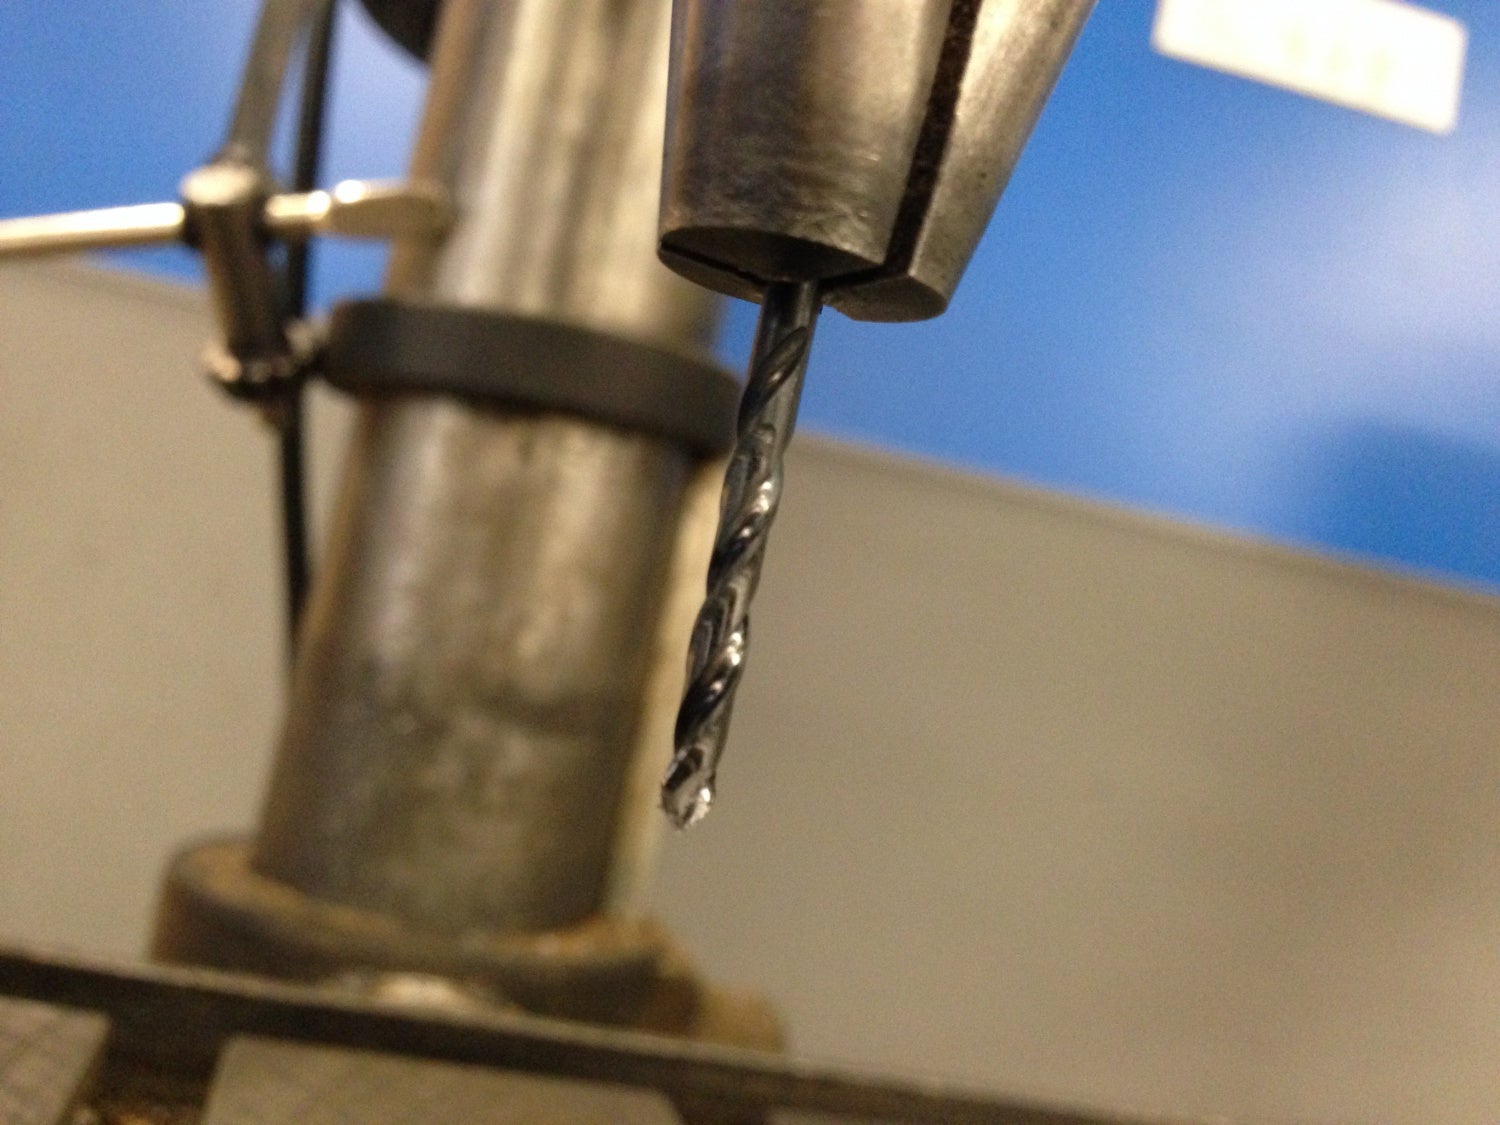
I used the drill bits provided and drilled out the required holes into each side of the frame.

I did have a slight issue when drilling the sear pin hole. I snapped the drill bit. I had already drilled out the sear pin hole on the left side and was drilling the hole out on the right side. At first the drill bit would not bite into the metal. So I slowly applied more pressure. Soon it was too much and the bit broke. I was able to punch the broken bit out and find a replacement drill bit of the same size at Techshop.
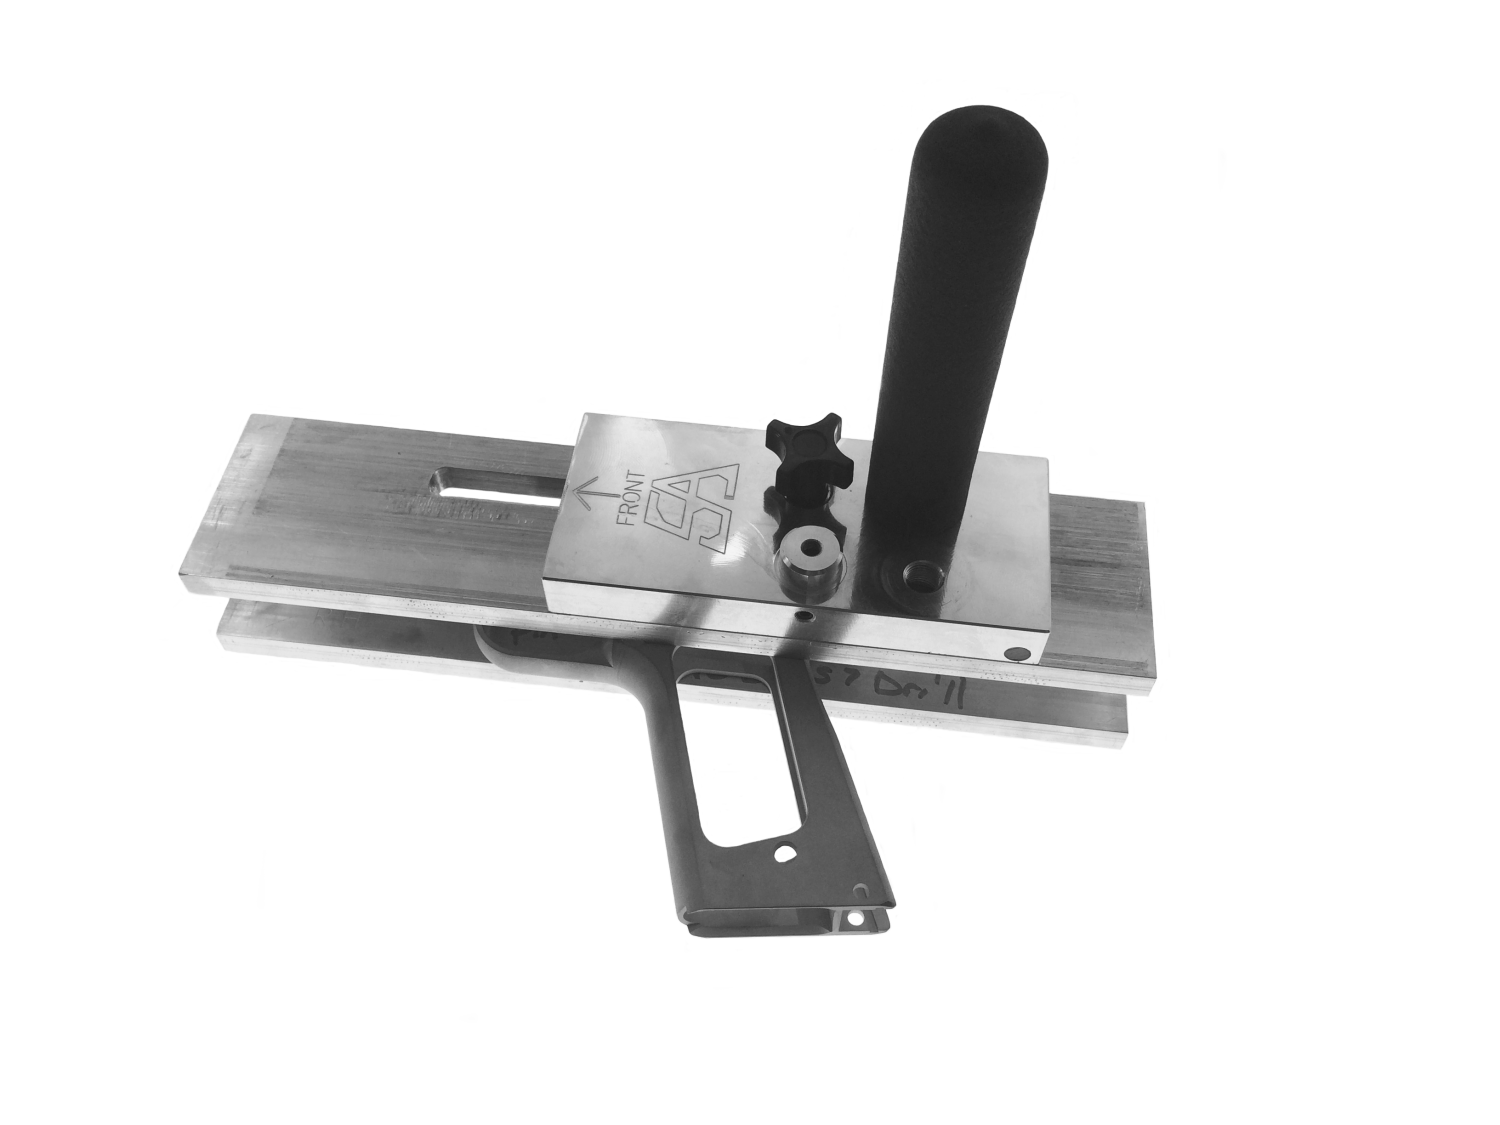
Next up was cutting the slide rails. I used the provided spacer block and wedged it into the bottom part of the jig so I could clamp down on the jig with a vice. The spacer block prevents the jig from deforming. I installed the handle and adjustment knob onto the car. Once I found the point where the cutting bit touched the frame, I marked that position with a sharpie. I rotated the knob 1.9 revolutions in 1/2 step increments between cutting runs. Taking a little bit of metal off at a time.
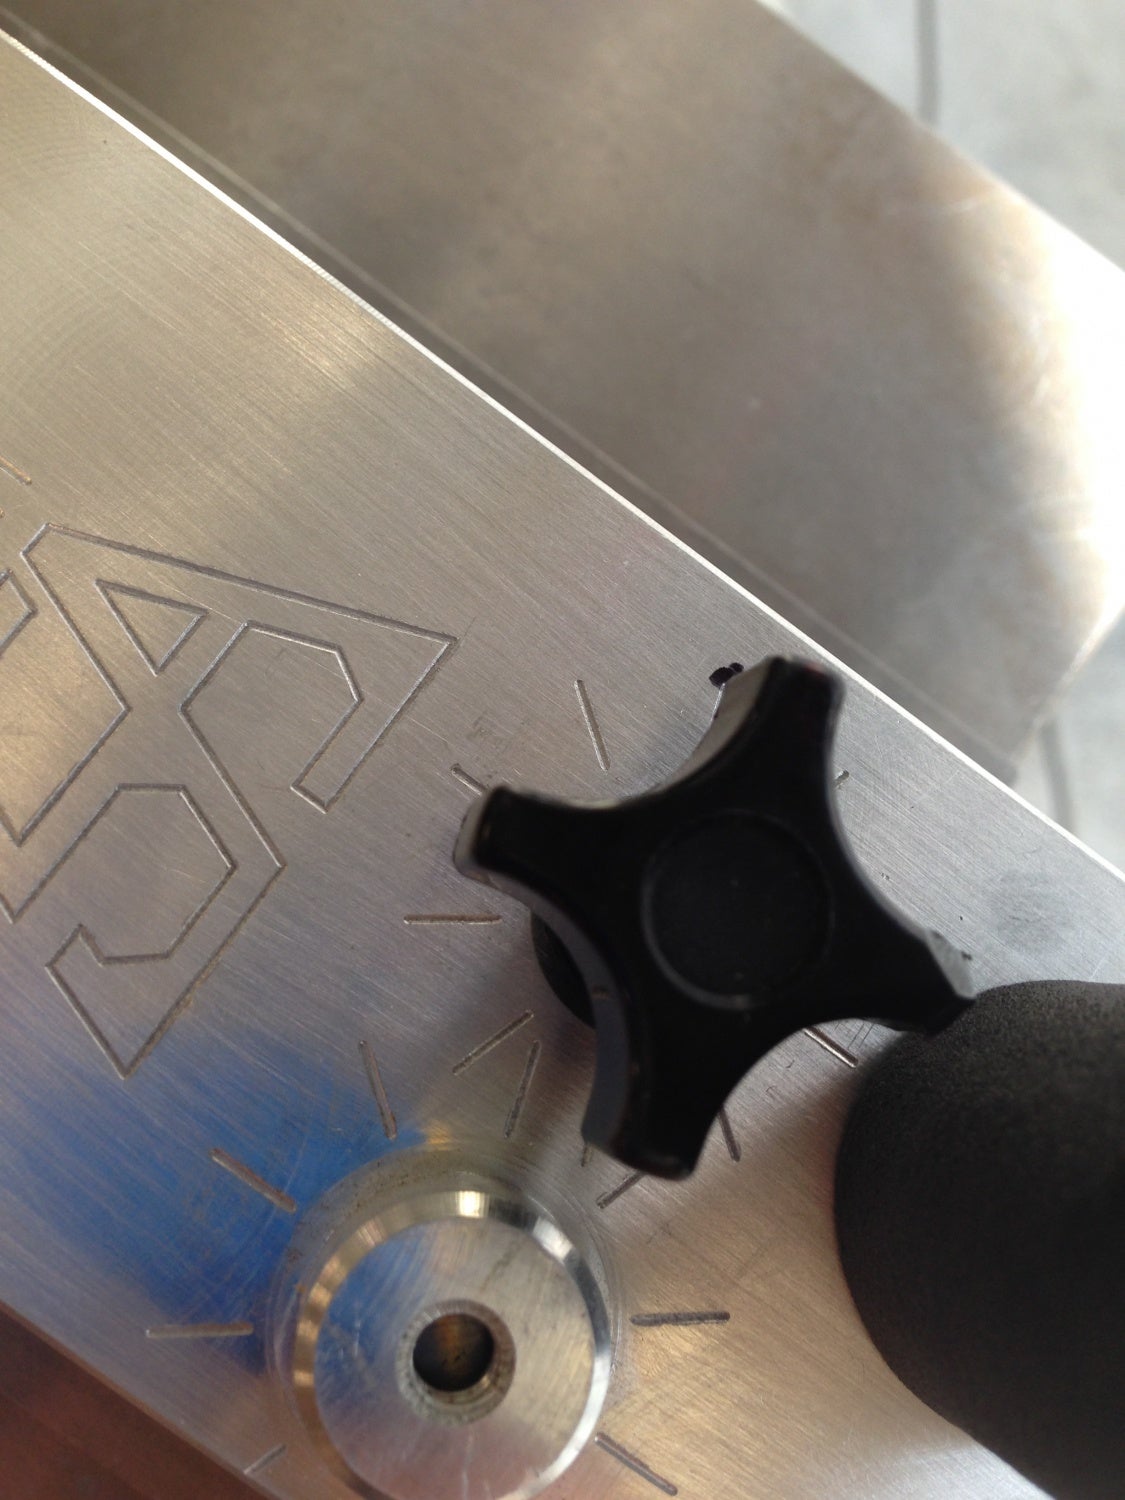

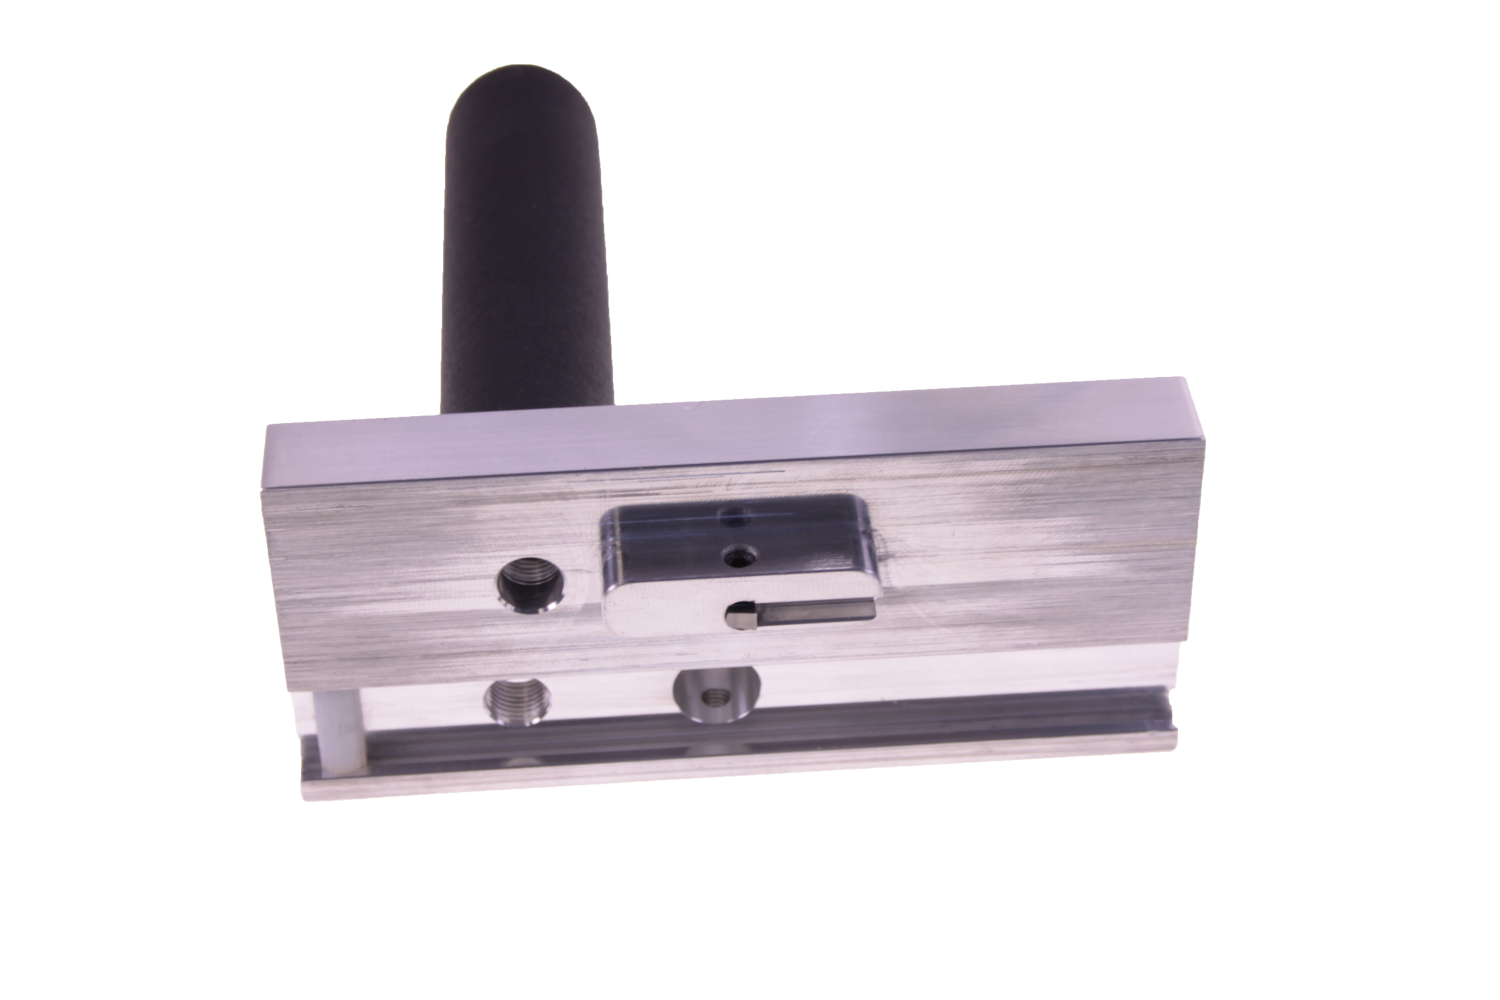
Below you can see the cutting bit protruding out of the car.

Next I repeated the step on the other side of the frame.
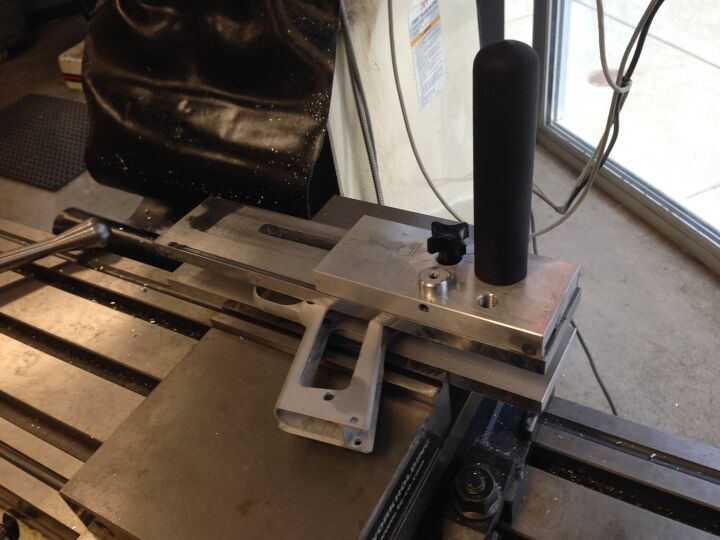
Once the slide rails are cut, I can swap the handle and adjustment knob to the secondary position on the cutting car so I can cut the barrel seat. The cutting car fits onto the slide rails to cut the barrel seat. So if you did not cut the slide rails properly, the cutting car cannot slide onto the rails.
Cutting the barrel seat is a similar process to cutting the slide rails. I set the adjustment knob but I have to rotate it 2.4 revolutions for the barrel seat.
Here is a demo video from Stealth Arms.
Here is the completed 1911 frame.

Other than a couple of hiccups, which were caused by me, the completion of a 1911 80% frame was a lot easier than I had expected. My only advice is to go slowly and check everything. Check to make sure the cutting car is positioned properly on the jig when cutting the slide rails. Measure twice cut once. Next up I will get the remaining parts to build my 1911 into a complete firearm and test fire it.