 Your Privacy Choices

It seems like just yesterday that I pushed the press release about Strike Industries new Ultimate Selector Switches. Not three days after the article went live, I had a set in my mailbox for testing and evaluation.
For the most part, selector switches are necessary but drab components to your rifle. Most replacement switches give you a single integrated option, and reasonably there are only so many shapes that can be effectively used. Ultimately you want something that you can easily manipulate into whichever firing state you currently require.
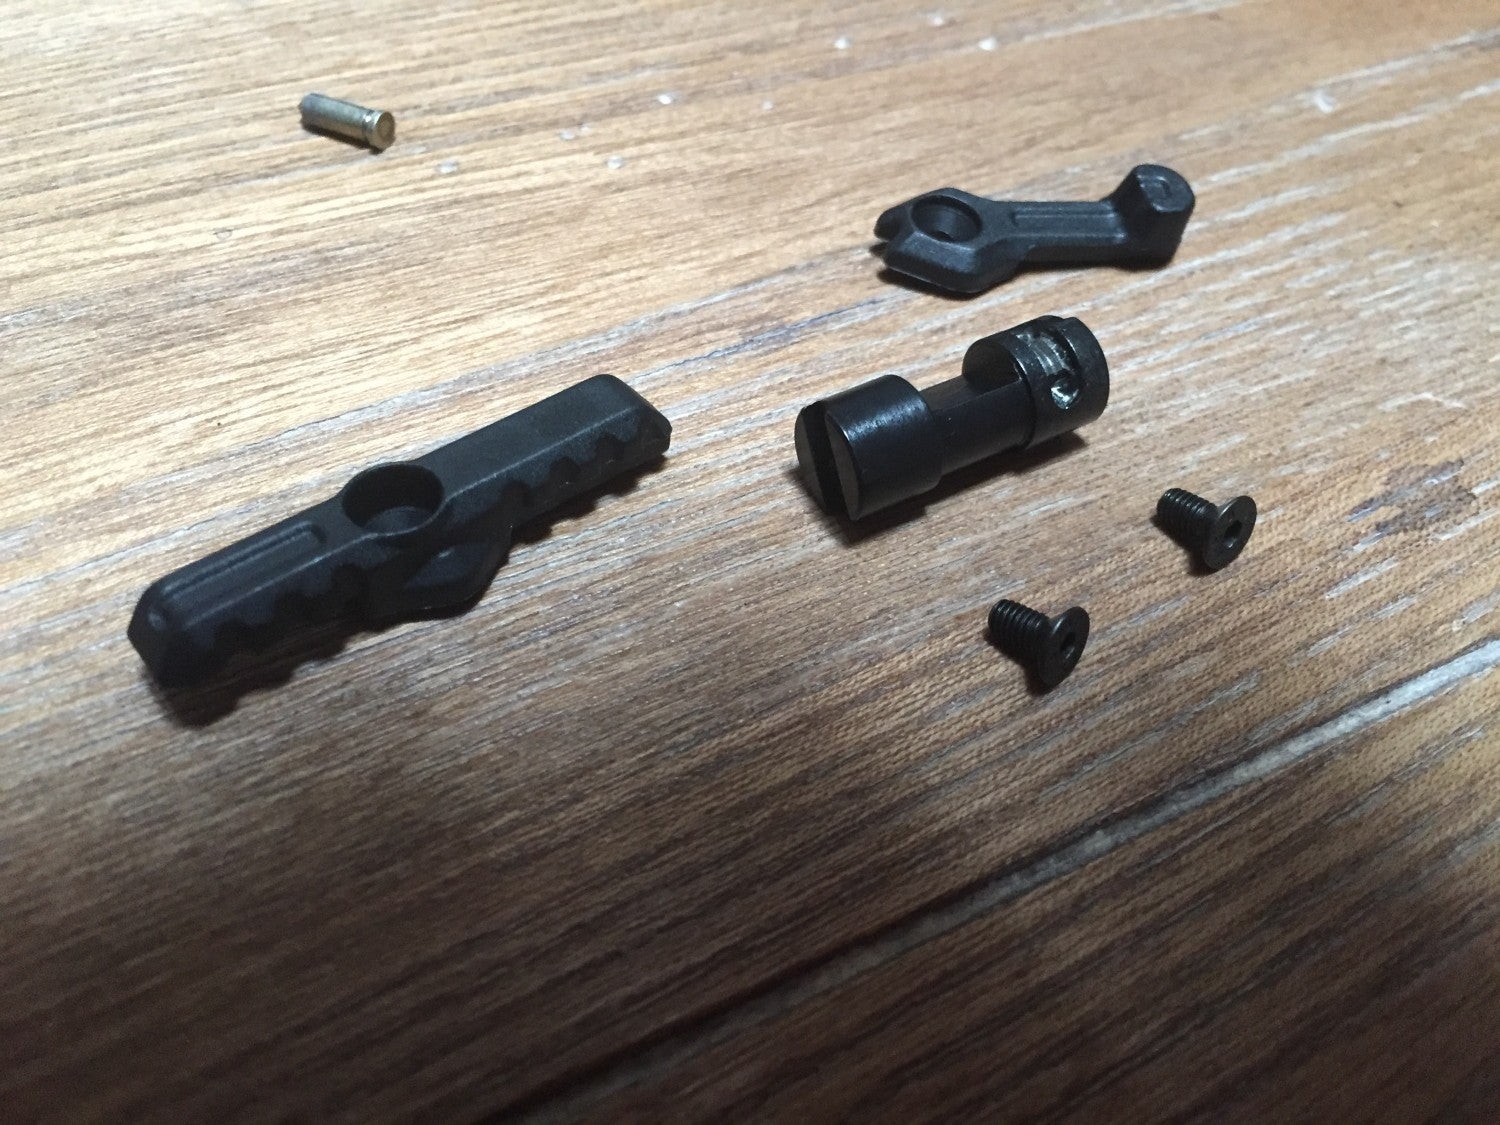
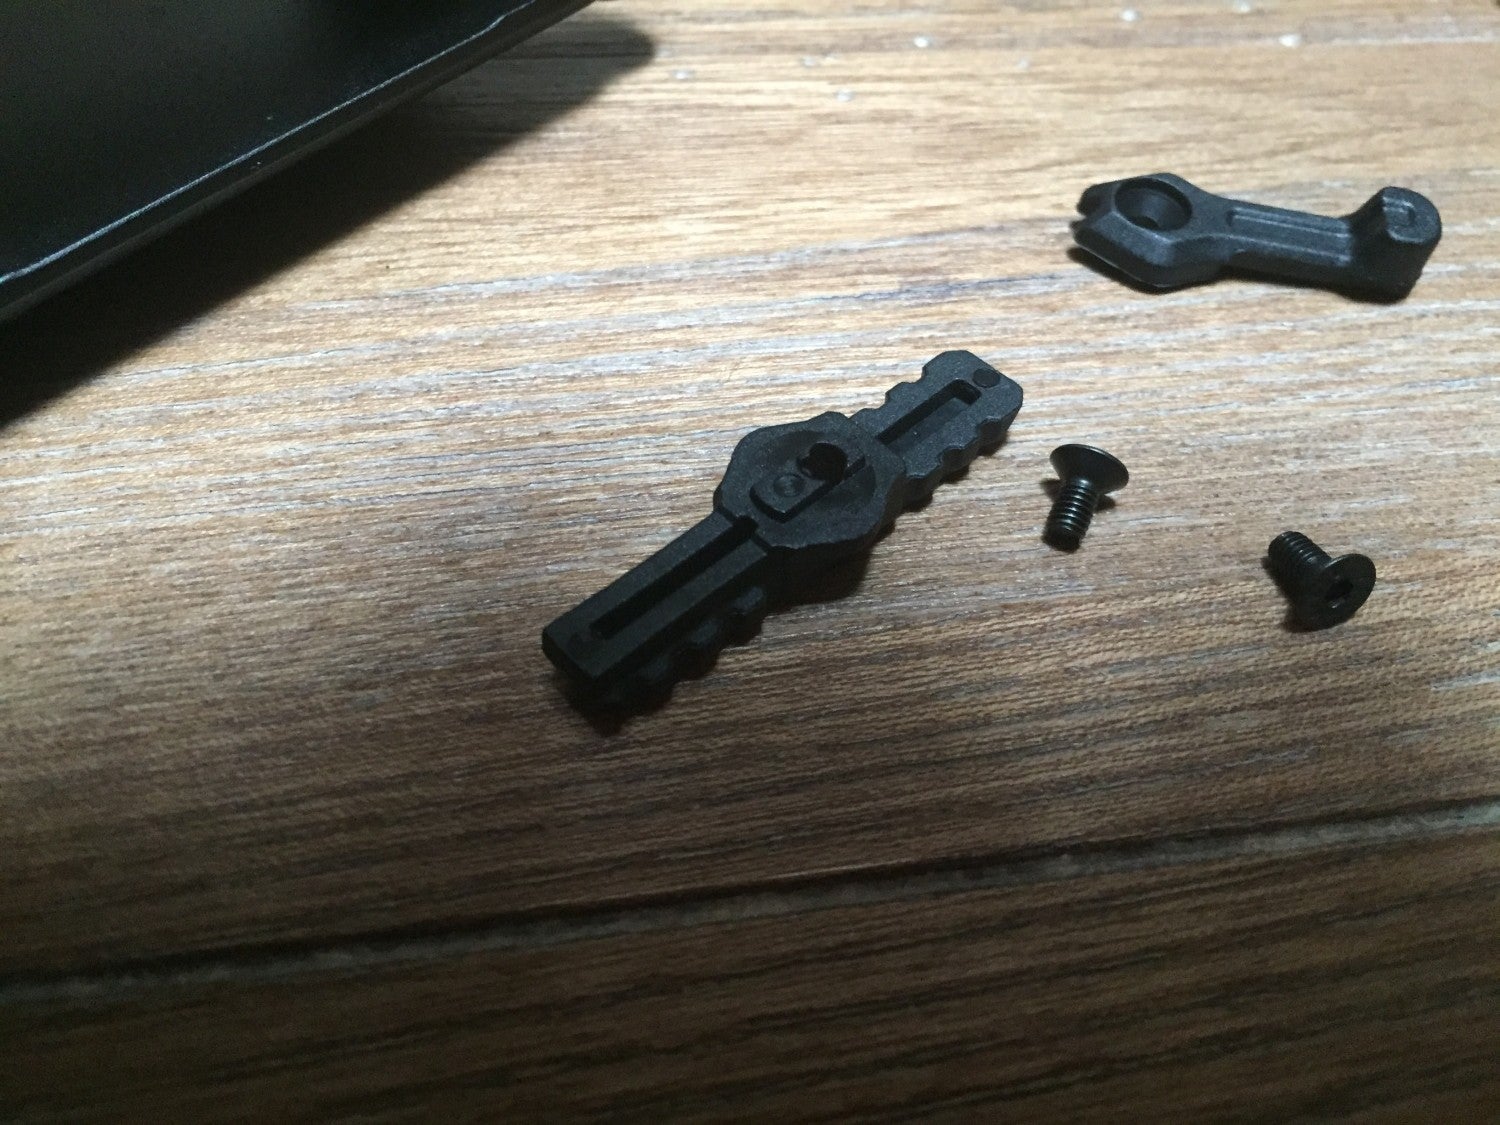
Strike Industries package includes 10 selector switches. This gives you 90 possible permutations if I did my math right (10!/8!). Battle Arms Development has a similar offering to Strike Industries, except they offer 9 different lever designs (I don’t know when BAD started producing their offering). A couple of other differences is that you can use a 5/64 hex to change out the Strike (whereas you need a T10 Torx for the BAD). Also, your purchase with Strike INCLUDES all 10 levers along with the center safety bar; BAD requires you buy the parts individually (though you can get a starter set with the safety bar and two different levers and the torx). I also believe the BAD switches are metal (assumption made based on availability of a stainless steel version) vs. Strike’s polymer.
Some of you may be familiar with the installation of AR selector switches, but for those of you that aren’t I’m going to show how easy it is.
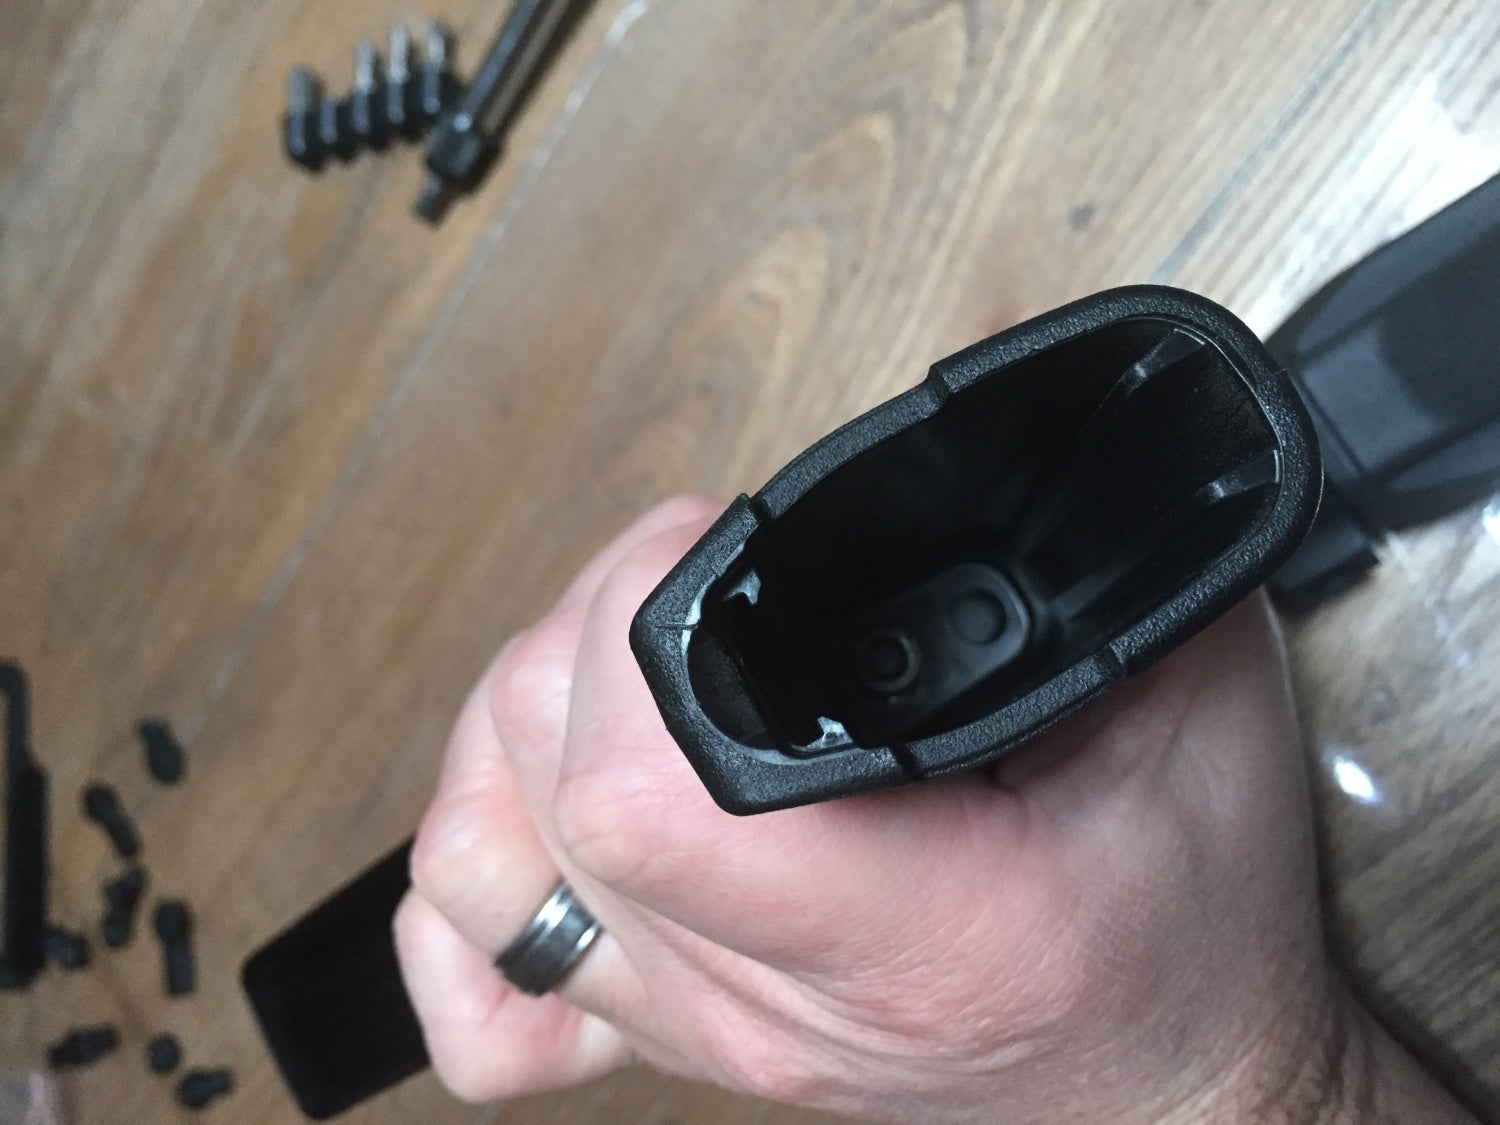
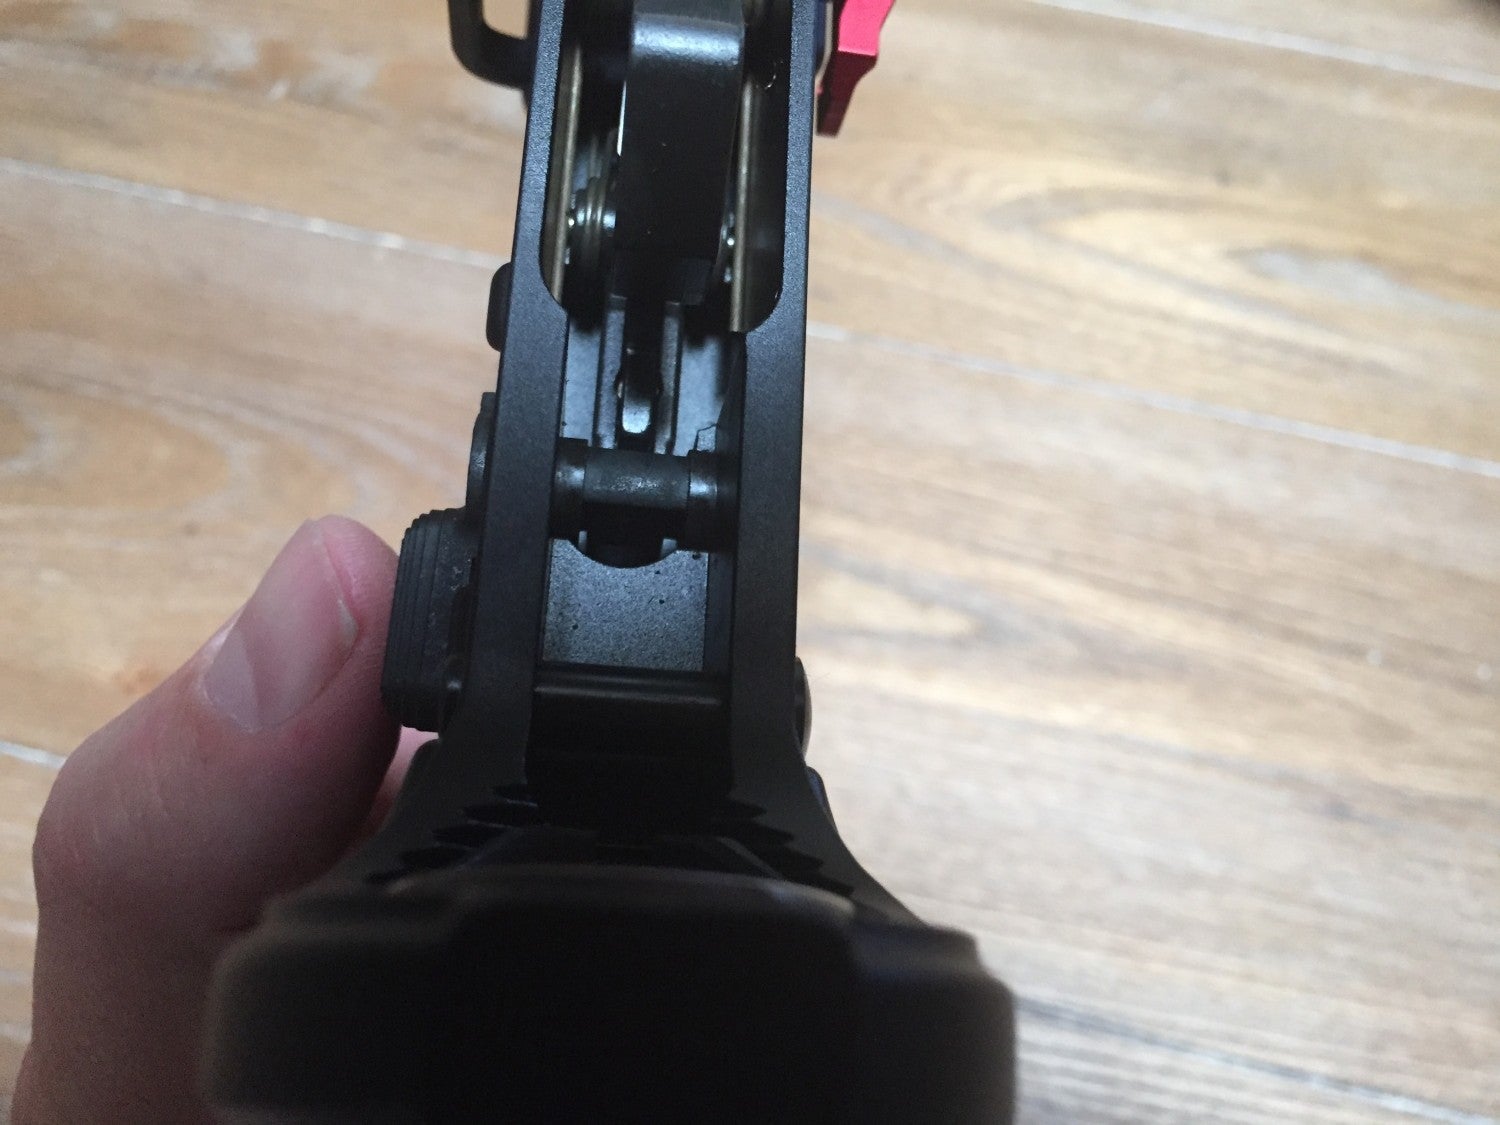
1. Remove your grip (the MagPul grip on mine is a single hex bolt). Curse like a sailor trying to get the stupid cap off the bottom.
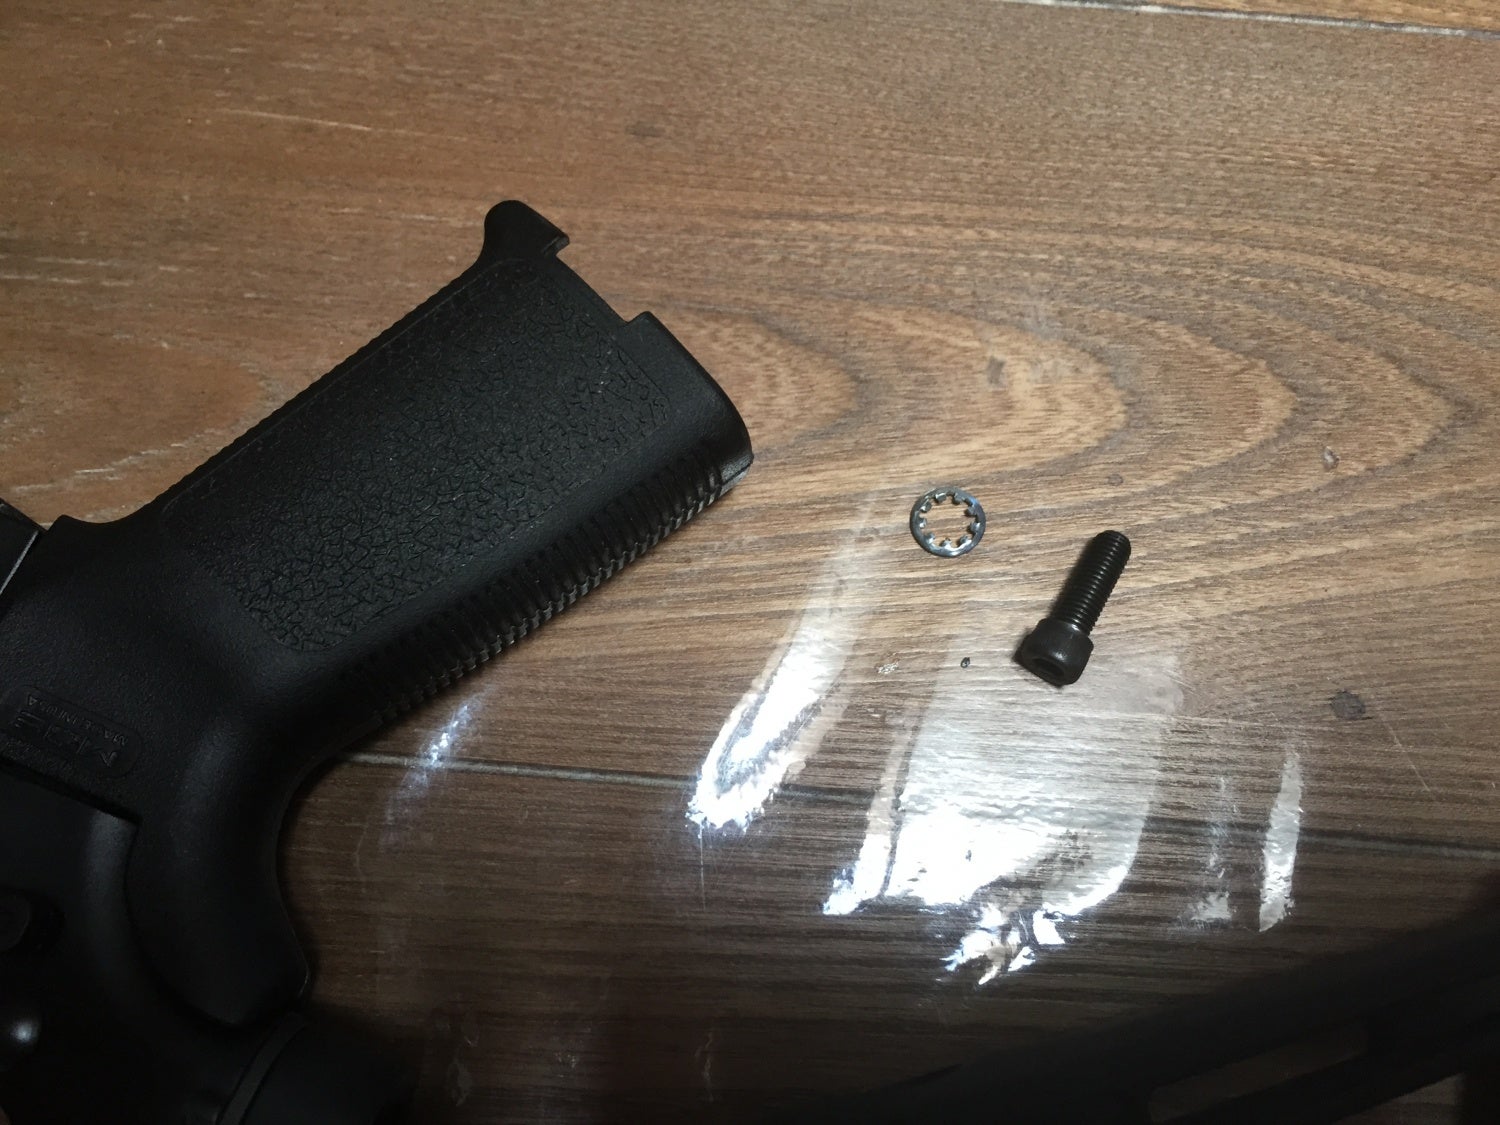
2. Keep track of your parts. Ask me how I learned this lesson and also why I hate cats.
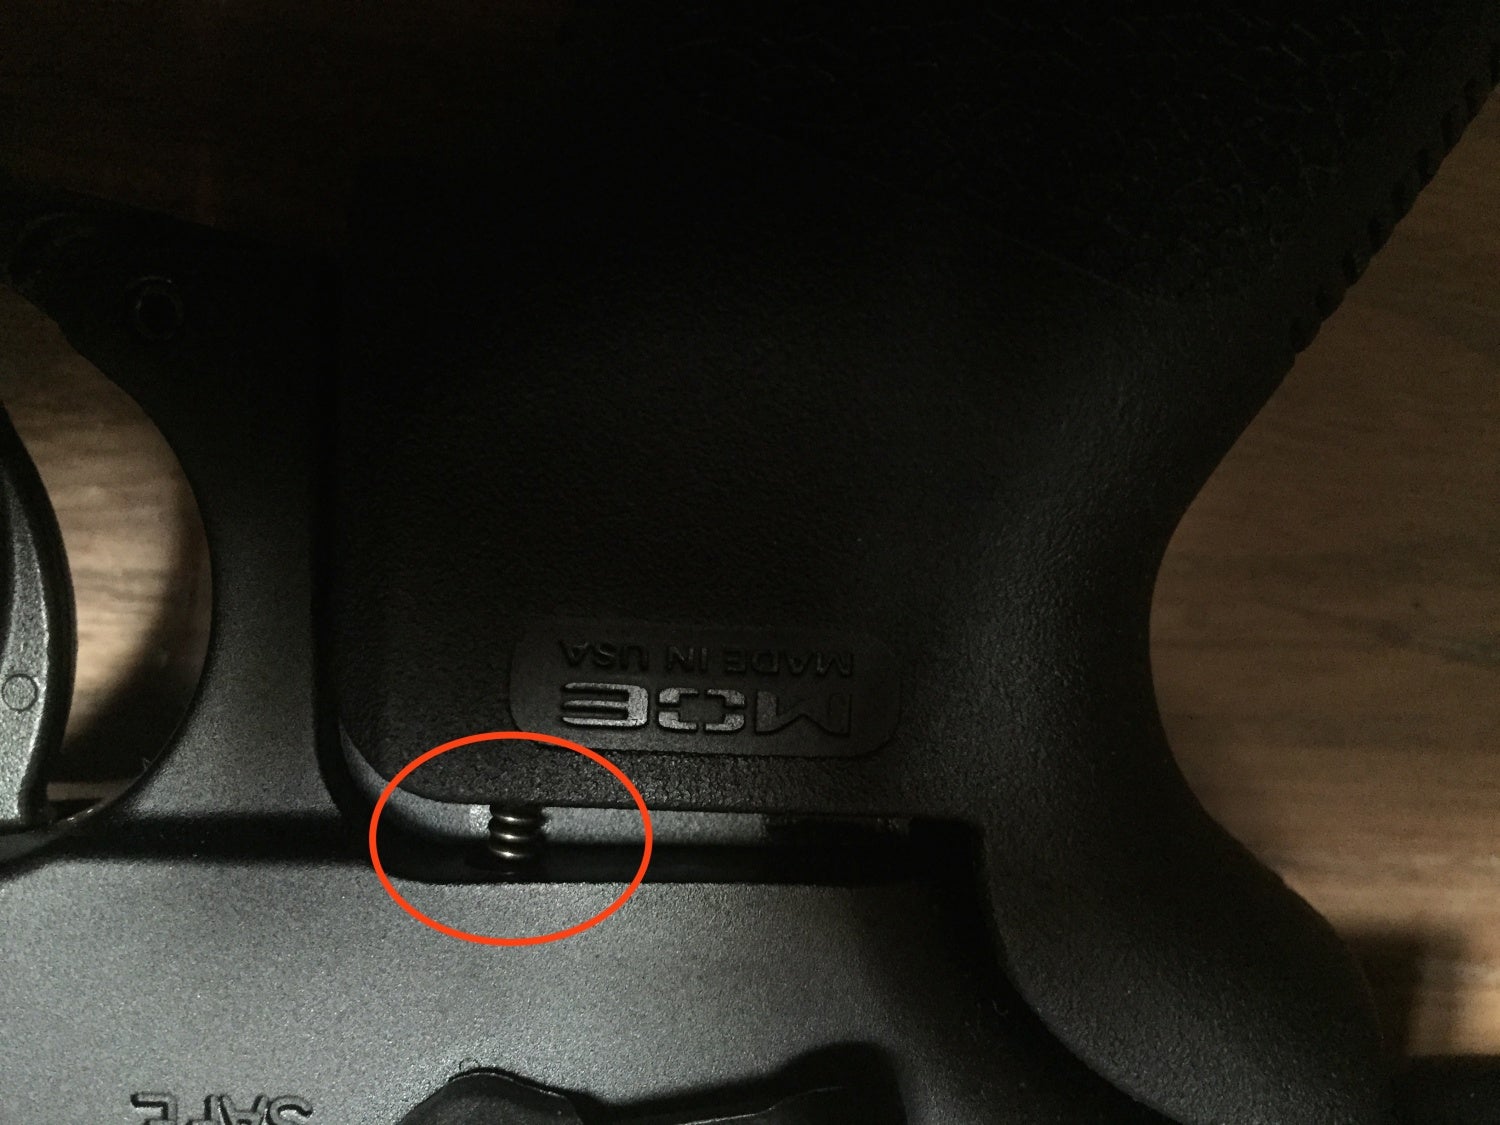
3. GENTLY remove your grip. Pay attention to this little spring (safety selector detent spring). I launched one right down a heater vent the first time I changed out a grip years ago. And I may have launched one very, ahem, recently onto the carpet, under the table, because I forgot.
4. I’d keep the spring in the grip. Especially if you have cats. :/
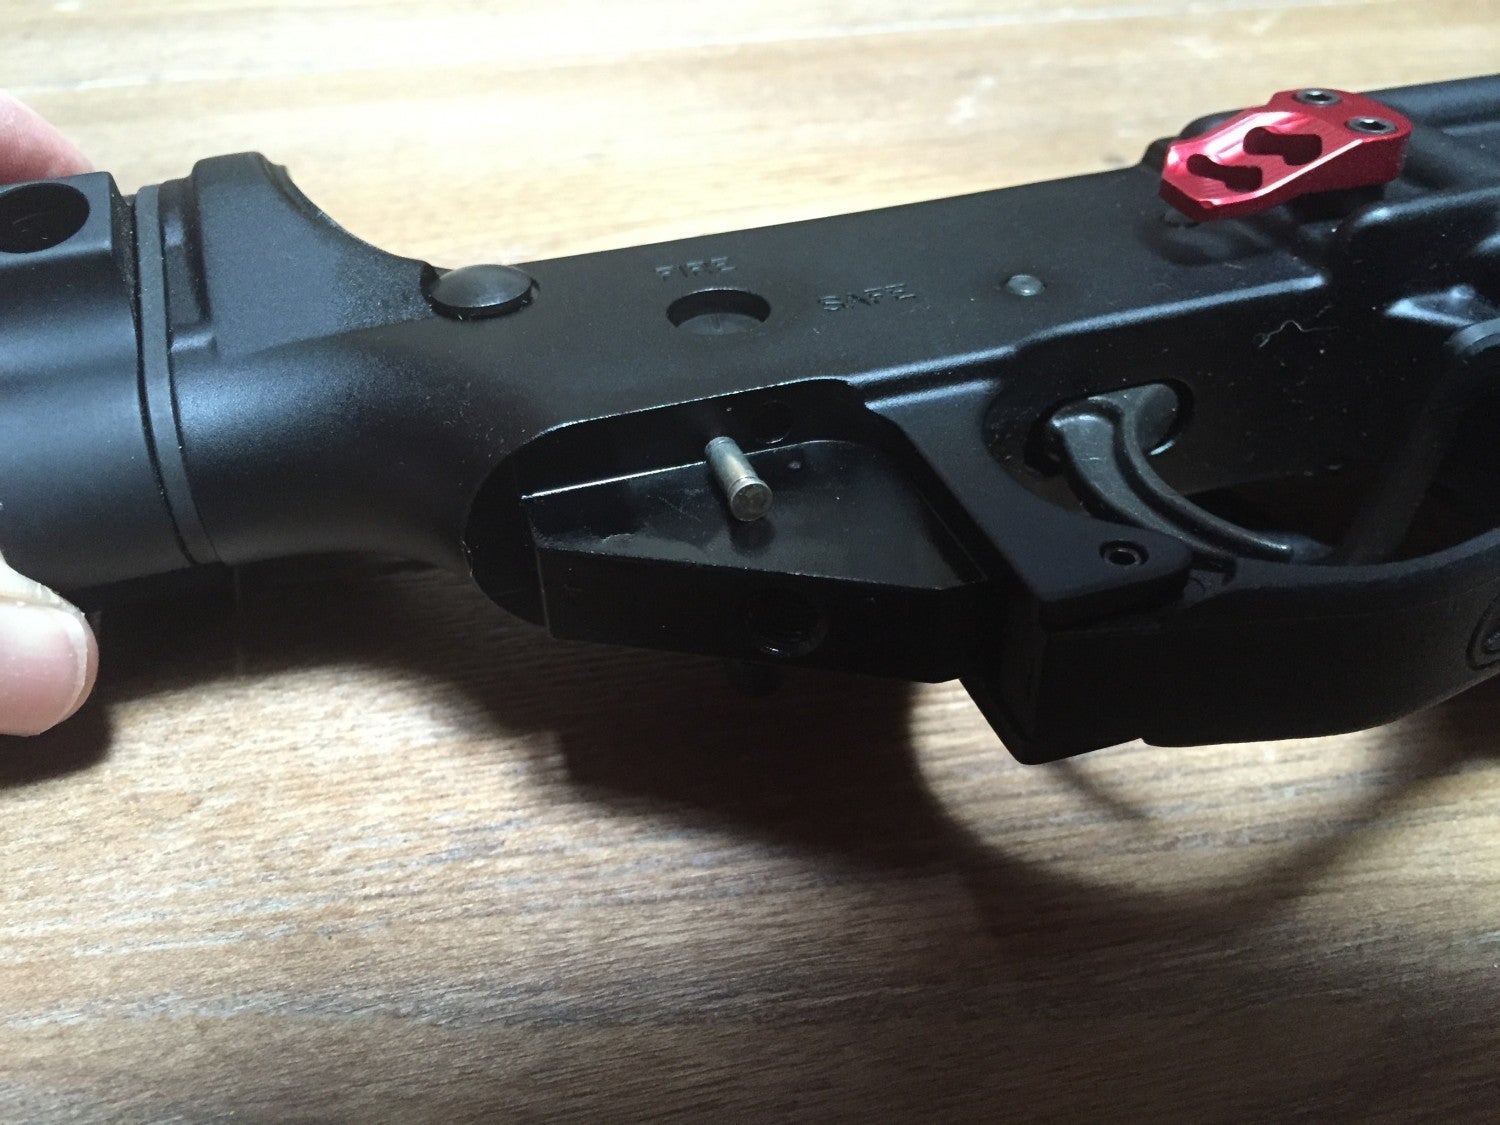
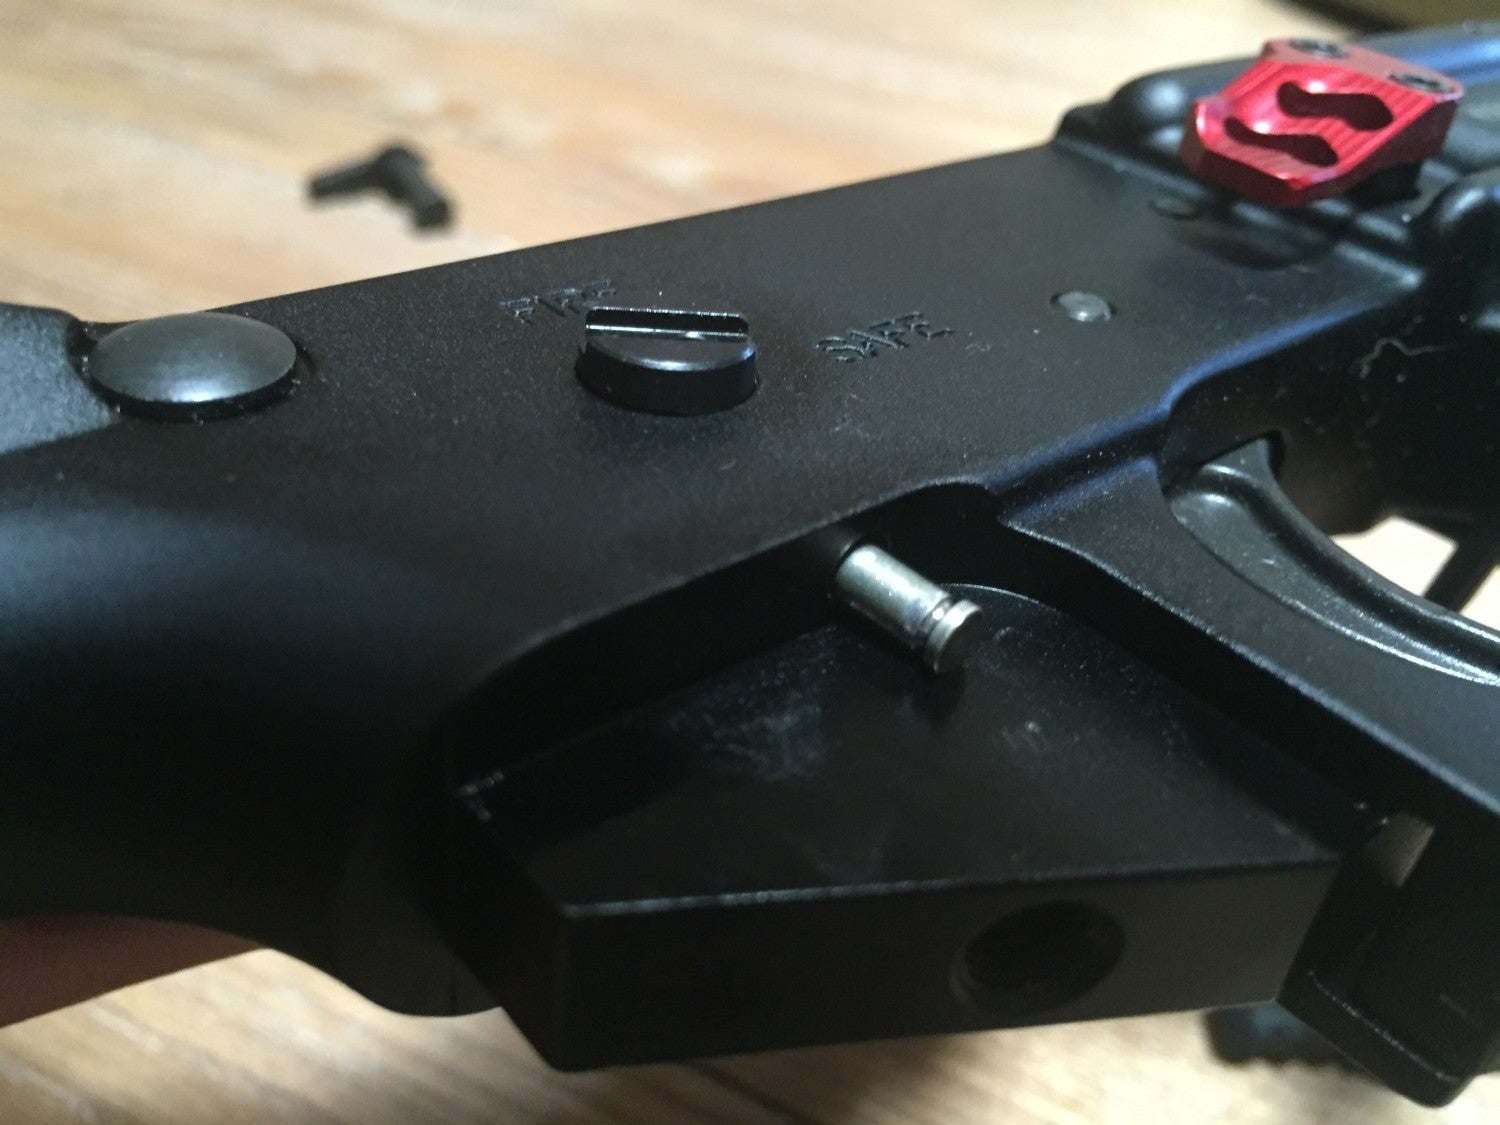
5. Pull out the detent pin. This is also an important piece.
6. Finally you can remove the existing selector switch/safety bar. Slide out to the side of the switch (if single). If ambi, remove one of the levers.
7. Figure out which Strike Universal Switches you want to install. Make sure you have the safety bar and screws. And a 5/64 hex. Also make sure the furry little demons are not in attendance. If one of them leaves without a fuss check it’s mouth for the detent pin (remember you secured the detent spring so it wouldn’t get stolen).
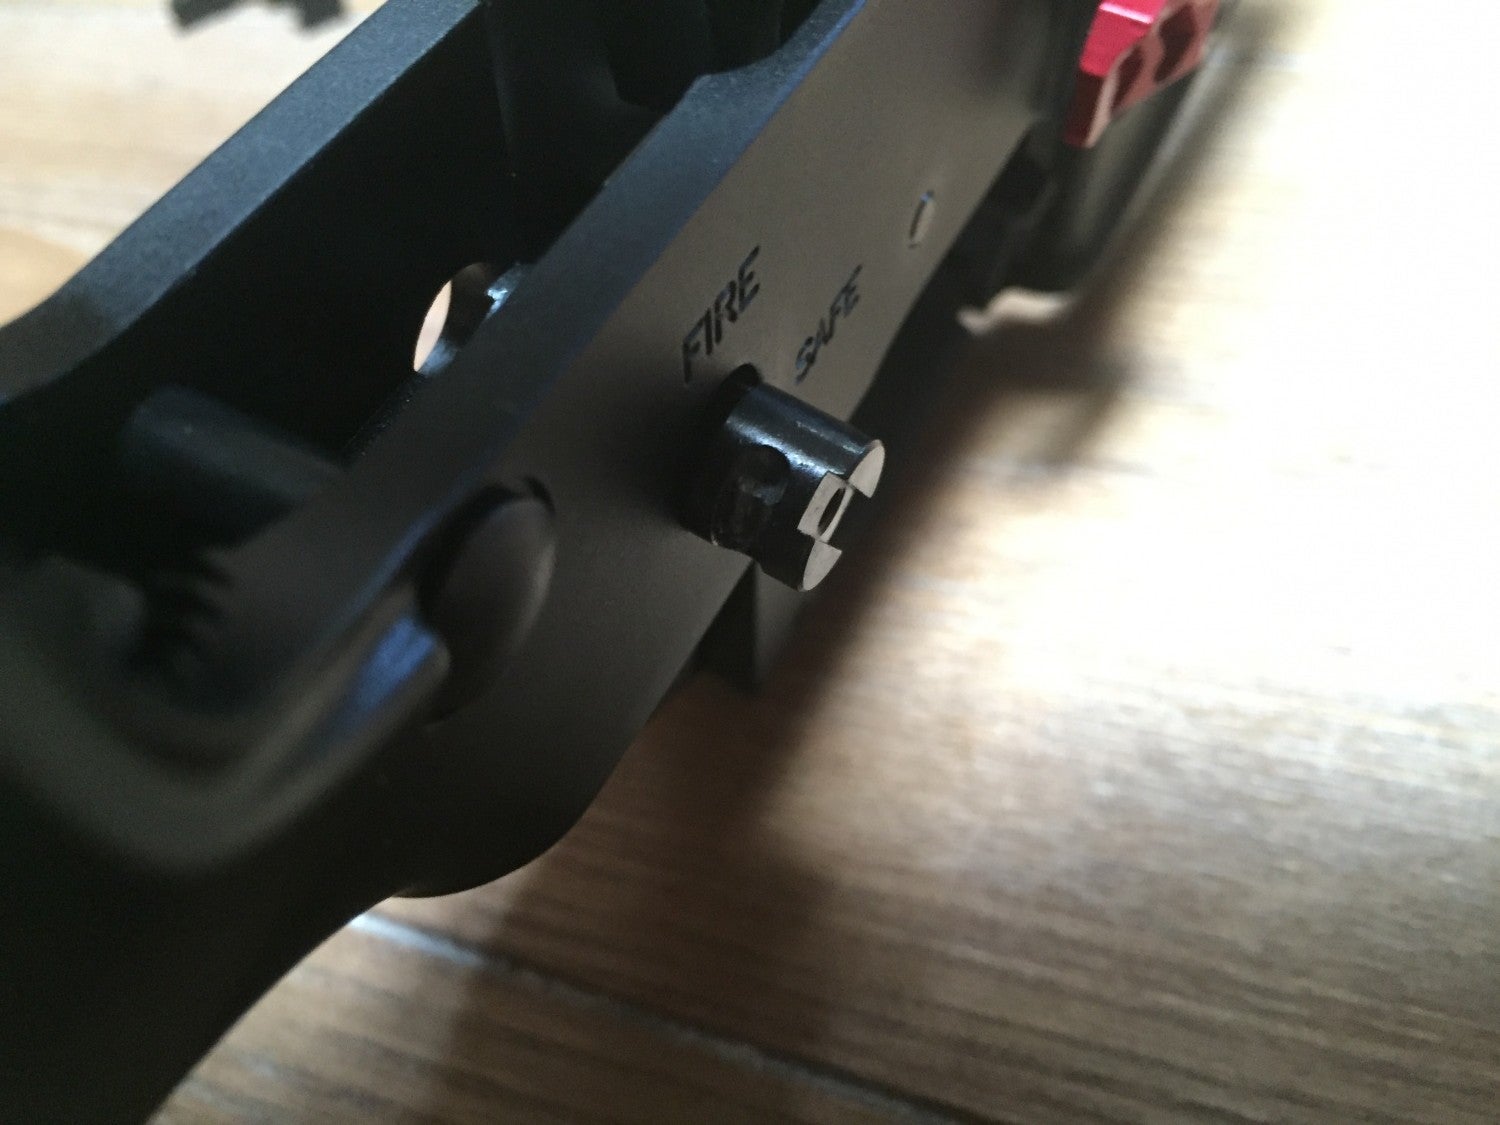
8. Slide in the new safety bar. There is a correct orientation. That would be screw hole forward (you can better see it in a later pic).
9. Replace the detent pin. If a cat stole your detent pin, find said cat and waterboard until location of detent pin is revealed.

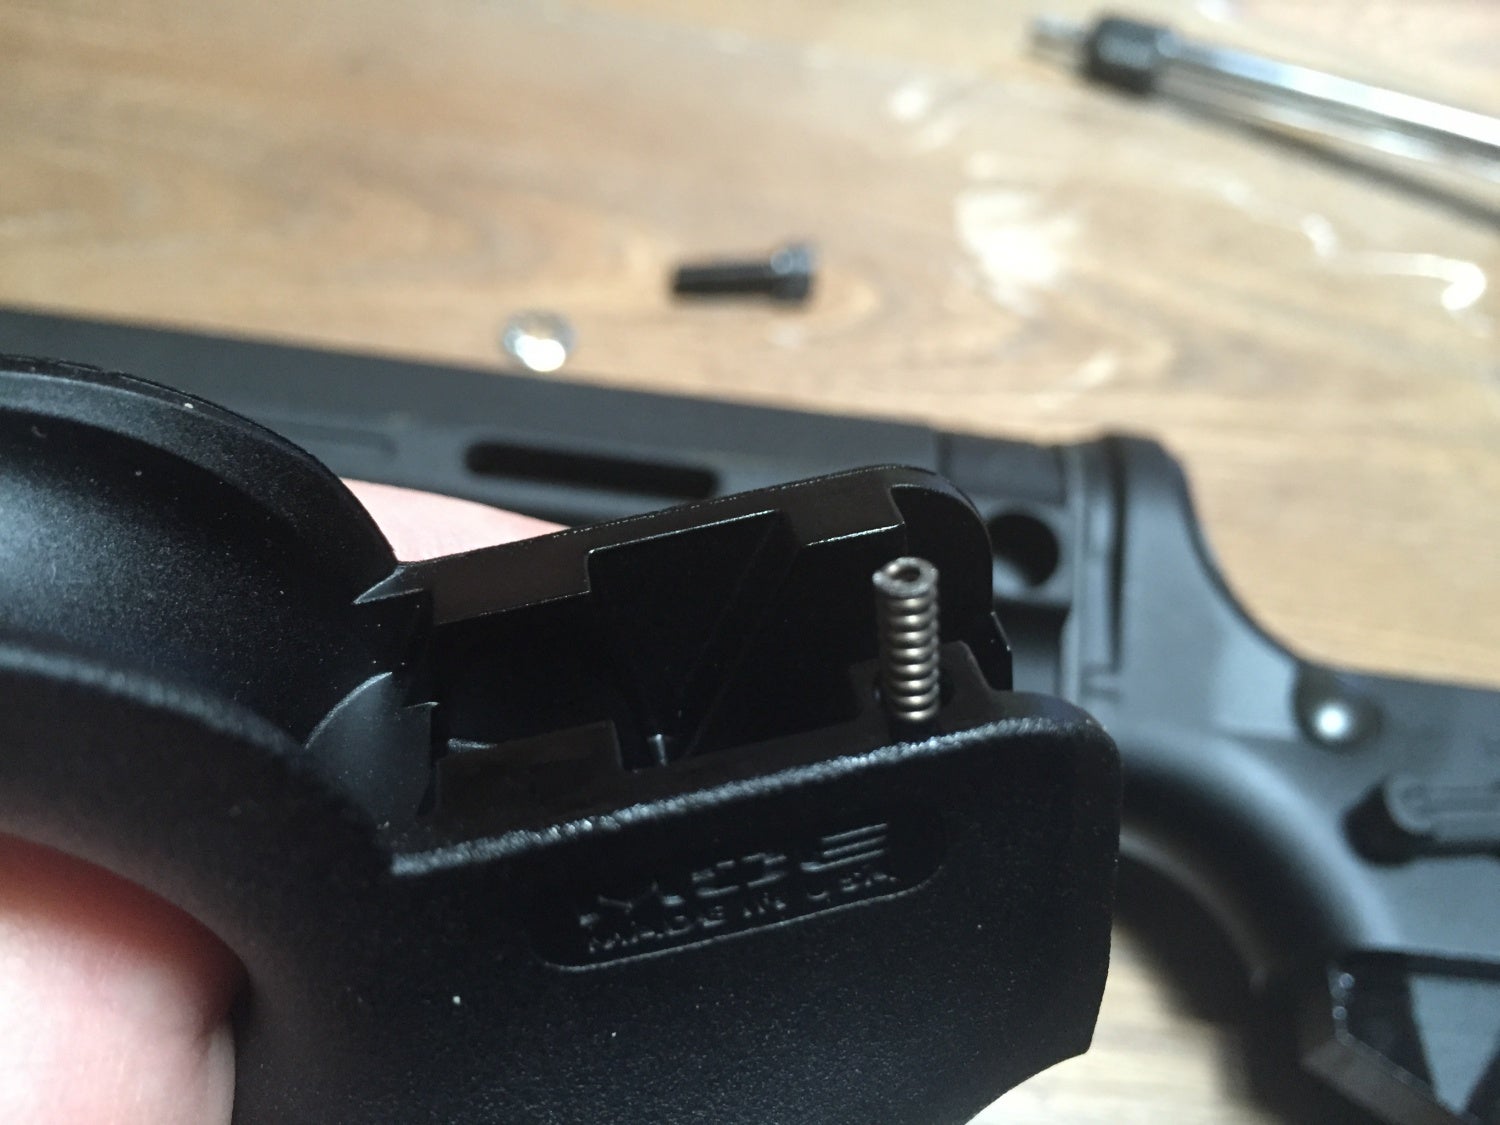
10. Replace your grip. Make sure to seat the spring in the detent hole. Also note the orientation of the screw hole–if this is not correct you will likely not be able to get your detent pin seated without extreme force. Nothing about this install requires extreme force except takedown of the cat militia which is intent on theft from the armorer’s bench.
11. Note the raised section on the back of your selected lever(s). This will seat in the groove in the safety bar. The holes should match up. If your attempts to thread the screw are failing, flip your lever 180 degrees and tell no one of your mistake. Attention to detail… Repeat on the other side if you want.
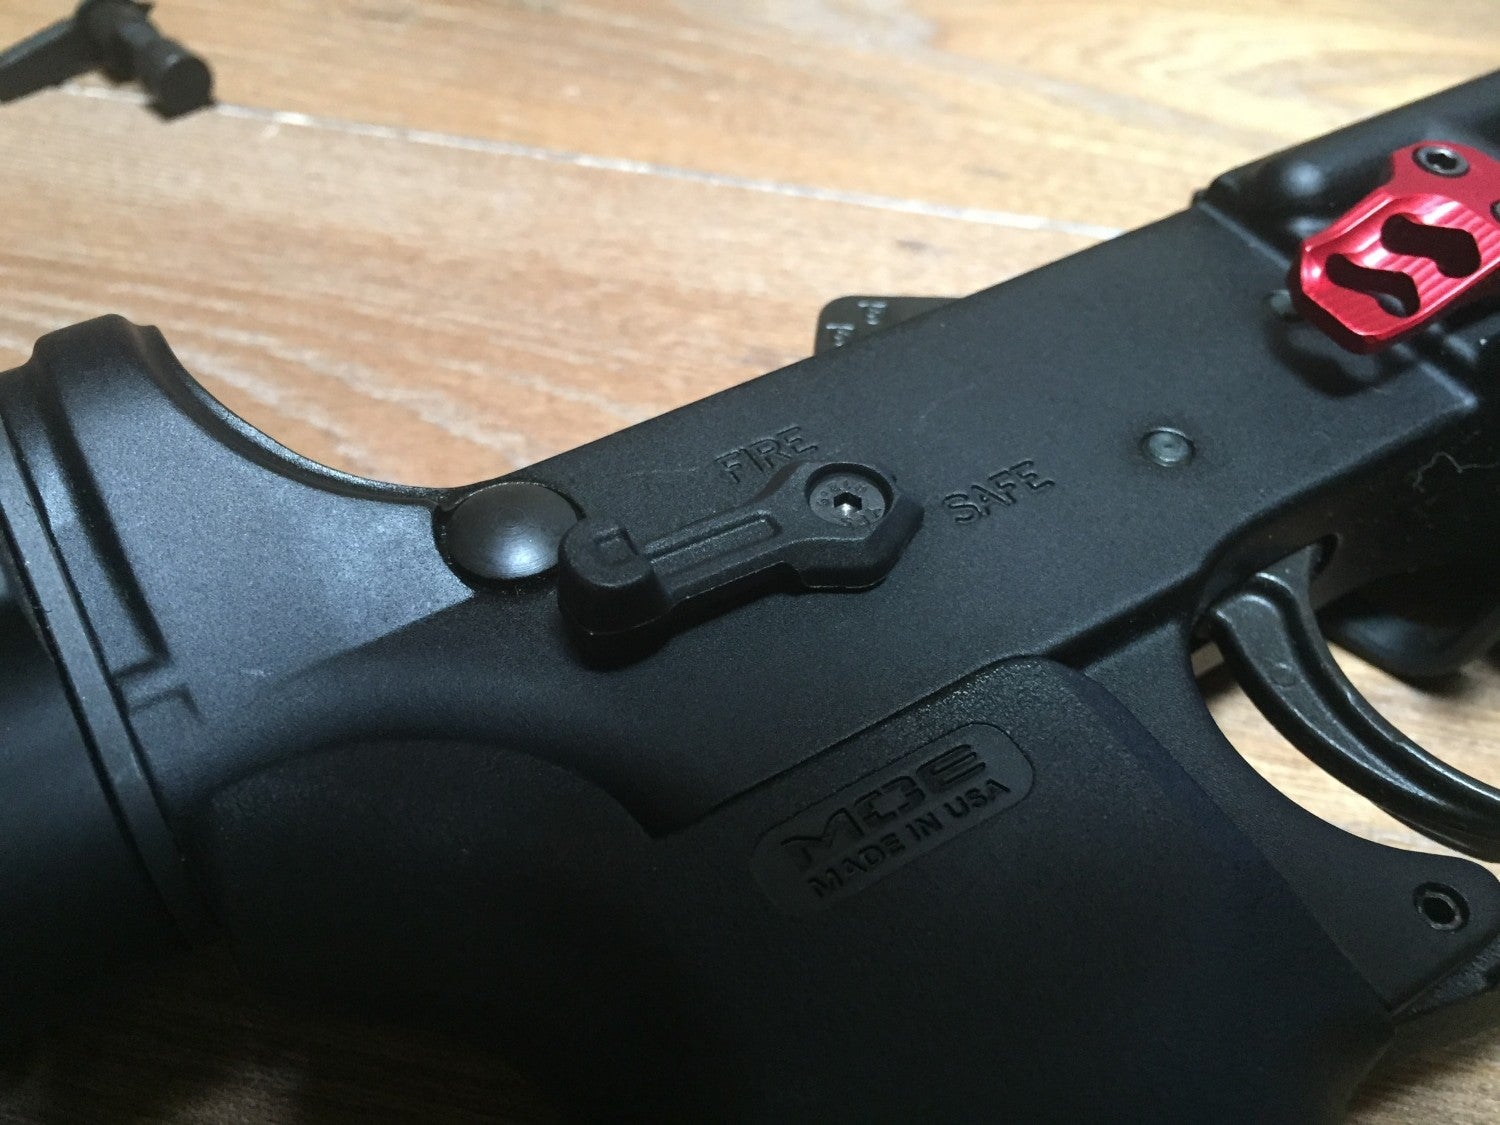
12. Done. Now proceed to function test the selector switch for the next 10 minutes while your spouse is trying to watch TV (click-clack-click-clack-etc.).
Observations
I like the idea of being able to change out selector switches and not have to break the bank just to try a bunch of different options. $39.95 is a decent price point for that I think.
I did not do any destructive testing on these (i.e. slamming my rifle on the deck, etc) to see how solid they are. Since they are polymer I would assume enough force could break them, and the big fail point is obviously the connection between the lever and the safety bar (since it is not a single milled piece).
My biggest complaint is that to have two identical levers configured ambidextrously, you would need to buy two sets of the selector switches. I thought this was going to be a big hangup, but I actually ended up liking two different levers so I could optimize for my thumb vs. index finger operation. I personally like the “Extended Long Push” thumb-side and the “Medium Knobbies” for my index finger. However I would like to see them offer the purchase of individual levers.
If you are interested in trying out different selector switches (or want to give an ambidextrous safety a try), I would highly recommend the Strike offering. It is cheap and easy to install.